Note: In versions below 16.23.0, this tag is called DoubleClick Floodlight Counter.
A Floodlight Counter tag counts page views after a visitor sees or clicks your ad.
To set it up, follow these steps:
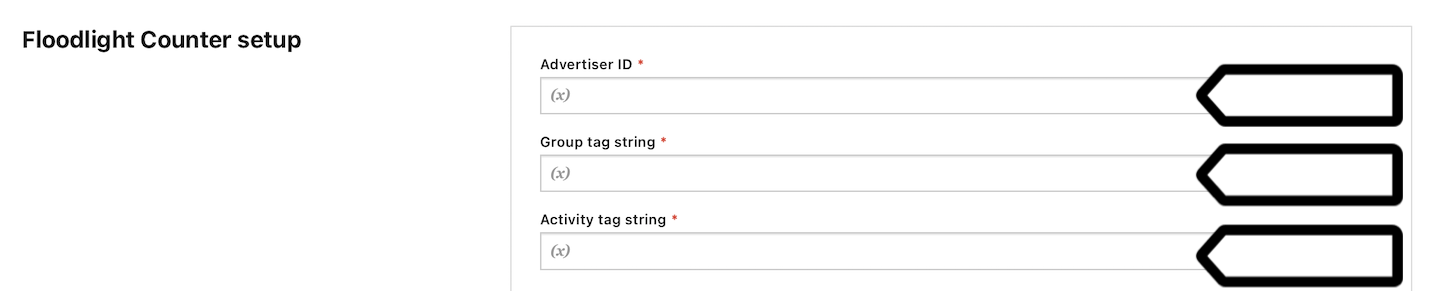
- Copy the following values from your Floodlight code:
- src= advertiser ID
- type= group tag string
- cat= activity tag string
- Log in to Piwik PRO.
- Go to Menu > Tag Manager.
- Navigate to Tags.
- Click Add a tag.
- Name your tag and select the following type: Floodlight Counter.
- Paste the advertiser ID, group tag string and activity tag string you copied in step 1.
- In Counting method, select one of the following methods: standard, unique or per session.
- In Standard variables, select the variable that contains the value you want to pass to the Floodlight custom variable.
Tip: Floodlight custom variables are key-value pairs for tracking user data. They use keys like
u1=oru2=. - In Advanced tag settings, choose Consent type. Set it up if you use a consent form on your site. This tag will only fire for visitors who accept the selected consent type.
- Respect opt-out and DNT is turned on by default. Leave it as is if you want to respect visitors who’ve turned on the Do-Not-Track feature in their browsers or who’ve opted out of tracking using our opt-out form.
- In Flight dates, set the date and time when the tag will fire.
- In Tag triggers, click Add a trigger or Choose existing trigger to set up a trigger for your tag.
- Click Save.
- Test your tag in debug mode.
- When you’re happy with how the tag works, click Publish.
- All set!