Note: We’ll no longer offer Consent Manager for new Piwik PRO accounts.
Consent forms are displayed in English by default. If you add other languages, the forms will match the visitor’s browser language. We’ve already translated the forms into Catalan, Danish, Dutch, English, Finnish, French, German, Italian, Polish, Portuguese, Spanish and Swedish. So, if you use these languages, no need for extra translations. But if you pick different languages or change the original text, you’ll have to do the translations yourself.
In this article, we’ll show you how to handle different languages.
Before you start
Here are some things to know before you start:
- The default language is English, but you can change it to another language.
- When a visitor views your form, it’ll match their browser’s language. Piwik PRO automatically detects the browser language and displays the form accordingly. If the form doesn’t support that language, it switches to the default language.
- Visitors can select a different language from the drop-down menu on the form. Once they make the change, they’ll see consent forms in that chosen language in the future.
- The text on our forms is available in Catalan, Danish, Dutch, English, Finnish, French, German, Italian, Polish, Portuguese, Spanish and Swedish. If you use these languages, there’s no need for extra translations. However, if you choose different languages or modify the original text, you’ll need to handle the translations yourself.
Add languages
To add a language, follow these steps:
1. Go to Menu > Consent Manager.
2. Navigate to Settings.
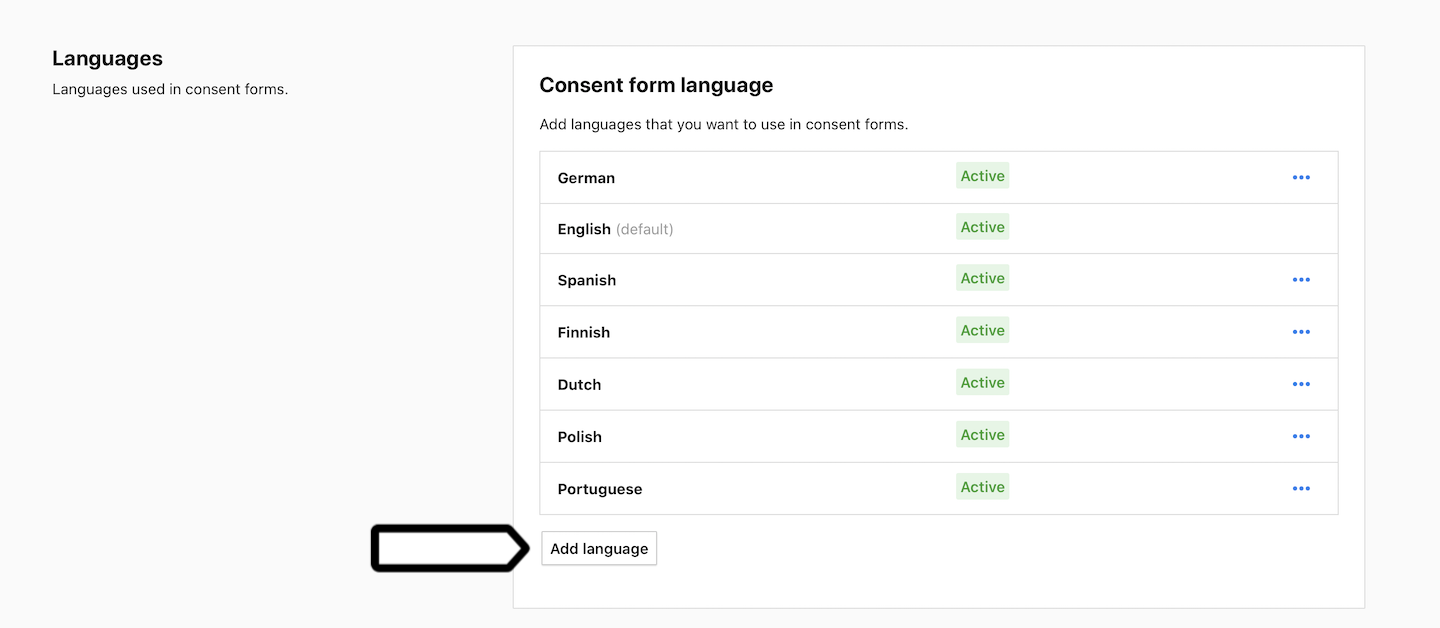
3. In Languages, click Add language.
4. Choose the language and click Save. Don’t activate the form if you still need to do translations.
5. Navigate to Forms > Consent forms.
Available from version 16.0.0. For versions below 16.0.0, go to Menu > Consent Manager > Consent templates.
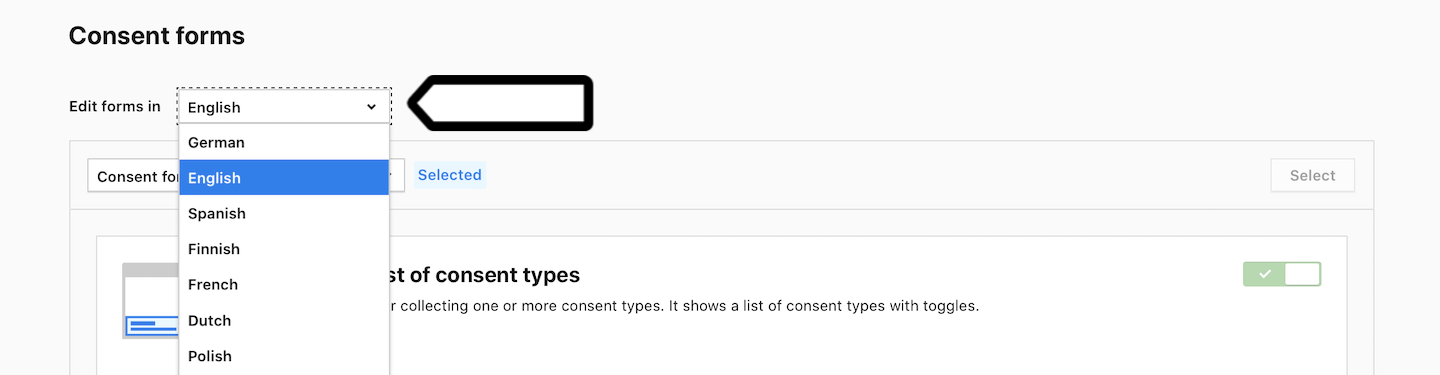
6. Select the added language from the language picker.
7. Edit each form and translate all elements.
8. When you’re done, navigate back to Settings.
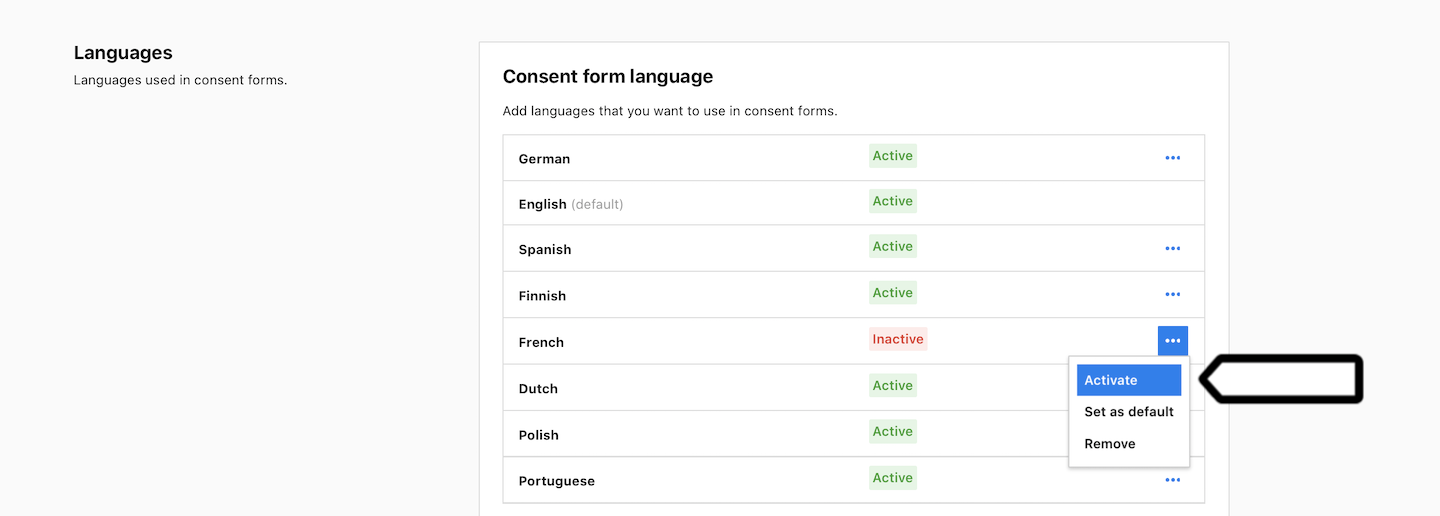
9. In Languages, click the ⋯ three-dot icon next to the added language.
10. Click Activate.
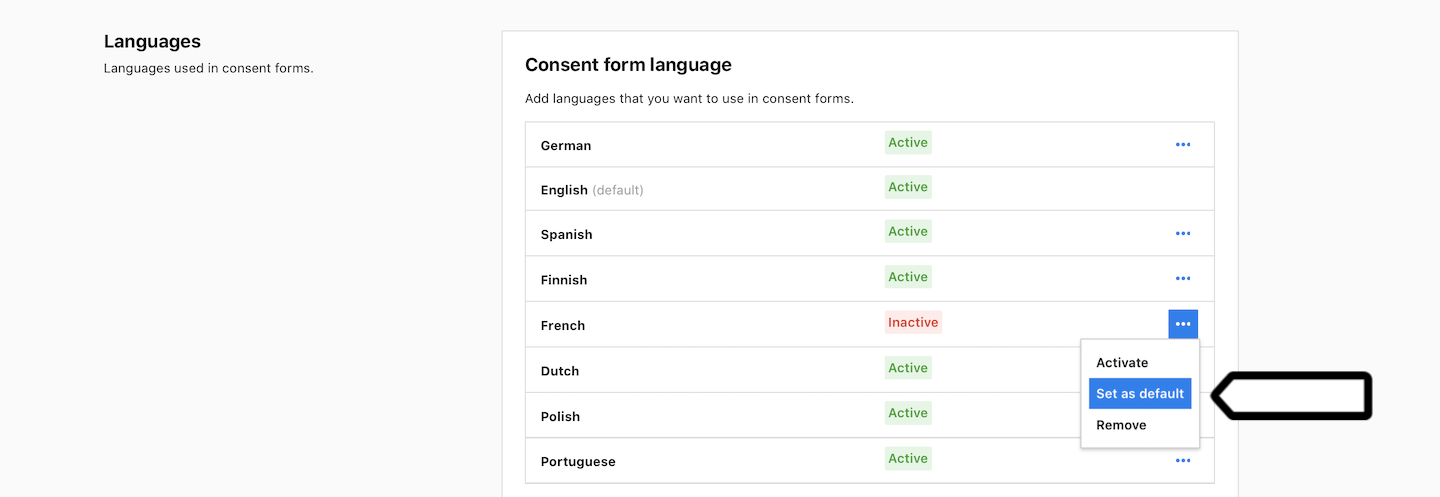
11. (Optional) You can set the added language as the default language.
12. All done!