Deprecated: The migration tool for Google Universal Analytics (GA3) and Google Tag Manager (GTM) will no longer be available after April 23, 2025. This means you won’t be able to transfer your settings from GA3 or GTM using this tool.
If you still need to migrate your data, please do so before the tool is removed.
The migration tool allows you to easily transfer your settings from Google Analytics (GA3/Universal Analytics) and Google Tag Manager (GTM). It lets you import Google Analytics properties, settings, goals and custom dimensions, as well as Google Tag Manager containers, including tags, triggers and variables.
In this article, we’ll show you how to connect Piwik PRO with Google and how to move your settings from Google Analytics and Google Tag Manager to Piwik PRO.
Before you start
Here are some things to know before you start:
- Needed permissions in Piwik PRO: owner.
- Needed permissions in Google Analytics (GA3) and Google Tag Manager (GTM): read-only access.
- After migrating your settings from Google Analytics (GA3), a new site will be created in Piwik PRO automatically. If you want to move your settings from Google Tag Manager without migrating your settings from Google Analytics (GA3), you have to create a new site in Piwik PRO before migration.
Connect Piwik PRO with Google
To connect Piwik PRO with Google, follow these steps:
1. Log in to Piwik PRO.
2. Go to Menu > Administration.
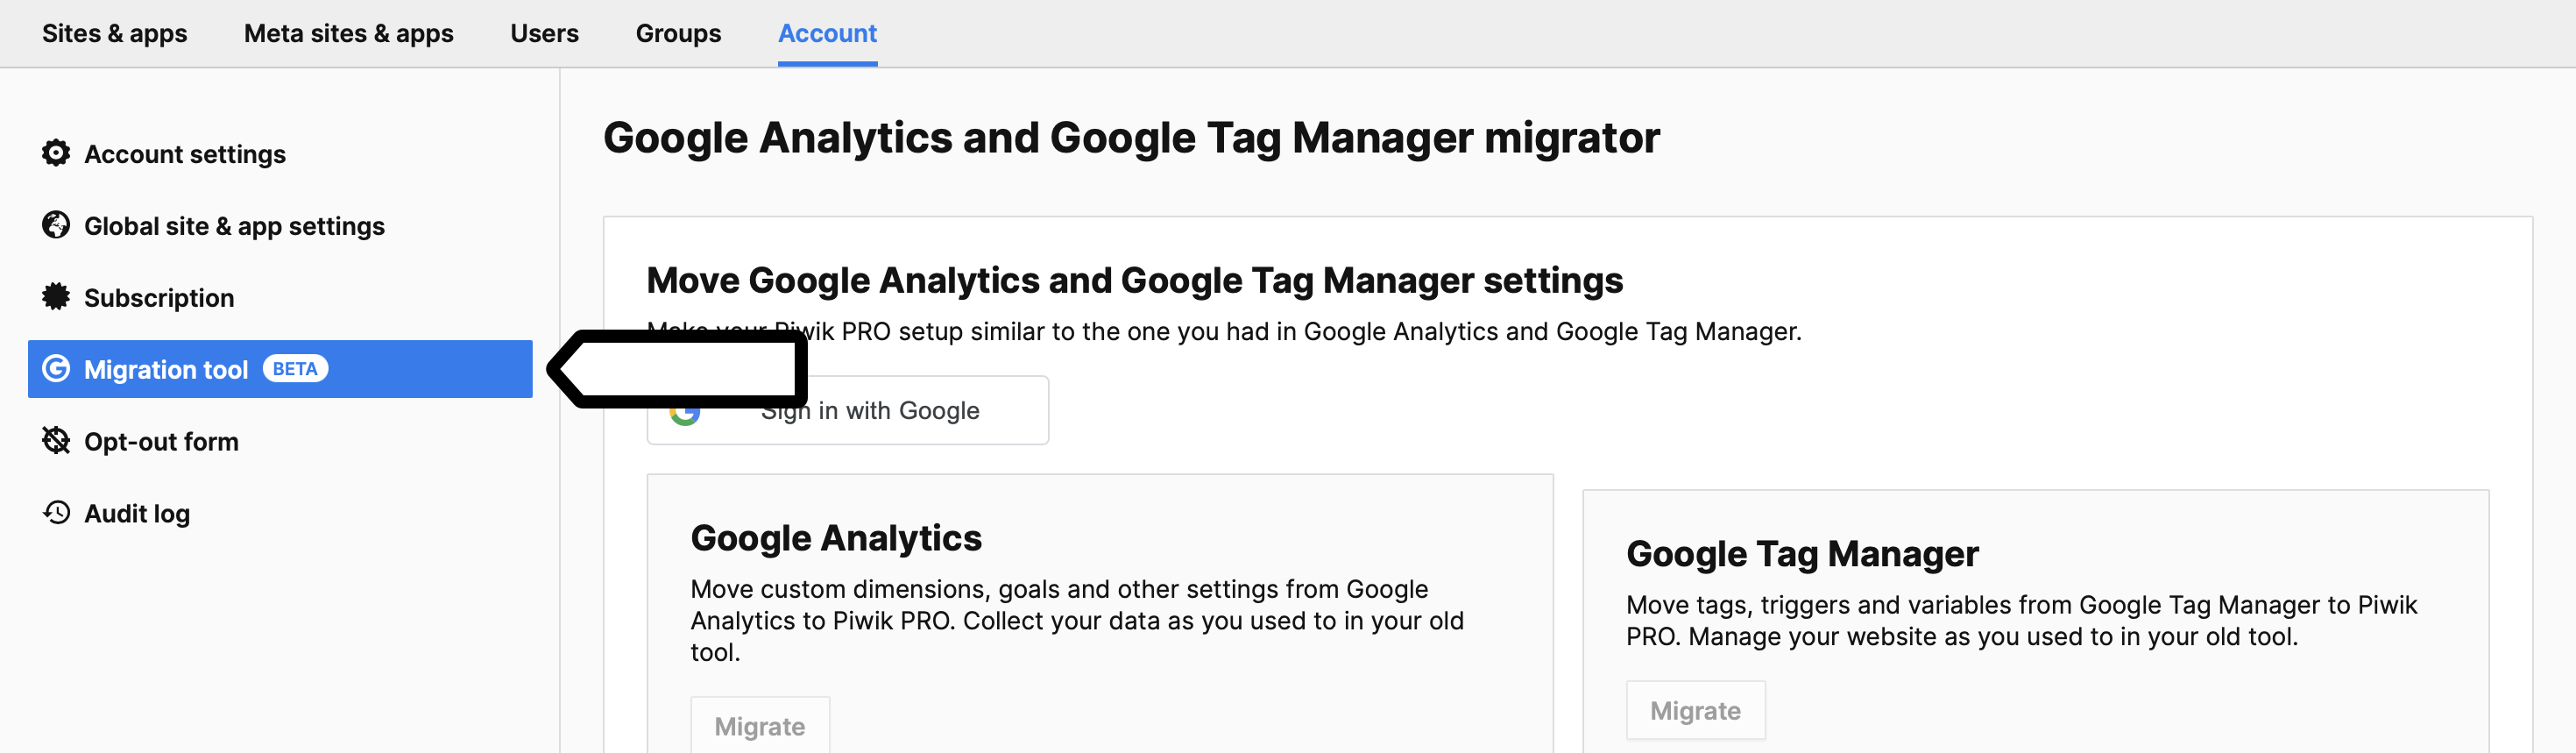
3. Navigate to Account.
4. On the left, click Migration tool.
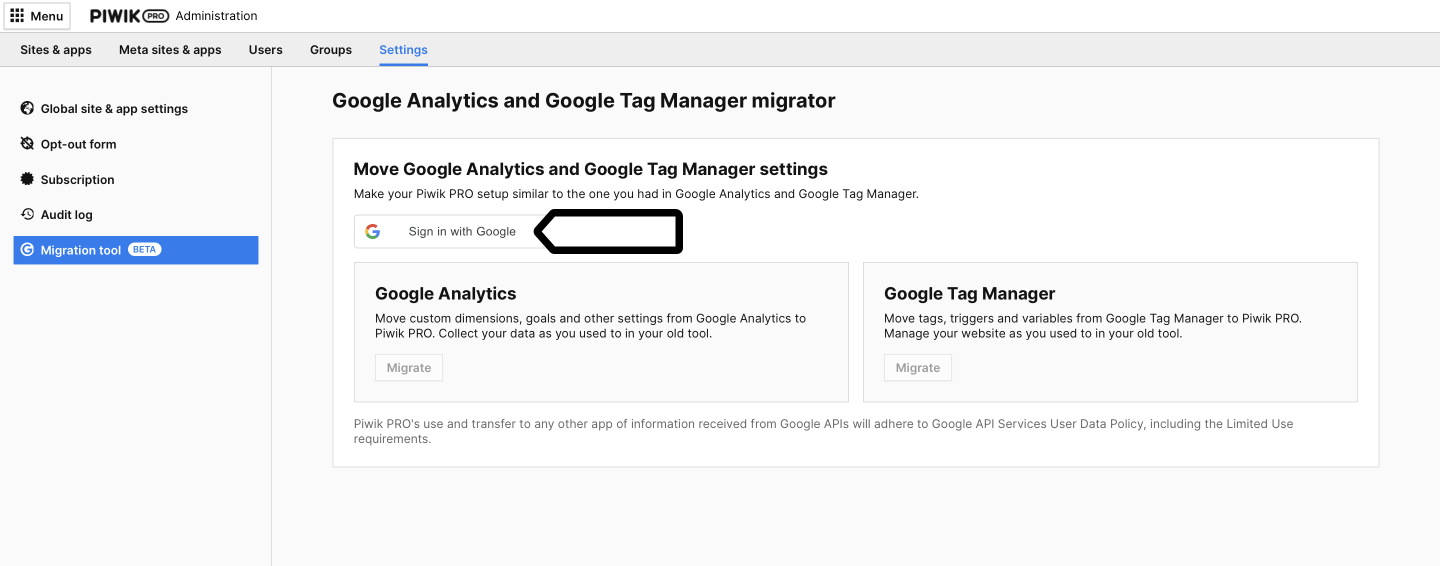
5. Click Sign in with Google.
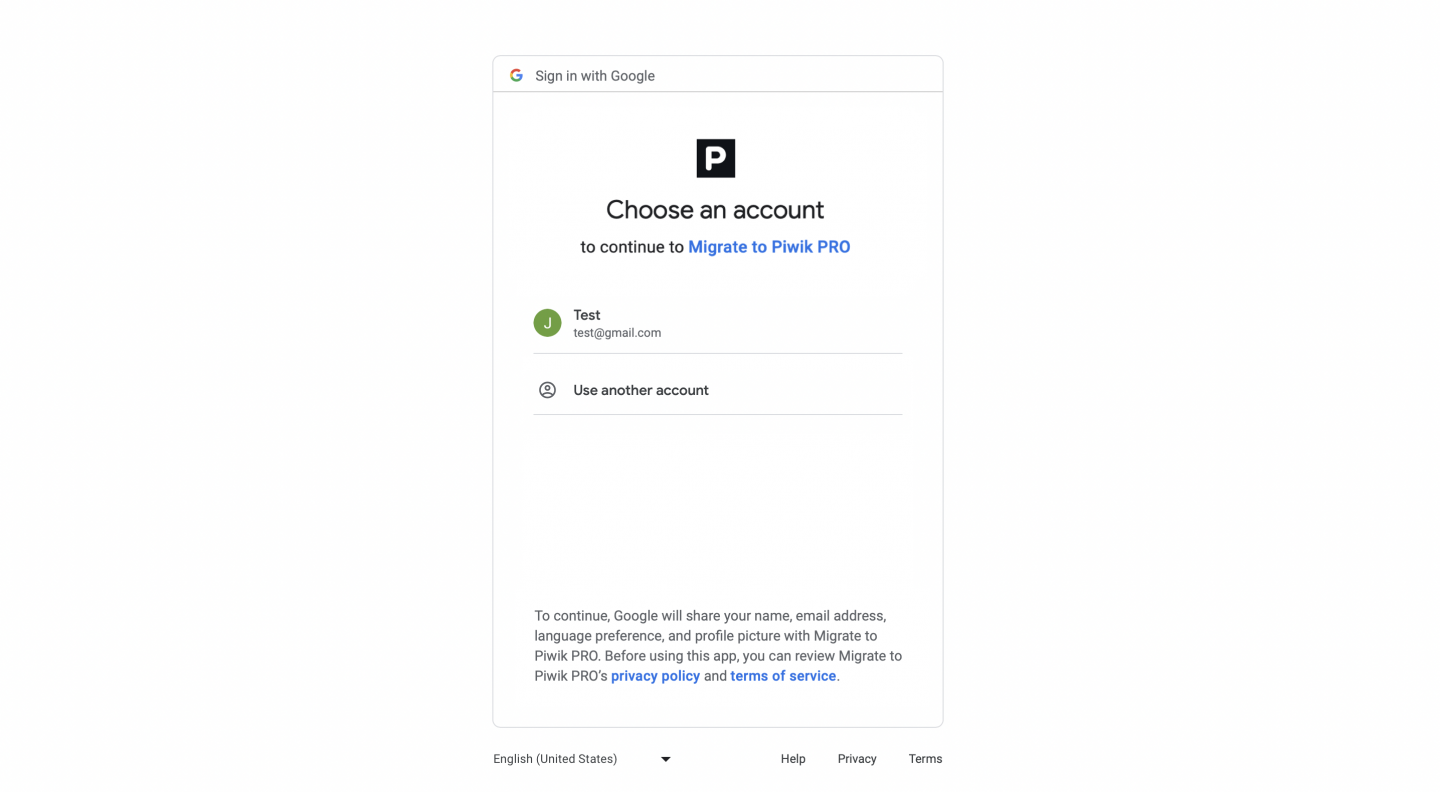
6. Choose your Google account from the list.
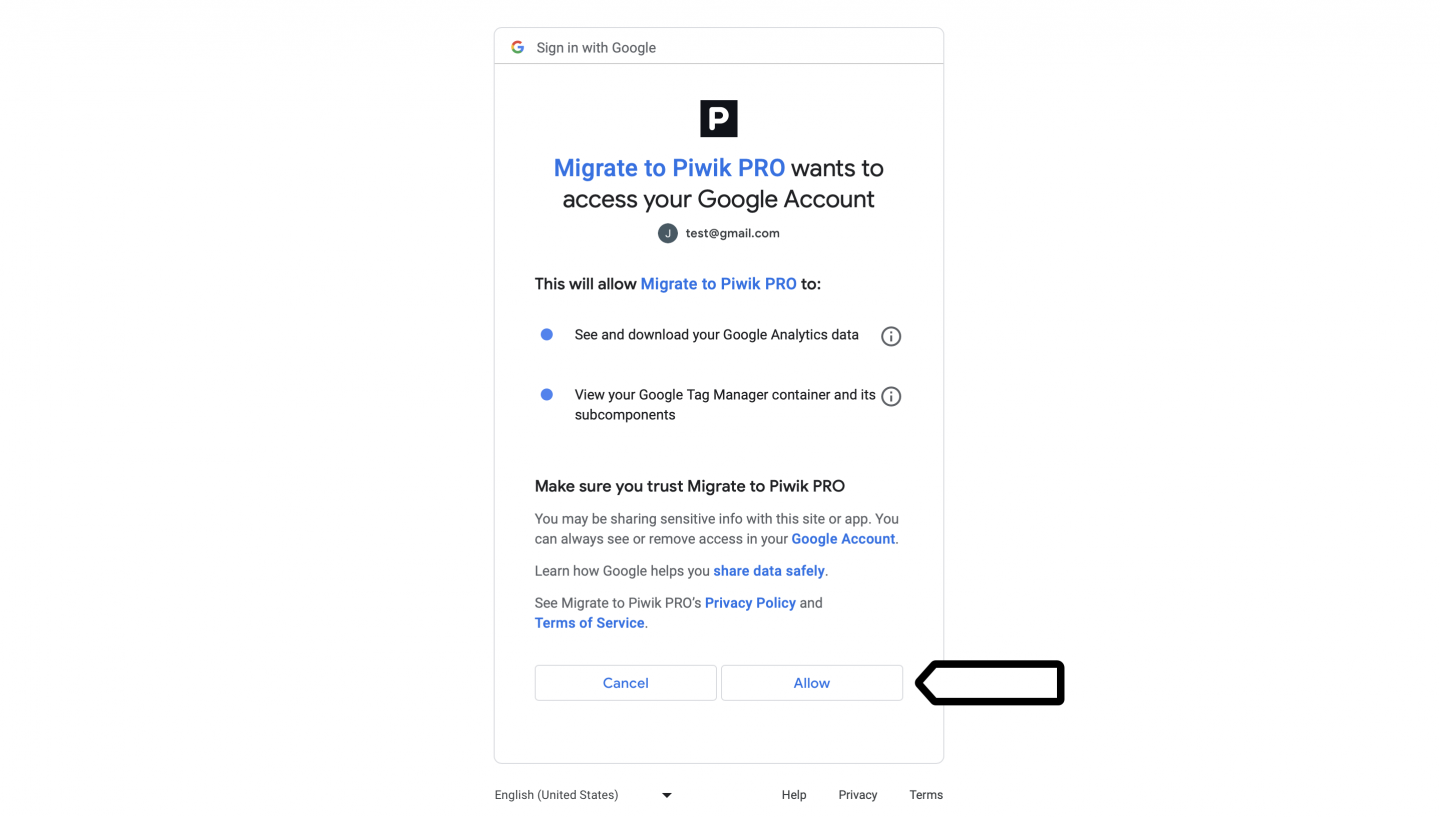
7. Click Allow.
8. All done! Now your Piwik PRO and Google accounts are connected.

Move settings from Google Analytics (GA3)
To move settings from Google Analytics (GA3) to Piwik PRO, follow these steps:
1. Log in to Piwik PRO.
2. Go to Menu > Analytics.
3. Navigate to Account.
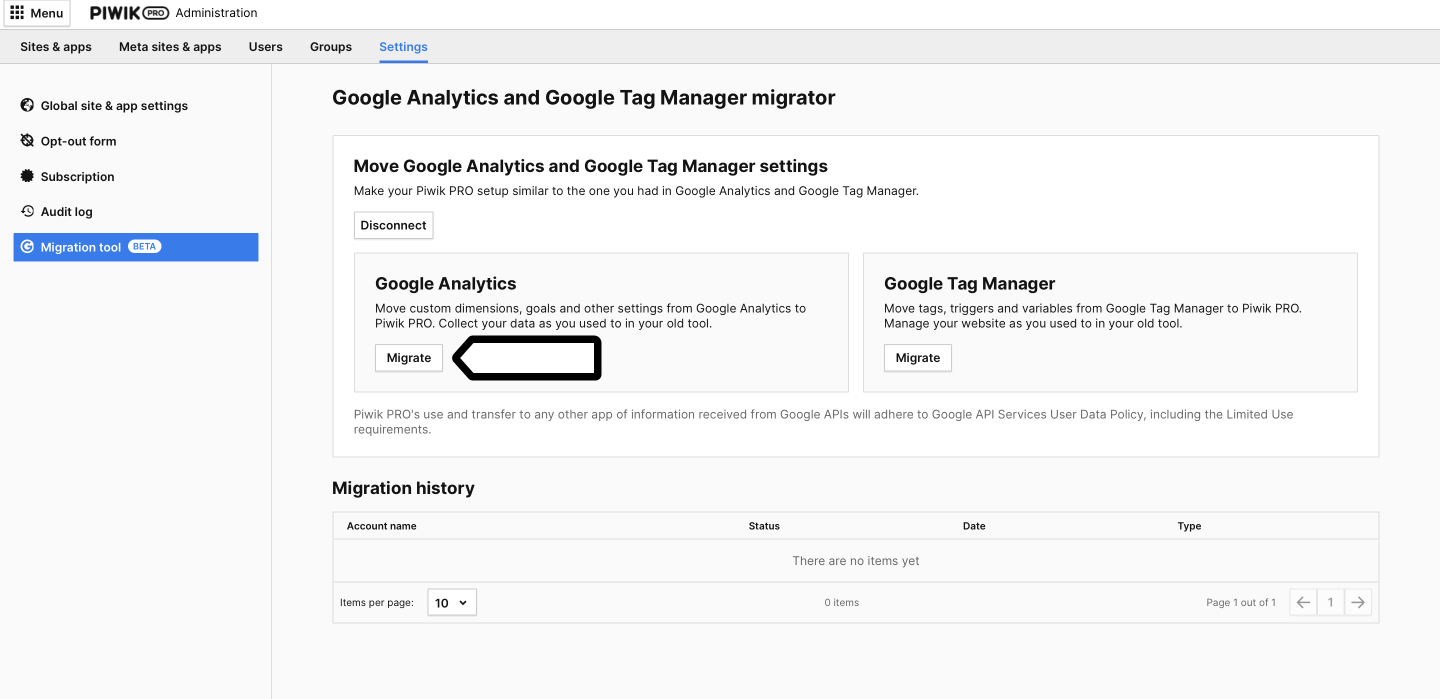
4. On the left, click Migration tool.
5. In Google Analytics, click Migrate.
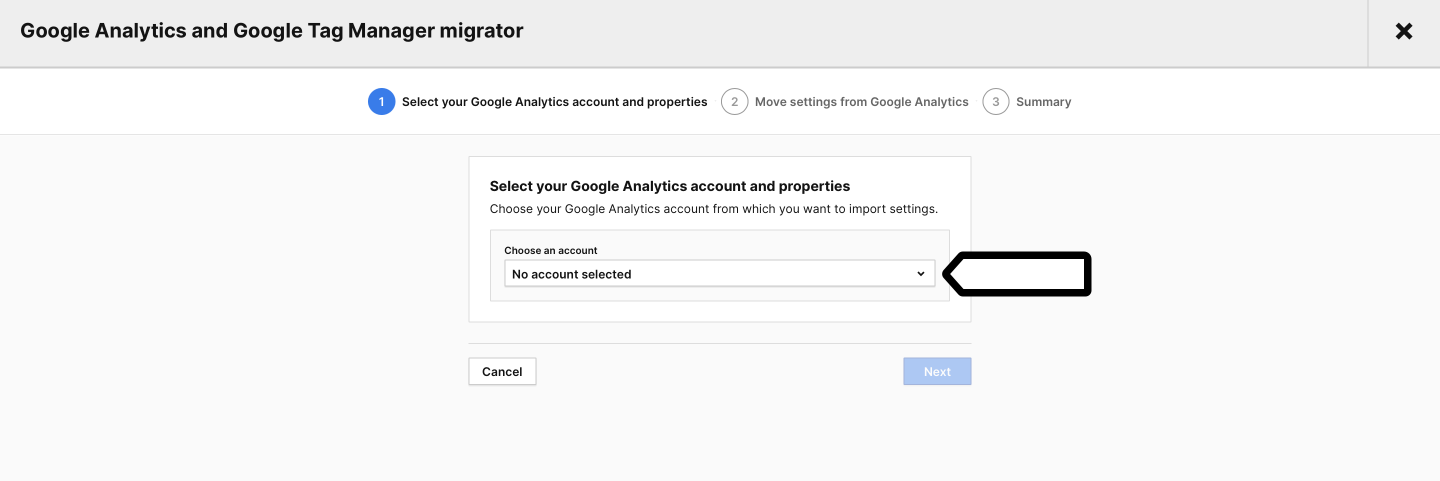
6. Select your Google Analytics account and click Next.
7. Select Google Analytics property and click Next.
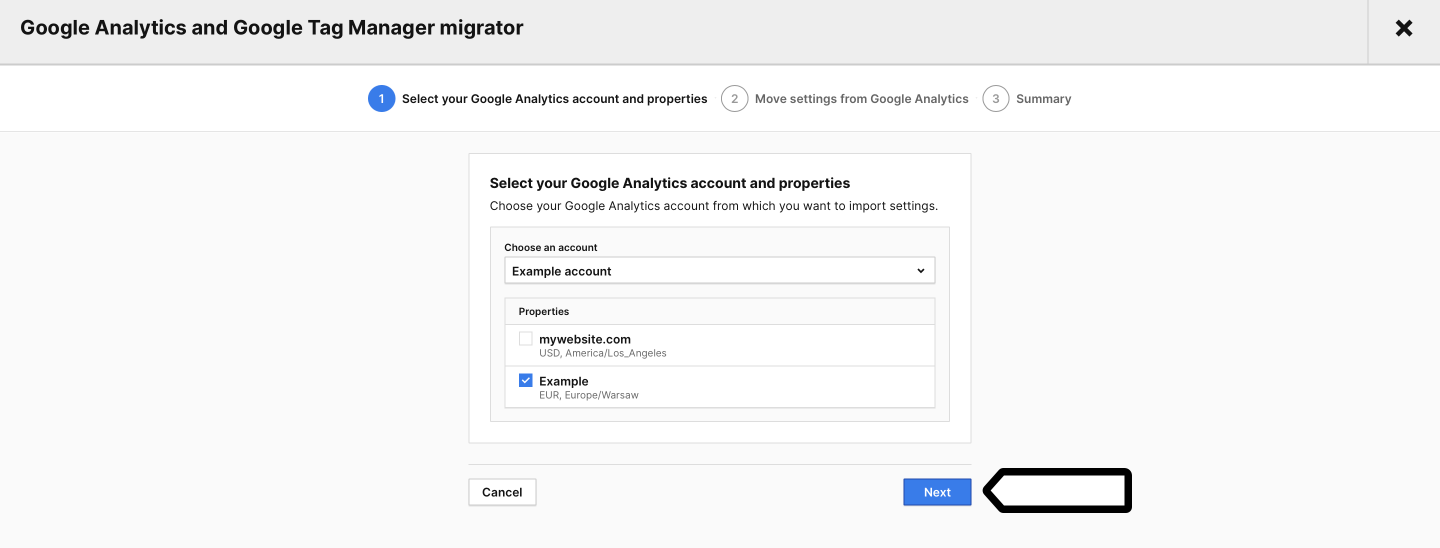
Note: You can choose more than one property and move the settings of all your Google Analytics properties to Piwik PRO at once.
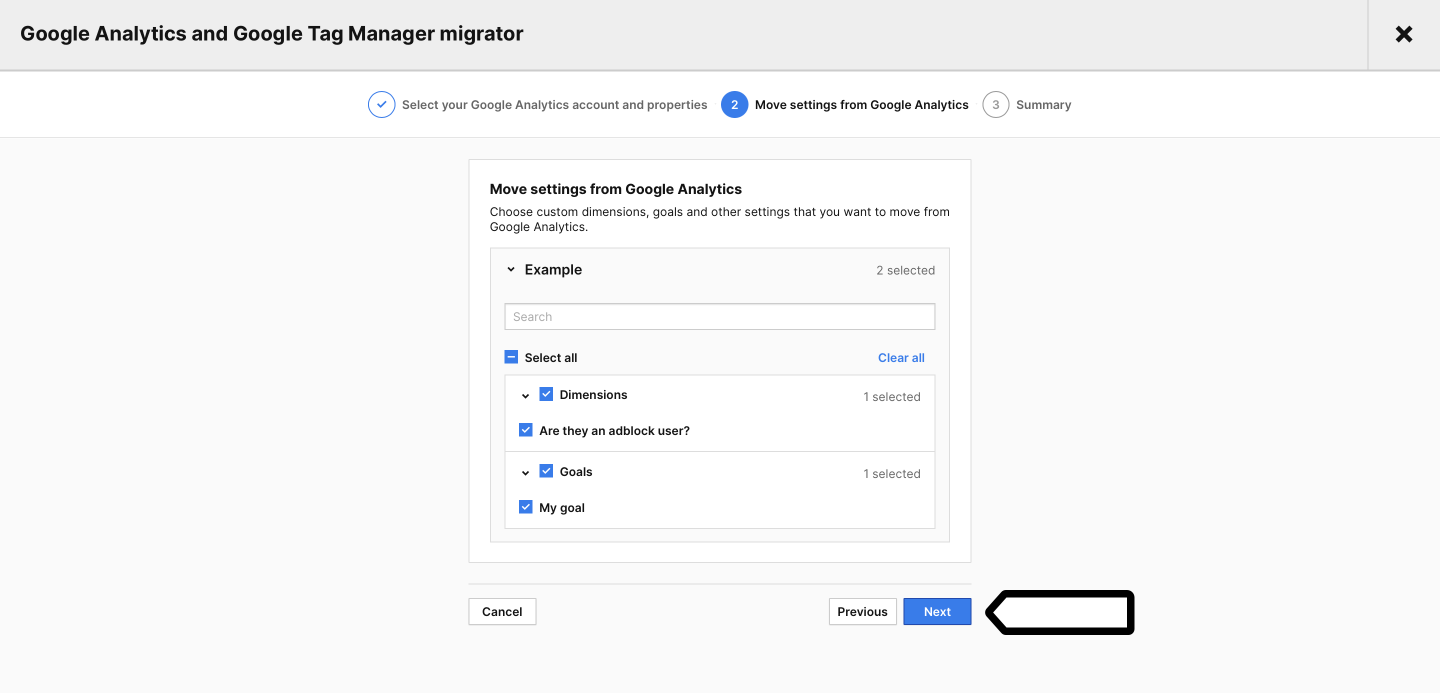
8. Select all the settings from GA3 you want to move to Piwik PRO and click Next.
9. In Summary, click Finish.
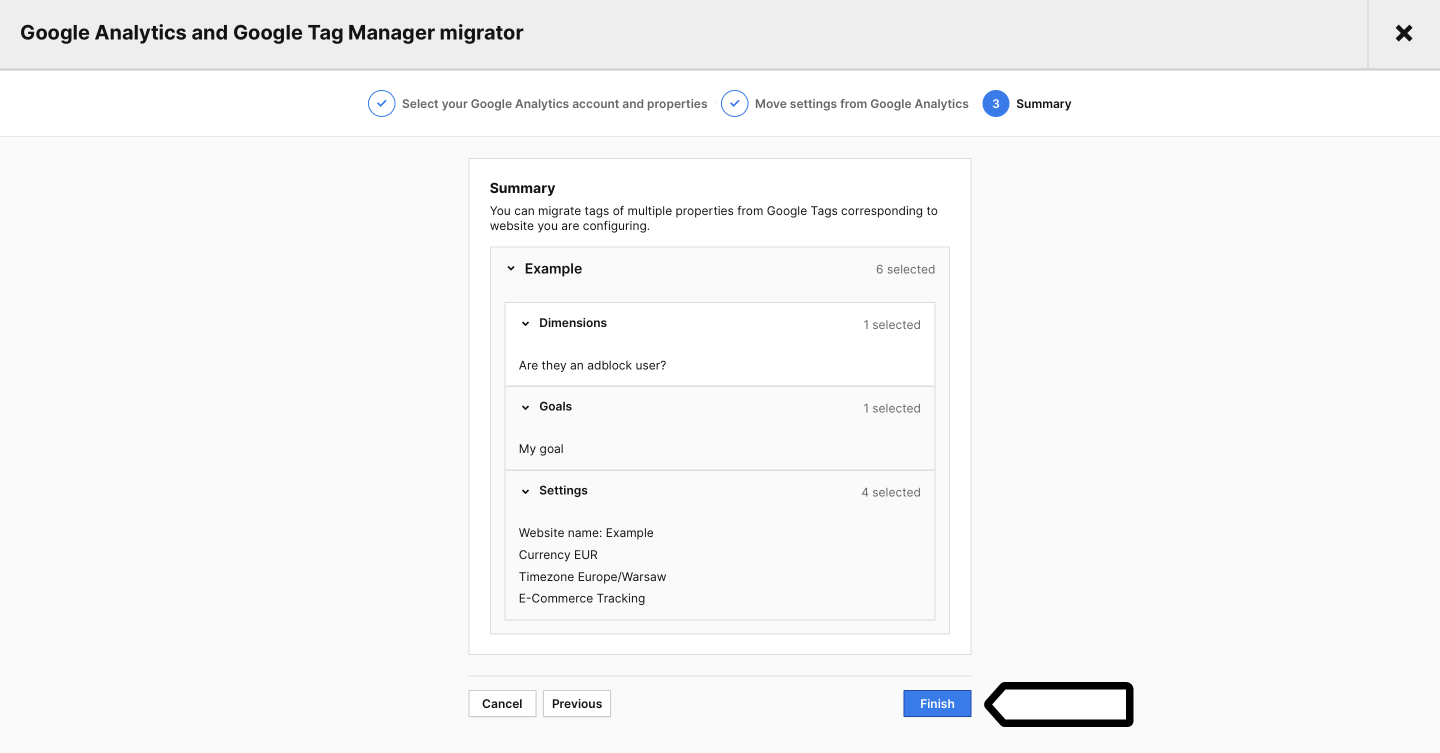
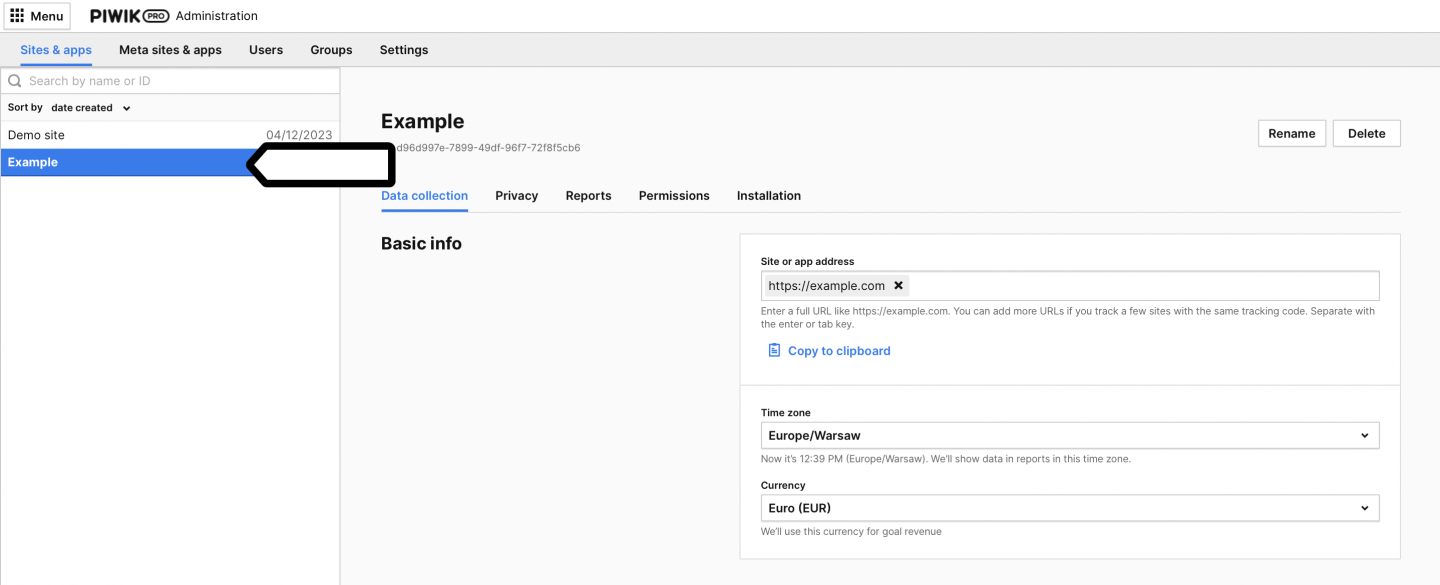
10. Voila! You’ve just moved your settings from Google Analytics to Piwik PRO. Piwik PRO has created a new site/app with these settings and you can access it in Menu > Administration > Sites & apps.
11. After transferring your settings, you need to install our container (with a tracking code) to start collecting data. You can use one of the listed methods:
- Install a container (with a tracking code)
- Instapage: install a container (with a tracking code)
- Squarespace: install a container (with a tracking code)
- Wix: install a container (with a tracking code)
- WordPress: install a container (with a tracking code)
- Other methods
Move settings from Google Tag Manager (GTM)
To move settings from Google Tag Manager (GTM) to Piwik PRO, follow these steps:
1. Log in to Piwik PRO.
2. Go to Menu > Analytics.
3. Navigate to Account.
4. On the left, click Migration tool.
5. In Google Tag Manager, click Migrate.

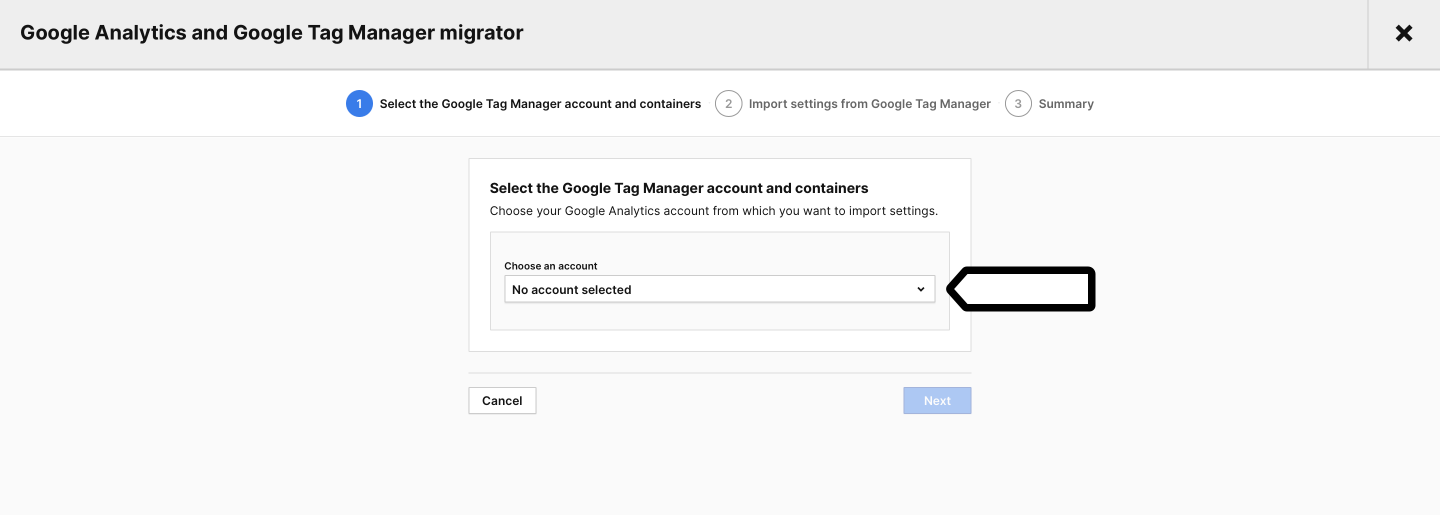
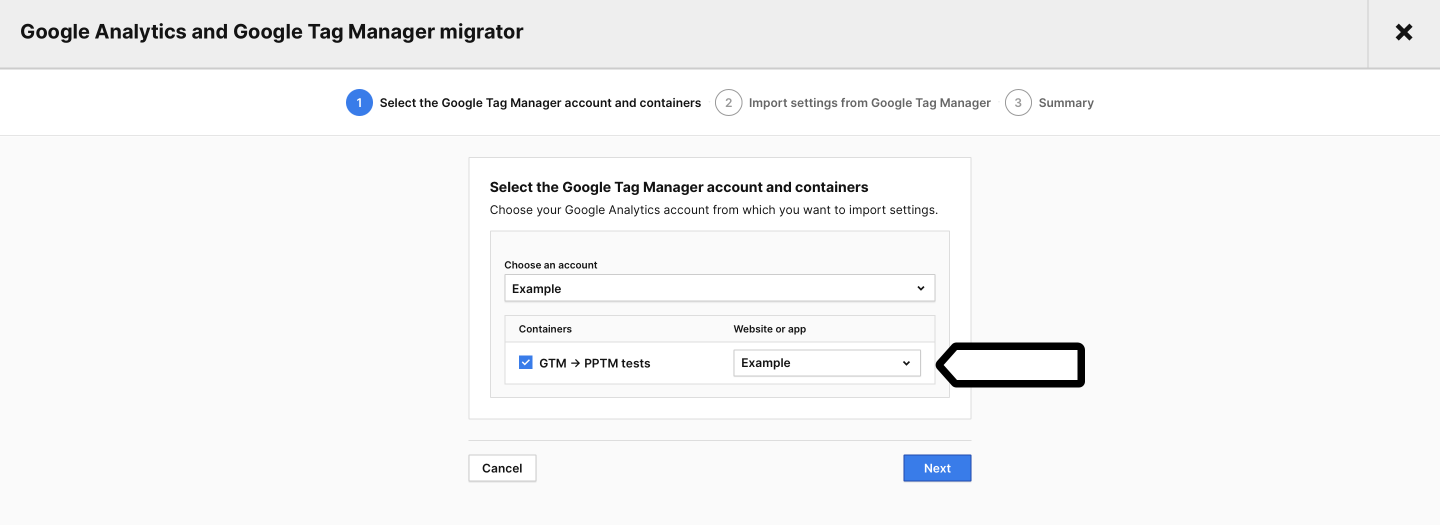
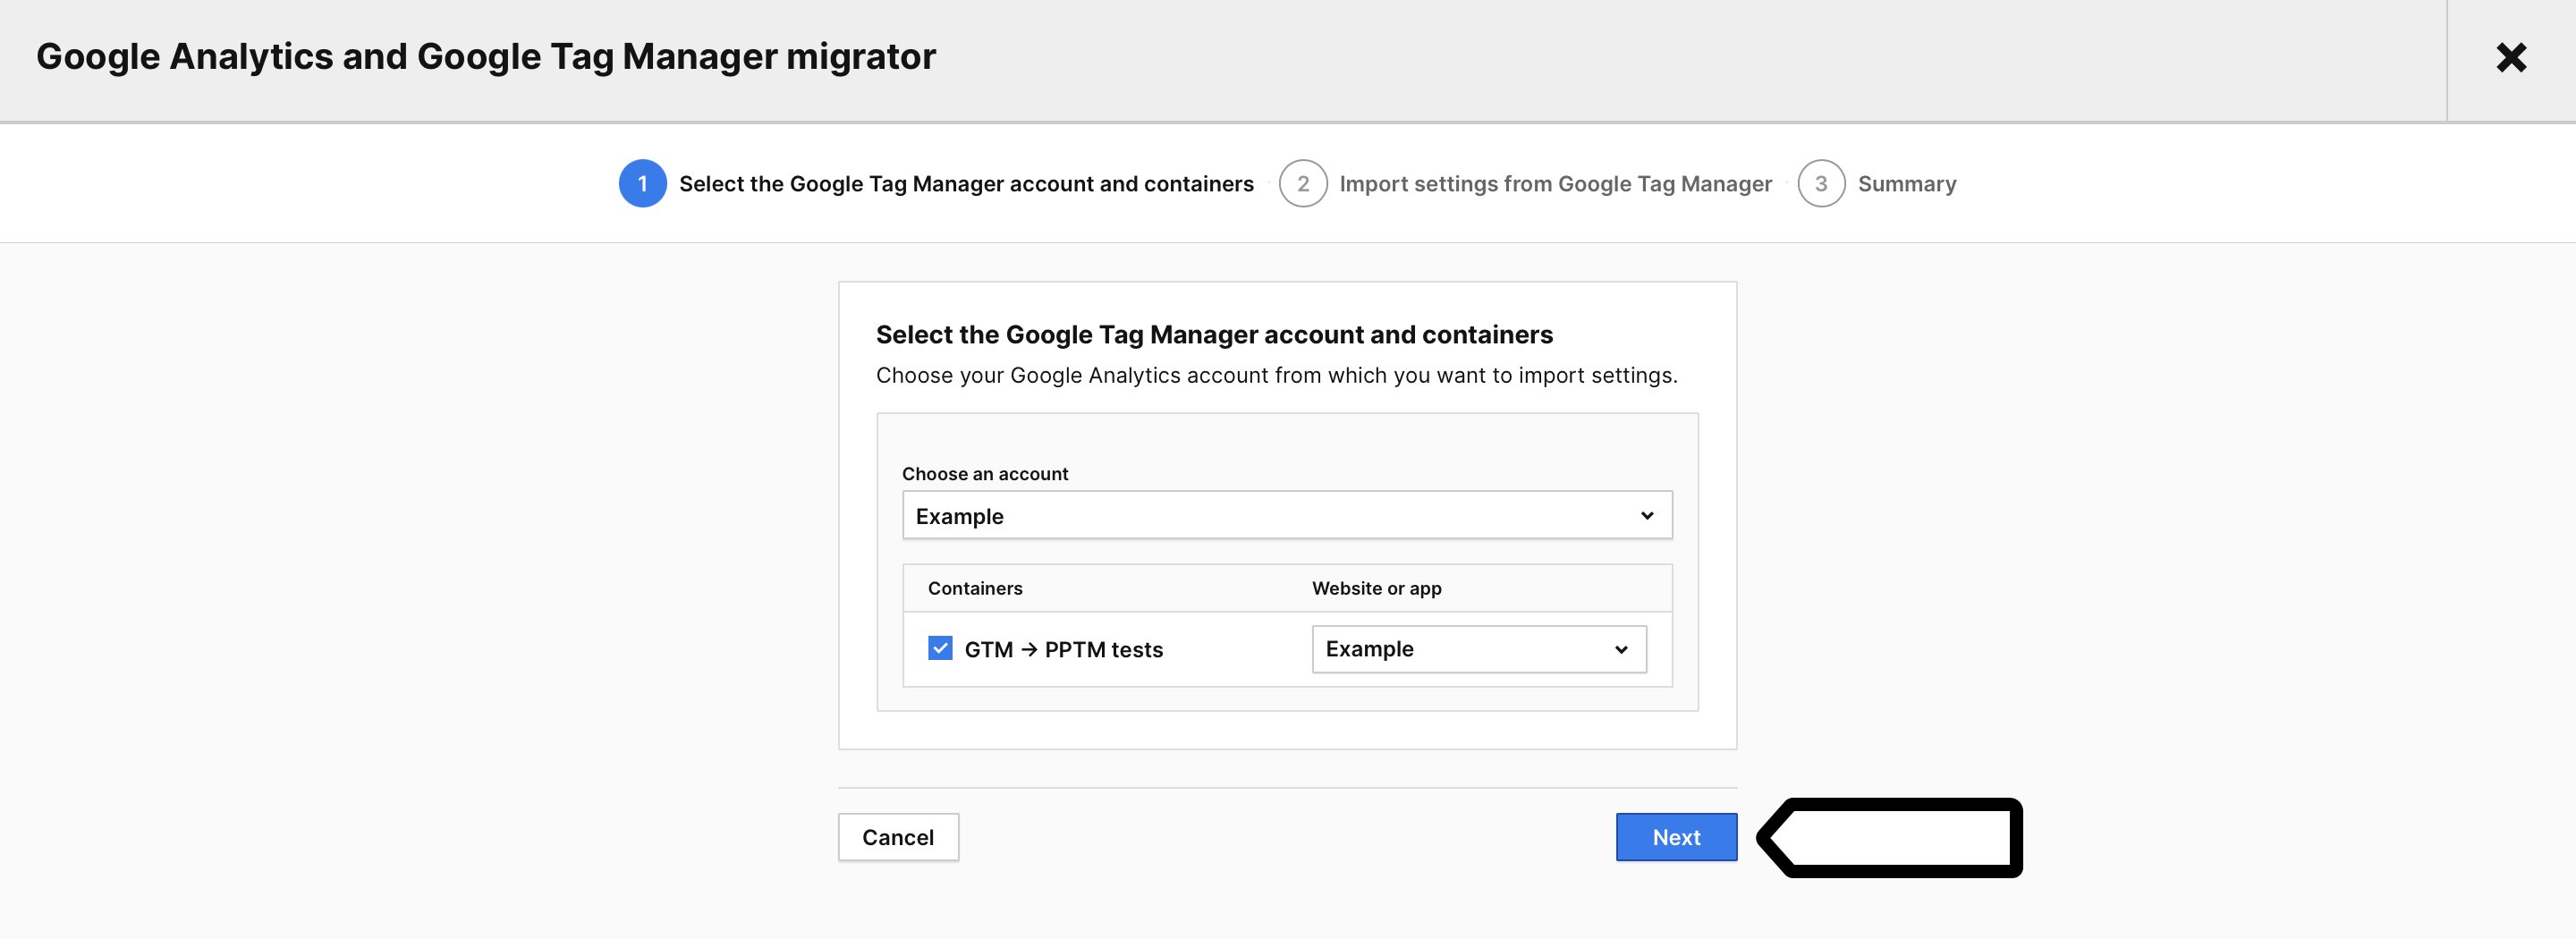
6. Choose your Google Analytics account from which you want to import settings to Piwik PRO and click Next.
7. Select your Google Tag Manager containers from the list.
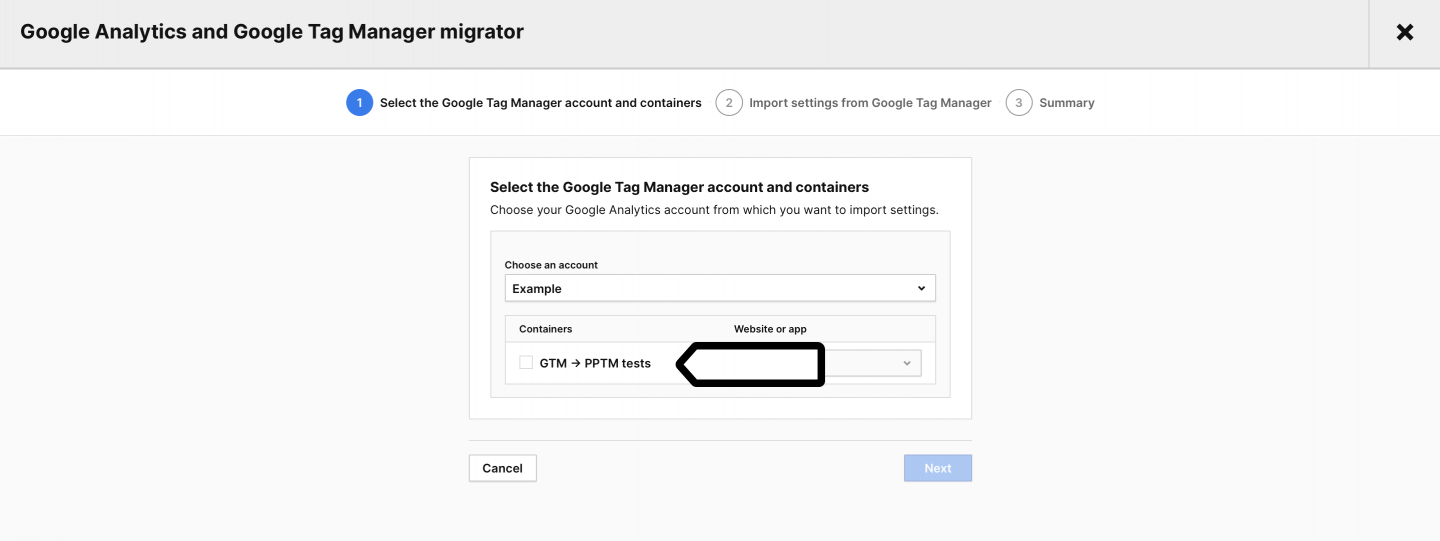
8. Choose your Piwik PRO site or app from the list. This is where you will move tags, triggers and variables from Google Tag Manager.
Note: When you’re moving your settings from GTM, you have to choose an existing site or app or create a new one in Menu > Administration > Sites & apps.
9. Click Next.
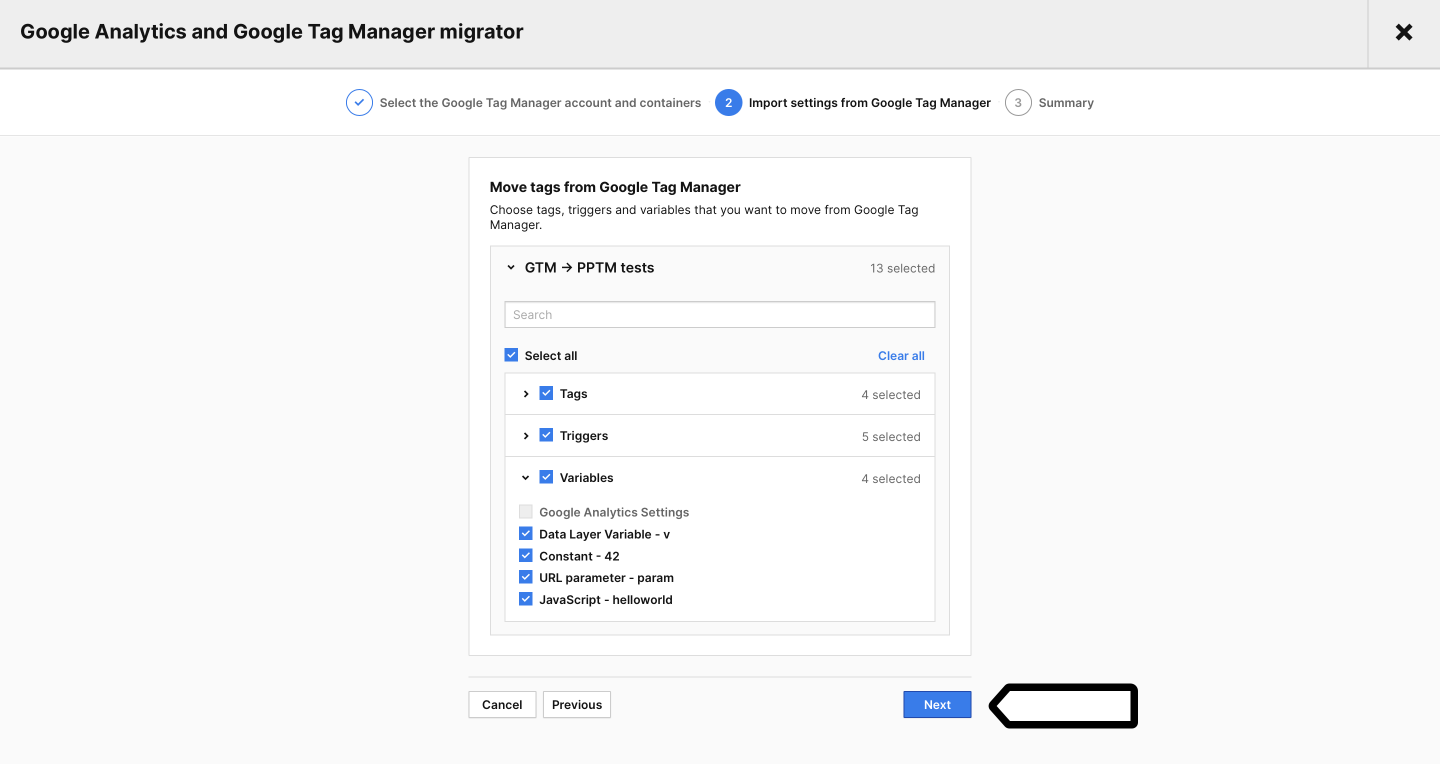
10. Select all the tags, triggers and variables that you want to move from Google Tag Manager to Piwik PRO.
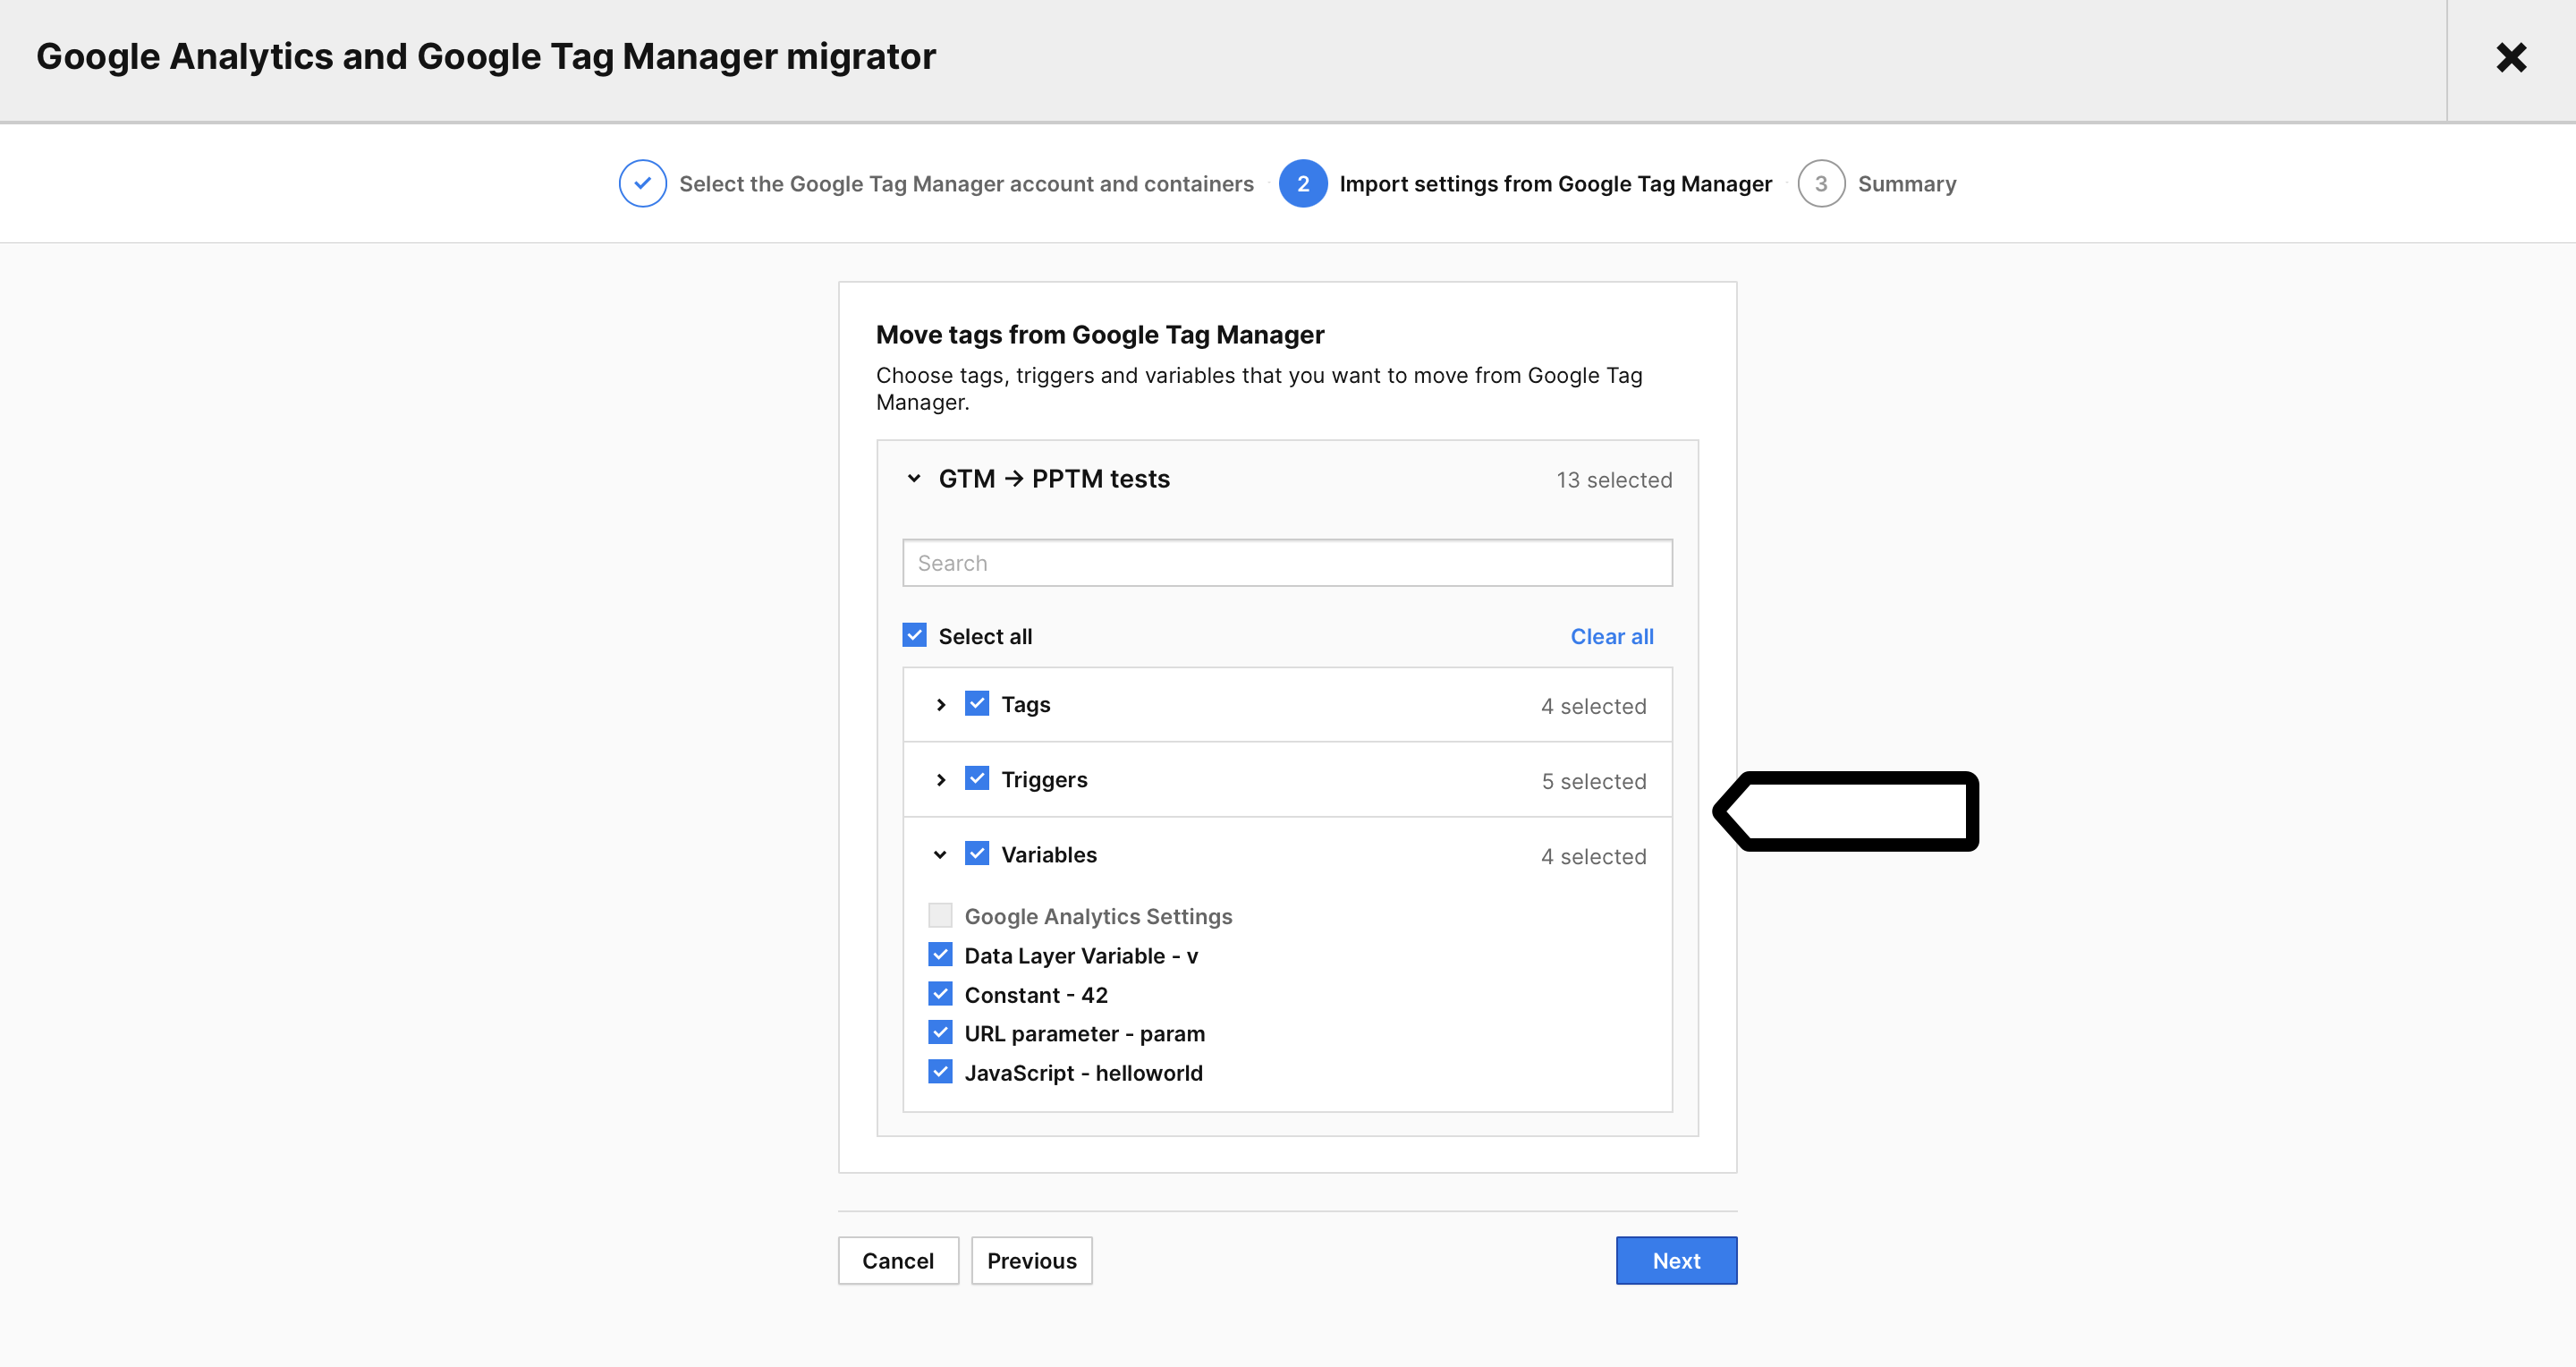
11. Click Next.
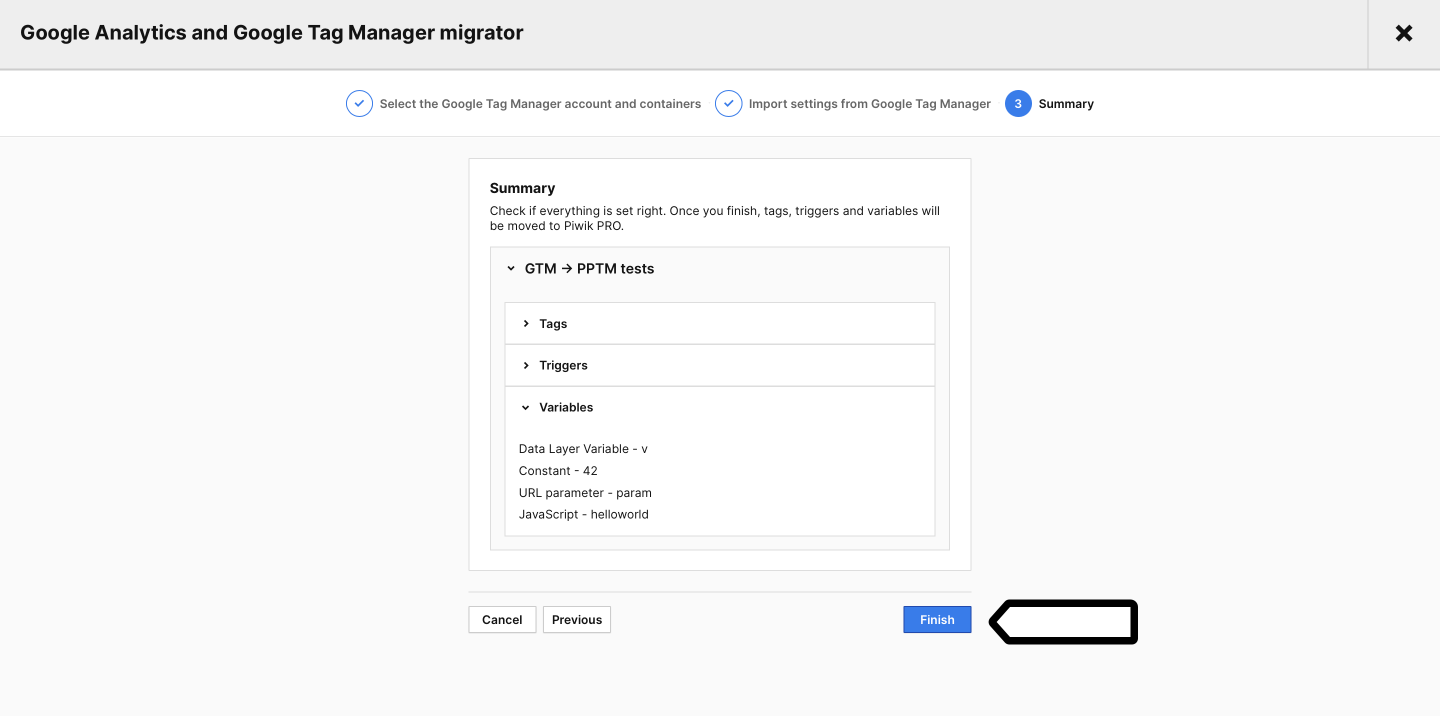
12. In Summary, click Finish.
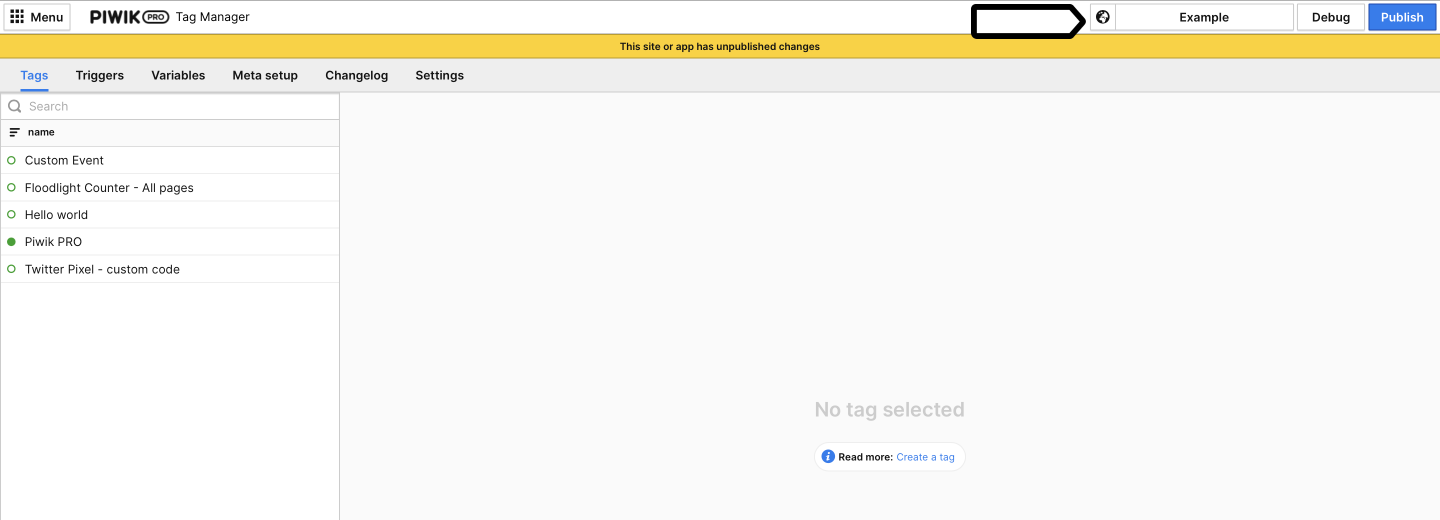
13. Go to Menu > Tag Manager. You’ll need to review and publish your migrated settings.
14. Choose your site or app name from the list.
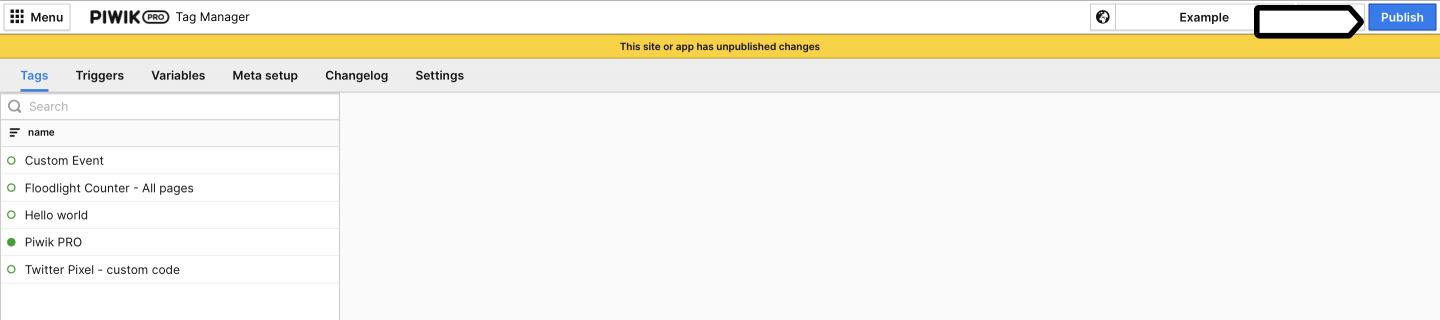
15. Review the migrated tags, triggers and variables.
16. Click Publish.
17. Voila! Your tags, triggers and variables migrated from Google Tag Manager are now live.
Supported tags, triggers and variables
Our migration tool lets you import a limited set of tags, triggers and variables because we’re still working on it. Here’s a list of currently supported tags, triggers and variables.
Tags
| Google Tag Manager (GTM) | Piwik PRO |
|---|---|
| Custom HTML | Custom code (async) |
| Custom event | Custom event |
| Floodlight counter | Floodlight counter |
| Google Ads Conversion Tracking | Google Ads Conversion Tracking |
| Google Ads Remarketing | Google Ads Remarketing |
| LinkedIn Insight | LinkedIn Insight |
Triggers
| Google Tag Manager (GTM) | Piwik PRO |
|---|---|
| Click | Click |
| Custom event | Data layer event |
| DOM Ready | DOM Ready |
| Element visibility | Element presence |
| FormSubmission | Form submission |
| History change | History change (SPA) |
| LinkClick | Click / Click Url |
| Pageview | Page view |
| ScrollDepth | Page scroll |
| WindowLoaded | Page load |
Variables
| Google Tag Manager (GTM) | Piwik PRO |
|---|---|
| Constant | Constant |
| Datalayer variable | Data layer |
| Javascript variable | Custom JS |
| URL Query Variable | URL (Query) |
Note: We’ll start supporting more tags, triggers and variables in the upcoming months.