Sharing a report or dashboard with your teammates is easy. Just send them a link, and it will include all your chosen date ranges, segments, filters and settings. If you need to share a report with non-users, like clients, you can make it public.
In this article, we’ll guide you through the process of sharing a report or dashboard.
Share a report
To share a report, follow these steps:
1. Go to Menu > Analytics.
2. Navigate to Dashboards, Reports, Custom reports, Goals or Ecommerce.
Note: Custom reports can’t be shared publicly.
3. Set up your report to look exactly the way you want.
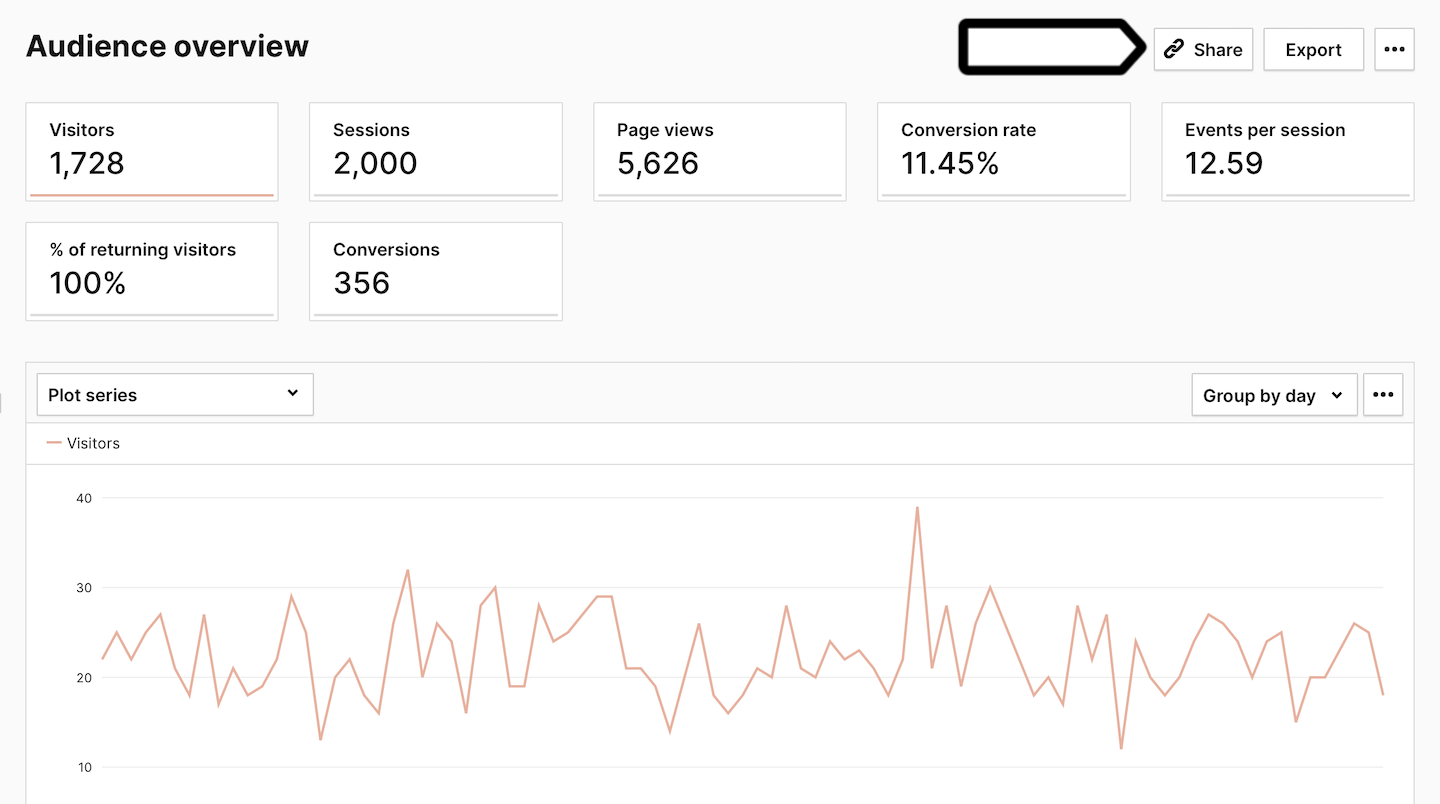
4. Click Share in the upper right corner.

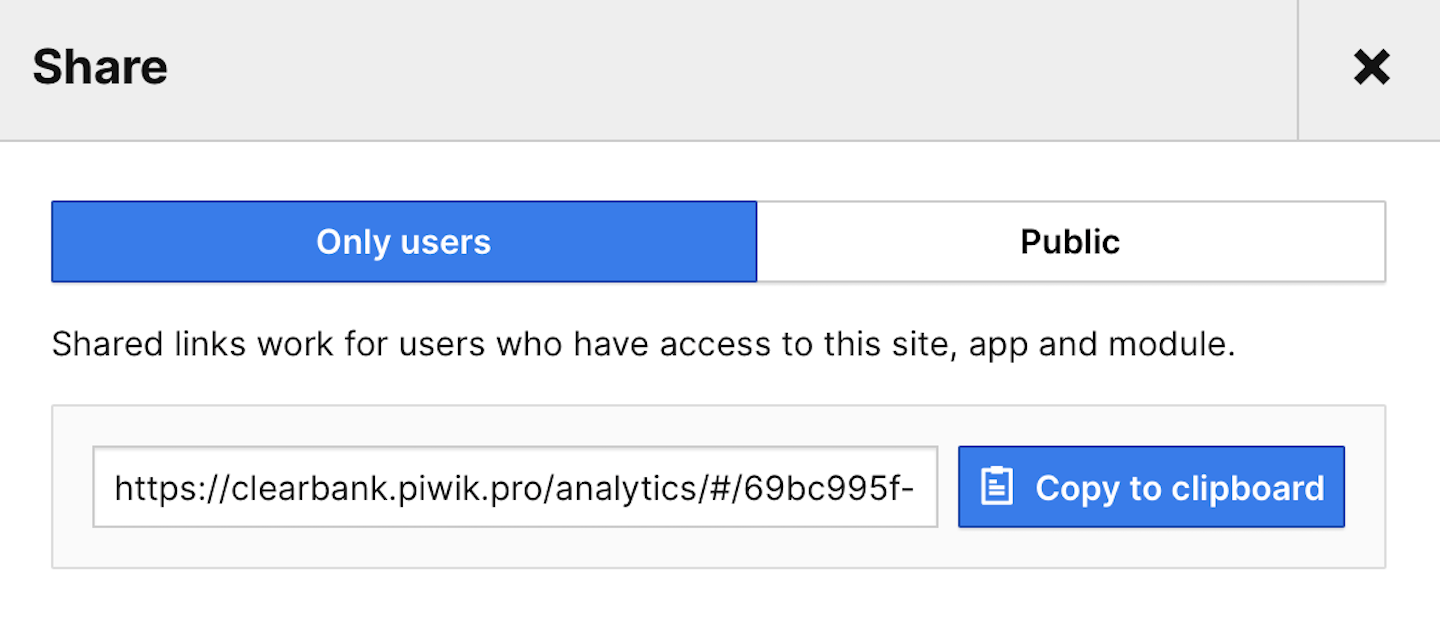
5. Select Public or Only users.

Note: Public sharing is an experimental feature and may have bugs or be removed later. A publicly shared link is valid for 90 days.
6. Copy the link and send it to your teammate or client.
Note: When sharing the report, check if all users have the necessary permissions to access it. Make sure that the report is located in the shared folder and is visible to all users. Read more
Note: A publicly shared link is valid for 90 days.
7. Done! You can now share the link with your teammate or client. Once they click it, they’ll have access to the report, including the date ranges, segments, filters and other settings you’ve set up.
Note: Publicly shared links are read-only reports that display the current view with the selected segments, date ranges, filters and more.
Share a dashboard
To share a dashboard, follow these steps:
1. Go to Menu > Analytics.
2. Navigate to Dashboards.
3. Set up your dashboard to look exactly the way you want.
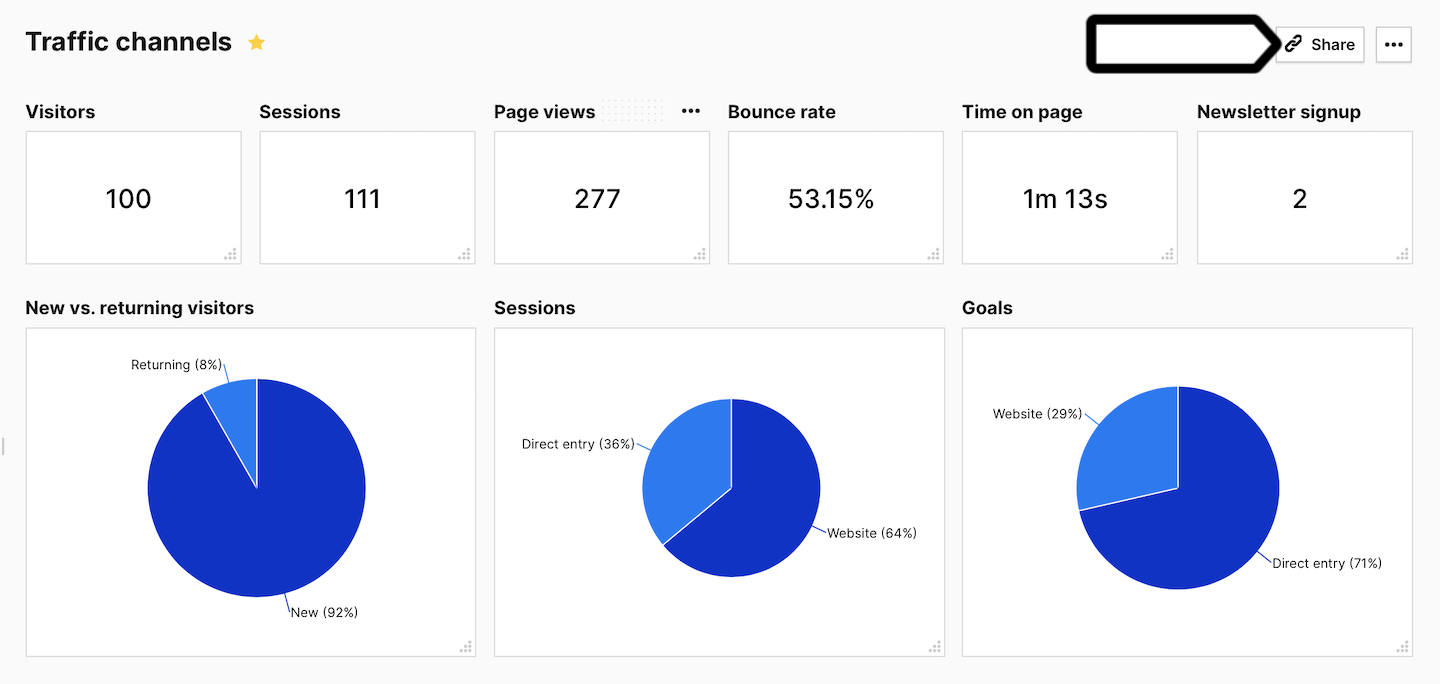
4. Click Share in the upper right corner.

5. Copy the link and send it to your teammate.
Note: When sharing the dashboard, check if all users have the necessary permissions to access it. Make sure that the dashboard is located in the shared folder and is visible to all users. Read more
6. Great! You can now share the link with your teammate or client. When they open it, they’ll have access to the dashboard, including the date ranges, segments, filters and other settings you’ve set up.
