With automated provisioning, you can automatically save changes to user permissions across multiple applications in your Piwik PRO account.
In this article, we’ll guide you through setting up automated provisioning of user permissions in your Piwik PRO account.
Before you start
Here are some important things to keep in mind before you start:
- Automated provisioning of user permissions is a supplementary service to the SAML single sign-on (SSO). Read more
- Automated provisioning of user permissions manages permissions assigned to groups. It doesn’t manage individual user permissions or group permissions for sites or apps, or meta sites or apps.
- Single sign-on is only available with the Enterprise plan.
- If you don’t use the SAML single sign-on (SSO) on your account, you can still add or edit external IDs of your groups, but it won’t have any effect until you turn on SAML.
Set up automated provisioning of user permissions
To set up automated provisioning of user permissions on your account, follow these steps:
1. Log in to Piwik PRO.
2. Go to Menu > Administration.
3. Navigate to Groups.
4. Click Add a group.
5. Name the group.

6. Click OK.
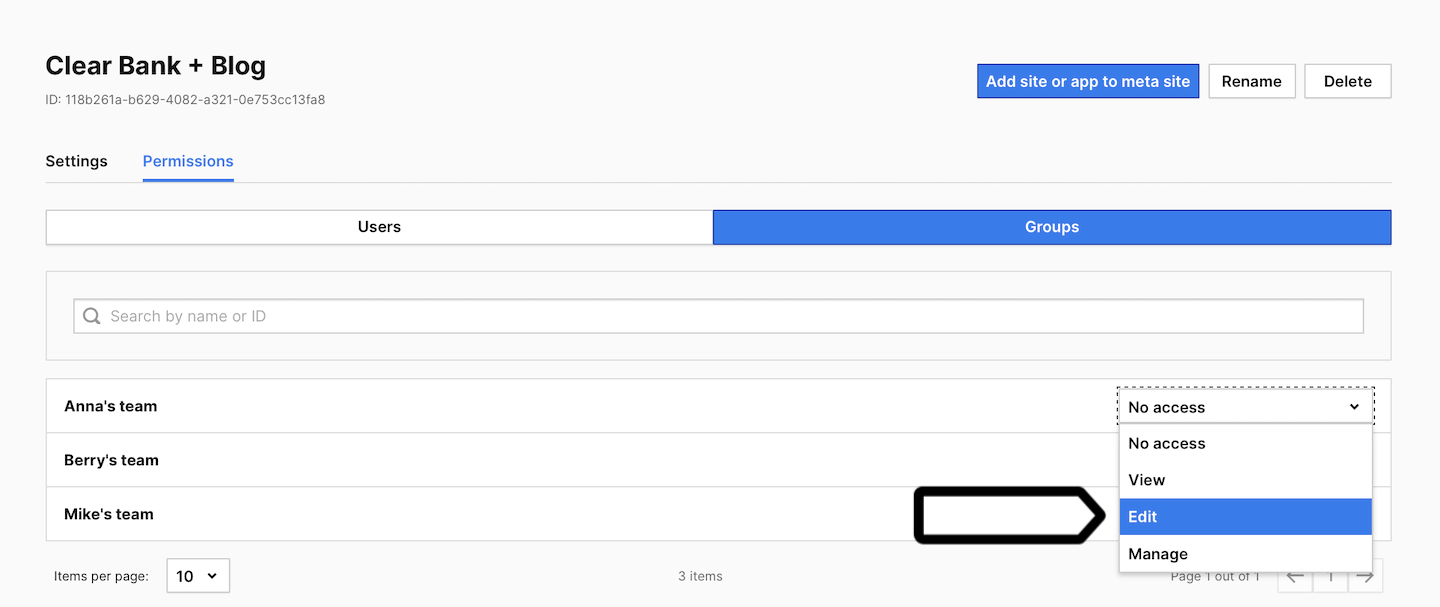
7. Navigate to Permissions and grant permissions for a site or app.

Note: Here’s a brief overview of site or app permissions:
- Manage: The user can see and edit sites or apps, edit and publish tags, manage permissions and use Consent Manager. But they can’t add a site or app or a new user.
- Edit & publish: The user can do the same actions as at the manage level, but they can’t manage permissions.
- Edit: The user can see and edit sites or apps and tags, but can’t publish tags, manage permissions or use Consent Manager.
- View: The user can see sites or apps and tags.
- No access: The user can’t see anything.
For more details, see this article.
Note: We’ll no longer offer Consent Manager for new Piwik PRO accounts.
8. (optional) Go to Menu > Administration > Meta sites & apps > Permissions.
9. (optional) Find your group on the list and grant permissions for a meta site or app.

10. Ask your identity provider (IdP) admin to group users in your external IdP.
Note: If your IdP admin adds a user to a group in the IdP, this user needs to log out and log back in to Piwik PRO to see their new permissions.
11. Ask your IdP admin to identify the ID of your group. It will be your External ID.
Note: For example, in Microsoft Entra ID (MS Azure), the external ID is accepted under external_groups attribute name. Read more
12. Go to Administration > Groups.
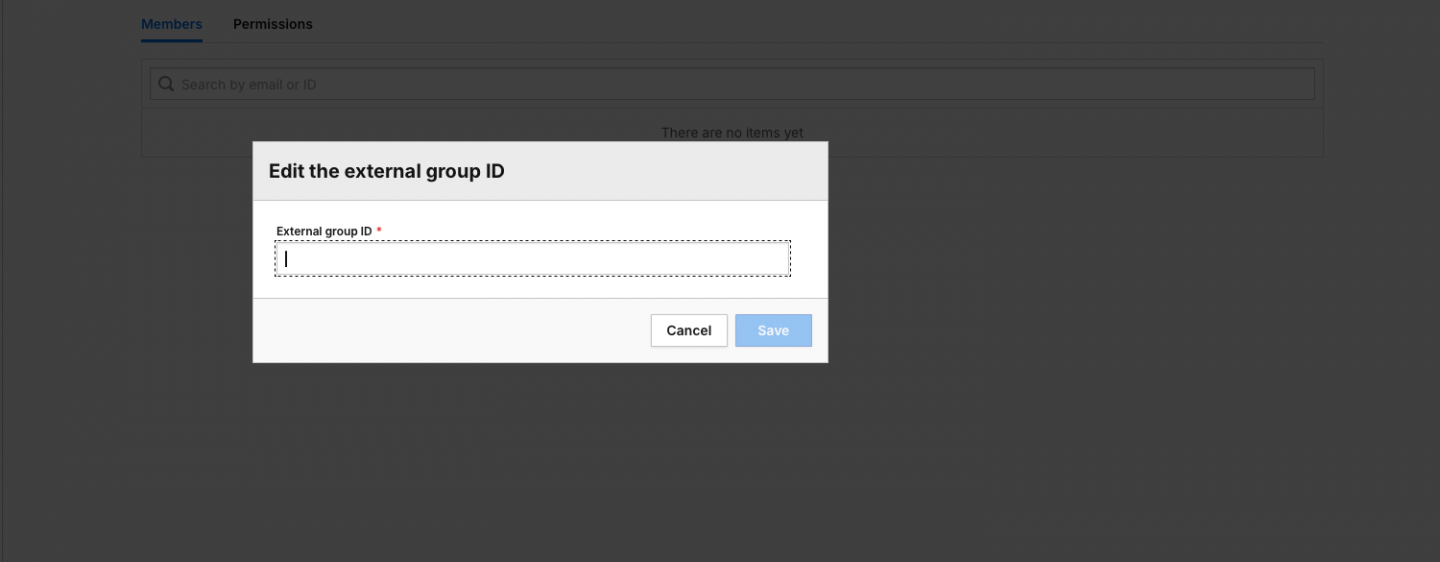
13. Find your group on the list and click Assign.

14. Type the External ID that you got from the IdP admin.

15. Click Save.
16. You can always edit or delete the external ID by clicking the edit or trash icon next to the existing external ID.

17. Now, you have to turn on the user affiliation to user groups based on their external IDs.
18. Go to Menu > Administration.
19. Navigate to Account.
20. On the left, click Account settings.
21. In the SAML authentication section, check the Automated provisioning of user permissions checkbox.

22. Done! You’ve set up the automated provisioning of user permissions.

Note:
- If you create a user group in your IdP and this group doesn’t exist in Piwik PRO, we’ll automatically create it in your Piwik PRO account. Just keep in mind that this group won’t have any permissions set.
- If you turn off your IdP after setting up automated provisioning of user permissions, you won’t see any change in your Piwik PRO account. The already created groups will remain, as well as all the users assigned to each group in Piwik PRO.
- Removing a group in your IdP won’t delete it in Piwik PRO. Users in that group will be removed when they log out and back in, but you’ll need to delete the group manually.
- When you remove a user from a group in your IdP, they’ll be removed from the corresponding group in Piwik PRO after they log out and back in.
- Deleting a user from your IdP won’t remove them from Piwik PRO. Keep in mind that you’ll need to delete their account manually in Piwik PRO.
- If a user has previously generated OAuth2 tokens (e.g., this user belongs to multiple groups and uses API), changes to their group assignments in the IdP (such as removal from a group) will only take effect after this user logs out and logs back in. The OAuth2 token will be refreshed at that point.
