In Piwik PRO, we group traffic channels into default categories that work well for most users. If you need a setup that better fits your strategy, you can create custom channels (formerly custom channel grouping).
The default grouping for the Channel dimension includes:
- Campaign
- Direct entry
- Search engine
- Social (available from 16.11.0)
- Website
Note: See how we define each channel.
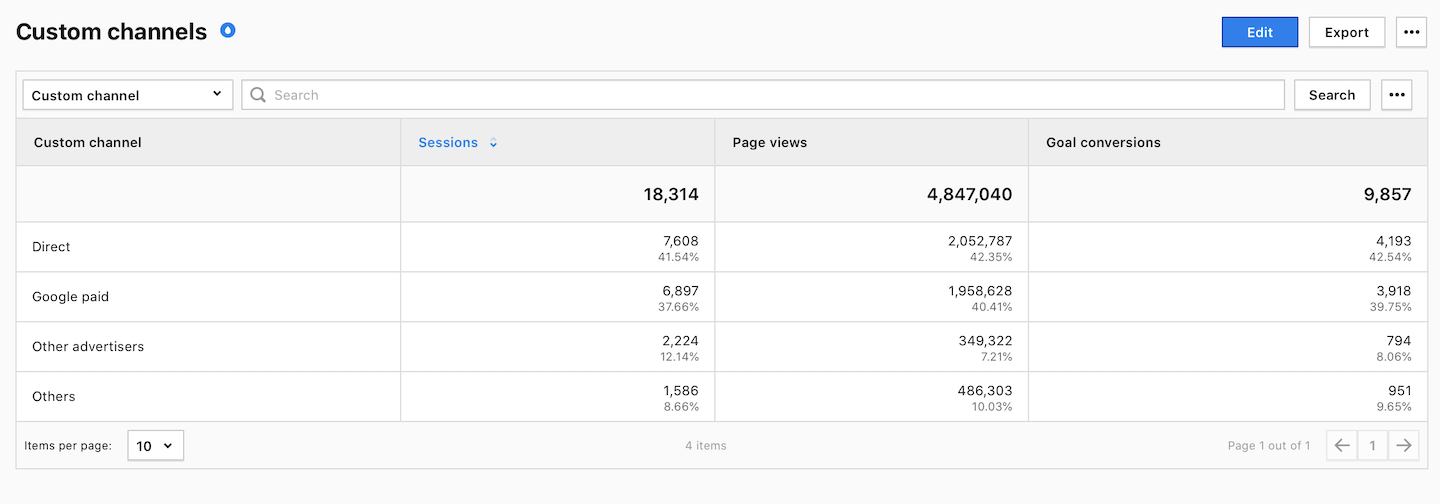
Now, when you organize channels into custom groups, your list might look something like this:
- Direct
- Google paid
- Other advertisers
- Other
Customizing your traffic channels provides insights you won’t get from the default setup. You’ll get clearer insights into your traffic and where your ads make the most impact.
In this article, we’ll show you how to create and use custom channels.
Before you start
Here are some things to know before you begin:
- We released custom channels on August 5, 2025. If you’re already using custom channel grouping, your existing setup still works the same.
- You can create up to 20 groups in a custom channel to better control how you organize your traffic sources.
- It’s possible to set custom channels as the default for all reporting. This way your channel structure will automatically appear in predefined reports, no need to select it manually each time.
- Only users with manage permissions can set default channels for a website.
- Unlike dimension value grouping, this feature lets you group different dimensions together.
- If a value belongs to two or more groups, it will be assigned to the first group in your setup. It won’t belong to any other groups.
- Our default channel definitions can help you set up custom channels.
Create a custom channel
To create a custom channel, follow these steps:
1. Go to Menu > Analytics.
2. Navigate to Settings.
3. On the left, click Custom channels.
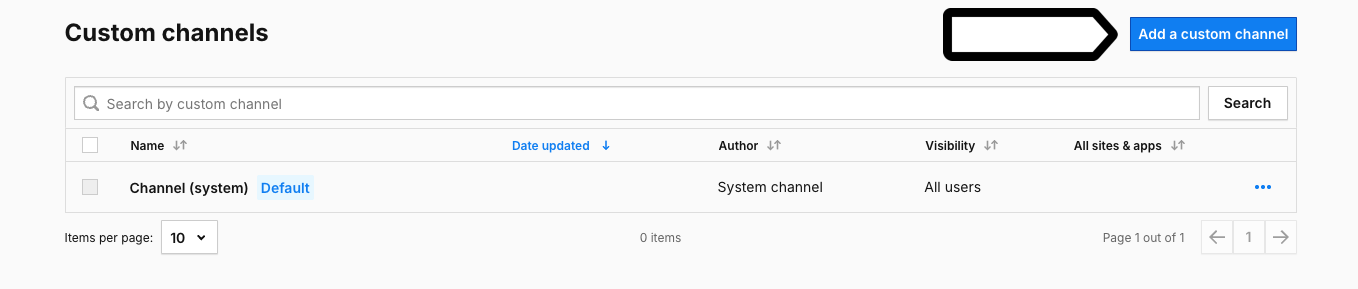
4. Click Add a custom channel.
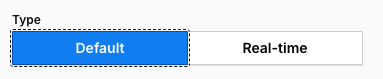
5. In Type, select Default to show all dimensions, except those used in real-time dashboards, or Real-time to display only dimensions available in real-time dashboards.
6. Name the channel and add a description.
7. In Visibility, choose: Author or All users. All users lets you share this dashboard with your teammates.
(Optional) Check All sites & apps to make this dashboard visible across all sites and apps.
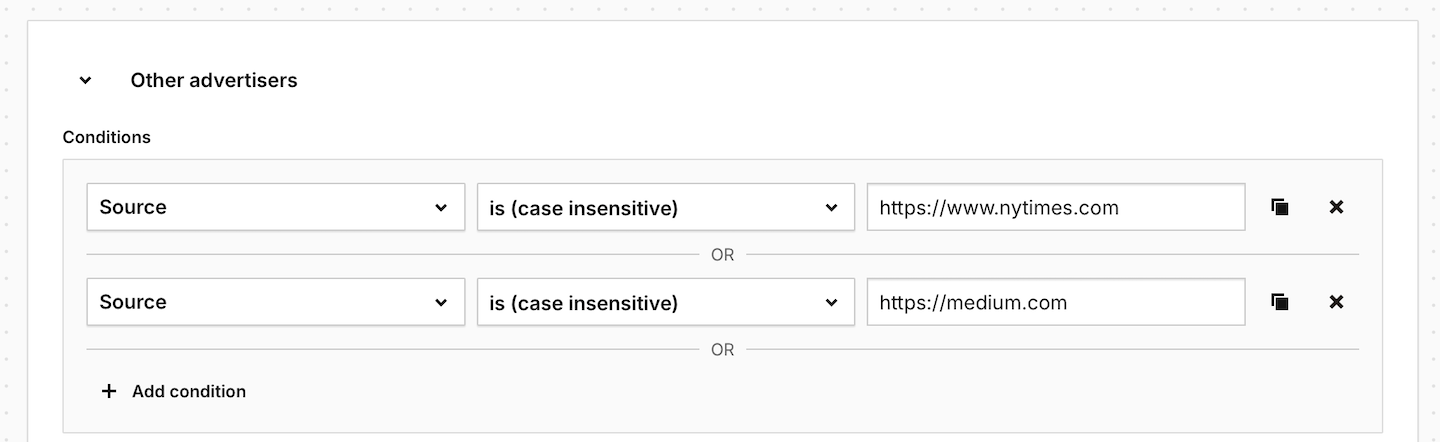
9. Set up a custom channel by adding, naming, and defining groups.
10. Channels that don’t meet the specified conditions are grouped as Other. You can change this name if you want.

11. When you’re done, click Save.
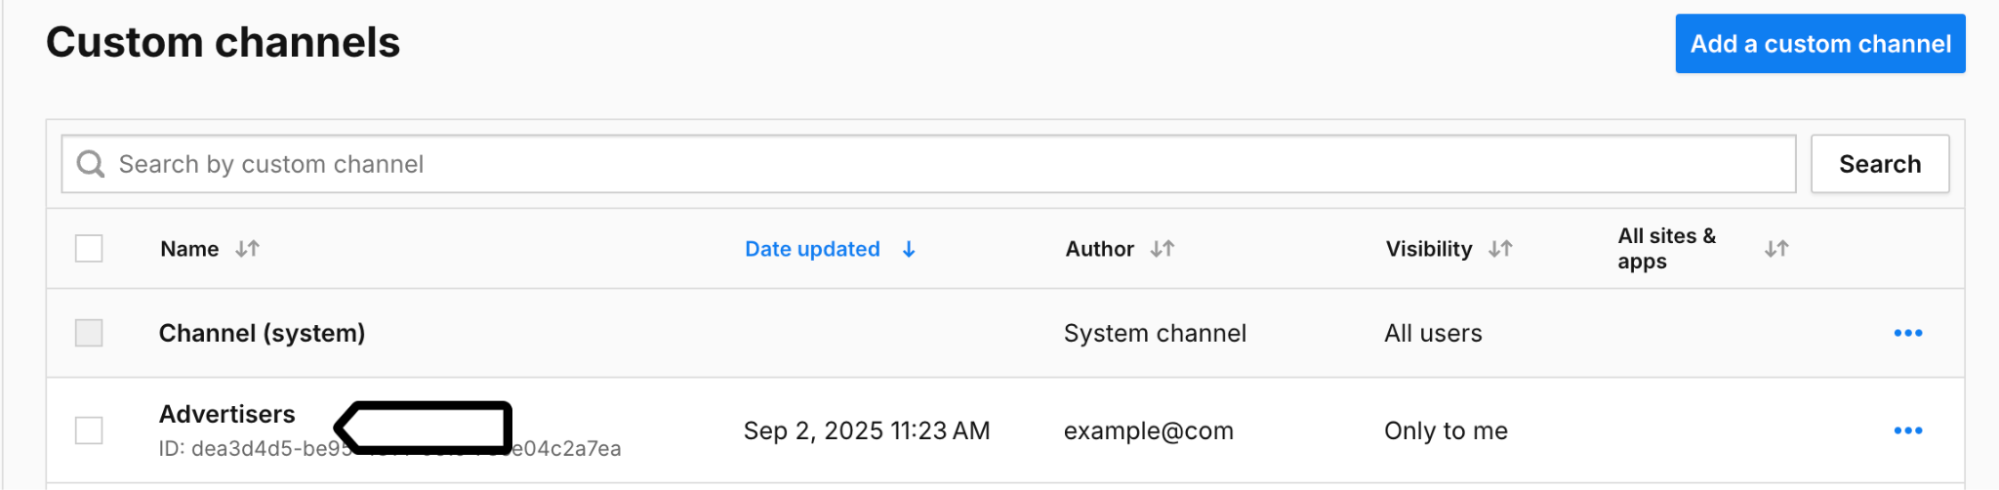
12. Done! Your new custom channel is now available, and you can use it in your reports and dashboards.
Use custom channels in custom reports
To use your custom channel in custom reports, follow these steps:
1. Go to Menu > Analytics.
2. Navigate to Custom reports.
3. Edit a report or create a new one.
When setting up the report, add the dimension with a custom channel.
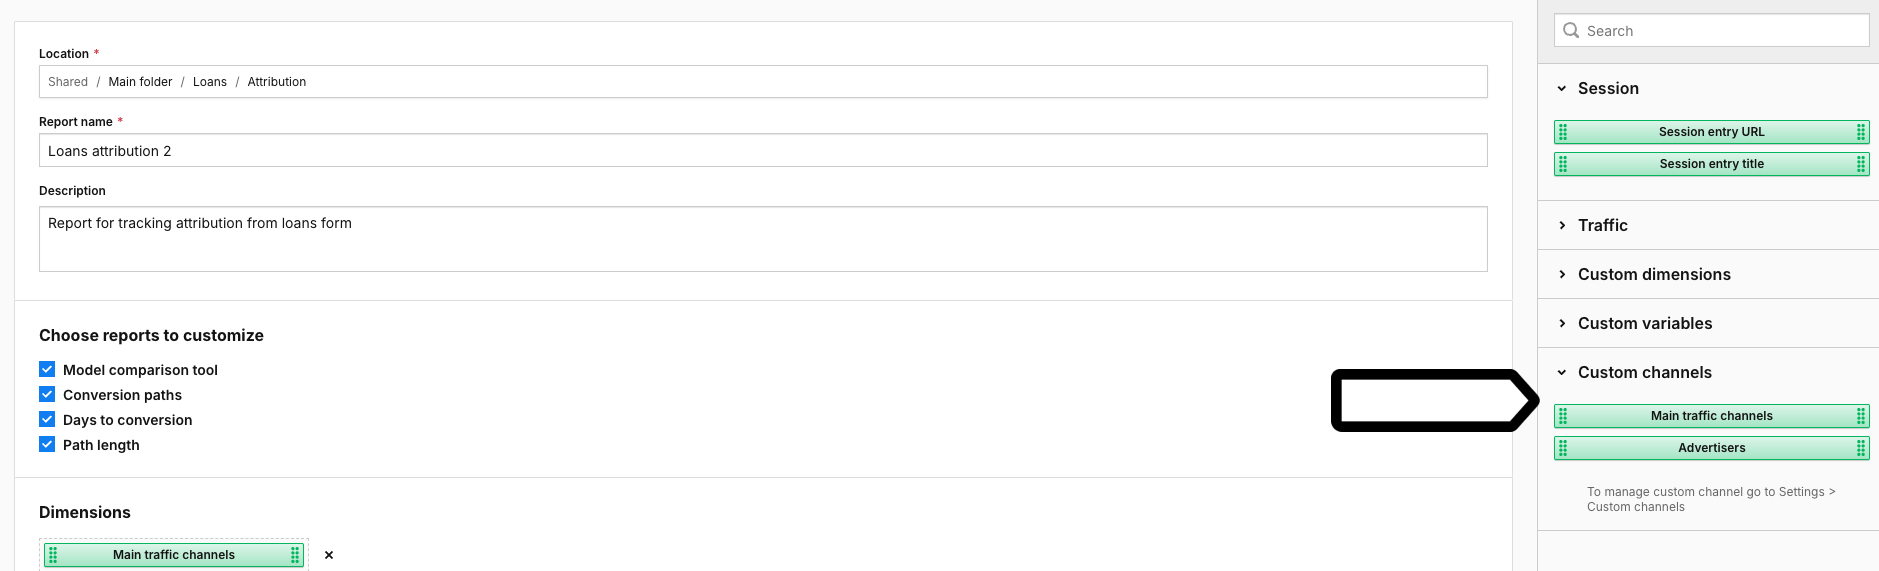
5. Set up your report and click Save.
6. All done! Your report will now show data with your custom channel.
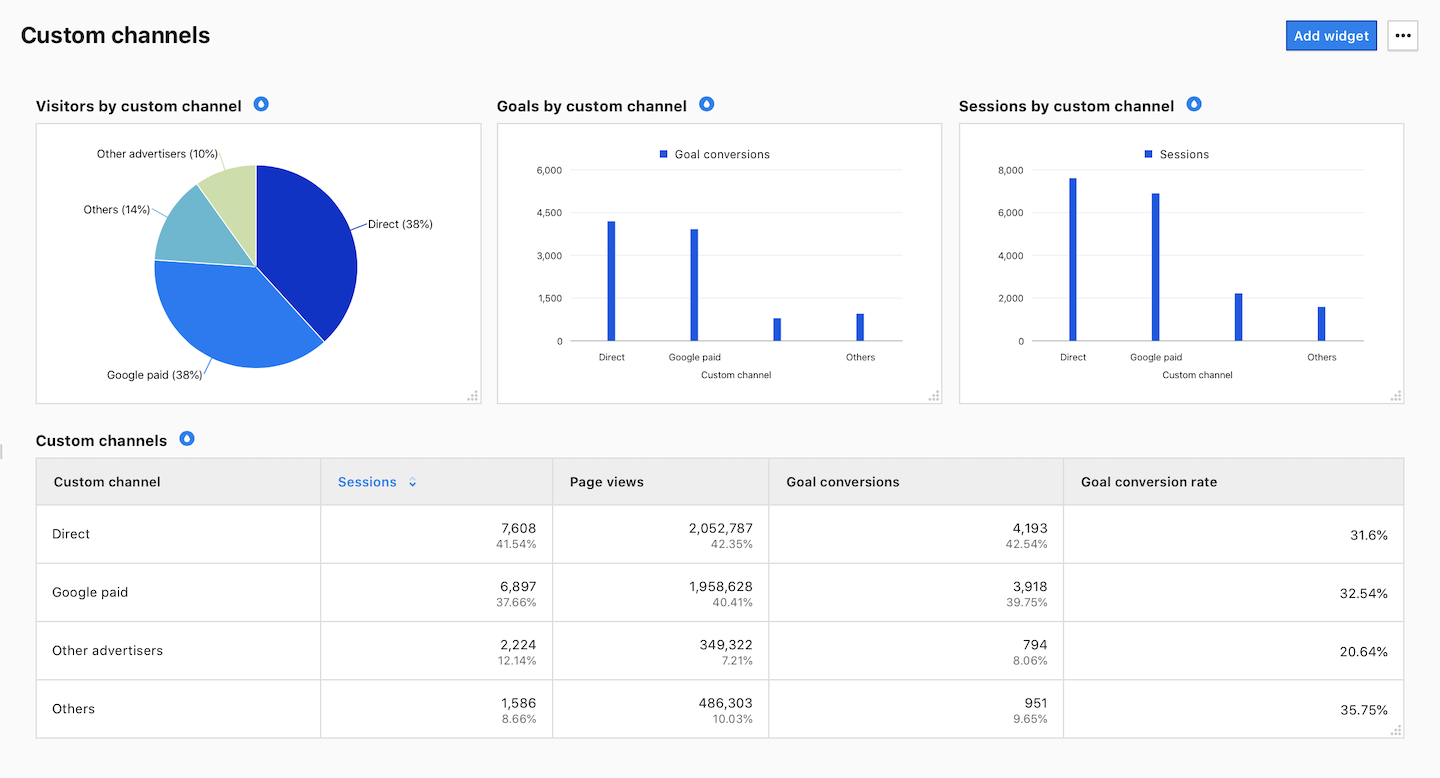
Use custom channels on dashboards
To use your custom channel on dashboards, follow these steps:
1. Go to Menu > Analytics.
2. Navigate to Dashboards.
3. Edit a widget on the dashboard or add a new dashboard and a new widget.
4. When setting up the widget, add the dimension with custom channel.
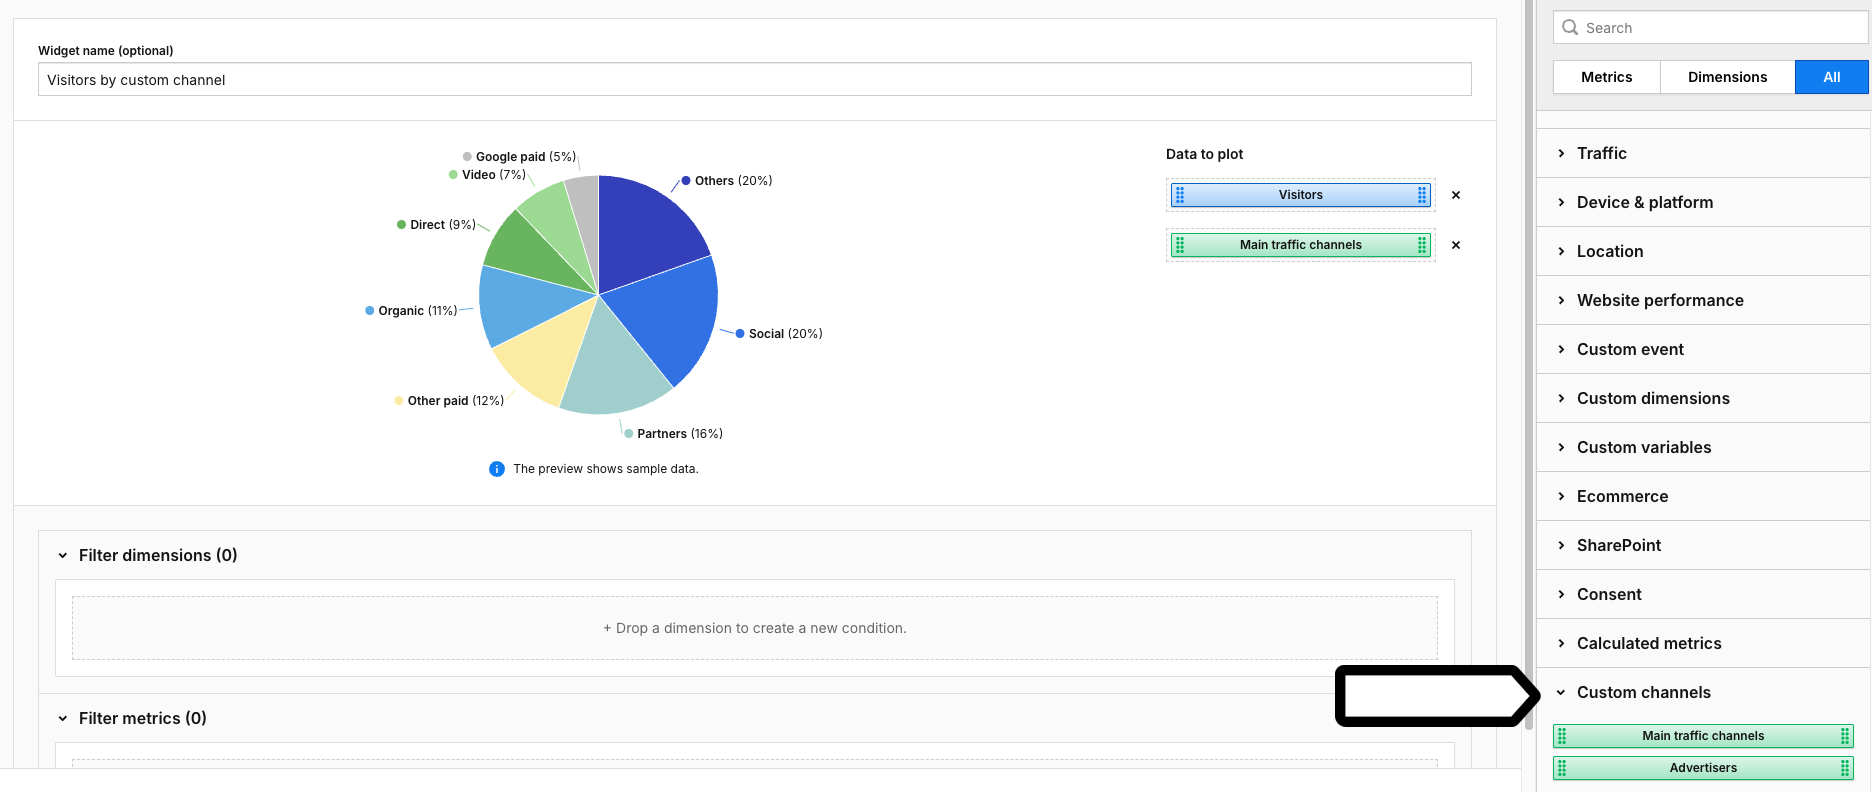
5. When you’re done, click Save.
6. Done! The dashboard widget will now show data with your custom channel.
Edit, copy and delete custom grouping
Whenever you need to change, copy or remove a custom channel, you can do it with just a few clicks.
To edit, copy or delete a custom channel, follow these steps:
1. Go to Menu > Analytics.
2. Navigate to Settings.
3. On the left, click Custom channels.
4. Select the custom channel you want to work with.
5. On the right, click the ⋯ three-dot icon.
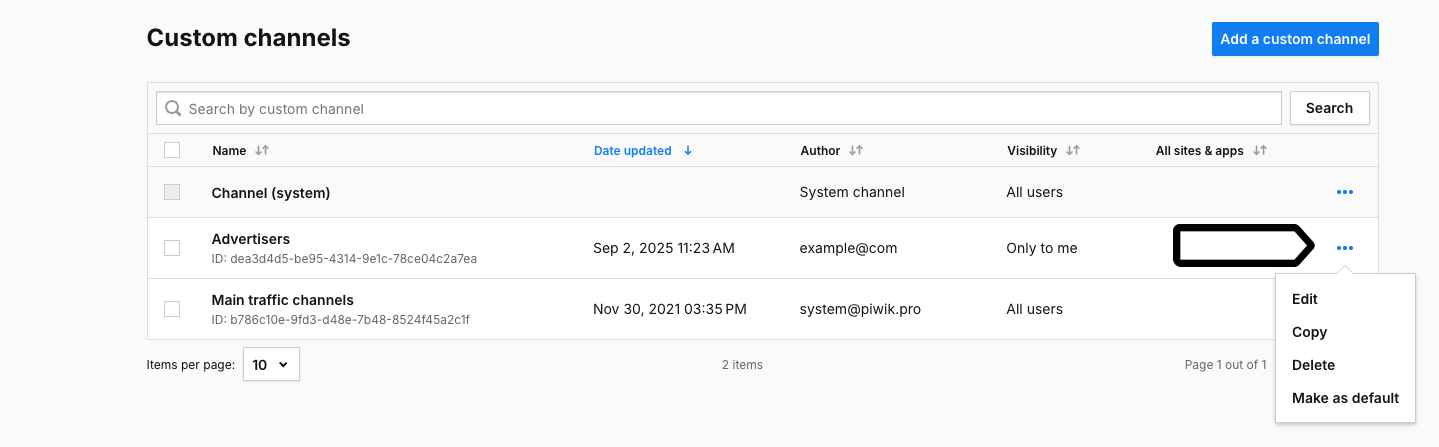
6. Click Edit, Copy, or Delete.
7. Follow the steps on the screen.
8. Done!