Deprecated: Audience Manager is sunsetting and we recommend switching to Customer Data Platform. Audience exports in Tag Manager are deprecated and available only in versions below 16.0.0.
When you’re advertising on Facebook, you’re using audiences to reach people with certain interests (or characteristics).
Facebook lets you define audiences based on the information they have about Facebook users. If that’s not enough, you can send information about your website’s visitors to Facebook via the Meta Pixel tag. With this tag, Facebook will know which pages a person viewed on your website and you will be able to create an audience with a page-based condition. For example, an audience of people who viewed the pricing page.
If that’s still not enough and you want to use more information about your visitors to target them on Facebook, you can create an audience in Audience Manager and export it to Facebook. In this article, we’ll show you how to set it up.
Create an audience in Audience Manager
First, you need to define an audience in Audience Manager.
To create a new audience, follow these steps:
1. Log in to Piwik PRO.
2. Go to Menu > Audience Manager.
3. On the left, click Create new audience.
4. Name the audience.
5. Set up conditions for your audience by dragging and dropping Attributes and Events from the right-side menu.
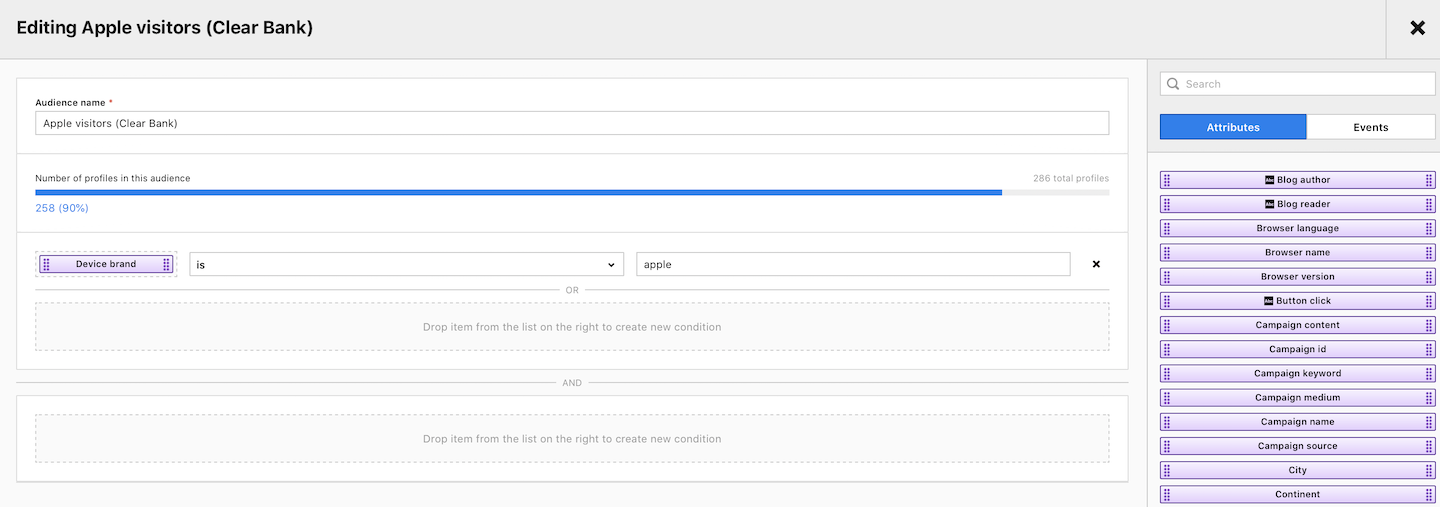
6. When you’re done, click Save.
Create a tag for an audience export
When we have the audience ready, we need to create a tag that will pass the information about this audience to Facebook. For that, we’ll use a Facebook Pixel tag.
To create a tag for an audience export, follow these steps:
1. Log in to Piwik PRO.
2. Go to Menu > Tag Manager.
3. Click Add a tag.
4. Name the tag and select the following type: Meta Pixel
5. Click Next.
6. Paste the pixel ID.
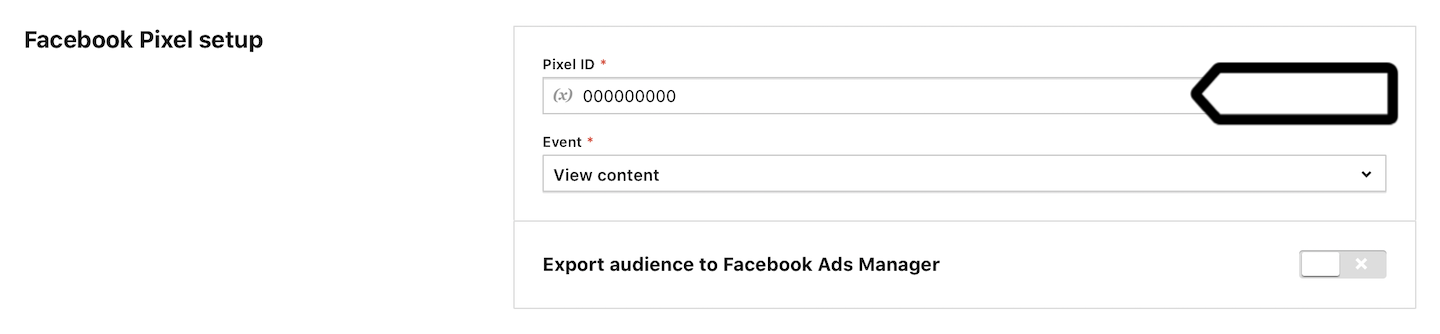
7. Toggle Export audience to Facebook Ads Manager.
8. Select an audience from the drop-down menu.
9. In Advanced tag settings, choose Consent type. Set it up if you use Consent Manager. The tag will fire only when selected consent is given by a visitor.
10. Respect visitor privacy is turned on by default. Leave it as is, if you want to respect visitors who set a Do-Not-Track option in their browser or opted out from tracking.
11. In Tag triggers, select Add new trigger.
12. Name the trigger.
13. In Event type, choose the following type: Page views because you want to fire the global site tag on every page of your website.
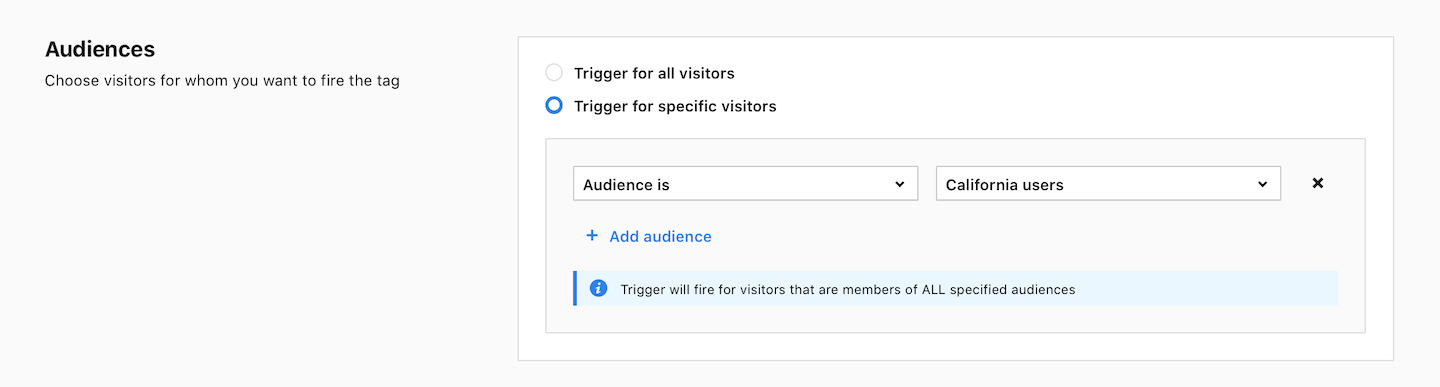
14. In Audiences, select Trigger for specific audiences.
15. Set the condition to Audience is Your New Audience.
16. When you’re done, click OK.
17. Click Save for a tag.
Create an audience on Facebook
With an audience and tag at hand, you can create a custom audience on Facebook to target people who visited your site.
To create a new custom audience on Facebook, follow these steps:
1. Log in to Facebook Business Manager.
2. Go to your web’s account.
3. Navigate to Menu > Audiences.
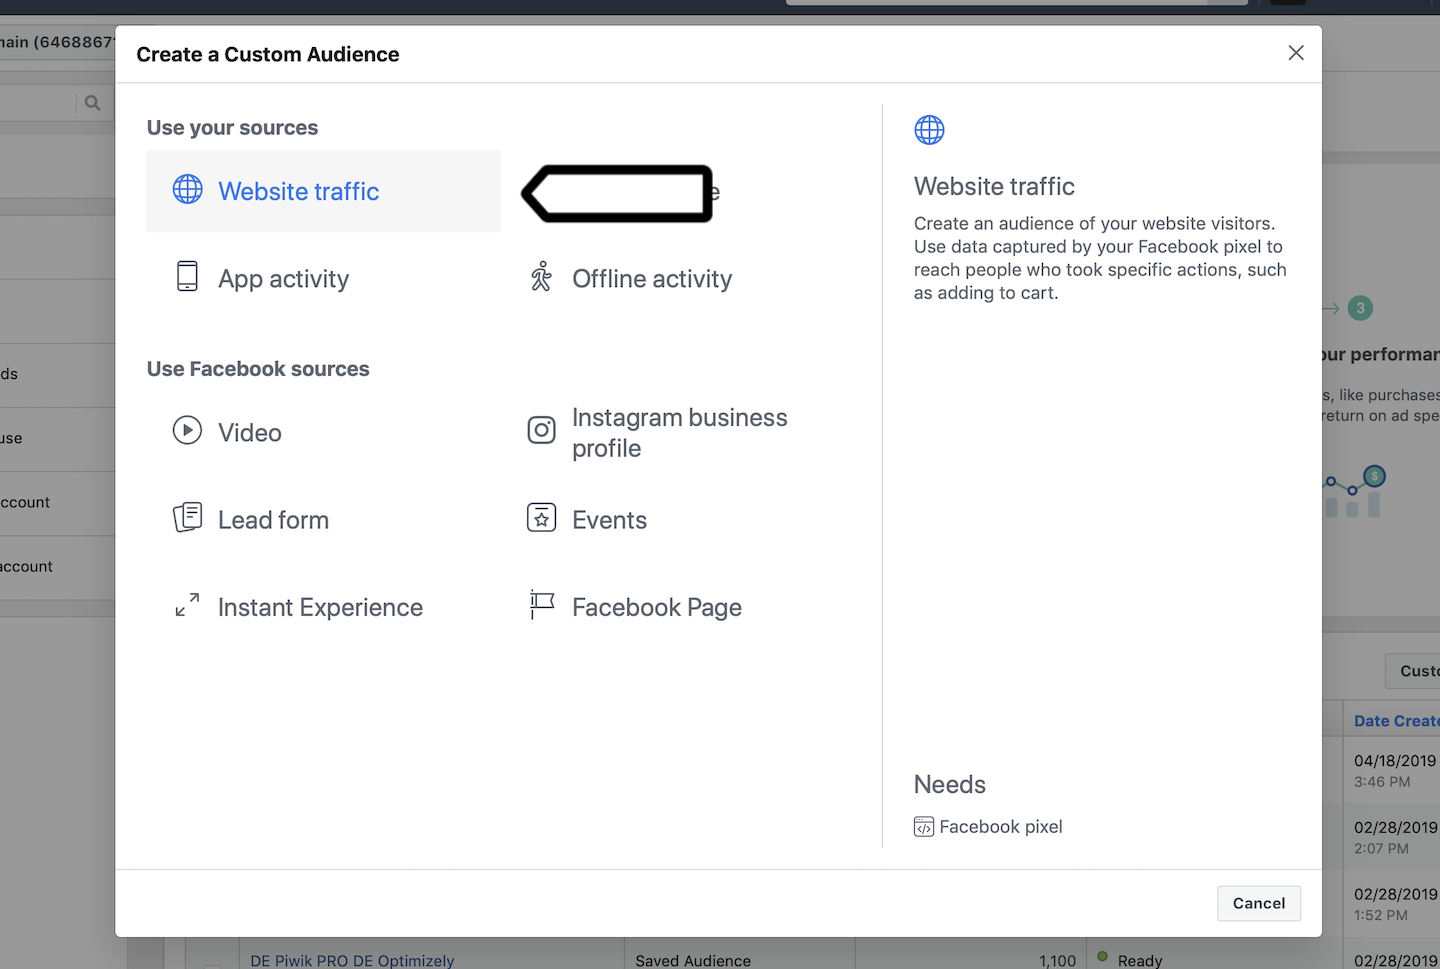
4. Click the Create Audience dropdown and select Custom Audience.
5. Click Website Traffic.
6. Chose the pixel you used for creating the tag in Piwik PRO.
7. Name the audience.
8. Click Create Audience.
Tip: Depending on the size of the audience you may wait a day or more until Facebook records your request for an audience.
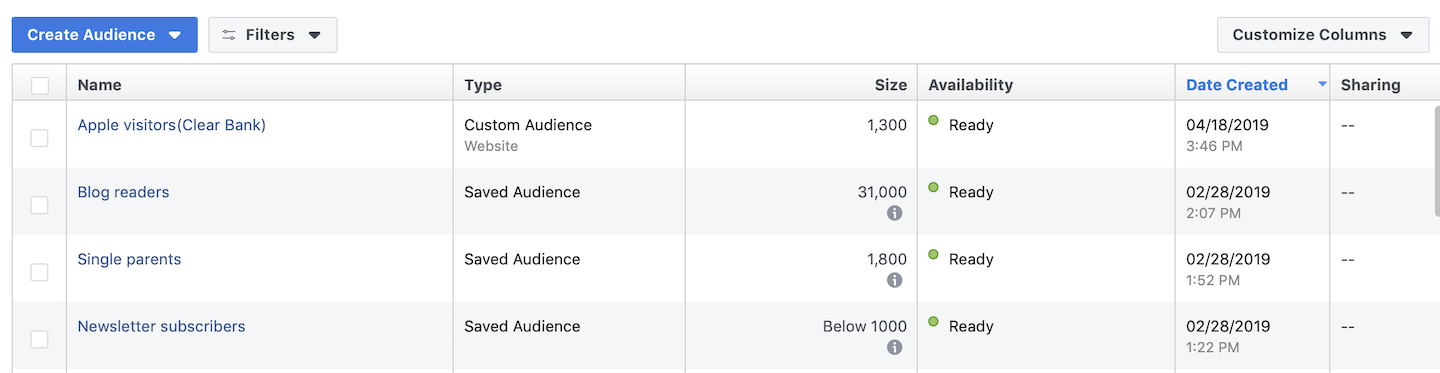
Check the audience on Facebook
After some time, you may check up on your exported audience and see if the number of people is growing. Keep in mind, that people from your website need to be Facebook users in order to show up in this audience. So, the number you see may be way lower than the number of visitors you’ve seen in Piwik PRO Audience Manager.
To check your audience in Facebook Ads, follow these steps:
1. Log in to Facebook Business Manager.
2. Go to your web’s account.
3. Navigate to Menu > Audiences.
4. View the audience on the list.
Tip: After exporting the audience, you can create another audience with interests similar to the exported audience under Facebook > Audiences > Create Audience > Lookalike Audience.