
If you already use Piwik PRO and want to use Cookie Information too, start by creating a Cookie Information account. In this article, we’ll show you how to create the account and complete the initial setup before connecting it to Piwik PRO.
Before you start
Here are some important things to keep in mind before you start:
- If you already have Cookie Information account, follow the steps in this article.
- You need owner permissions in Piwik PRO.
- Cookie Information loads its resources from a different domain than Piwik PRO: policy.app.cookieinformation.com. Ask your IT team to allow requests to this domain in your Content Security Policy. Read more in Cookie Information.
Create a Cookie Information account
To create a Cookie Information account, follow these steps:
1. Log in to Piwik PRO.
2. In your browser, go to https://yourinstance name.piwik.pro/administration/register-cmp.
3. Fill out the form. In Email*, enter the email address you want to use for your Cookie Information account.
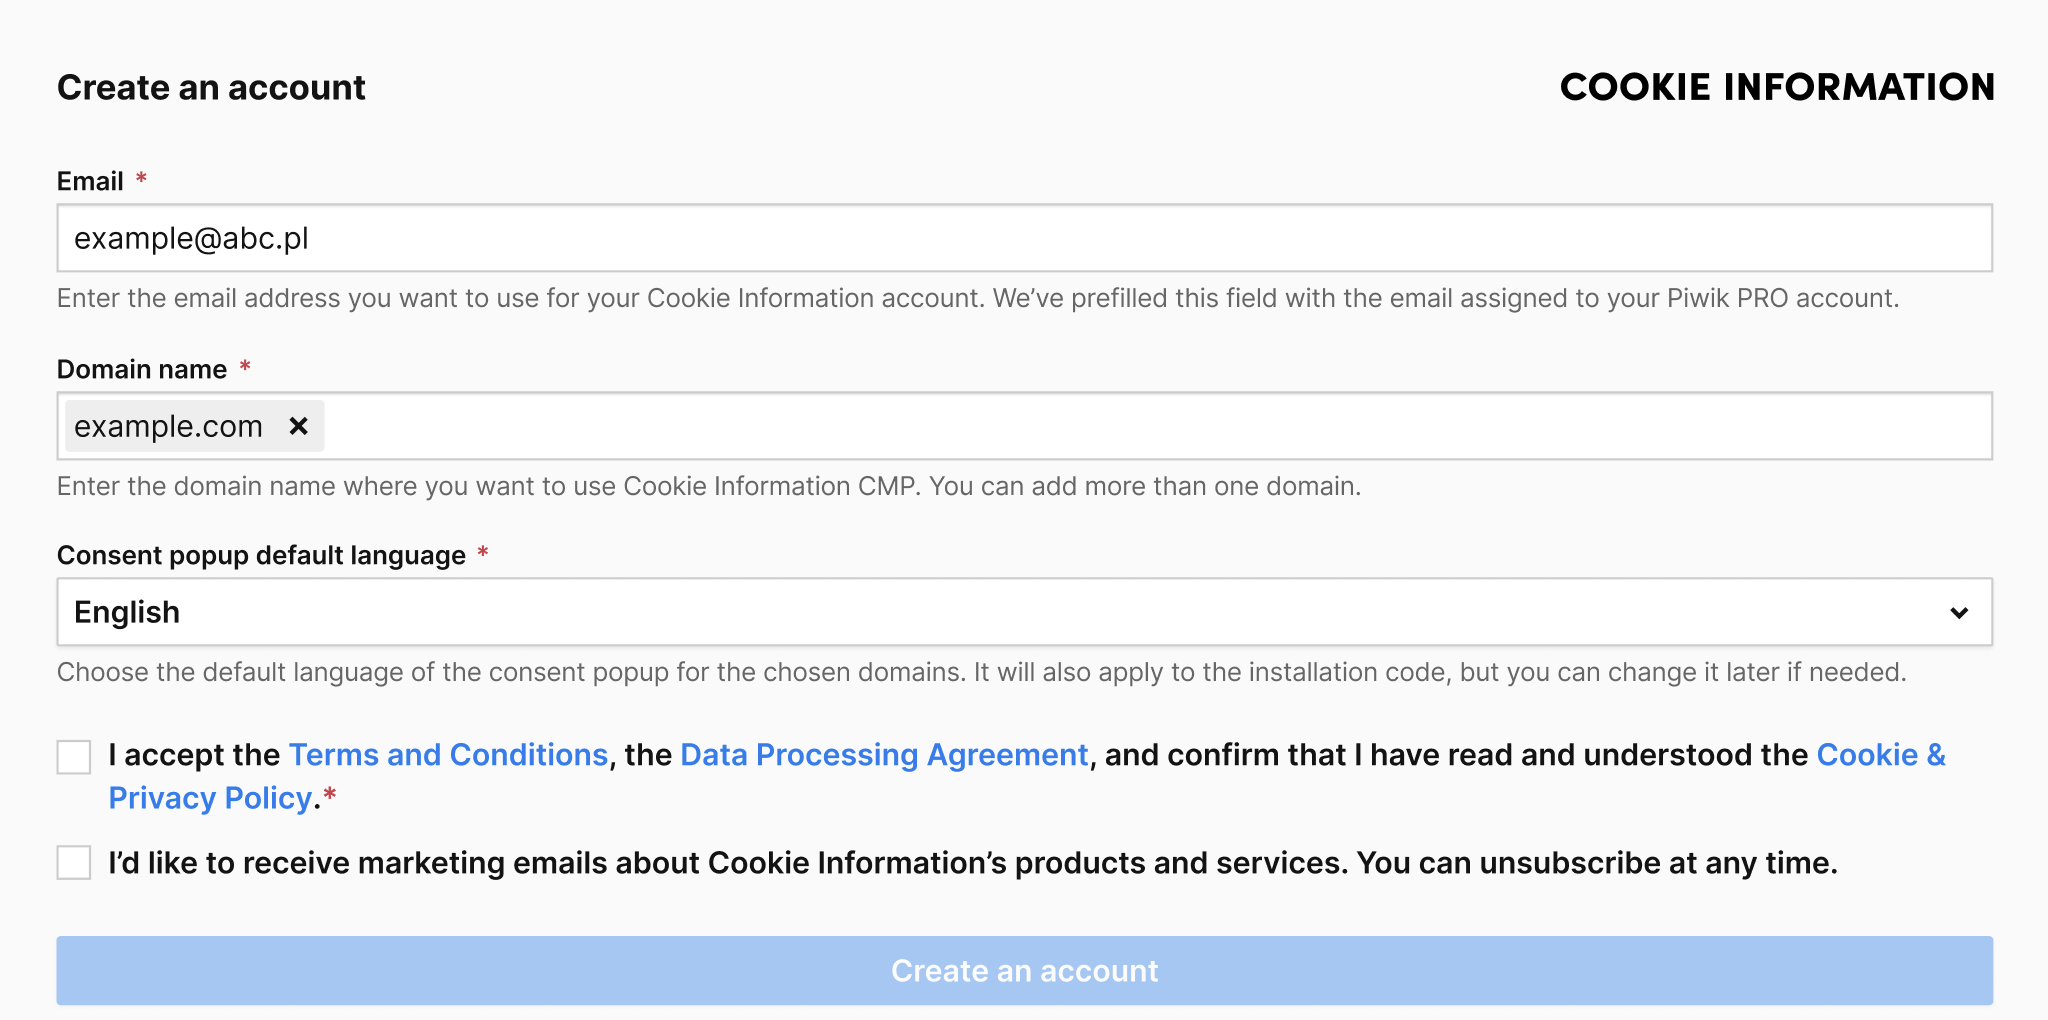
Note: We’ve prefilled this field with the email assigned to your Piwik PRO account.
4. In Domain name*, enter the domain name where you want to use Cookie Information CMP. You can add more than one.
5. In Consent popup default language*, choose the default language of the consent popup.
Note. It will also apply to the installation code, but you can add or change it later if needed.
6. Select the checkbox for the terms and conditions and data processing agreement.
7. (Optional) Select the checkbox for agreement to receive email marketing.
8. Click Create an account.
9. We’ll send you an activation email. Check your inbox, open the email, and click the confirmation button to finish the setup.
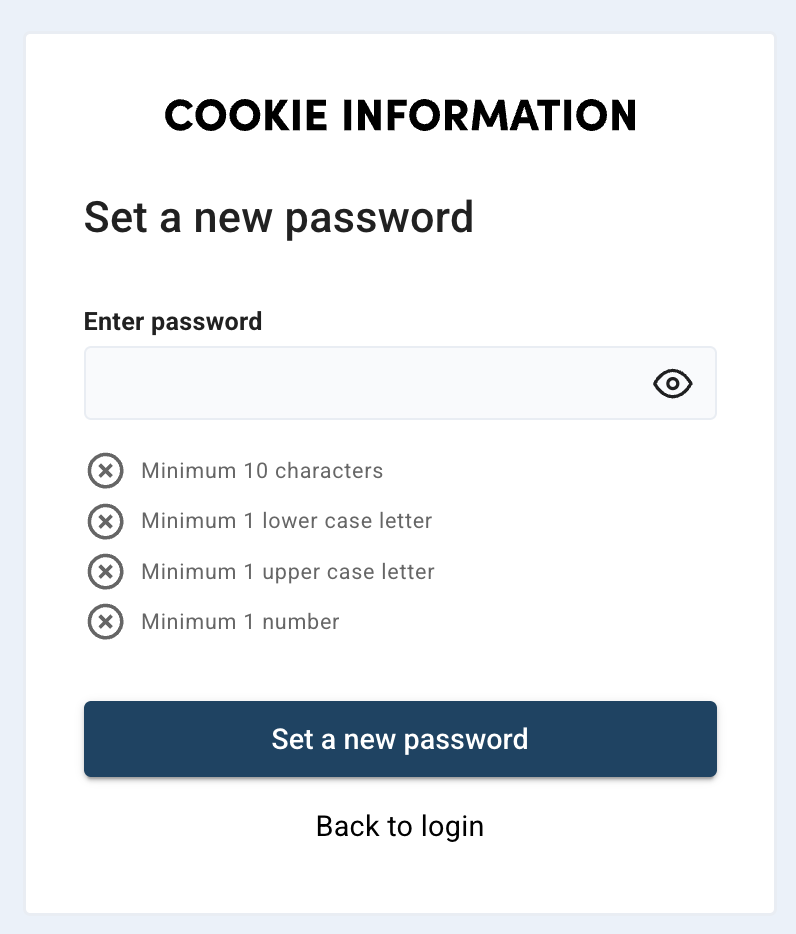
10. After you confirm your email address, you’ll be taken to a page where you can create your password.
11. Click Set a new password.
12. Click Continue.
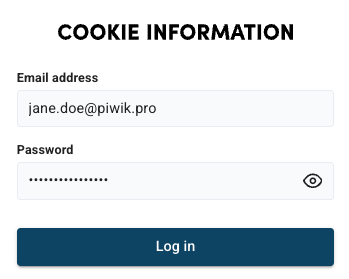
13. Now you can log in to your account. In Email address, enter the email you used to sign up.
14. In Password, enter the password you just created.
15. Click Log in.
16. In Consent solutions, you’ll see all of the domains in your Cookie Information account.
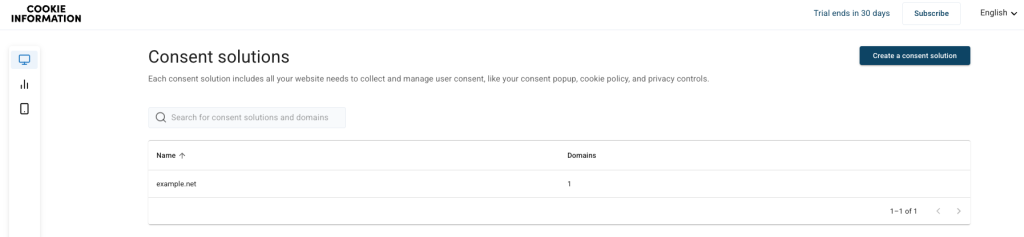
Note:
- A consent solution is a container that stores:
- Domains: Public domains, public test domains, and internal test domains.
- Templates: Predefined popup designs, cookie policy layouts, and privacy control templates.
- Cookies: All cookies detected on public domains by the scanner, plus any custom cookies you add manually.
- Languages: The languages available for your consent solution. Read more in Cookie Information
- You’ll only see the domains you added during registration, as this is your new account.
- The consent solution is named after your domain by default, but you can change it anytime in Settings.
17. Done. Now, you can set up this account.
Set up your Cookie Information CMP account
To set up your account by adding domains and selecting your popup template, follow these steps:
1. In Cookie Information, go to Domains.
2. Add all websites (domains) that will use this cookie banner setup. Click Add a domain.

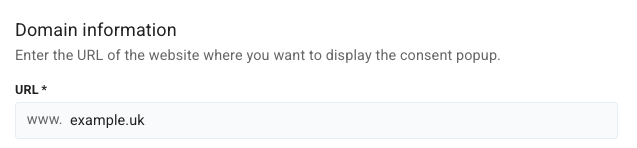
3. In Domain information, go to URL*, enter the website URL where you want the cookie banner displayed.
Note:
- In the Domain URL, enter a root domain without
http://orwww, for example,example.cookieinformation.com. - To change the domain URL, delete the domain first, then add it again.
4. Choose the domain type: public, public test, or internal test domain.
Note: Once you set the domain type, you can’t change it later.
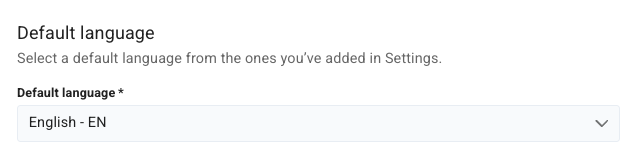
5. Select a default language from those you set in Settings.
6. Click Save.
7. After you create your account, your default consent template is Overlay v2 – Google Consent Mode v2. We recommend this template.
8. (Optional) To change a template, go to Consent popup > Template gallery.
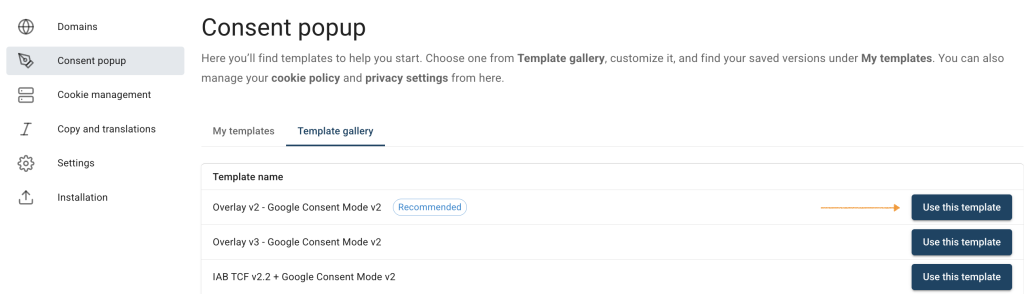
9. (Optional) Find the popup template you want.
10. (Optional) Click Use this template, next to the template’s name.
11. (Optional) In Customize your template, you can adjust the styling in HTML or CSS to match your website design.
12. Click Save and publish.
Note:
- Clicking Save only saves changes to your template. To publish the updated template, click Save and publish.
- Changes to your consent template may take up to 10 minutes to appear on your domain.
13. (Optional) In Copy and translations, you can edit text and manage translations for your consent popup, buttons and cookie policy.
14. Go to Installation.
15. In Add the consent popup to your website, copy the following script:
<script id="CookieConsent" src="https://policy.app.cookieinformation.com/uc.js"
    data-culture="EN" data-gcm-version="2.0" type="text/javascript"></script>
16. Paste the script into your website’s <head> tag in the HTML code.
Note:
- The consent popup will appear on your site within 10 minutes.
- You can display the popu in different languages on the same domain. Read more in Cookie Information support center.
- If you need more guidance on installing the consent popup, you can watch our video tutorial.
- To get more details on the first steps with Cookie Information, read the guides in Cookie Information support center.
17. All set.