When you want to use data collected by Piwik PRO and mix it with other data in Data Studio (formerly Looker Studio), you need to integrate one product with another. The integration uses a community connector for Data Studio and is easy to set up. After the integration is complete, you can comfortably build reports and dashboards in Data Studio.
Before you start
Here are a few things to know before you start:
- Link to Piwik PRO sign-up page: https://piwik.pro/business-plan/.
- Link to Piwik PRO privacy policy: https://piwik.pro/privacy-policy/.
- Link to Piwik PRO terms of use: https://piwik.pro/business-tos/.
Integrate Piwik PRO with Data Studio (formerly Looker Studio)
To integrate with Looker Studio, follow these steps:
1. Log in to Data Studio.
2. Open our data connector (called Piwik PRO Analytics) for Data Studio.
Note: The current connector version is 1.4.2.
3. Name your data source.
4. Click Authorize.
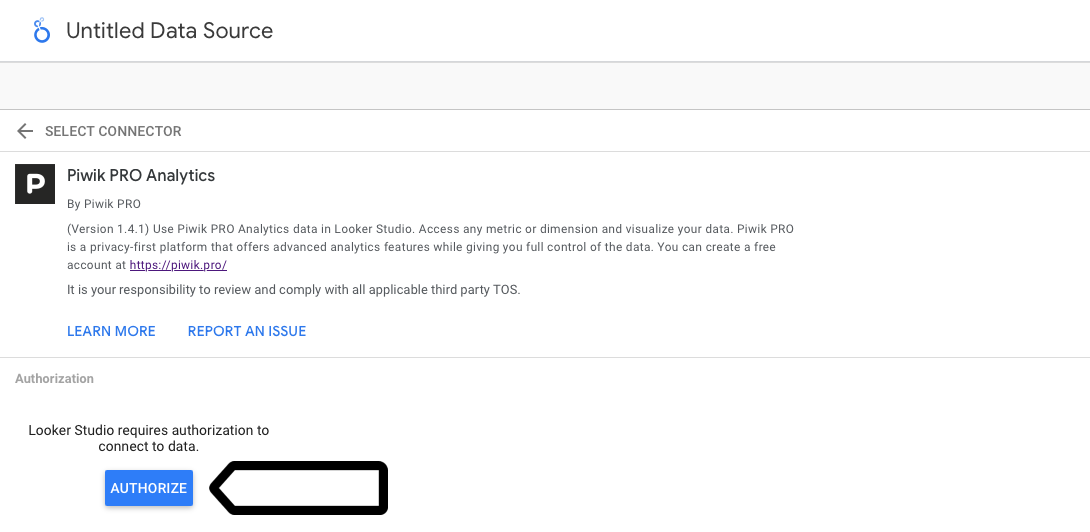
5. Click Allow on the confirmation screen.
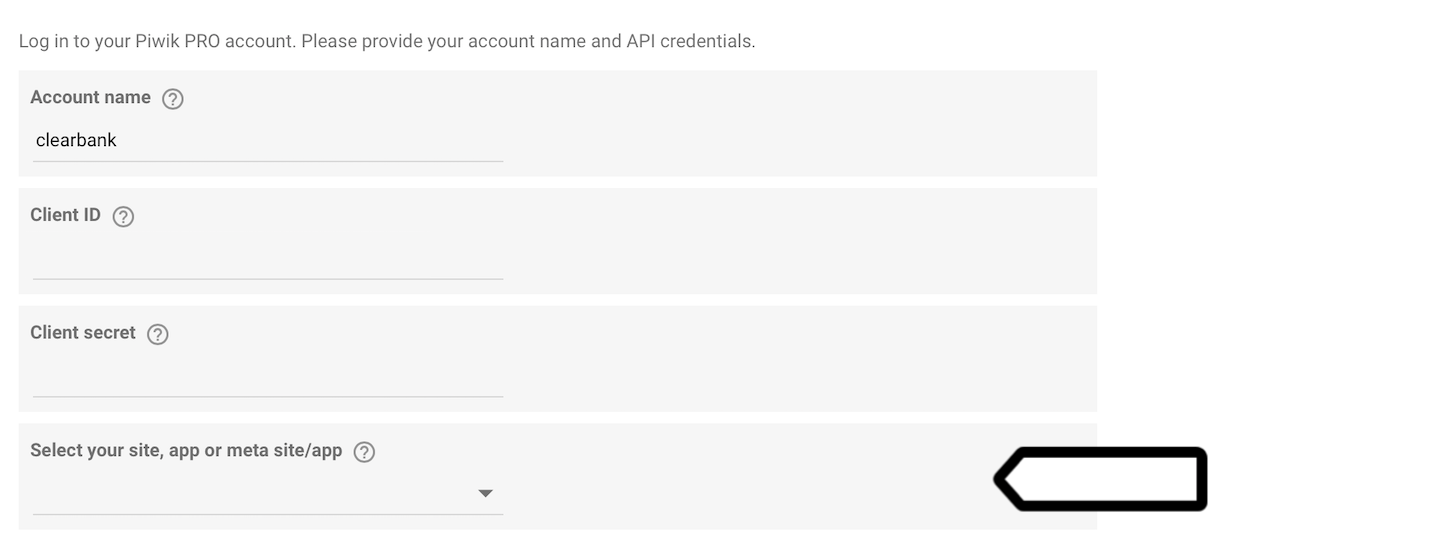
6. In Path, enter your account name. Your account name is the first part of your account address: example in example.piwik.pro.
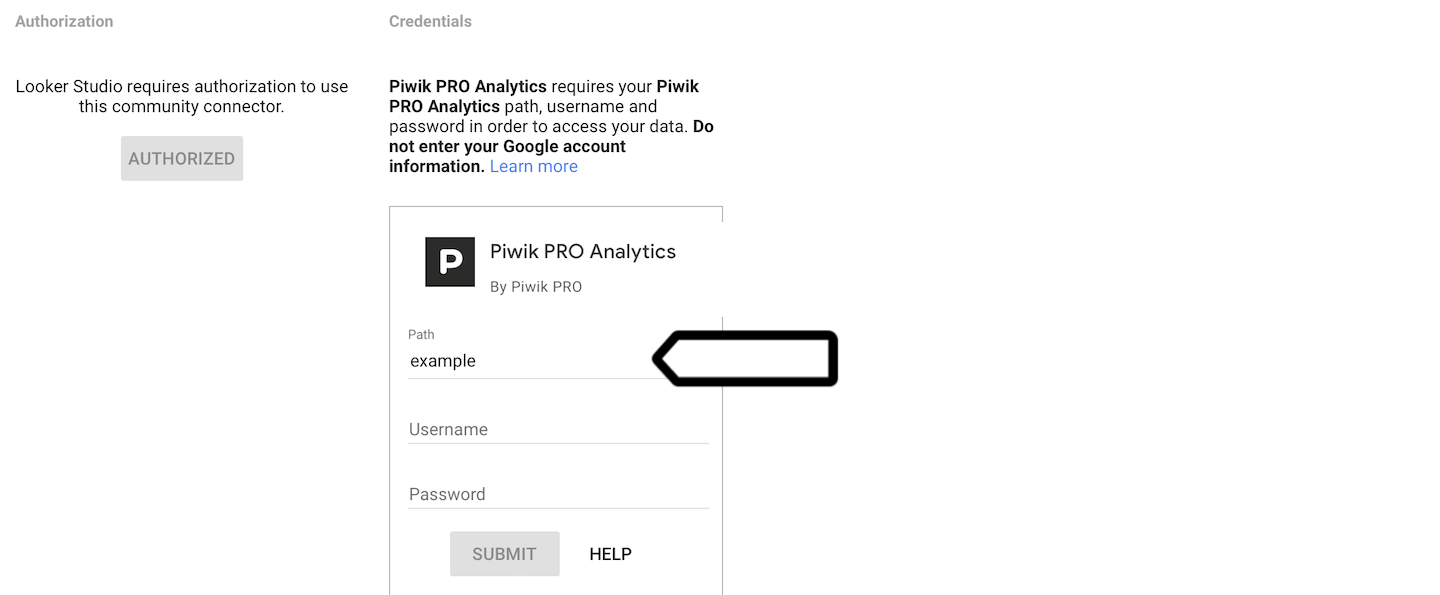
Note: You can also enter a custom domain in Path, for example: https://www.example.piwik.pro/.
Tip: Your account name is the first part of your account address: example in example.piwik.pro.
7. In Username, enter your client ID. Where to find it?
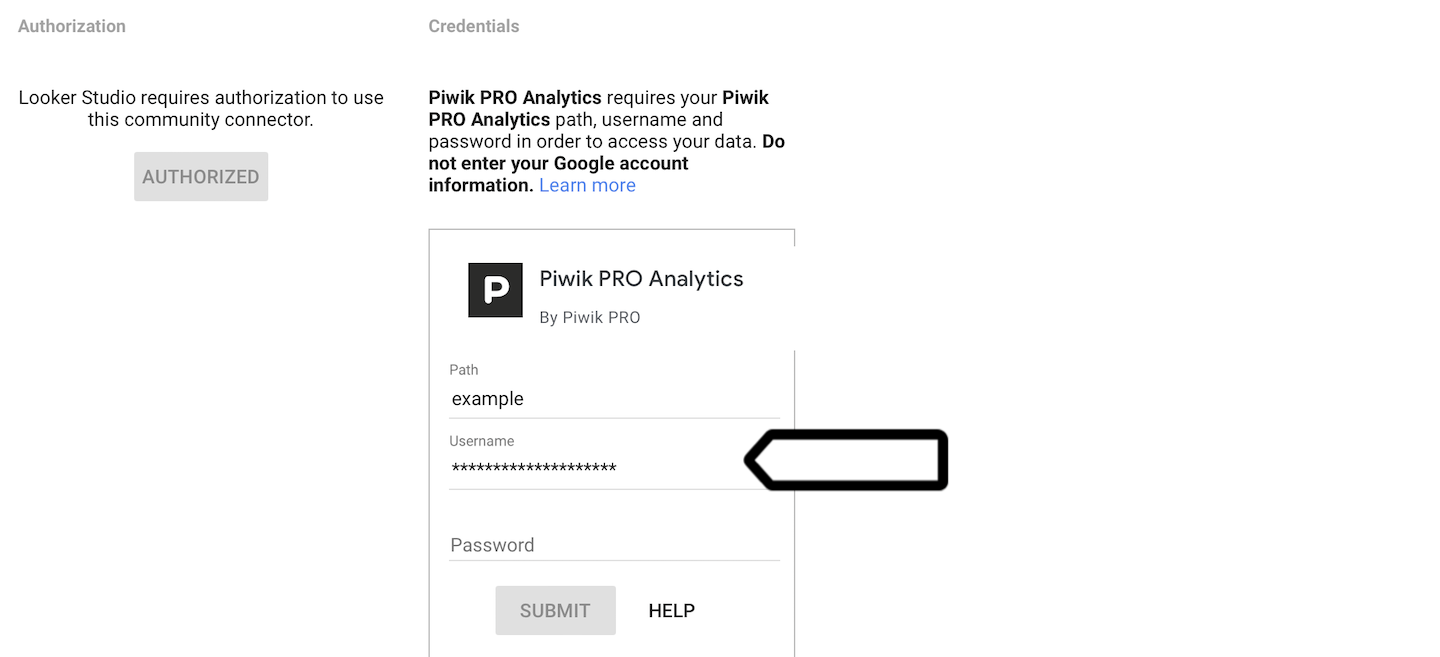
8. In Password, enter your client secret. Where to find it?

9. Click Submit.
10. In Select your instance, choose your instance from the list.
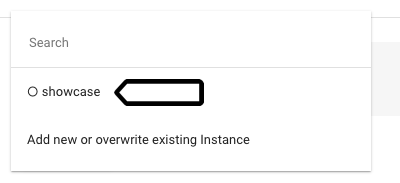
11. (Optional) Click Add new or overwrite existing instance, to add a new or edit instance.
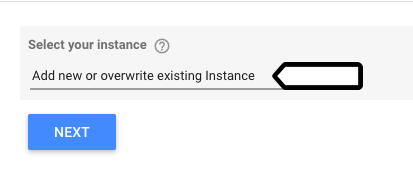
Note: You can use the overwrite existing instance option if your credentials expire.
12. Click Next.
13. Choose the site, app or meta site/app you want to connect to Data Studio.
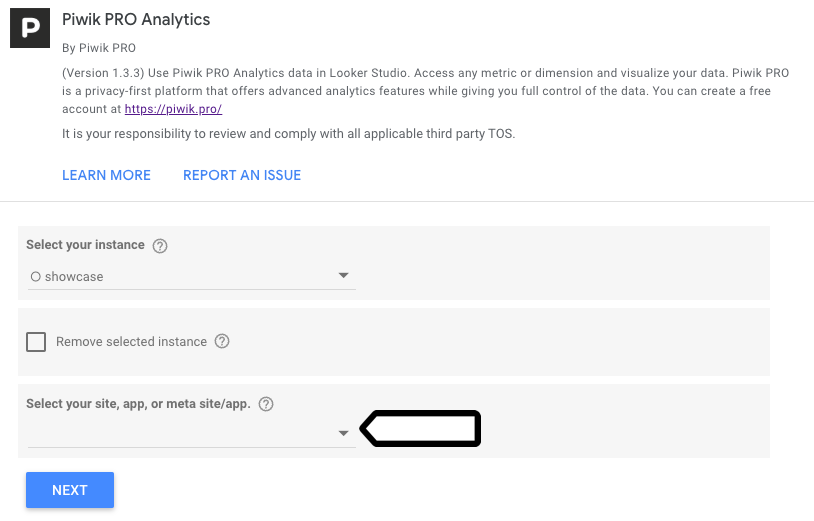
Note: View permissions or higher are needed to choose a site, app or meta site/app. If you don’t see it on the list, ask your teammate with the owner role in Piwik PRO to give you the right permissions.
14. Click Connect.
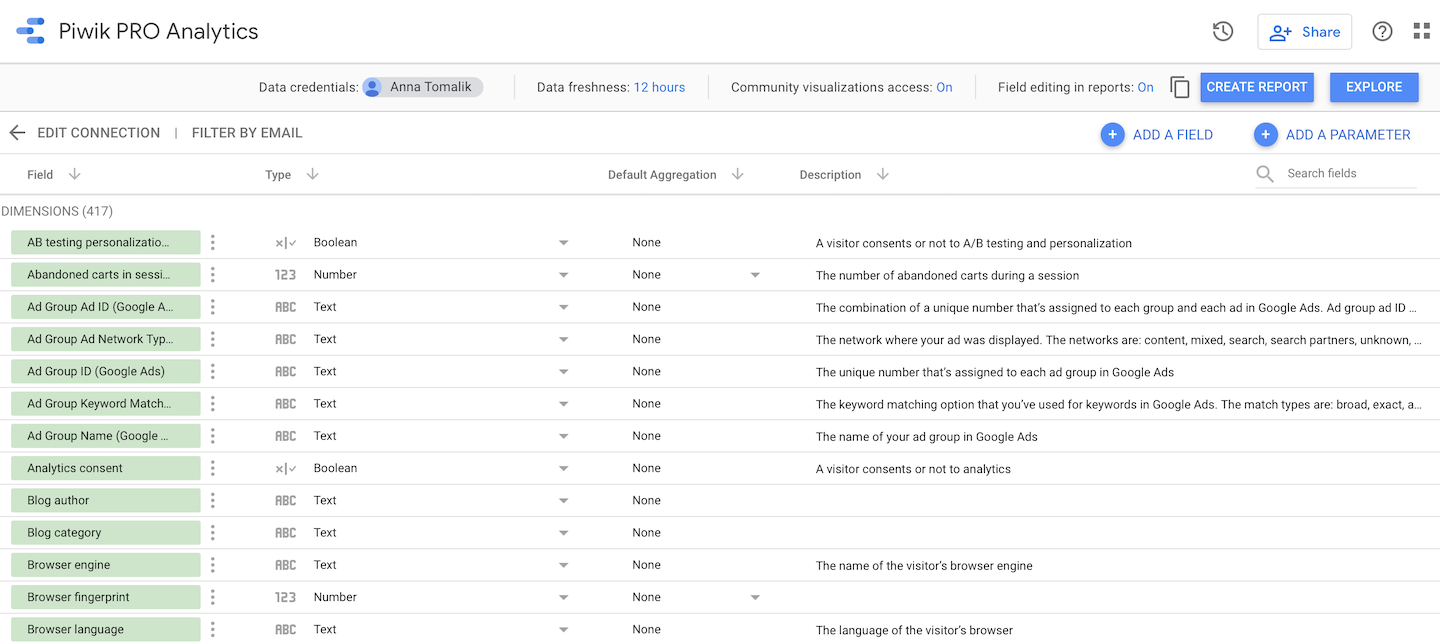
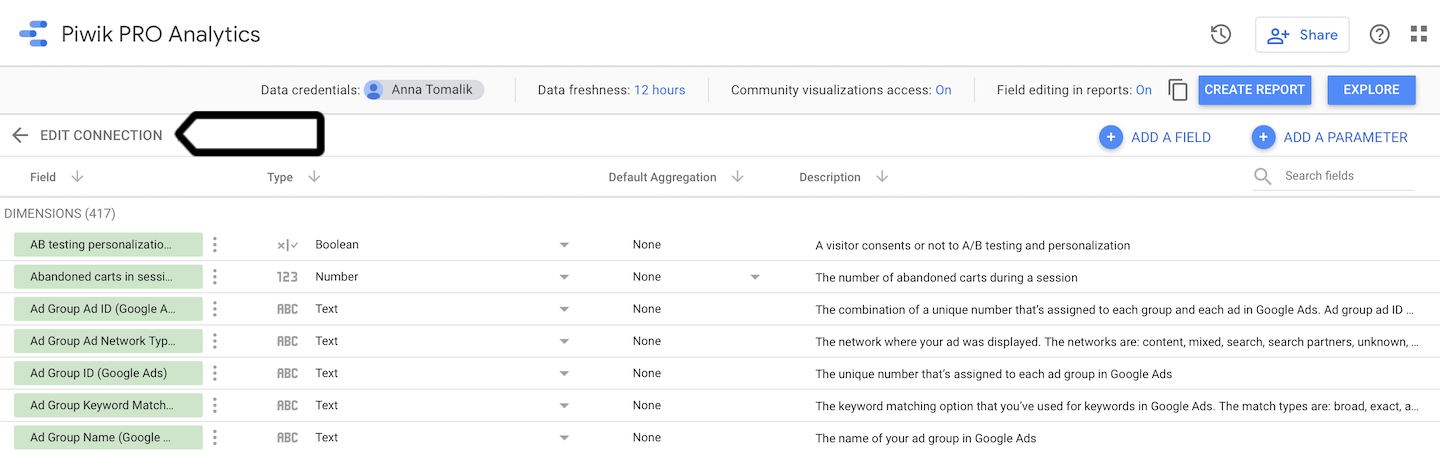
15. Done! Your Piwik PRO site, app or meta site/app is now connected to Data Studio. Use the metrics and dimensions in the list to create reports and dashboards.
Note: If you see data differences between Piwik PRO and Data Studio, it may be because you used some transformations in Looker Studio. These transformations may aggregate data differently than Piwik PRO, hence the differences.
Tip: You can create your own calculated fields and calculated parameters in Looker Studio. You can also turn on or off community visualizations.
Delete the Piwik PRO instance from Data Studio (formerly Looker Studio)
If you want to delete the Piwik PRO instance in Data Studio, follow the steps:
1. Log in to Data Studio.
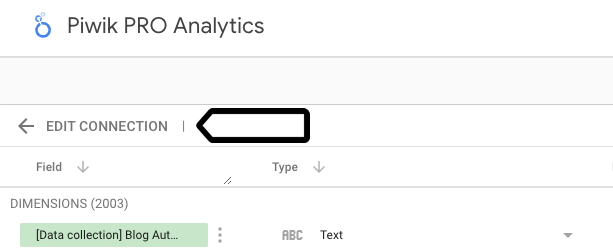
2. Click Edit connection.
3. In Select your instance, select the instance you want to delete.
4. Click Next.
5. Done.
Change the connected site, app or meta site/app in Data Studio (formerly Looker Studio)
To change the connected site, app or meta site/app in Looker Studio, follow these steps:
1. Go to Data Studio > Data sources.
2. Go to Data Studio > Data sources.
3. Choose your data source from Piwik PRO.
4. Click Edit connection.
5. Choose the site, app or meta site/app you want to connect to Data Studio.
Note: View permissions or higher are needed to choose a site, app or meta site/app. If you don’t see it on the list, ask your teammate with the owner role in Piwik PRO to give you the right permissions.
6. Click Reconnect.
7. Click Apply to confirm connection changes.
8. Done!
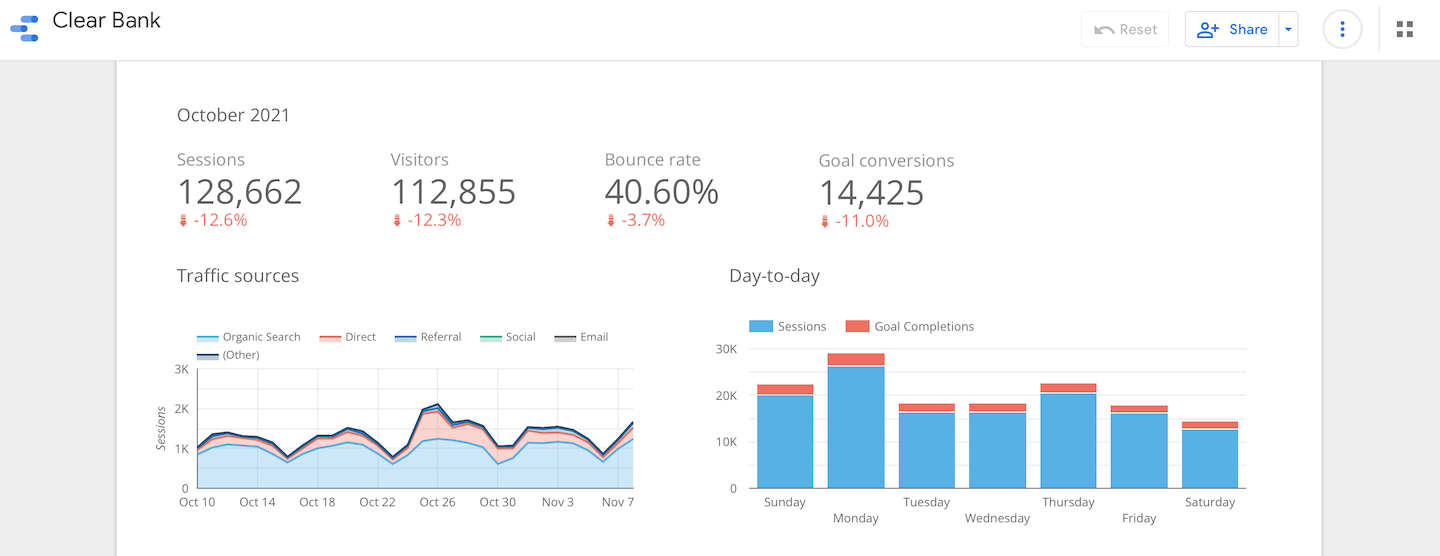
Create a report in Data Studio (formerly Looker Studio)
To create a report containing data from Piwik PRO in Data Studio, follow these steps:
1. Go to Data Studio > Data sources.
2. Choose your data source from Piwik PRO.
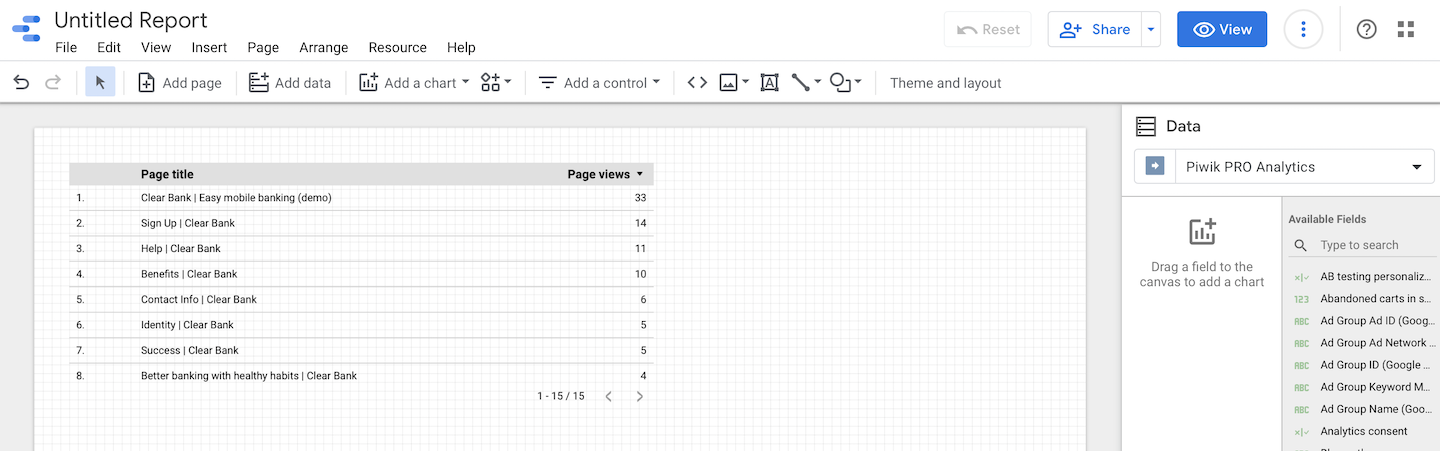
3. Click Create report.
4. Confirm that you are adding data to your report.
5. You’ll see some sample data on the dashboard.
Note:
- Data Studio shows data for the last 28 days by default.
- Segments are not exported.
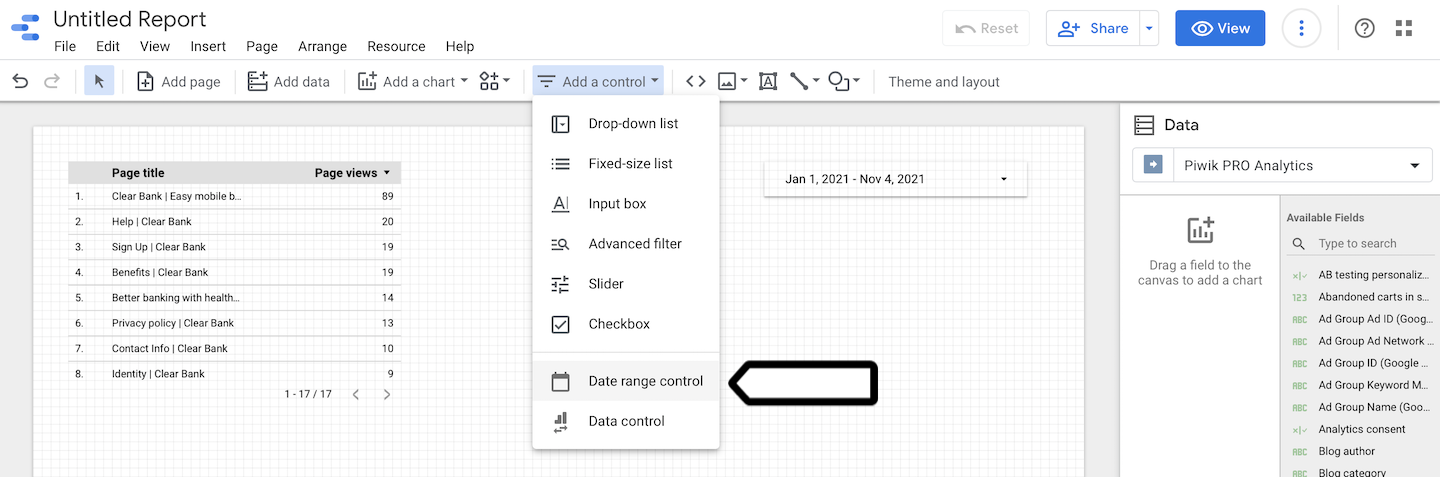
6. Click Add a chart and select Date range control. This will help you select date ranges for your data.
7. Pick any widget from Data Studio and use the metrics and dimensions on the right to create other elements in your report.
Tip: You can also use Data Studio Explorer to explore your data using a single chart (Looker Data Studio > Data sources > Choose your data source from Piwik PRO > Explore).
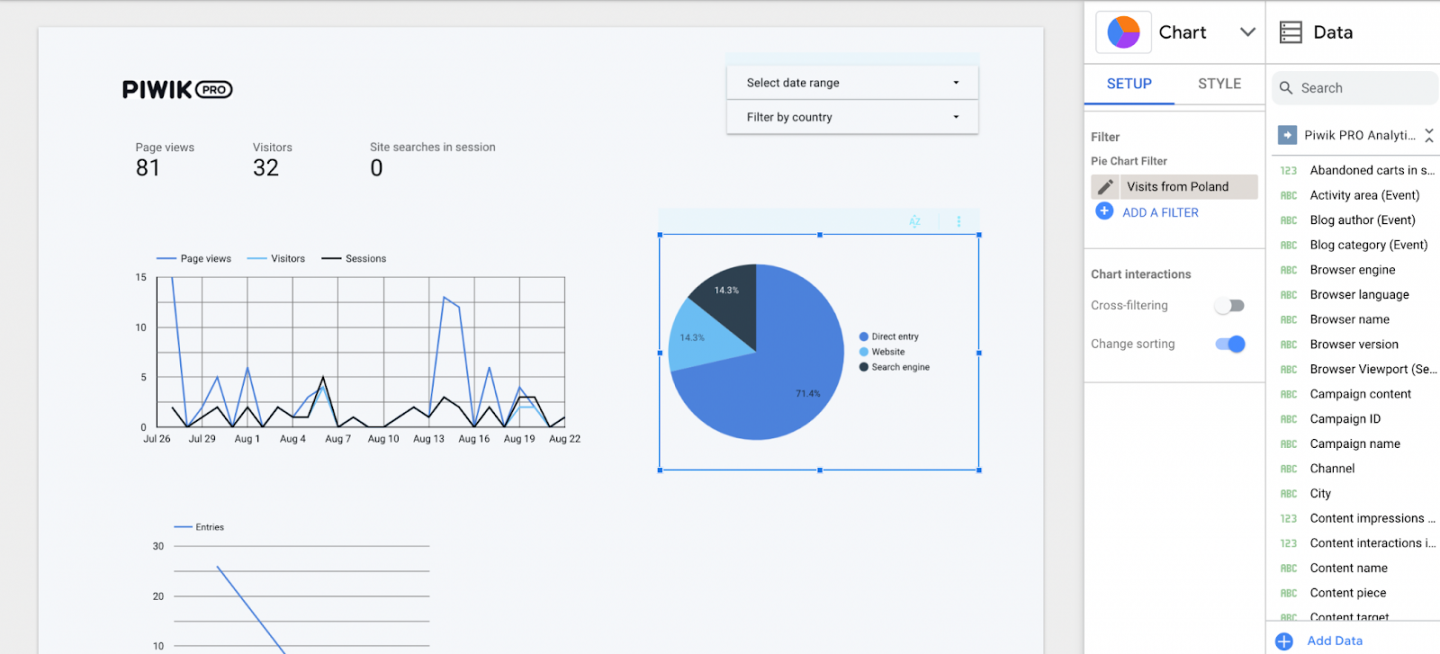
Use filters with Piwik PRO Analytics data
When working with Piwik PRO data in Data Studio (formerly Looker Studio), you can use filters the same way as in Piwik PRO dashboards or custom reports.
To add a new filter to your Data Studio chart, follow these steps:
1. Select a chart in your report.
2. You’ll see the Setup tab on the right.
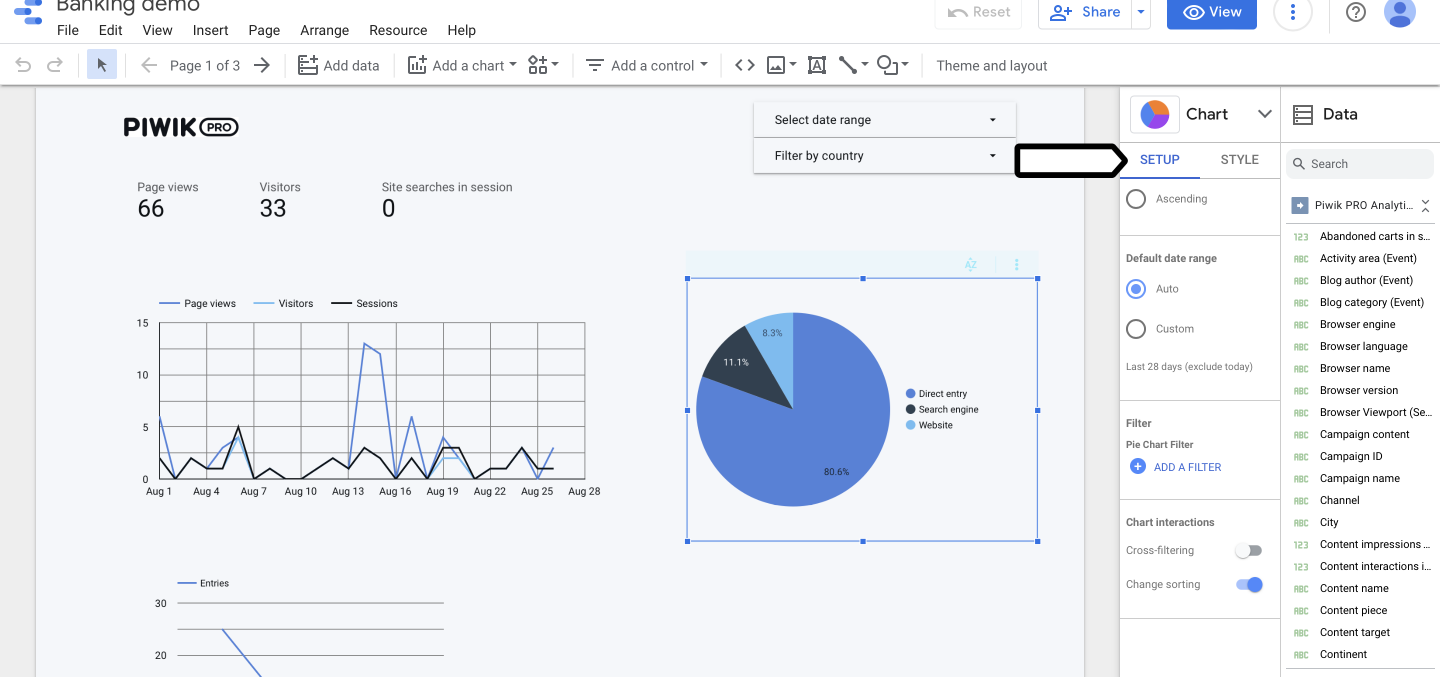
3. Scroll down and click Add a filter.
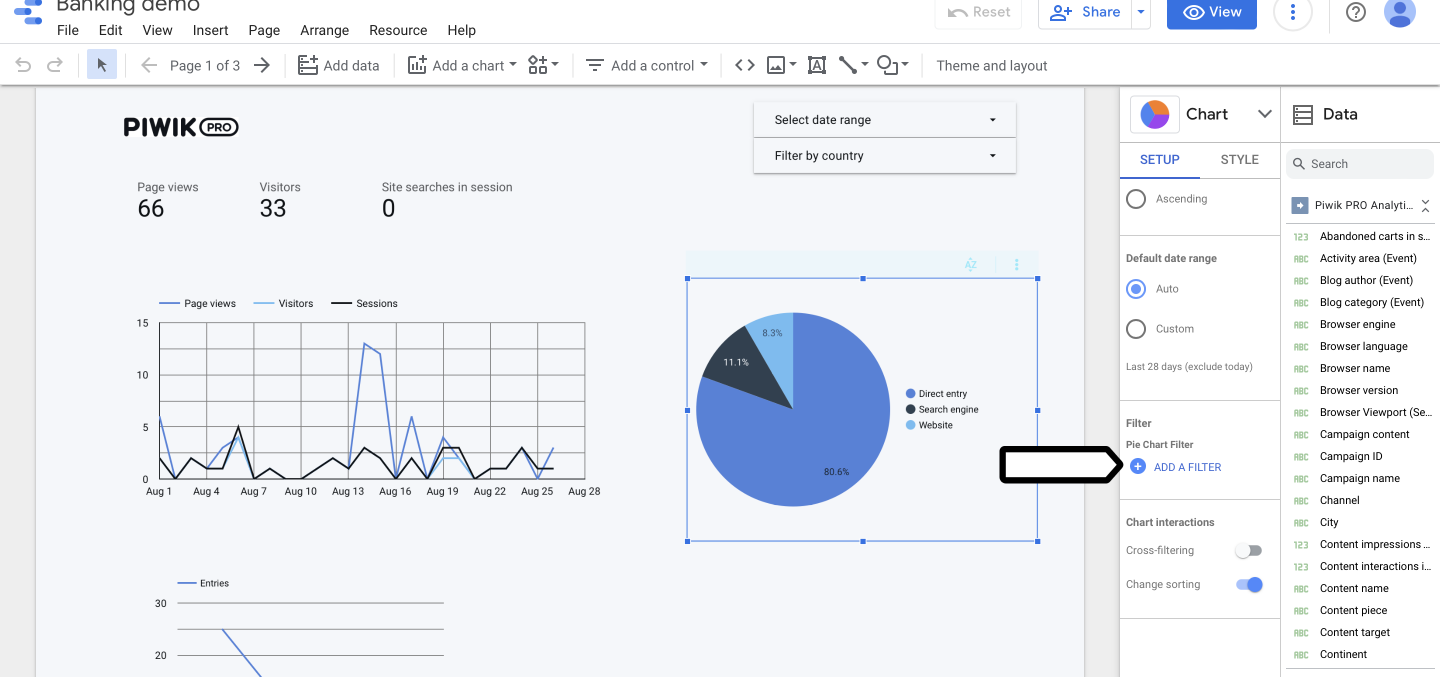
4. Click Create a filter.
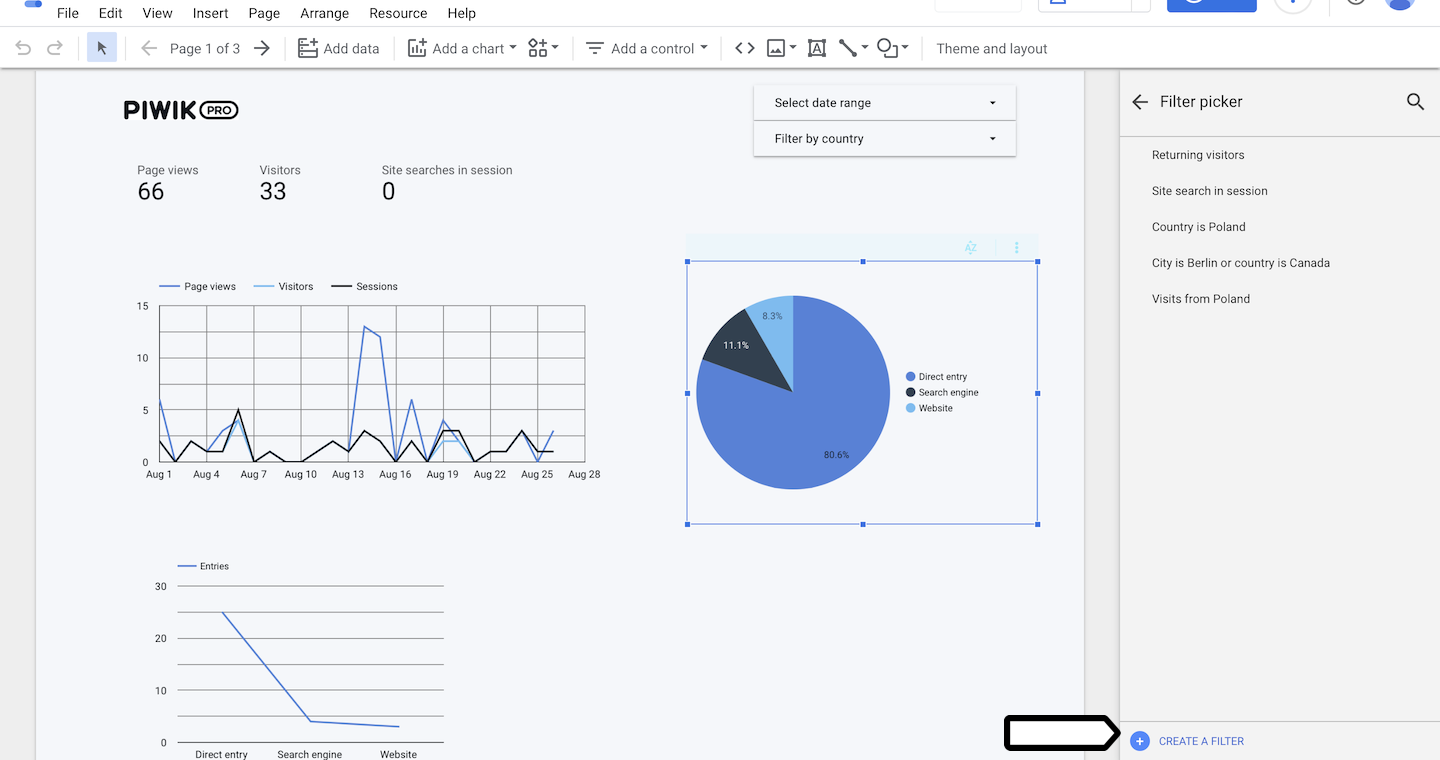
5. Select the dimension you want to filter with.
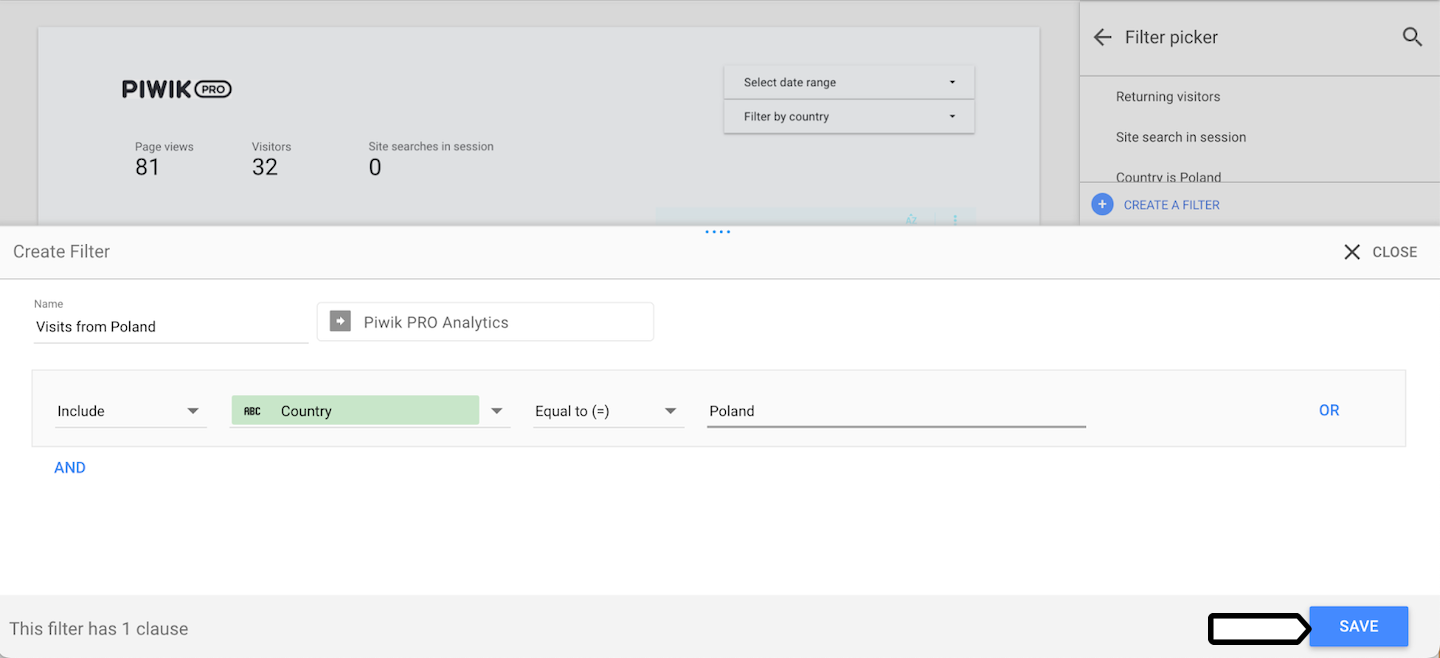
6. Click Save.
7. All set! Your filter has been saved and will be applied to your chart. In the future, you can use the same filter on other charts in the report.
Note:
- Filters in Data Studio are case-sensitive. Unlike in Piwik PRO, there aren’t any case-insensitive operators available. To match Piwik PRO operators, make sure to adjust the conditions in Looker Studio accordingly.
- The
'Goal ID'and'Goal UUID'dimensions only support the'equal to'filter operator due to API limitations. - For enum type fields, there’s a limit of 100 results for filters. This boosts performance and ensures faster load times. If you see a message about too many matching values, refine your search criteria.
- When you select the
'Contains'operator in Data Studio for location dimensions (country and city), it behaves like the'Starts with'operator, not'Contains'as expected. This is a bug that we’ll fix in the future.
Change the Piwik PRO instance credentials in Data Studio (formerly Looker Studio)
If you want to change the Piwik PRO instance credentials in Data Studio (formerly Looker Studio), follow the steps:
1. Log in to Data Studio.
2. Click Edit connection.
3. In Select your instance, click Add new or overwrite existing Instance.
4. Click Next.
5. In Path, enter your account name. Your account name is the first part of your account address: example in example.piwik.pro.
6. In Username, enter your client ID.
7. In Password, enter your client secret.
8. Click Submit.
9. Done! Your Piwik PRO instance credentials have been changed.