Note: We no longer show the opt-out form in the interface. You can still use the opt-out mechanism by adding the form code to your website manually.
If you’re not using Consent Manager to collect and manage consent, you can use the opt-out mechanism to let visitors opt out of data collection. The opt-out form is no longer available in the interface, but you can still add it to your website manually with the code in this article. Keep in mind that this form doesn’t comply with the GDPR. If your site is used in GDPR-regulated countries, it’s better to switch to Consent Manager.
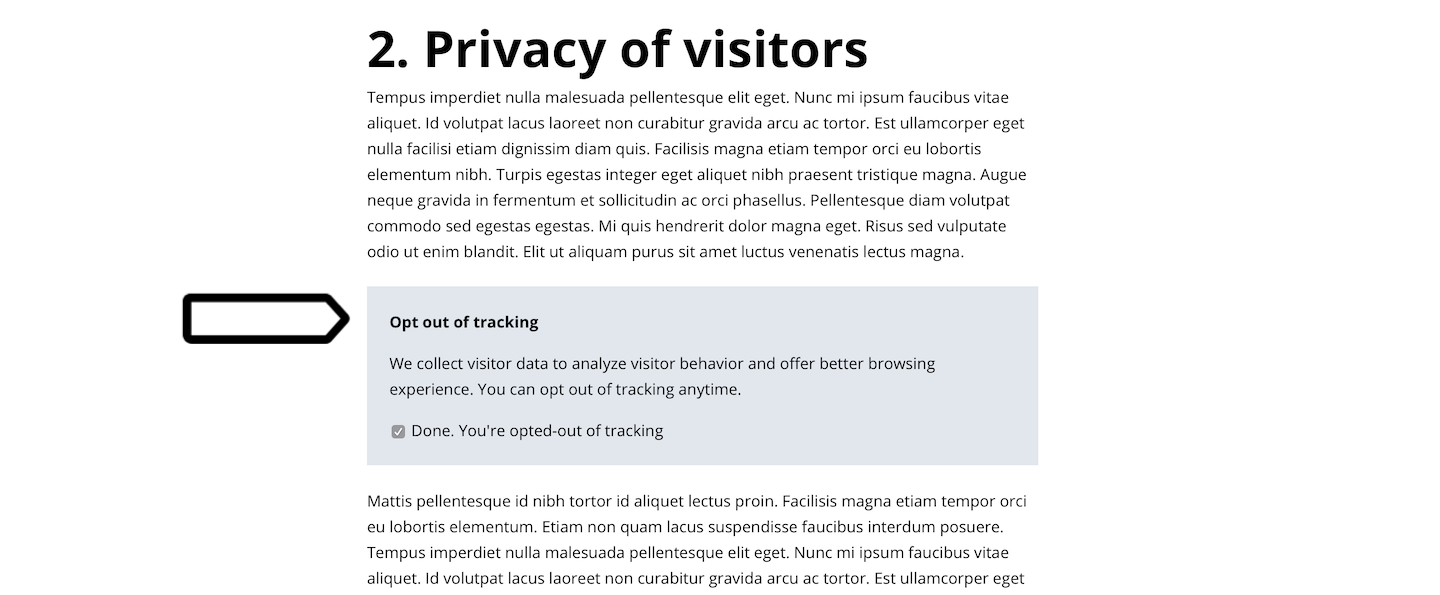
Here’s an example of our opt-out form on a privacy policy page.
In this article, you’ll learn how to set up the opt-out form on your website and how it affects tracking.
Before you start
Here are some things to know before you start:
- Visitors are opted-in by default. If they want to opt out, they can do so by checking the opt-out box on the form.
- You can customize the form’s code to match your website’s look.
- When you use an opt-out form, make sure Respect opt-out and DNT is turned on for each tag. This prevents tags from activating for visitors who have opted out. Because this setting is usually turned off by default, you need to enable it manually.
Add an opt-out form to your page
To add the opt-out form to your website, follow these steps:
1. Copy the following opt-out form code:
<script>window['stg'] = window['stg'] || {};window['stg'].optedOutCheckboxText="You’re opted out. Uncheck to opt in.";window['stg'].optedInCheckboxText="Opt out of data collection and usage.";</script><div id="_stg_opt_out_iframe_content" style="display: none;"><p>Privacy on this site: We collect and process your data on this site to better understand how it is used. You can opt in or out at any time.</p><input id="_stg_optout_checkbox" onclick="window.parent.storeUserOptOutPreferences();" type="checkbox"><label id="_stg_optout_checkbox_label" for="_stg_optout_checkbox"></label></div><script src="https://your-account-name.piwik.pro/privacy/script.v2.js"></script>2. Review and update the code before adding it to your website:
- optedOutCheckboxText=”You’re opted out. Uncheck to opt in.”
Update the text you show to visitors who have already opted out. - optedInCheckboxText=”Opt out of data collection and usage.” Update the text you show to visitors who are currently opted in.
- src=“https://youraccountname.piwik.pro/privacy/script.v2.js”
Replace the placeholder instance address with your Piwik PRO instance address
3. Paste the updated code into the page where you want to show the opt-out form, for example, your privacy page.
4. Publish the page.
5. Check that the form works as expected.
6. Done. The opt-out form is now on your page.
7. In the next steps, you need to make sure that Respect opt-out and DNT is turned on for the tracking tag.

Note: If you selected Opt out of tracking, you should see later in debug mode that the Piwik PRO tag didn’t fire. In the tag details, you’ll find the reason listed as “Respect opt-out and DNT is turned” on and that it is due to opt-out.
8. Go to Menu > Tag Manager.
9. Navigate to Tags.
10. On the left, click Piwik PRO.
11. In Privacy, turn on Respect opt-out and DNT.

Note: If turned on, this tag won’t fire for visitors who opt out of tracking using our opt-out form. Make sure that all tags that you use to collect data have this option turned on.
12. Click Save.
13. Check the other tags.
14. You can also use debug mode to see how tags behave for opted-out visitors. Go to Debug mode.

15. In Your site address, type in or select your site or app address.
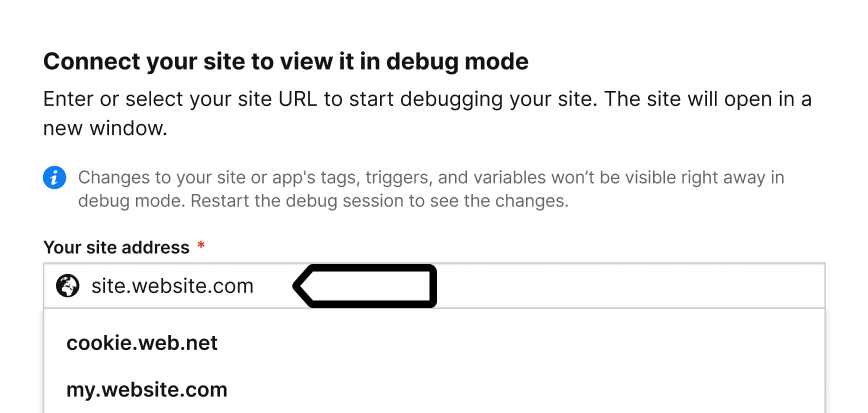
16. Click Connect.
17. Once your site is connected, it will open in a new tab.
Note: If you have any trouble connecting, check that:
- Your browser allows popups. Some browsers, such as Safari, block them by default.
- The necessary code is installed on your site.
- You entered the correct site address.
- Ad blockers are turned off.
18. (Optional) Turn on Prevent page reload. This will stop the page from refreshing when you click elements that would normally trigger a reload.
Tip: This option is useful for testing form submissions and link clicks.
19. If the Piwik PRO tag has Respect opt-out and DNT on and you opted out from tracking using the opt-out form, the tag won’t fire.
20. To check if Piwik PRO wasn’t fired, go to Tags.
21. Click Piwik PRO.

Note: Piwik PRO tag is a default tag necessary for basic tracking.
22. See what trigger is set for the tag.

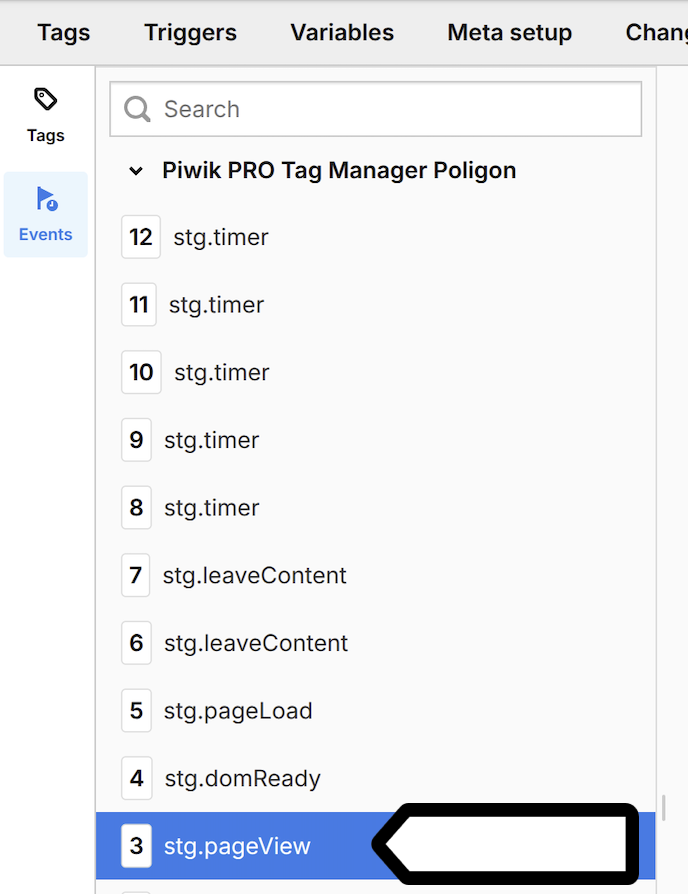
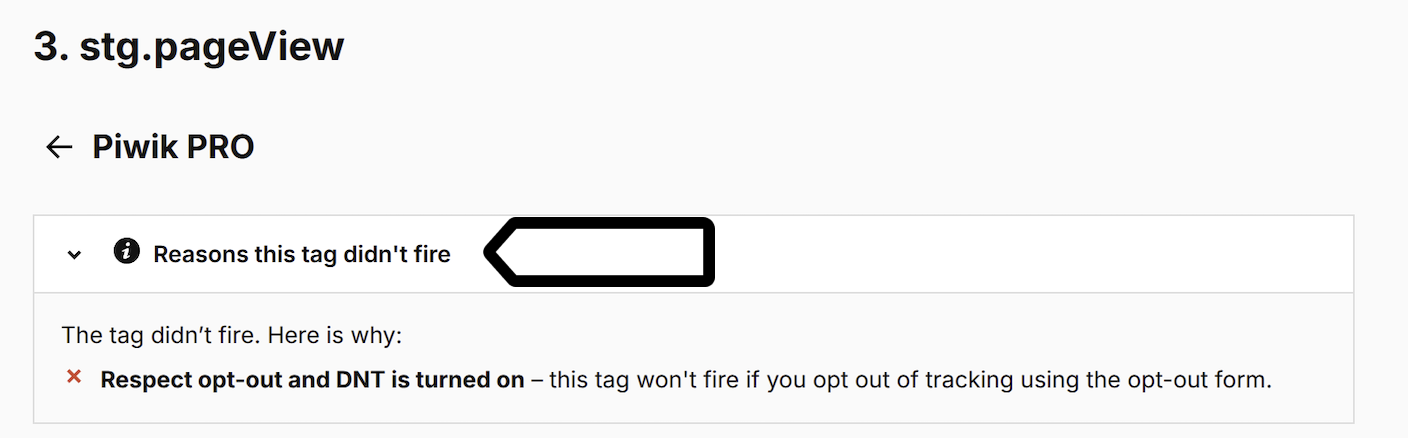
23. In Events, find the stg.pageView event.
24. In Tags, find the Piwik PRO tag for this event.
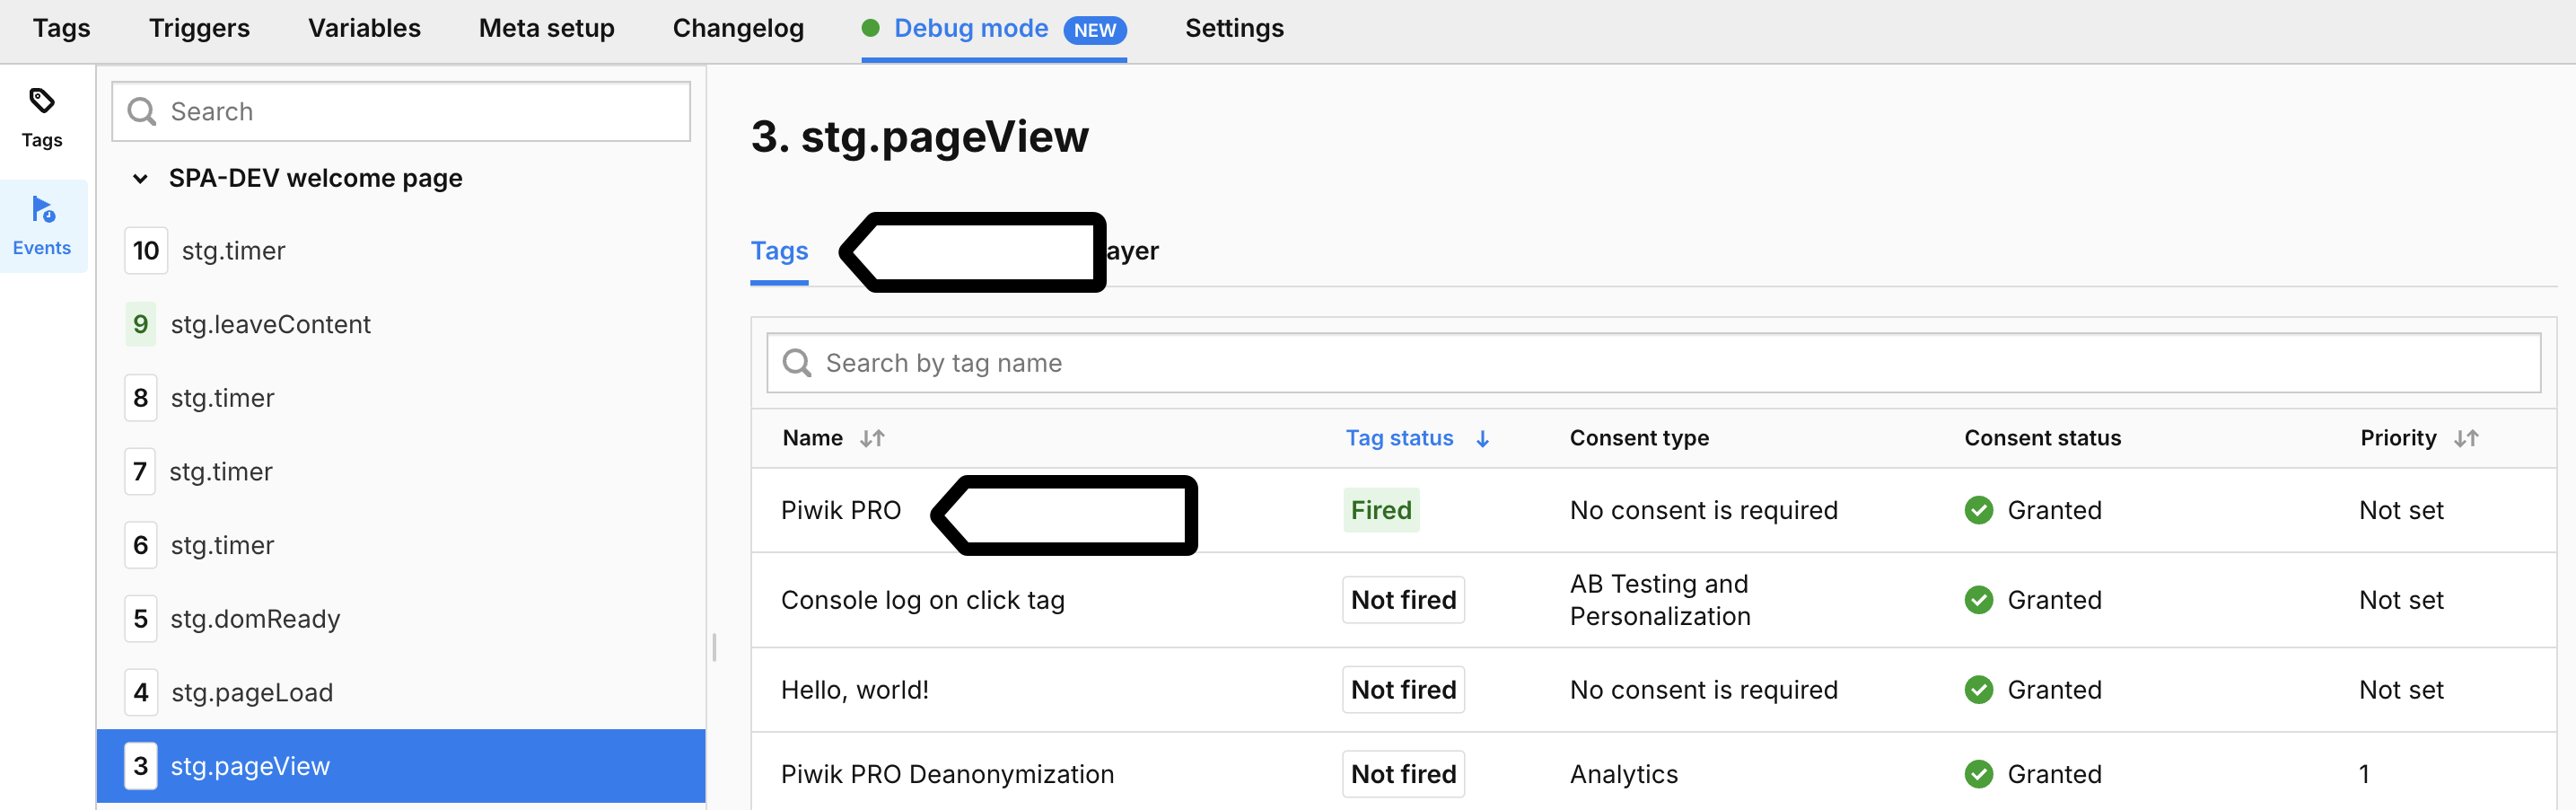
25. In Reasons this tag didn’t fire, check that Respect opt-out and DNT is turned on for this tag.
26. When you’re happy with how the tags work, click Publish.

27. All done!