Note: This method is only for accounts with versions below 16.19.0. In version 16.19.0 and higher, SPAs are tracked automatically.
A traditional website (multi-page application) works in this way: every time a visitor goes from one page to another, the new page reloads in the visitor’s browser. An SPA (single-page application) loads at the beginning of the visit, then fetches the necessary data from the server as the visitor moves through the website, without the need for a page reload.
A multi-page application is easy to track because the tracking code loads each time a visitor visits a new page. A single-page application is more difficult to track because, in most cases, the tracking code loads just once, and doesn’t do so again as a visitor moves through the website.
To track a single-page application, we need a mechanism that detects when a visitor navigates to a new page within the SPA (typically when the browser’s history changes) and sends this data to Piwik PRO. To achieve this, we’ll use the following features:
- Custom variable: This will provide us with information about the page title.
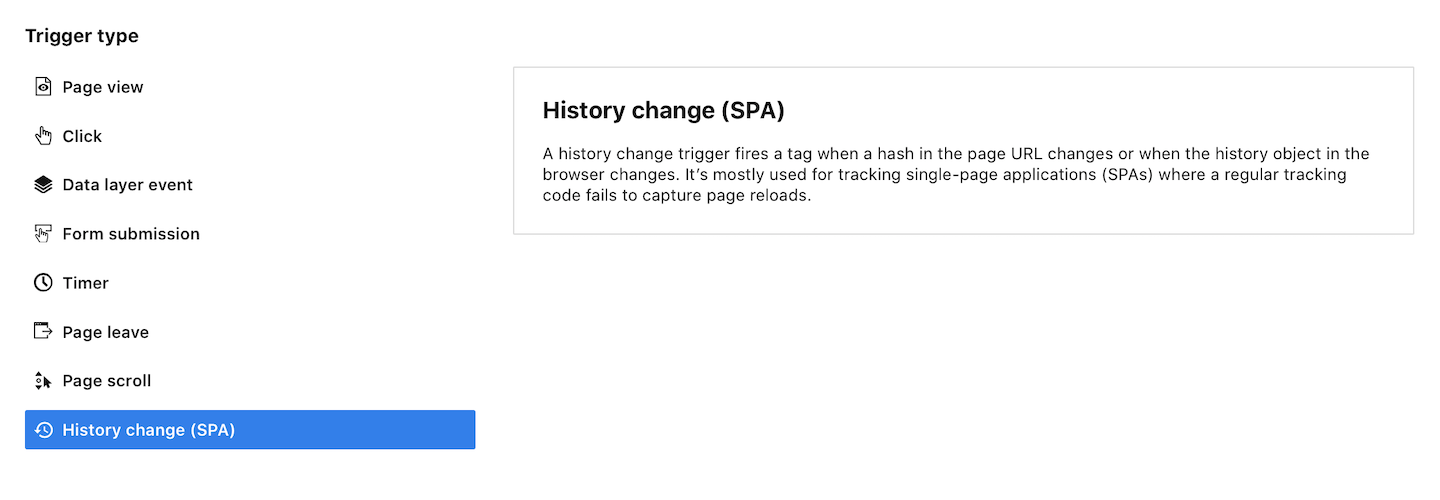
- History change trigger: This feature will trigger the tag whenever there’s a change in the hash in the page’s URL or when the browser’s
historyobject changes. It’s particularly handy for spotting changes that the tracking code might miss in single-page applications. - Virtual page view tag: This tag will capture and send information about the changes to Piwik PRO. Thanks to this, data about the page URL and page title will show up in the page report and the page title report.
Note: This method works for single-page applications where the page URL or the page URL fragment (aka hash) changes.
Set up tracking for a single-page application
To set up tracking for a single-page application, follow these steps:
1. Go to Menu > Tag Manager.
2. Navigate to Variables.
3. Click Add a variable.
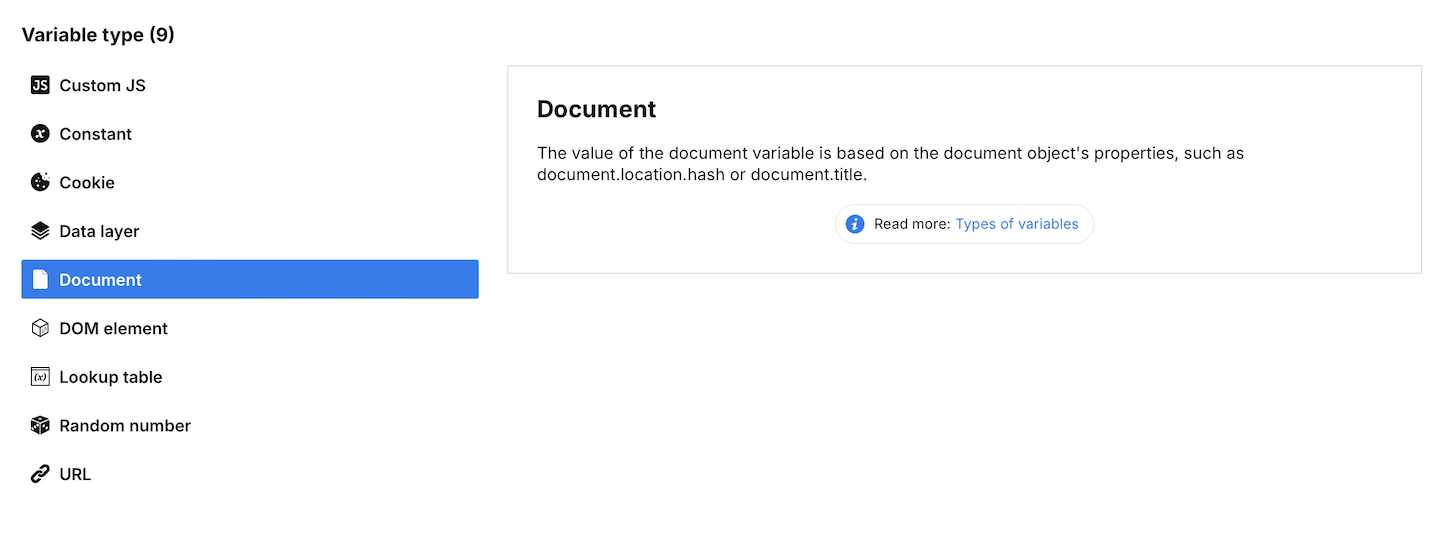
4. Select the following type: Document and click Next.
5. Name the variable Document title.
6. In Document name, type: title.
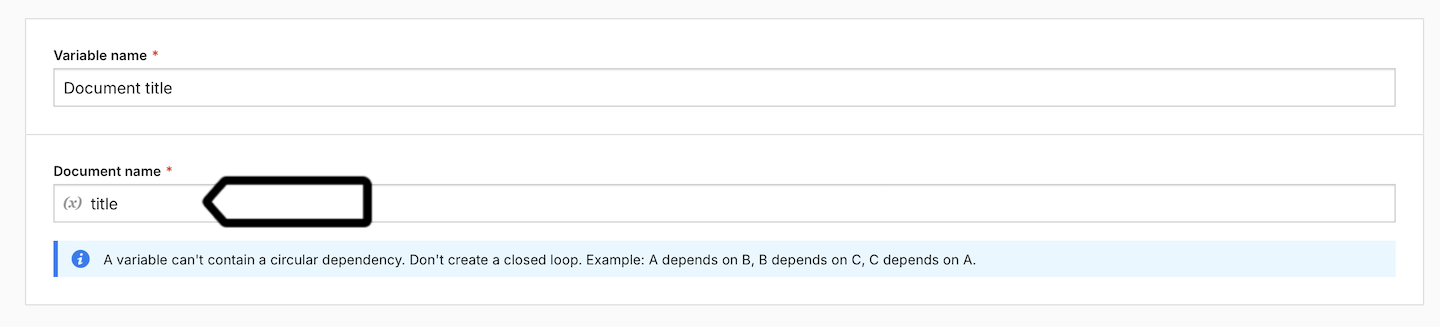
7. When you’re done, click Add.
8. Navigate to Tags.
9. Click Add a tag.
10. Select the following type: Virtual page view.
11. Click Next.
12. Name your tag.
13. Add:
- URL:
{{ Page Url }} - Document Title:
{{ Document title }}

14. In Tag triggers, click Add a trigger.
15. Select History change trigger (SPA).
16. Name the trigger.
17. Keep Wait 1 second before firing the tag turned on. It helps to match page URLs with page titles in single-page applications.
18. (Optional) In Event conditions, adjust conditions. For more, see this article.
19. Click Add.
20. Click Save to save the tag.
21. Test your tag in debug mode.
22. When you’re happy with how the tag works, click Publish.
23. Voila!
Alternative setup for slow-loading sites
If your single-page application is slow to load the first page, the page titles for that page may be inaccurate. We recommend that you set up manual page view tracking for your single-page application instead.
To set up manual page tracking, follow these steps:
1. Go to Tag Manager > Tags.
2. On the left, choose the following tag: Piwik PRO (tracking code).
3. Turn on Track page views manually.

4. Click Save.
5. Navigate to Variables.
6. Click Add a variable.
7. Select the following type: Document.
8. Name the variable Document title.
9. In Document name, type: title.
10. When you’re done, click Add.
11. Navigate to Tags.
12. Click Add a tag.
13. Choose the following type: Custom code (async) and click Next.
14. Name the tag.
15. In Tag code, add the following code:
<script>
	setTimeout(function() {
  		_paq.push(['setCustomUrl', {{ Page Url }}]);
  		_paq.push(['setDocumentTitle', {{ Document title }}]);
 		_paq.push(['trackPageView']);
	}, 1000);
</script>
Parameters
1000
The timeout value in milliseconds. Adjust it to the loading time of your site.
16. In Tag triggers, click Add a trigger.
17. Select History change trigger (SPA).
18. Name the trigger.
19. Keep Wait 1 second before firing the tag turned on. It helps to match page URLs with page titles in single-page applications.
20. Click Add.
21. Click Save to save the tag.
22. Test your tag in debug mode.
23. When you’re happy with how the tag works, click Publish.
24. All done!
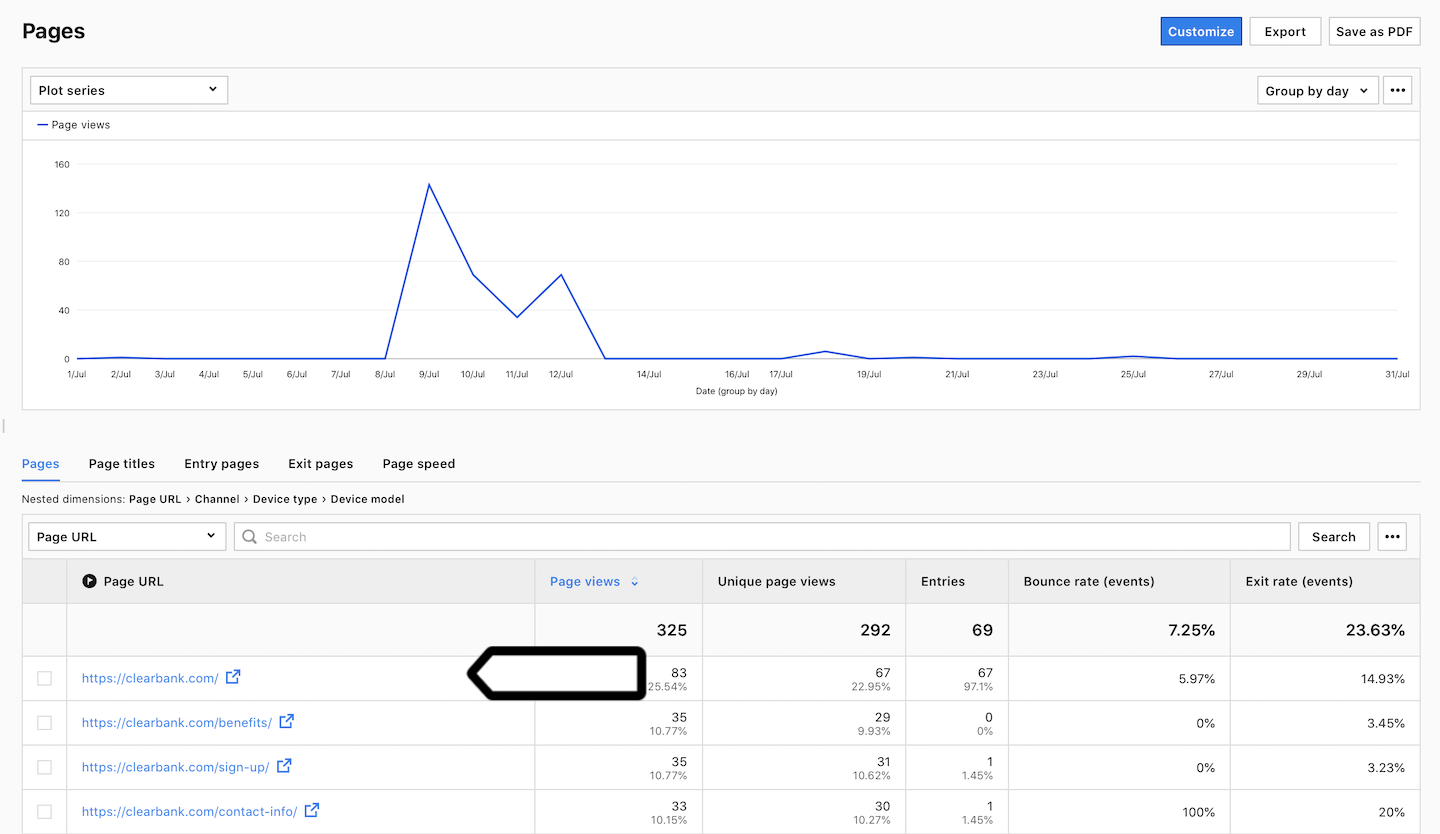
View a report
Once the tag starts collecting data from your single-page application, you’ll see it in your reports. Each change will appear as a page view, complete with a page URL and title.
To view a report, follow these steps:
1. Go to Menu > Analytics.
2. Navigate to Reports.
3. On the left, click Pages.
4. Done! You can now view your report.