Alerts are email notifications that inform you when a metric decreases, increases or reaches a specific level. You can send these alerts to your teammates and clients, adjust the frequency of notifications and disable them if needed.
In this article, we’ll walk you through the steps to initiate and deactivate an email alert.
Set an email alert
To set an email alert, follow these steps:
1. Go to Menu > Analytics.
2. Navigate to Settings.
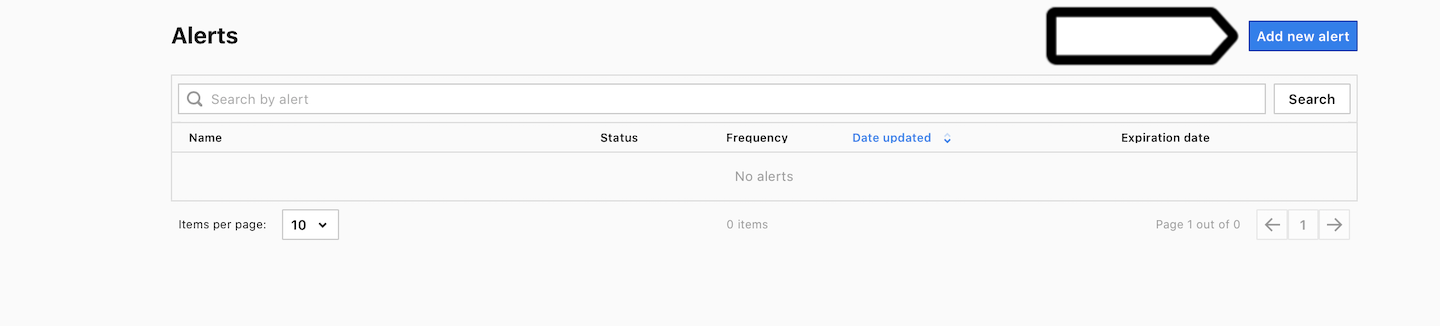
3. On the left, click Alerts.
4. Click Add an alert.
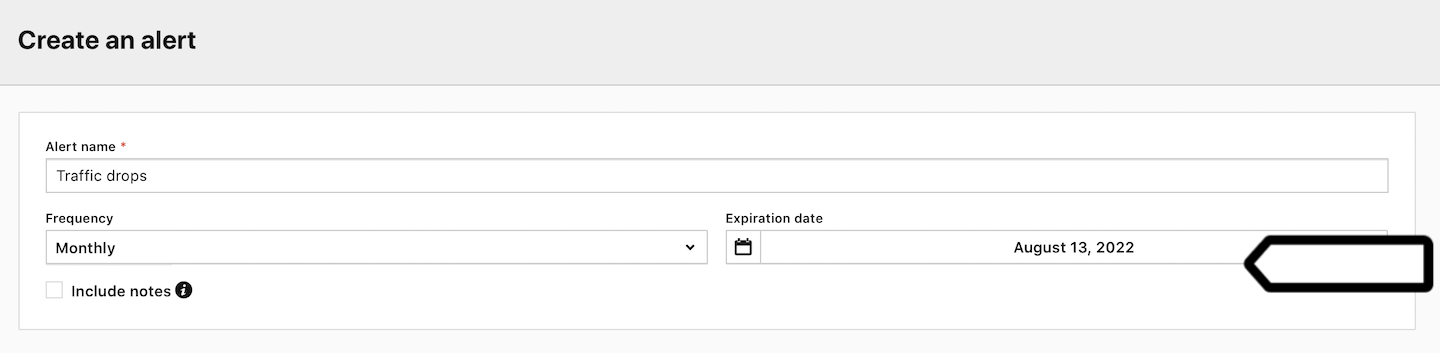
5. Name the email alert.
6. Set up the following options:
- Frequency: You have the option to receive alerts on a monthly, weekly or daily basis.
- Expiration date: Reports will not be sent after this specified date.
Available from 16.0.0Include notes: You can include notes, which are comments added to dates in your reports.
7. Drag items from the right menu to the left drop area to set alarm conditions.
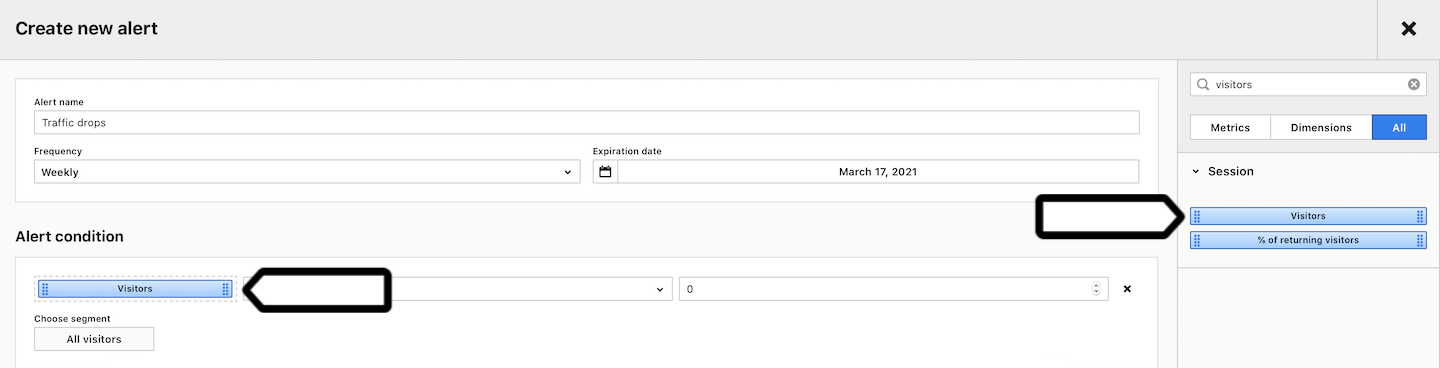
Note: On the right-hand side, you’ll see a list of dimensions. When you drag and drop a dimension, it will automatically transform into a metric calculated based on the values of that dimension.
8. (Optional) Apply segments.
9. In Recipients, enter the email addresses of the people you want to send the alert to.
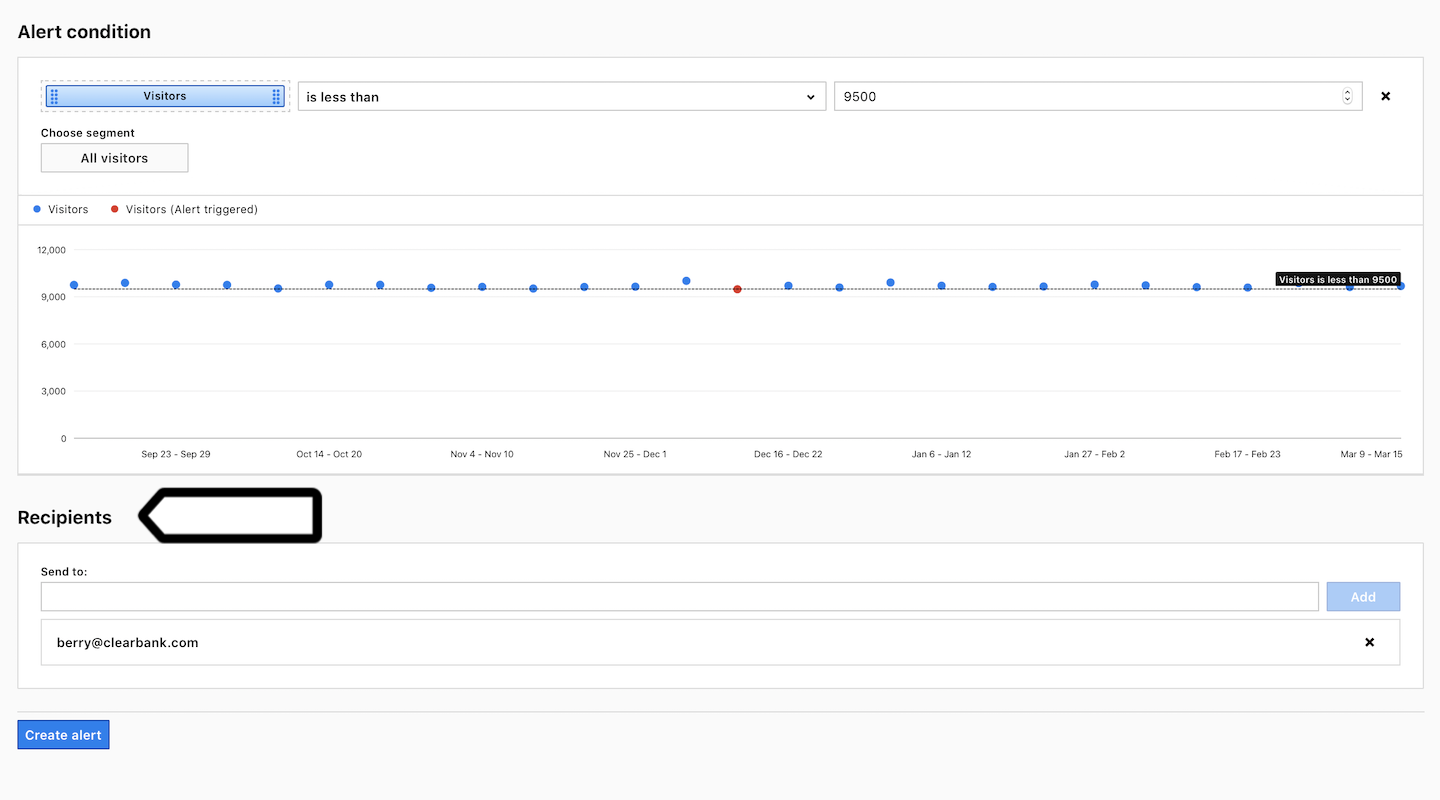
Tip: A red dot on the graph indicates the date when the alert would trigger based on historical data.
10. When you’re done, click Save.
11. Voila! Your newly created alert will now appear on the list.
Pause an email alert
To pause an email alert, follow these steps:
1. Go to Menu > Analytics.
2. Navigate to Settings.
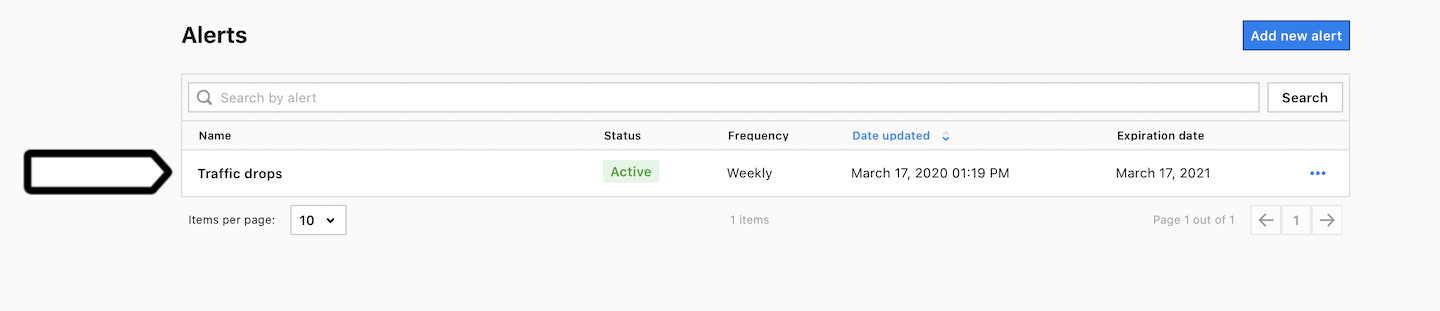
3. On the left, click Alerts.
4. Select the alert you want to work with.
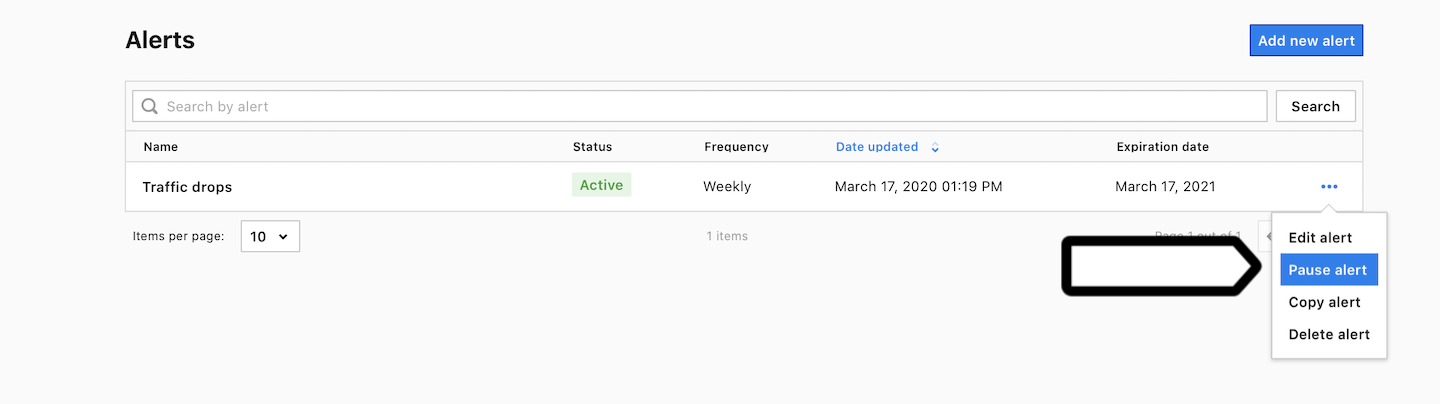
5. On the right, click the ⋯ three-dot icon.
6. Click Pause.
7. Done!
Edit, copy or delete an email alert
To edit, copy or delete an email alert, follow these steps:
1. Go to Menu > Analytics.
2. Navigate to Settings.
3. On the left, click Alerts.
4. Select the alert you want to work with.
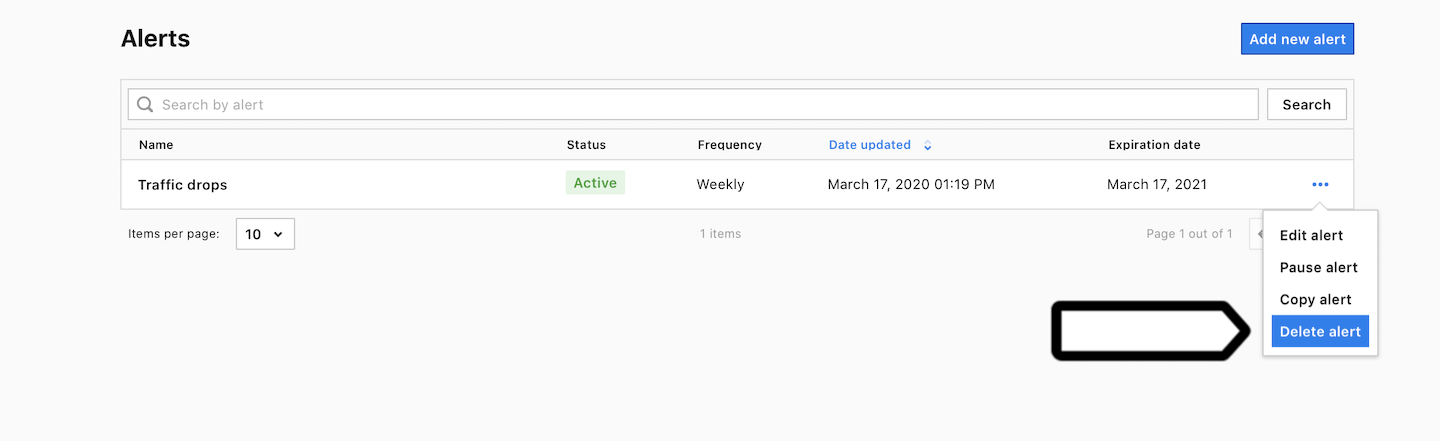
5. On the right, click the ⋯ three-dot icon.
6. Click Edit, Copy or Delete.
7. All done!