When you use Cookie Information together with Piwik PRO, you can block tags in Piwik PRO Tag Manager based on the consent decisions collected by Cookie Information.
In this guide, we’ll show you how to do it.
Before you start
Here are some important things to keep in mind before you start:
- You need to have all consent types from Cookie Information mapped in Piwik PRO. Read more
- You need owner permissions in Piwik PRO.
- You can set up tag blocking for existing or new tags. In this article, we’ll show you setting it up for a new tag. If you already have tags, select the right consent type.
Set up tag blocking based on Cookie Information consent
To set up tag blocking based on Cookie Information consent, follow these steps:
1. Log in to Piwik PRO.
2. Go to Tag Manager > Tags.
3. Select the tag you want to edit.

4. Go to Advanced tag settings.
5. Select Consent type that matches the one you mapped in Cookie Information during the Piwik PRO integration. This tag will fire only for visitors who accept the selected consent type.
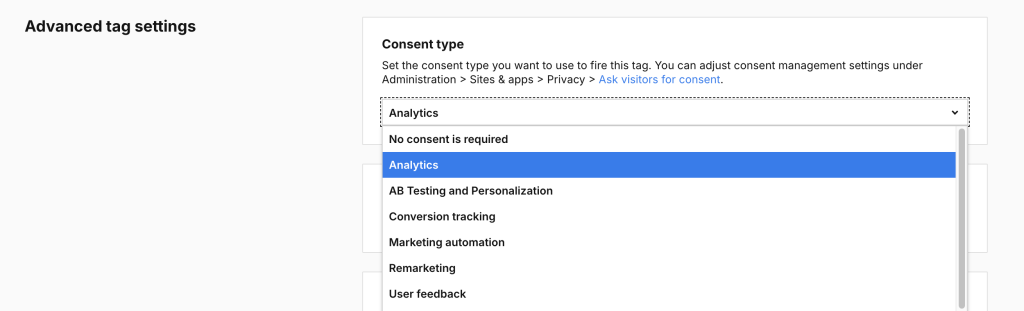
Note: If you mapped analytics consent type in Piwik PRO to statistics in Cookie Information, and want this tag to fire only when statistics consent is granted, select Analytics from the list.
6. Click Save.
7. Test your tag in debug mode.
8. When your tag works correctly, click Publish.
9. Repeat steps 3-8 for each tag you want to set up the consent type.
10. All set!