If you use Piwik PRO with a lot of people, you can make things easier by creating groups and managing their permissions all at once. This will help you ensure that everyone on your team has the right access to the data and tools they need to do their jobs effectively.
In this article, we’ll explain how you can use groups to set permissions in Piwik PRO.
Before you start
Here are some important things to keep in mind before you start:
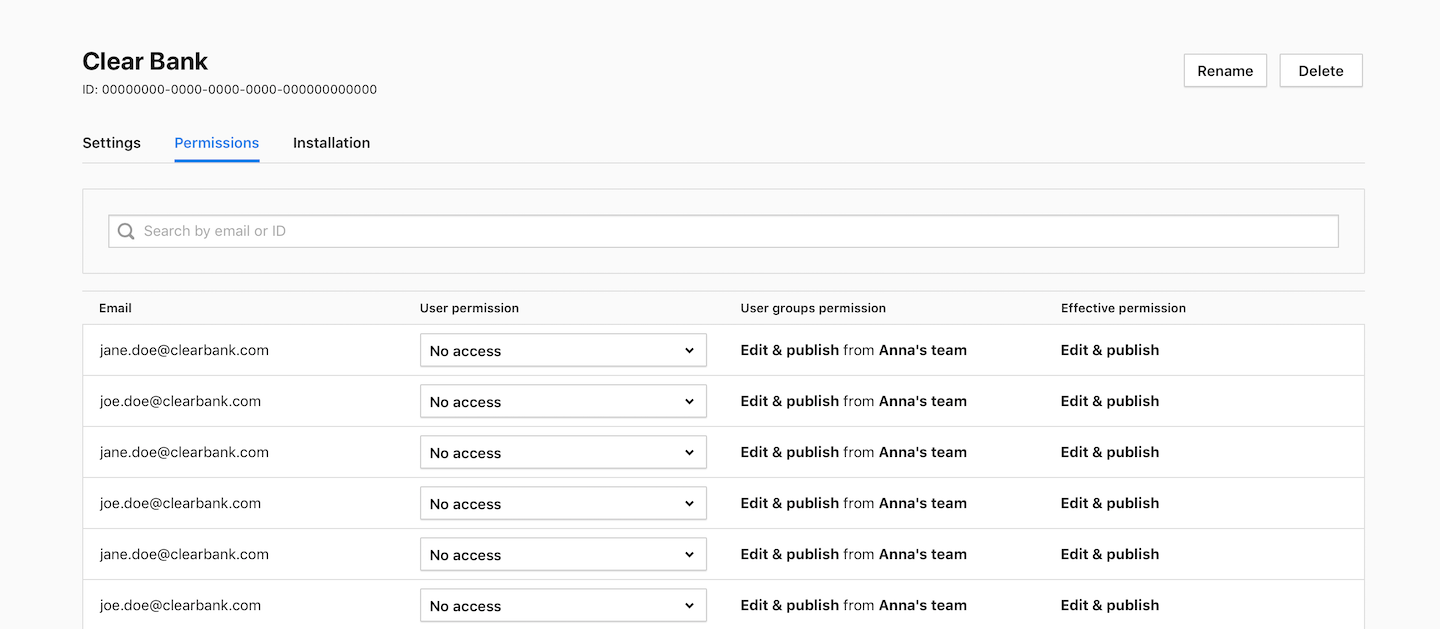
- If your teammate has both individual and group permissions set, the higher permission is granted.
- When a group is deleted, its members lose their assigned permissions. However, they still have permissions assigned to them individually or in another group.
Add a group
To add a group, follow these steps:
1. Go to Menu > Administration.
2. Navigate to Groups.
3. Click Add a group.
4. Name the group.
5. Click Add user to group.

6. Pick the teammates you want to add to the group.
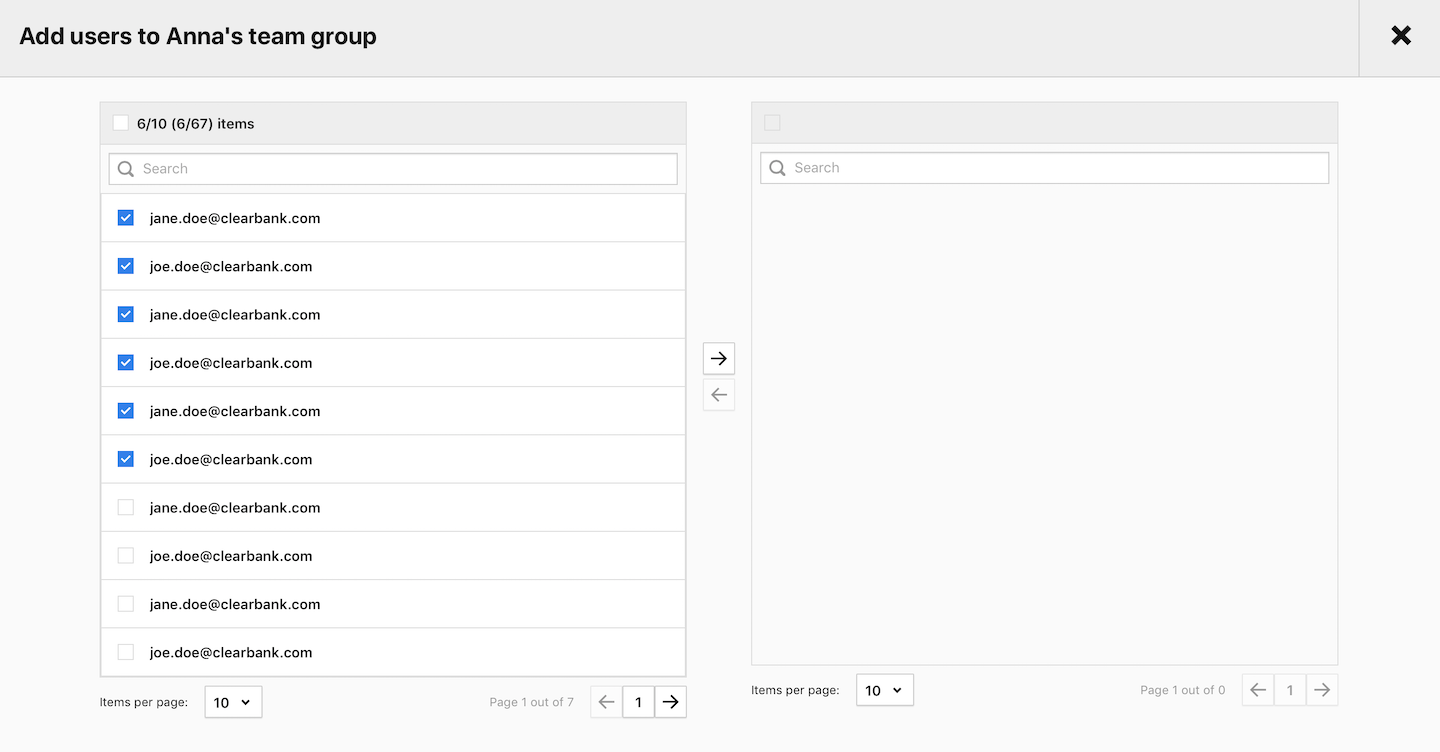
7. Click the right arrow to add your teammates.
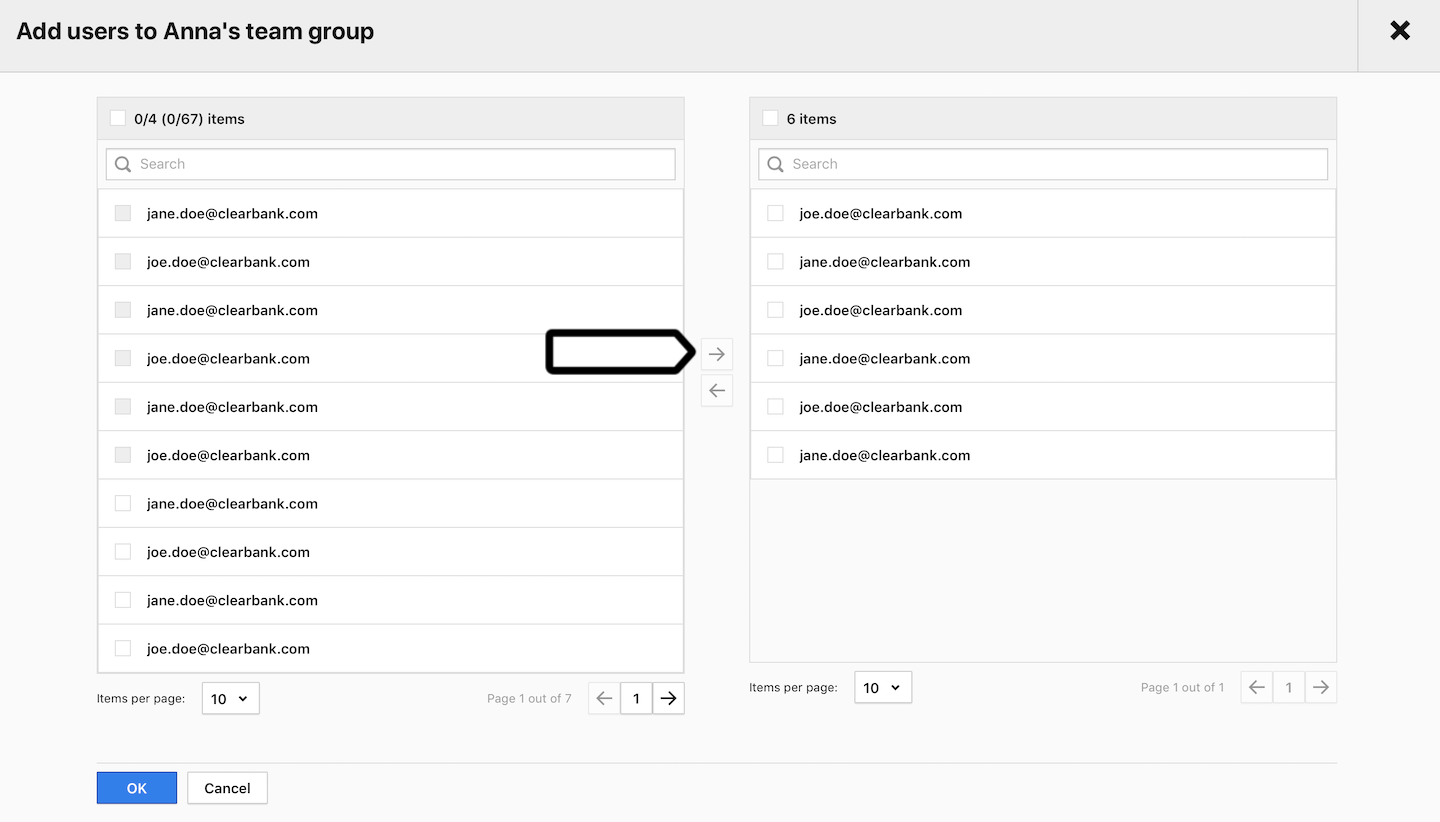
8. Click OK.
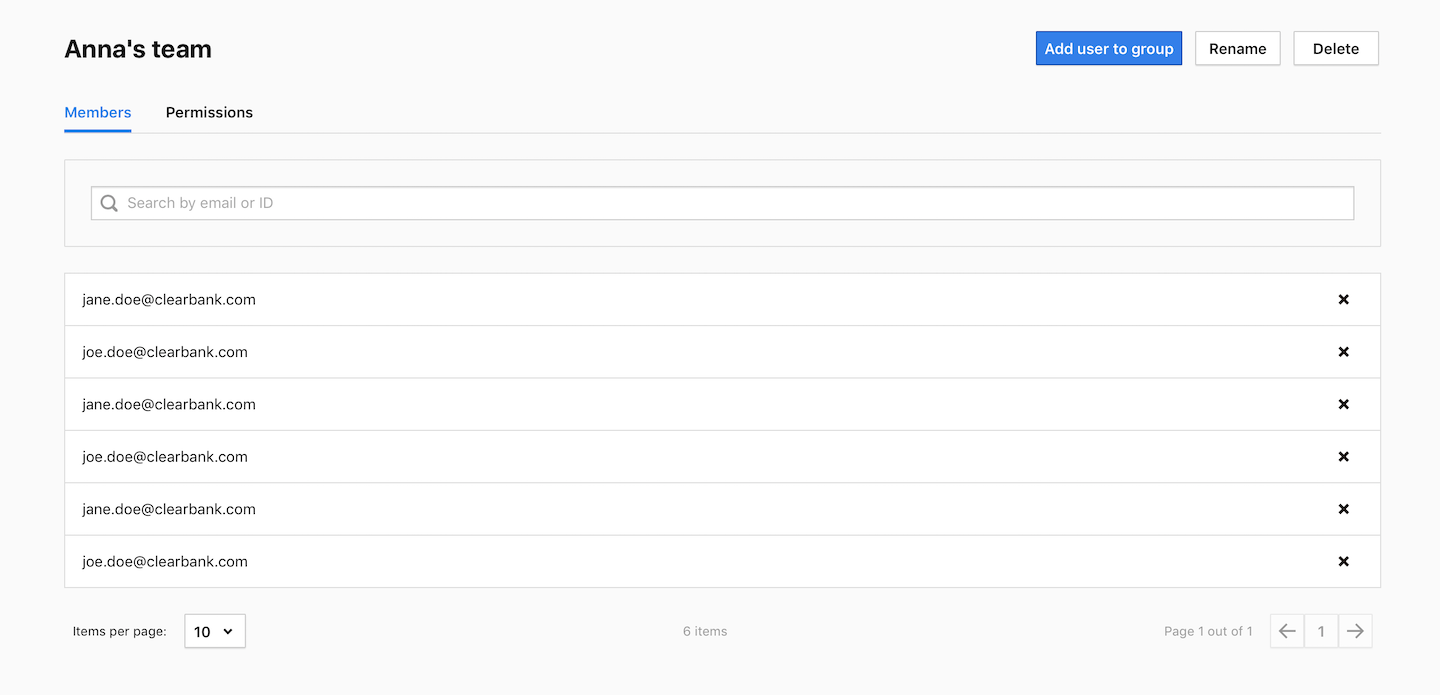
9. You’ll see your teammates on the member list.
10. Navigate to Permissions and grant permissions for a site and app.
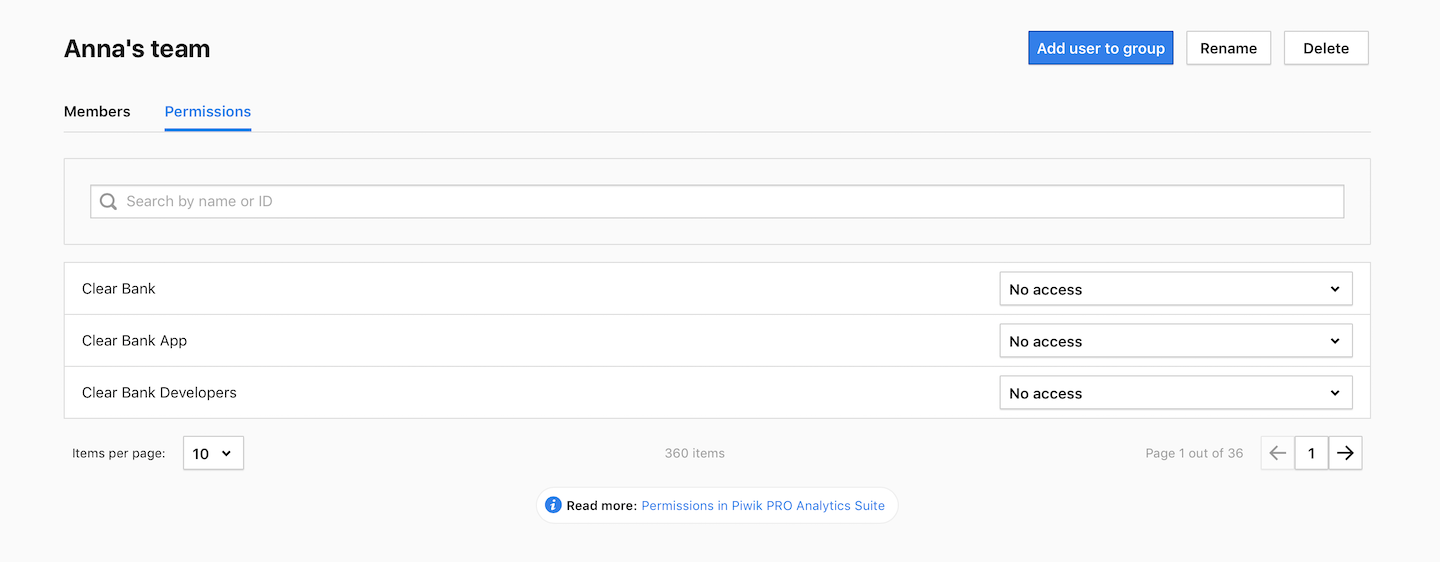
Here’s a brief overview of site/app permissions:
- Manage: The user can see and edit sites/apps, edit and publish tags, manage permissions and use Consent Manager. But they can’t add a site/app or a new user.
- Edit & publish: The user can do the same actions as on the manage level, except they can’t manage permissions.
- Edit: The user can see and edit sites/apps and tags. But they can’t publish tags, manage permissions or use Consent Manager.
- View: The user can see sites/apps and tags.
- No access: The user can’t see anything.
For more details, see this article.
11. Go to Menu > Administration > Meta sites & apps > Permissions to grant permissions for a meta site/app.
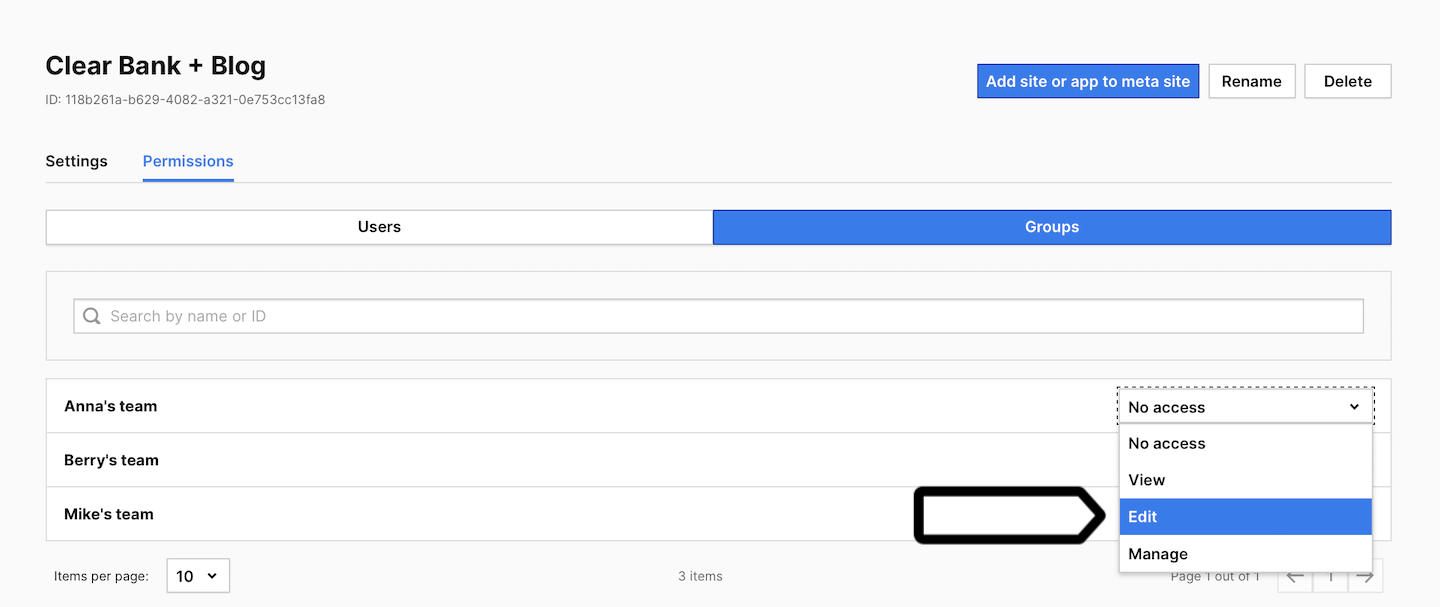
Here’s a brief overview of meta site/app permissions:
- Manage: The user can see meta site/app settings, assign permissions to users, see and edit dashboards, see every report, edit custom reports, export a report, see and edit segments.
- Edit: The user can see and edit dashboards, see every report, edit custom reports, export a report, see and edit segments.
- View: The user can see dashboards, segments and every report, and export a report.
- No access: The user can’t see anything.
For more details, see this article.
Remove a user from a group
To remove a member from a group, follow these steps:
1. Go to Menu > Administration.
2. Navigate to Groups.
3. Pick the group you want to work with.
4. Click X next to the user you want to remove.
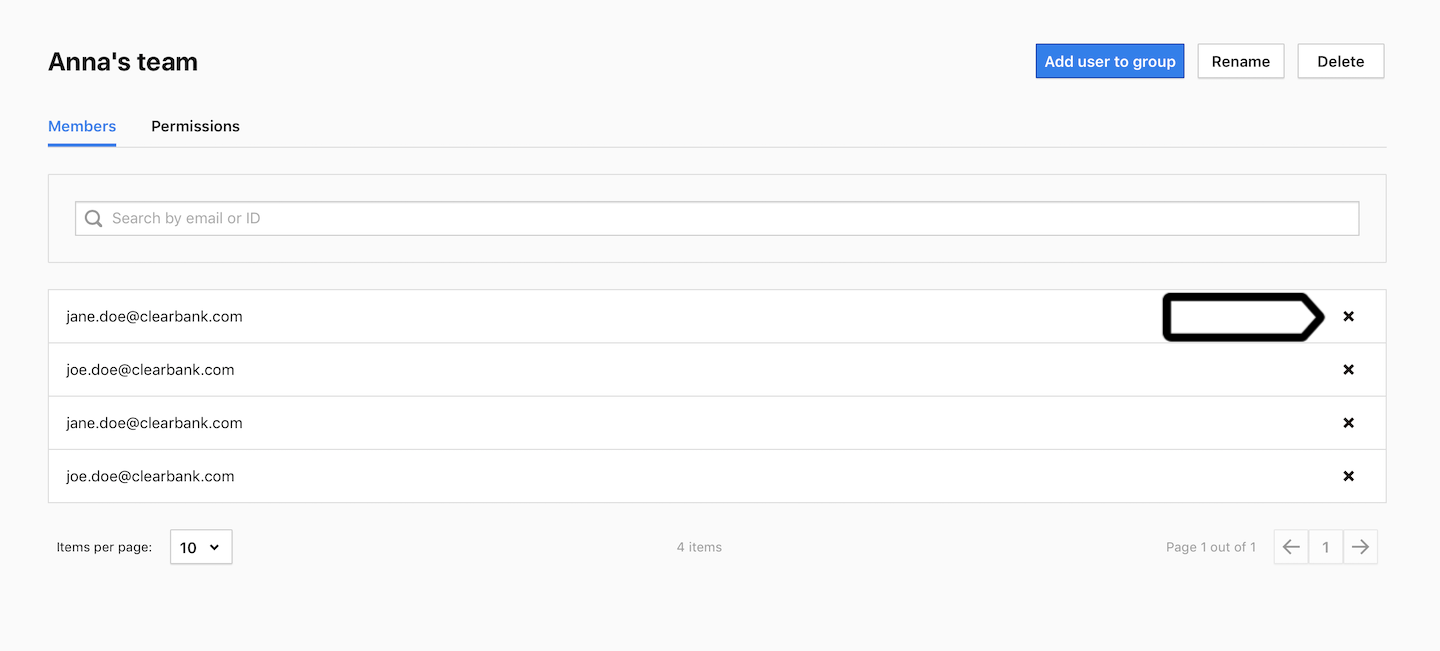
5. All done! This user no longer has permissions assigned to this group. However, they still have permissions assigned to them individually or in another group.
Delete a group
To remove a group, follow these steps:
1. Go to Menu > Administration.
2. Navigate to Groups.
3. Pick the group you want to work with.
4. Click Delete and confirm your decision.
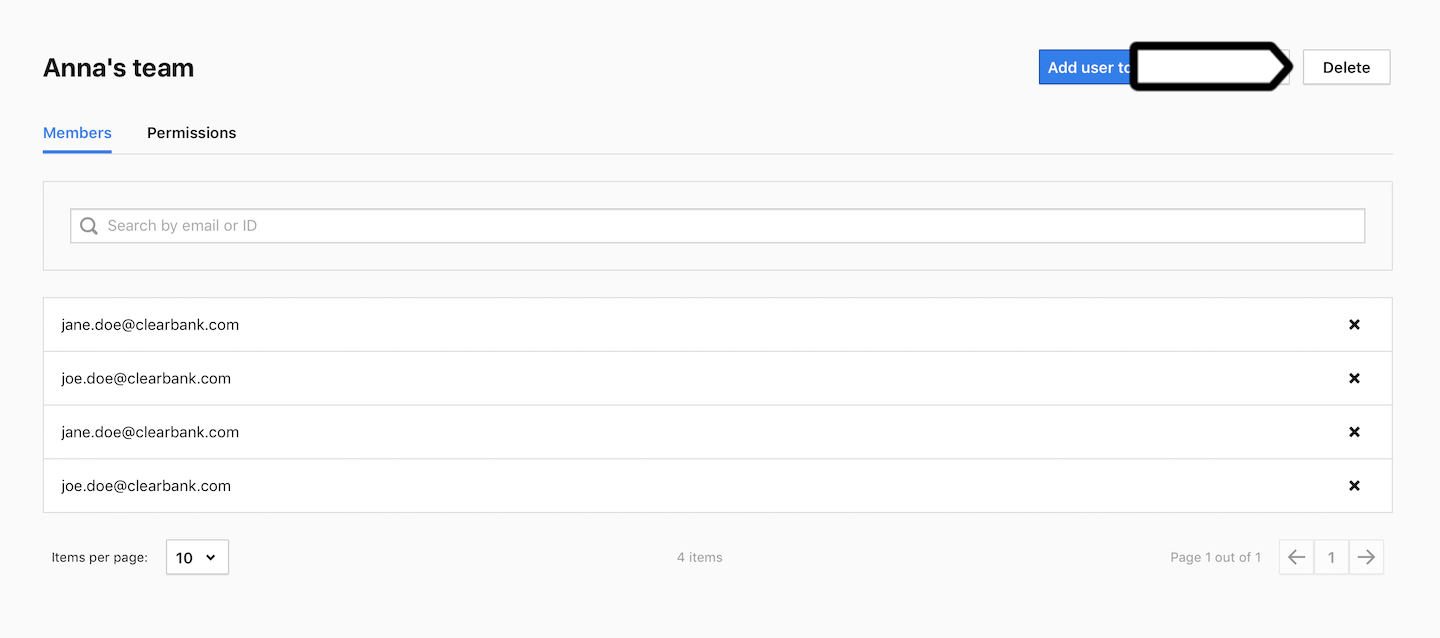
5. All set! Members have lost their assigned permissions. However, they still have permissions assigned to them individually or in another group.
Check permissions granted for each site, app or meta site/app
To view permissions, follow these steps:
1. Go to Menu > Administration.
2. Navigate to Sites & apps or Meta sites & apps.
3. Pick the site, app or meta site/app you want to work with.
4. Navigate to Permissions.
5. Here you’ll find the following permission details:
- User permission: permissions for individual users.
- Group permission: permissions that are assigned to a group to which a user belongs.
- Effective permission: current active permissions for a user, which may come from their individual permissions and/or group permissions.
