Note: We’ll no longer offer Consent Manager for new Piwik PRO accounts.
When you want to fire tags in Google Tag Manager in accordance with the consent given in Piwik PRO Consent Manager, you need to set up a manual integration. To do this, you need to create data layer events in Piwik PRO Tag Manager that will store the consent information and pass it to Google Tag Manager.
In this article, we’ll explain how to set up such an integration.
Before you start
Here are some things to know before you start:
- You need to set up your Consent Manager first and decide which consent types you want to use.
- When you use a data layer in other tools, we recommend using a custom data layer name in Piwik PRO. In this integration, you can use
pptmDataLayerfor Piwik PRO Tag Manager anddataLayerfor Google Tag Manager.
Create a tag and trigger in Piwik PRO Tag Manager
To begin, we’ll create a tag and trigger in Piwik PRO Tag Manager to send a data layer event when a visitor consents.
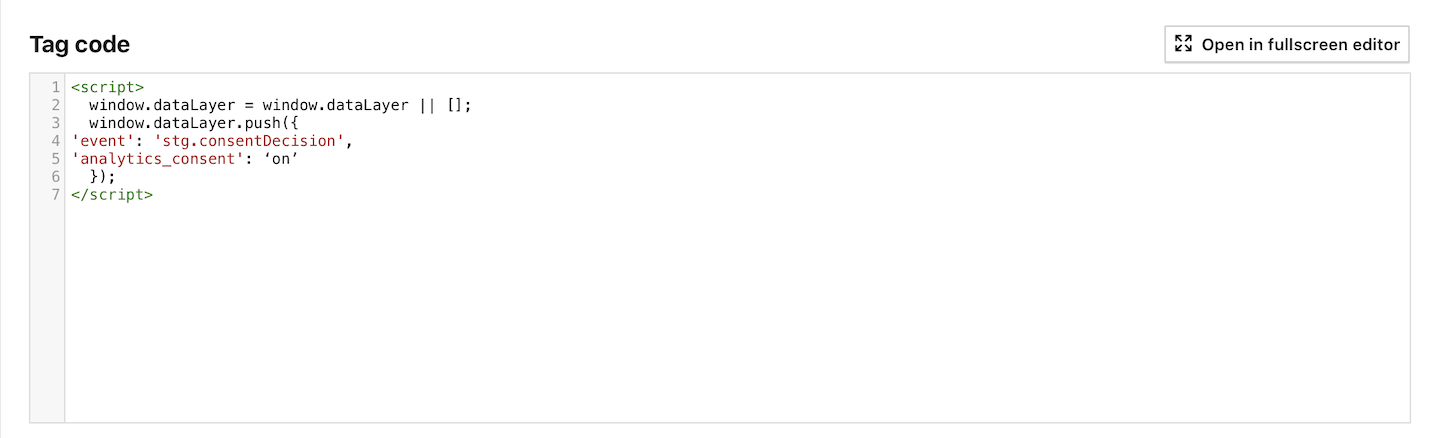
We’ll use the following code:
<script>
  window.dataLayer = window.dataLayer || [];
  window.dataLayer.push({
    'event': 'stg.consentDecision',
    'analytics_consent': 'on',
  });
</script>
Parameters
‘event’: ‘stg.consentDecision’
The name of the event.
‘analytics_consent’: ‘on’
The type of consent. Possible values: analytics_consent, marketing_consent, abtesting_consent, conversion_tracking_consent, marketing_automation_consent, remarketing_consent, user_feedback_consent and custom_type_consent.
To create a tag, follow these steps:
1. Log in to Piwik PRO.
2. Go to Menu > Tag Manager.
3. Navigate to Tags.
4. Click Add a tag.
5. Select the following type: Custom code.
6. Name your tag.
7. Click Add.
8. In Tag code, type your code.
9. In Advanced tag settings, set the same tag type as you use in your code. For example, if you use analytics_consent, set Analytics.
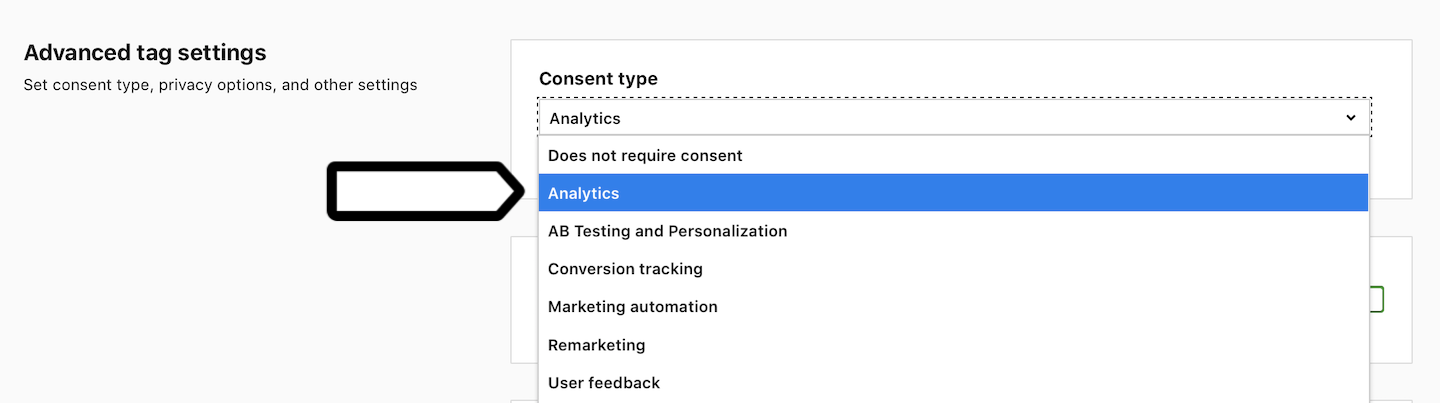
Note: This step is the most important in the entire setup because it links Piwik PRO consents with Google Tag Manager.
10. In Tag triggers, click Choose an existing trigger to set up a trigger for your tag.
11. Pick All page views and click OK. We use All page views because it makes sure that a data layer event is sent every time a user refreshes a page.

Note: If you’re using page view triggers in Google Tag Manager, you’ll need to change them to window-loaded to fire when consent details are received.
12. When you’re done, click Add.
13. Repeat steps 3–12 for the other consent types you want to have in Google Tag Manager.
14. Test your tags in debug mode.
15. When you’re happy with how the tags work, click Publish.
16. Done!
Create a variable in Google Tag Manager
Now we need to set up variables in Google Tag Manager that will fetch information about consent types from data layer events.
To create a variable, follow these steps:
1. Log in to Google Tag Manager.
2. Open your container.
3. On the left, click Variables.
4. In User-defined variables, click New.
5. Name your variable.
6. Pick Data Layer Variable.
7. Paste the variable name you used in your code in Piwik PRO Tag Manager. In our example, it is analytics_consent.
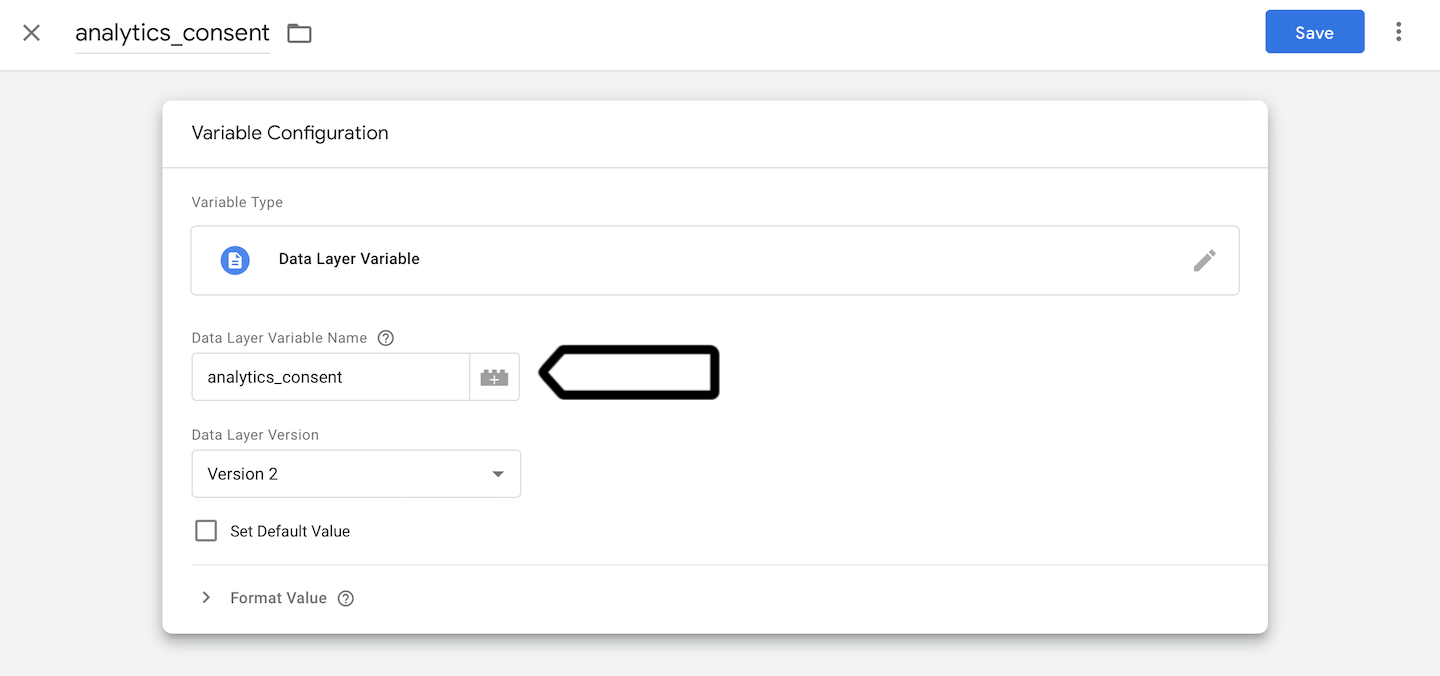
8. Click Save.
9. Repeat steps 4–8 for the other data layer events you’ve set in Piwik PRO Tag Manager.
10. Done!
Add a trigger in Google Tag Manager
After creating variables, you can use them to create new triggers or set conditions for existing triggers.
To add a trigger, follow these steps:
1. Log in to Google Tag Manager.
2. Open your container.
3. On the left, click Triggers
4. Add a new trigger or edit an existing trigger.
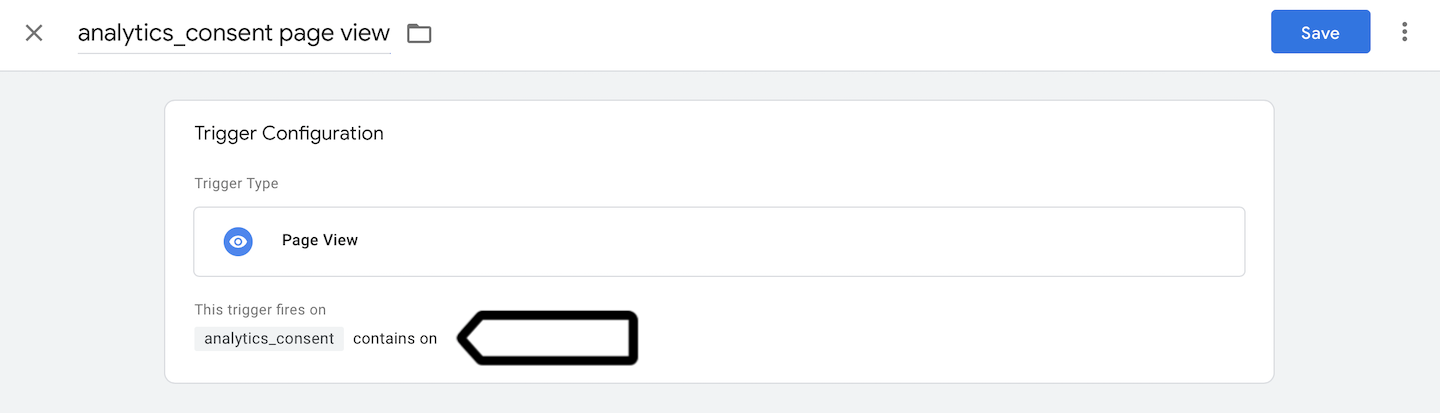
5. In This trigger fires on, set the condition based on your variable. Example: analytics_consent contains on.
6. Repeat steps 3–5 for the other triggers you want to modify.
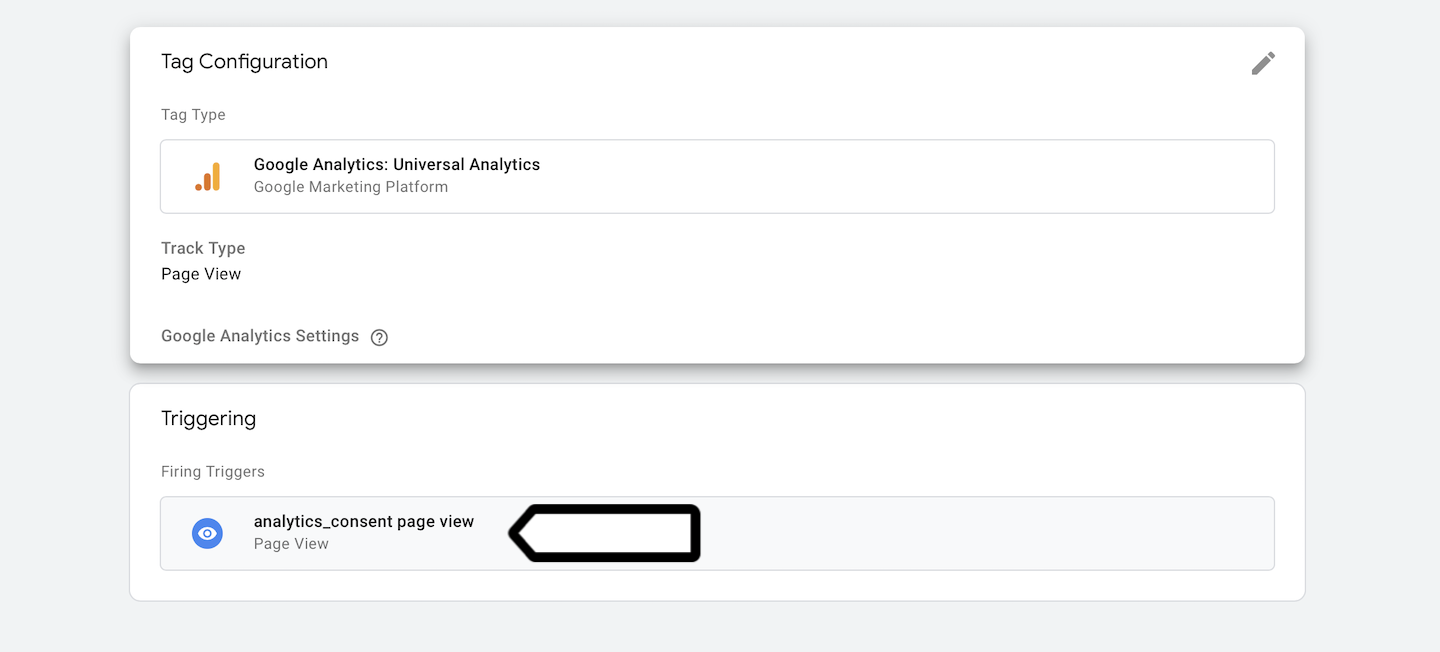
7. When your triggers are ready, add them to your tags.
8. All done!