Google Search Console, a free tool by Google, helps you assess your website’s appearance in Google search results. It’s essential for all website owners as it provides insights for content and site structure improvements.
When integrated with Piwik PRO, Google Search Console data becomes part of your analytics reports. The combined data shows both search queries and clicked results, which helps you better understand how visitors from Google interact with your site.
In this article, we’ll show you how to set up the integration. While the process may seem a bit complex, follow our guidelines and integration will be done in no time.

Before you start
Here are some things to know before you start:
- You need to have the following permissions in Piwik PRO: owner or manage.
- You need access to Google Search Console and Google API Console. If you don’t use these tools, you might need help from your webmaster.
- The data from Google Search Console isn’t personal (PI) or identifiable (PII). It’s all aggregated and can’t be linked to individual visitors tracked by Piwik PRO. You can safely use this data and comply with data protection laws.
Add a property to Google Search Console
To start off, you need to add a property to your Google Search Console.If you don’t already have a Google Search Console account, you’ll need to create one first and then add the property.
To add a new property to Google Search Console, follow these steps:
1. Log in to Google Search Console.
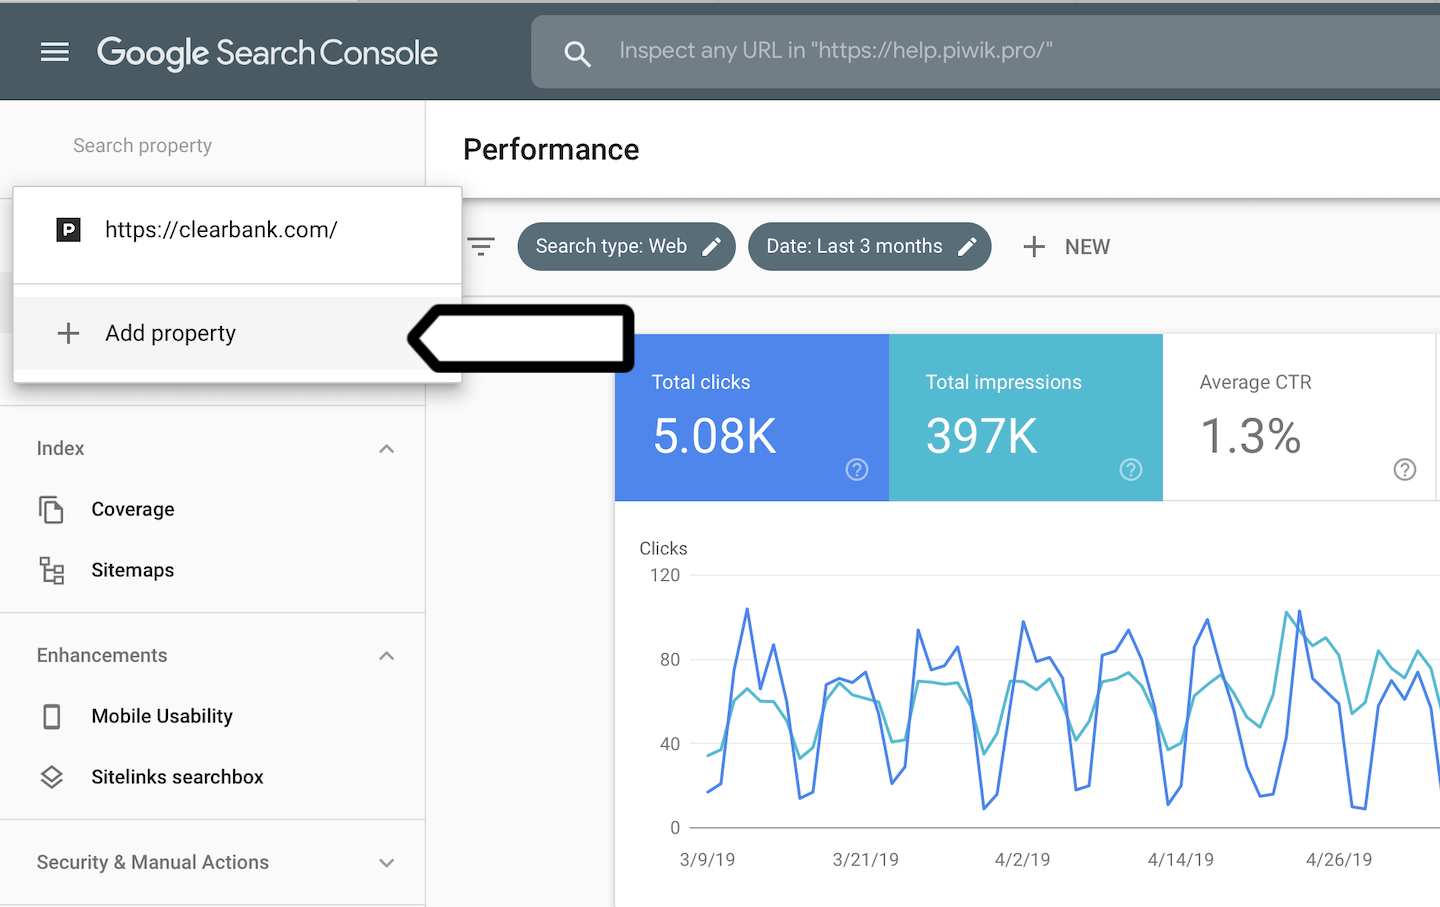
2. Click the drop-down menu and click + Add property.
3. Select the type of property: domain or URL prefix.
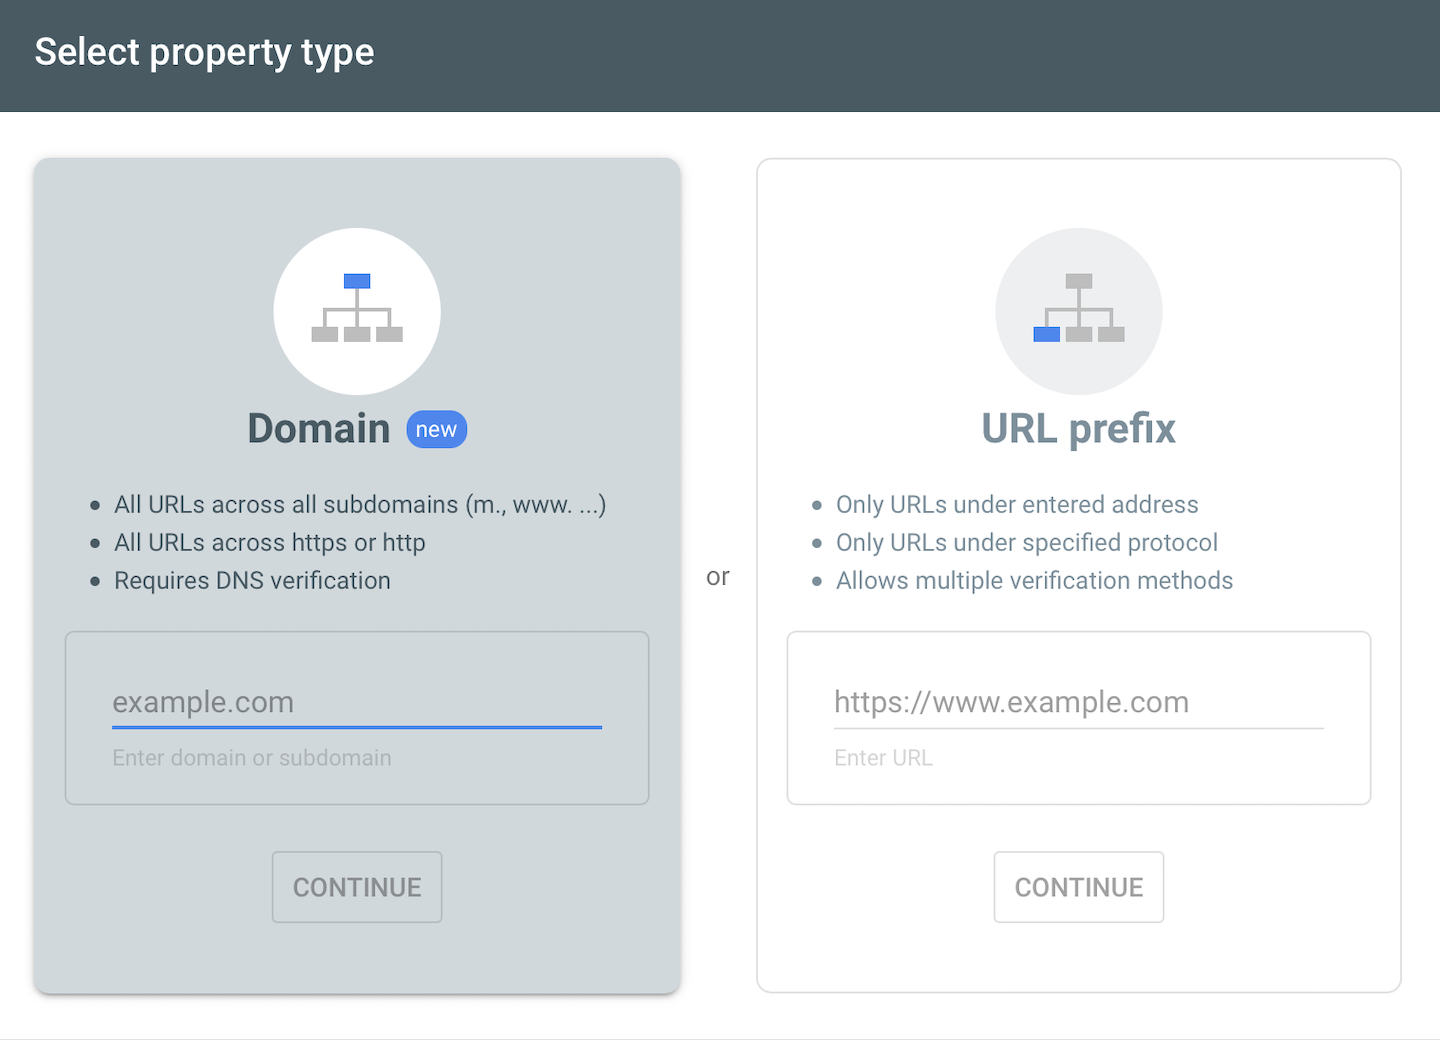
Tip: For more on property types, see this article.
4. Check your property.
Tip: For more on checking properties, see this article.
5. Done! Google begins collecting data as soon as you add the property, even before it is checked. However, you’ll need to wait a few days for the data to show up in Google Search Console.
Turn on the Google Search Console API
Once your property is all set up in Google Search Console, you can move to the next step: turning on an API. Piwik PRO needs API access to connect with Google Search Console and retrieve the data.
To turn on the Google Search Console API, simply follow these steps:
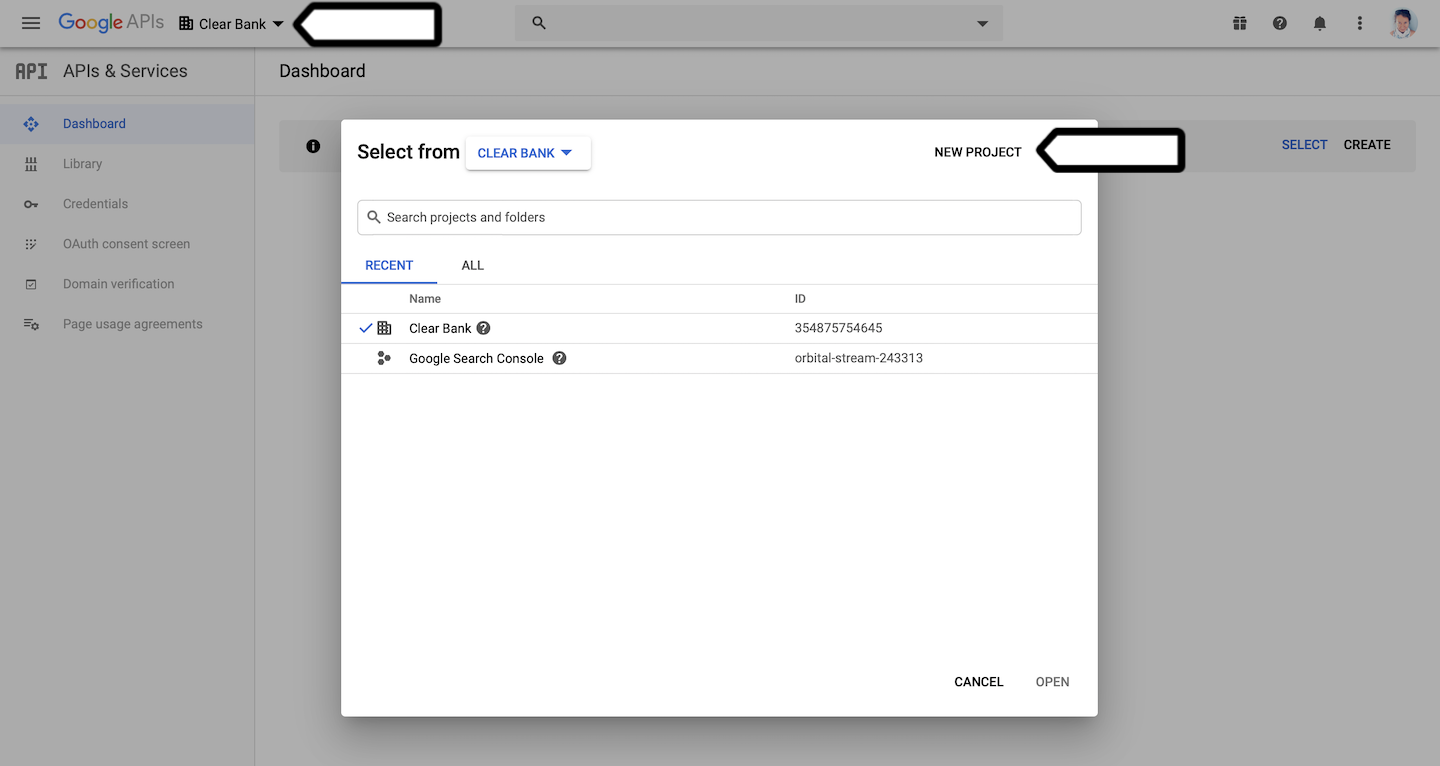
1. Log in to Google API Console.
2. Select a project from the project list or create a new one.
3. On the left, click Library.
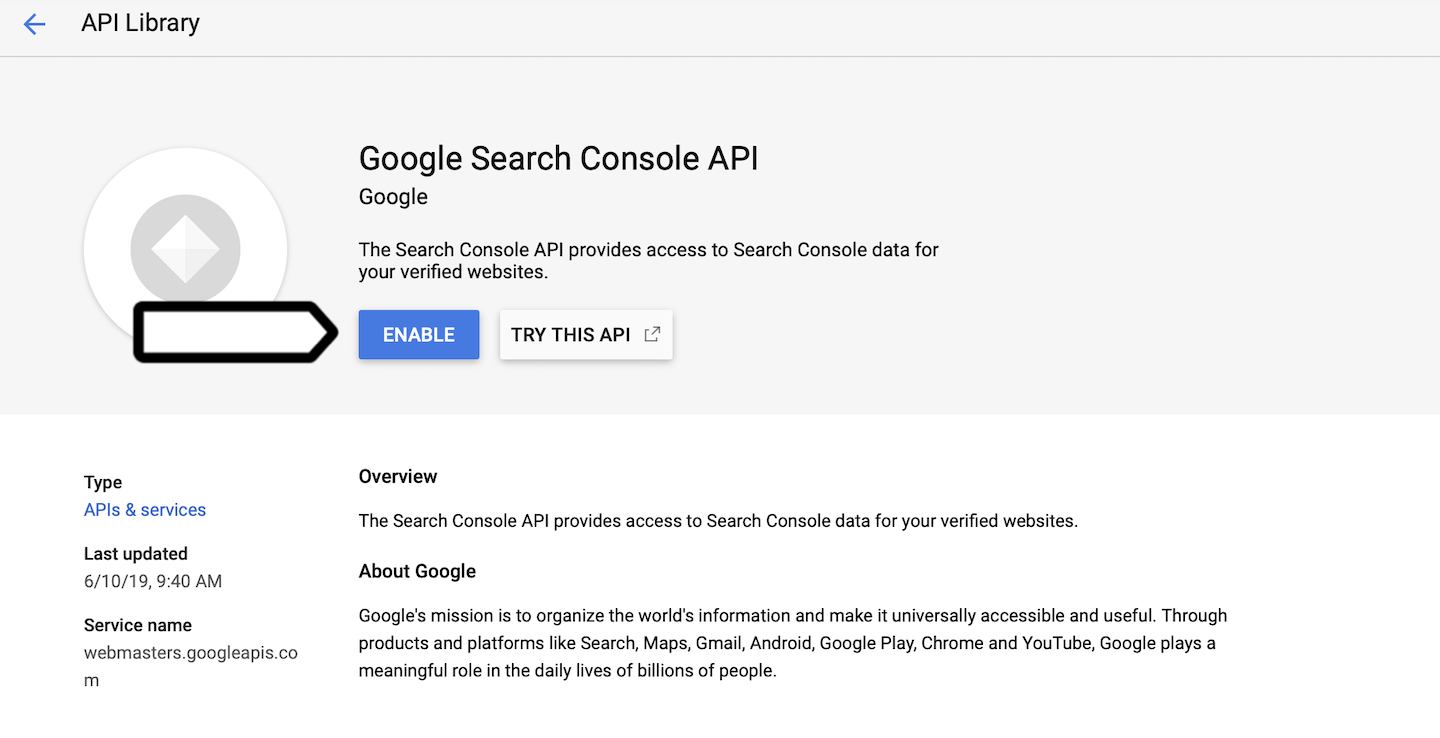
4. Search for the Google Search Console API.
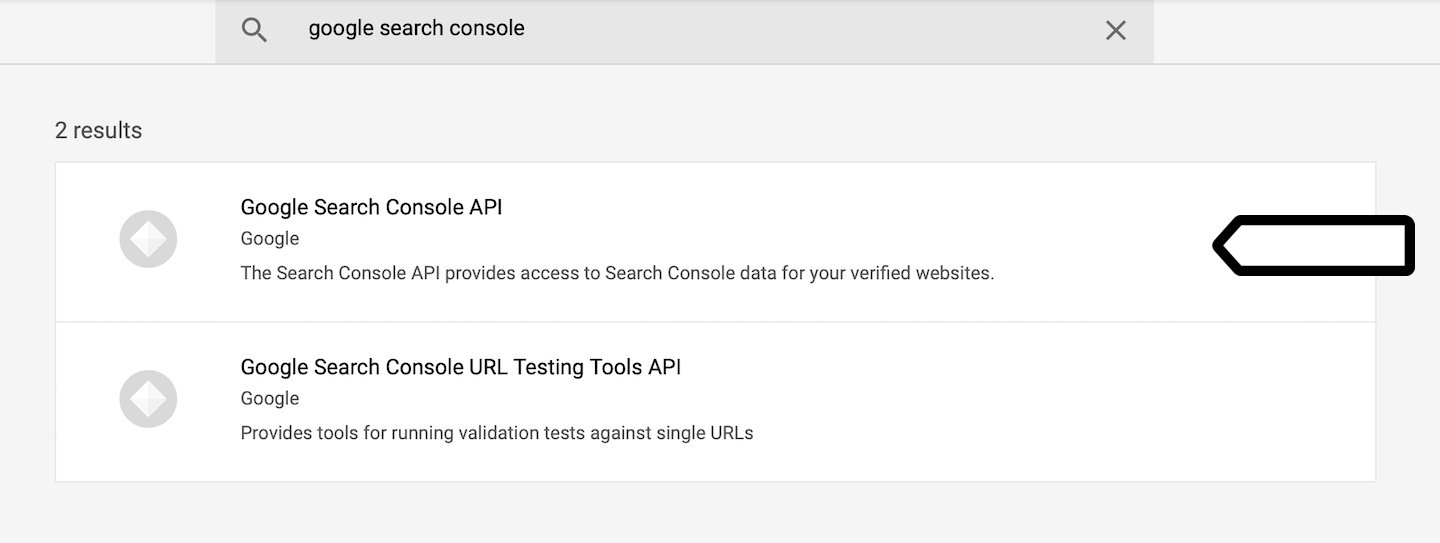
5. Click Enable.
6. Done!
Set up the oAuth 2.0 client in Google API Console
Okay, we’re halfway there. Now that you have your API ready, you need to set up the oAuth 2.0 client. The oAuth 2.0 is a protocol that allows Piwik PRO to access information from Google Search Console.
To set up the oAuth 2.0 client for Google Search Console API, follow these steps:
1. Log in to Google Cloud API Console.
2. Select your project from the project list
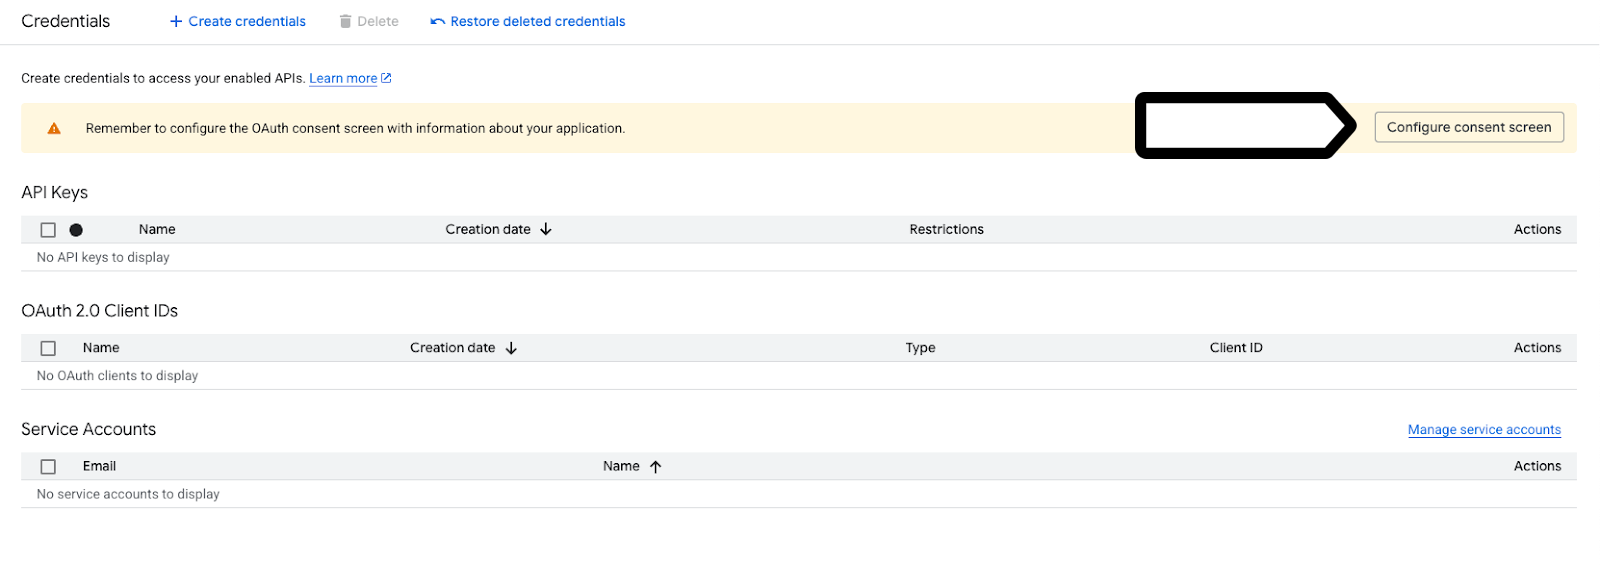
3. In the menu APIs & Services on the left, click Credentials.
4. Click + Create credentials, then pick OAuth client ID.
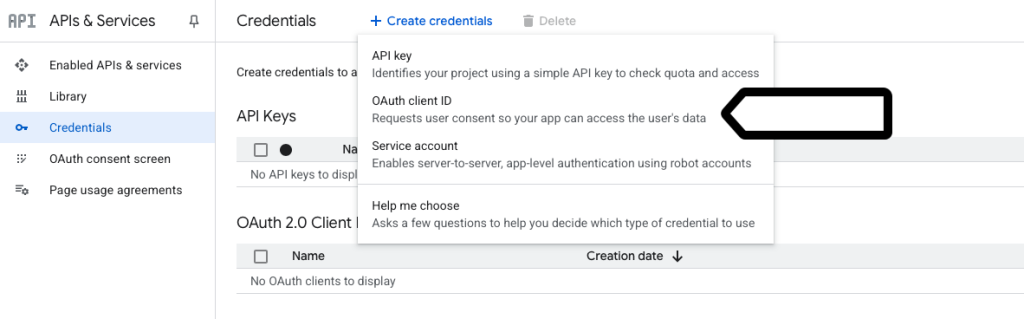
5. If this is your first time creating a client ID, Google will ask you to set up the consent screen.
6. Click Configure consent screen.
7. Click Get started.
8. Add consent details that will appear on the consent screen:
- App name: Piwik PRO
- User support email: your email
9. Click Next.
10. In Audience, choose External.
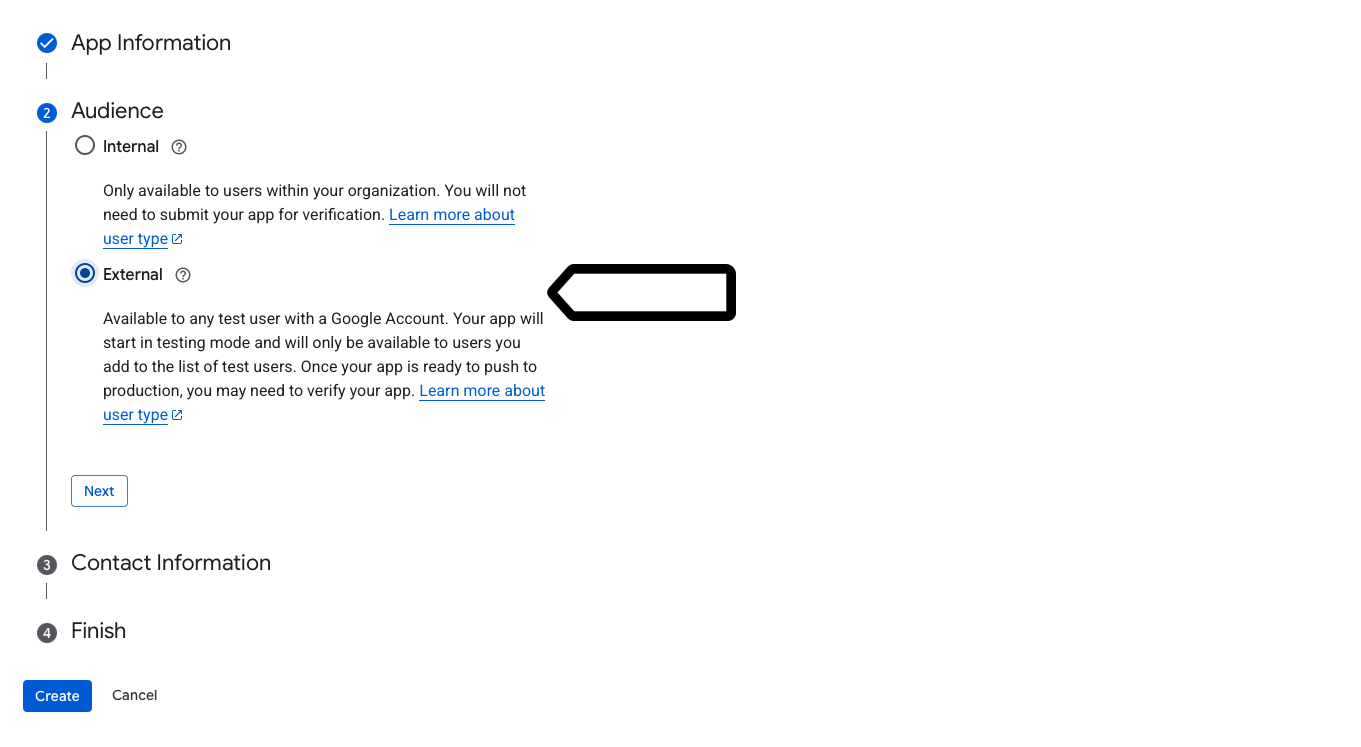
11. Click Next.
12. In Contact Information, add your email address.
13. Click Next.
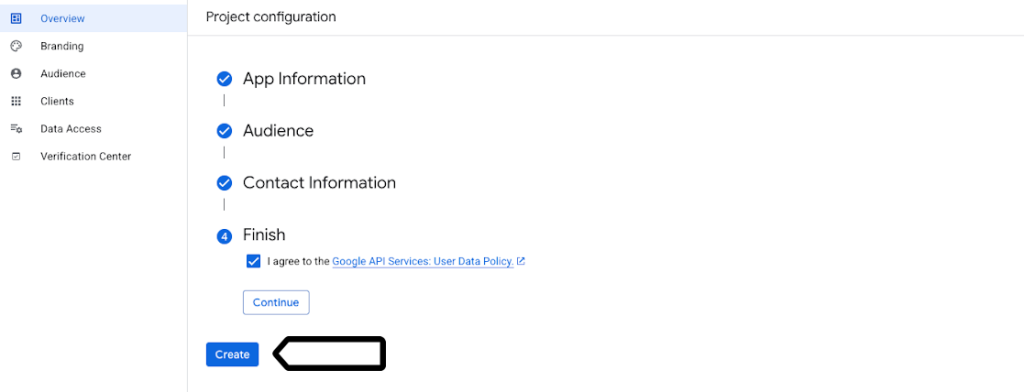
14. Read and agree to the Google API services’ user data policy.
15. Click Continue.
16. Now, click Create.
17. In the menu Google Auth Platform on the left, click Branding.
18. Scroll to App domain and fill out the data:
- Application home page:
https://piwik.pro - Application privacy policy link:
https://piwik.pro/privacy-policy/ - Application terms of service link:
https://piwik.pro/cloud-sla/
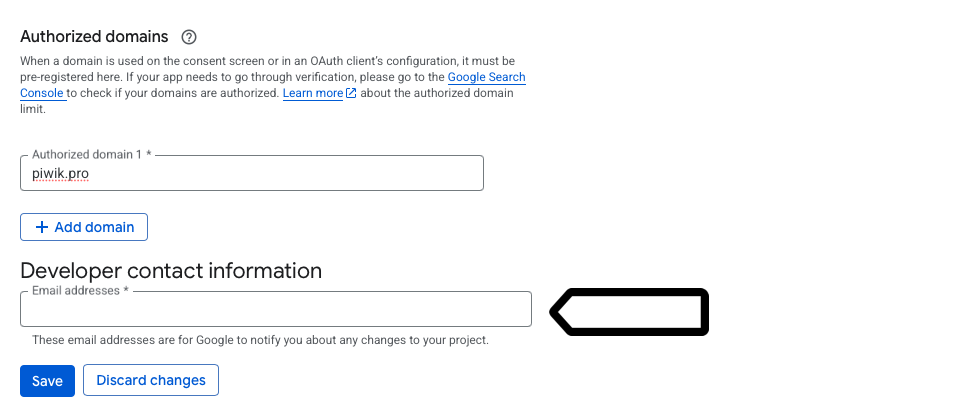
19. In Authorized domains, add piwik.pro (for cloud accounts) or your domain URL address (for on-premises accounts).
20. In Developer contact information, add the email address where you’d like to receive notifications about changes to your project.
21. Now, in the menu Google Auth Platform on the left, click Data Access.
22. Click Add or remove scopes.
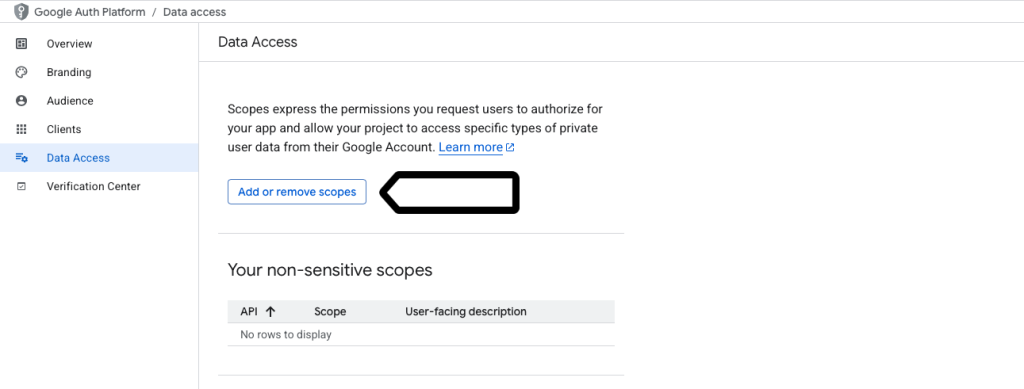
23. Choose ../auth/webmasters.readonly from the list, or add scopes manually: https://www.googleapis.com/auth/webmasters.readonly.
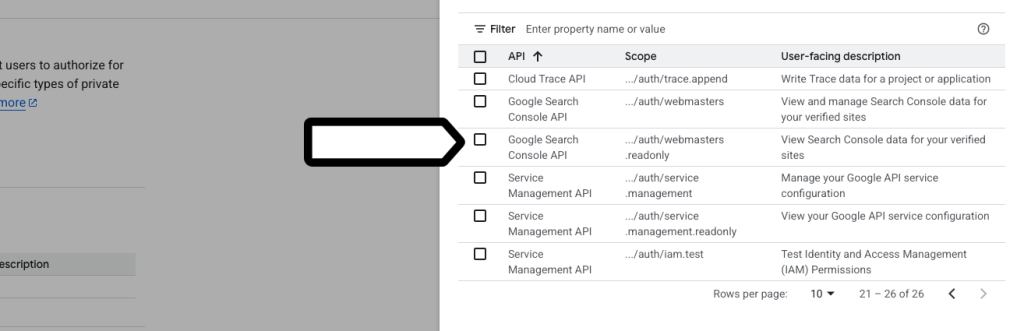
24. Click Update.
25. Your scope is now added.
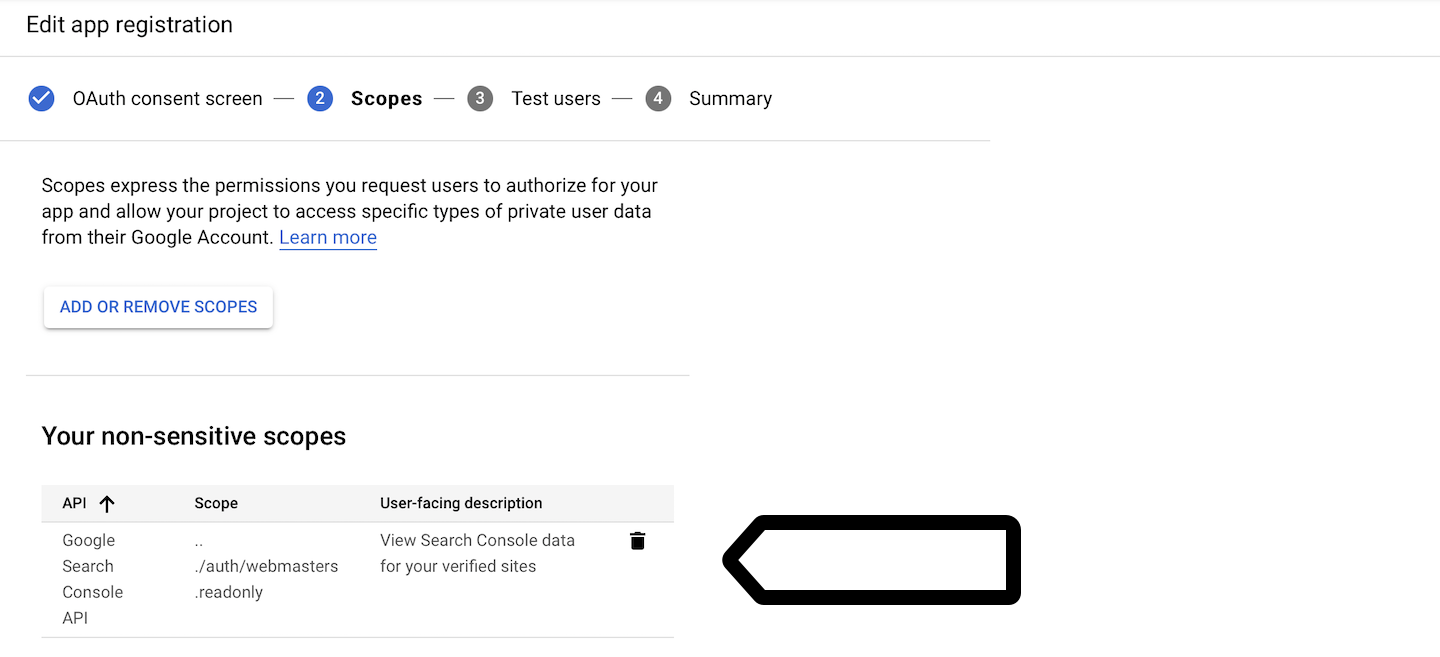
26. Click Save at the bottom of the page.
27. In the menu Google Auth Platform on the left, click Audience.
28. Click Publish app.
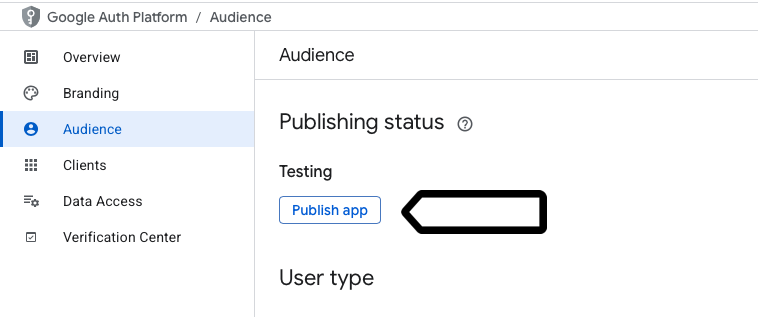
Note: If you don’t publish the app, its authentication token will expire in 7 days. This will deactivate your integration.
29. Click Confirm.
30. The OAuth consent screen is now public. It doesn’t require checking by Google because it uses a non-sensitive scope.
31. In the menu APIs & Services on the left, click Credentials.
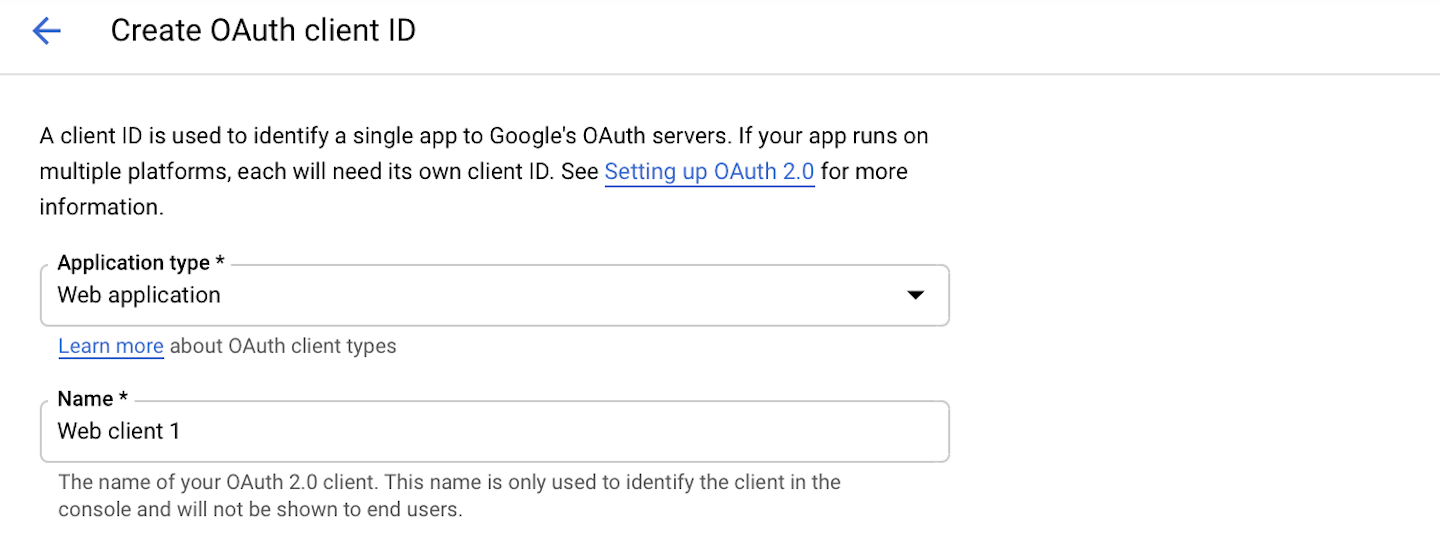
32. Click + Create credentials, then pick OAuth client ID.
33. Enter the following details:
- Application type: Web application
- Name: You can leave the name that Google suggested.
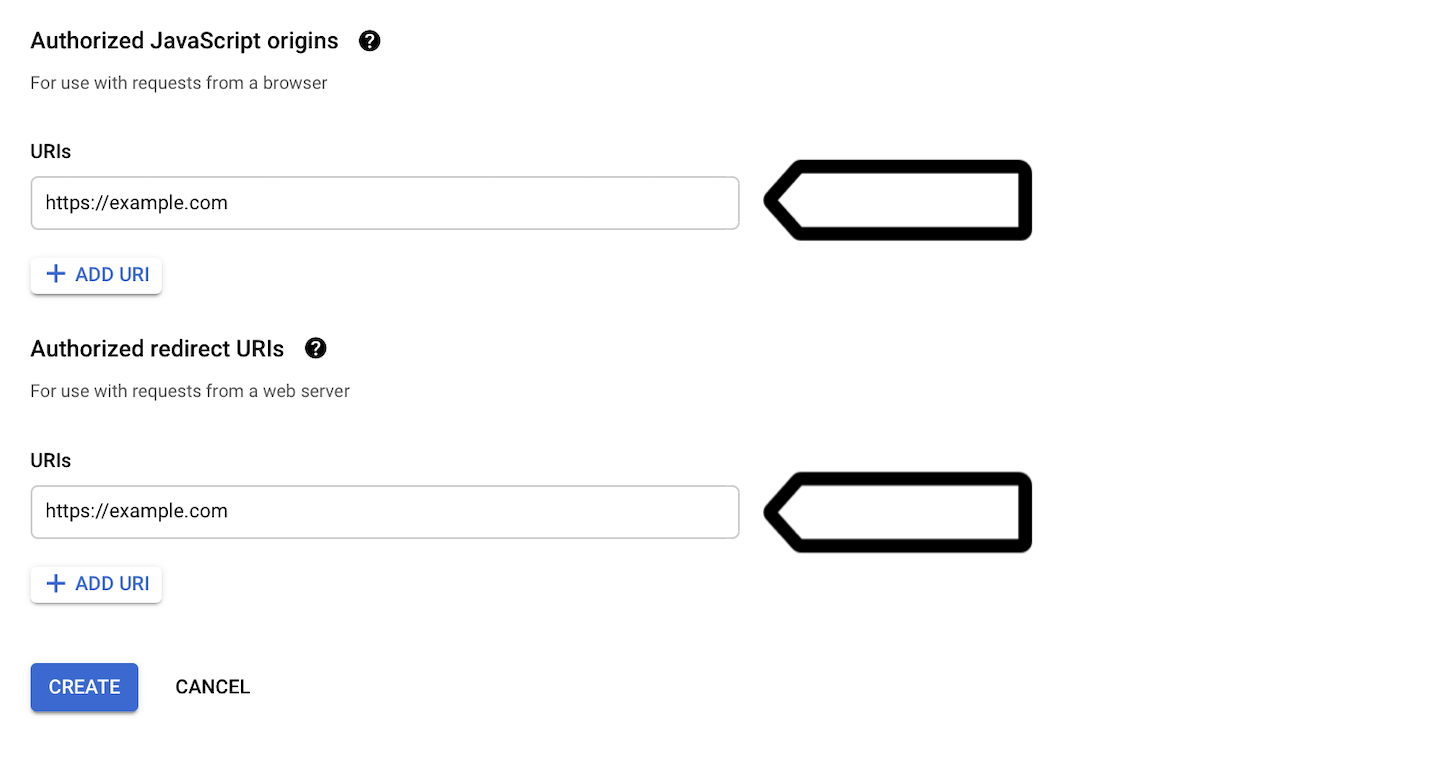
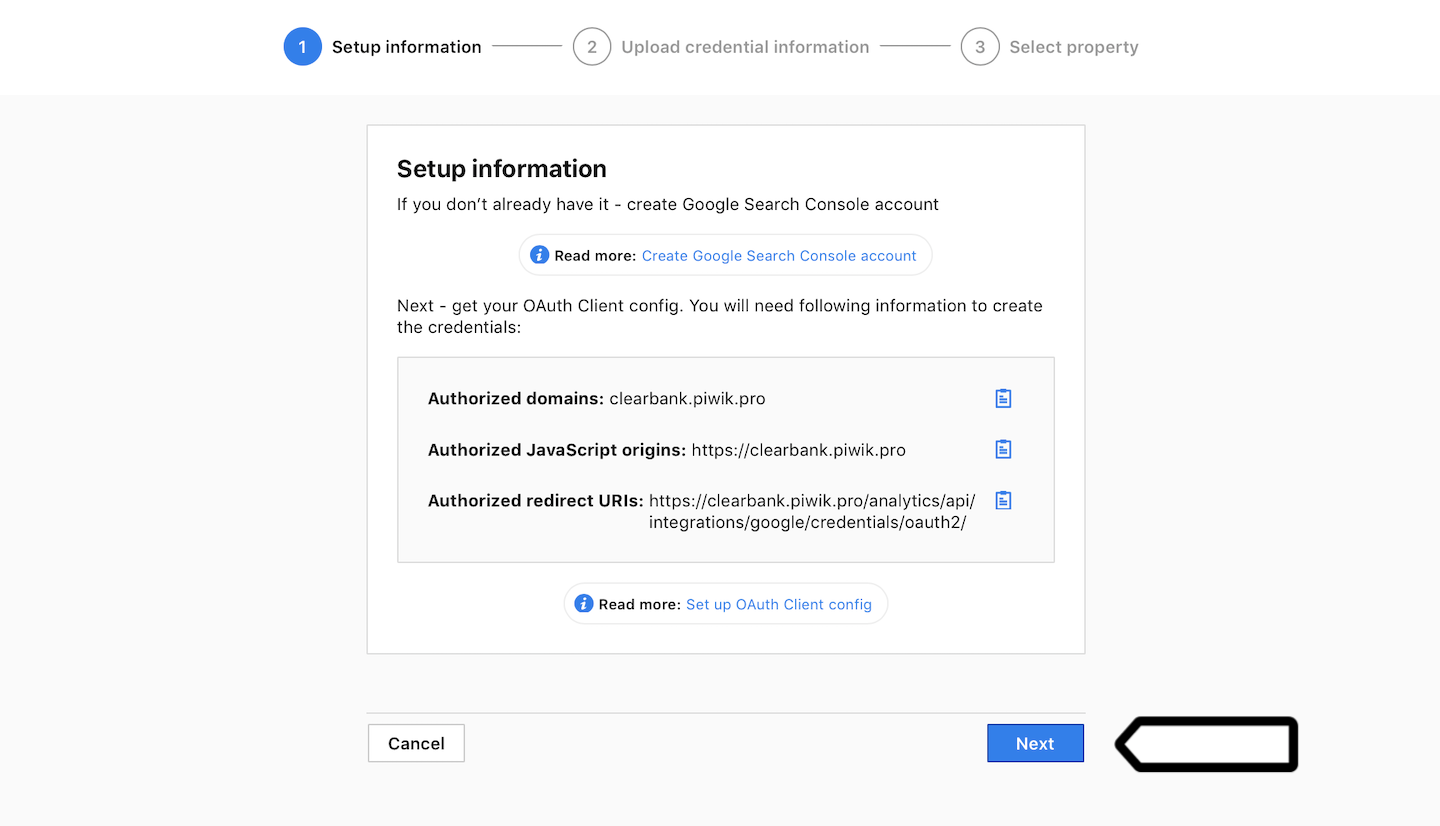
34. Next, you’ll need to set up Authorized JavaScript origins and Authorized redirect URIs. You’ll find this information in Piwik PRO after following a few more steps.

35. Log in to Piwik PRO.
36. Go to Menu > Analytics.
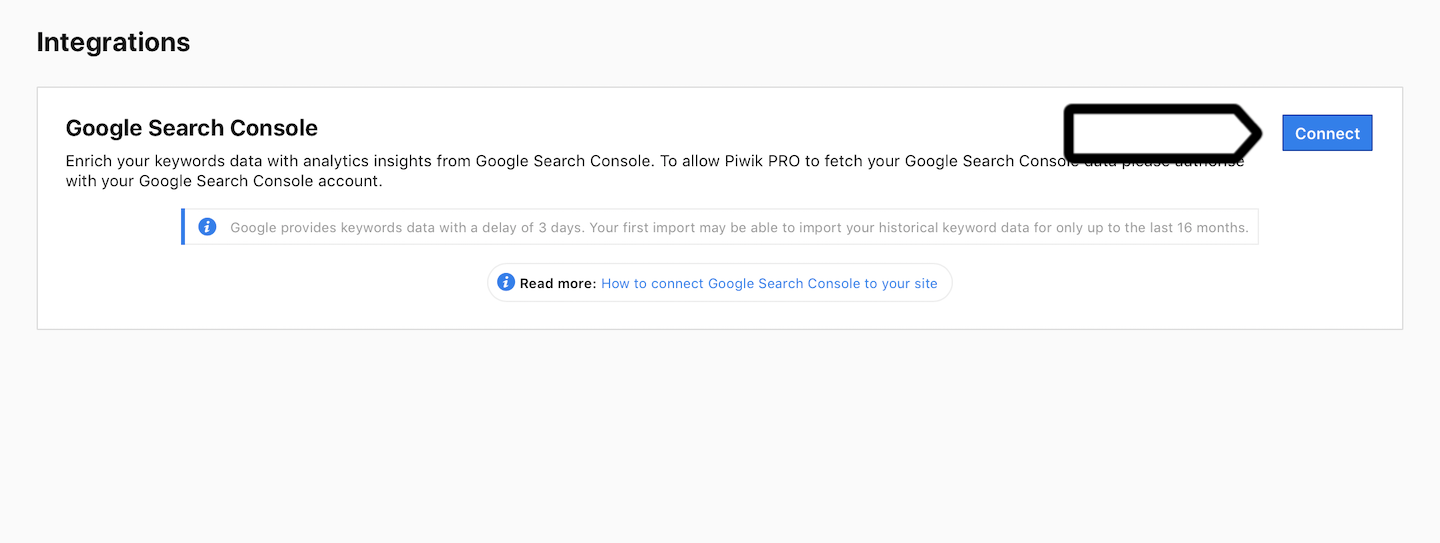
37. Navigate to Settings > Integrations.
38. In Google Search Console, click Connect.
39. On the setup screen, you’ll see information about Authorized JavaScript and Authorized redirect URIs. Copy these two addresses.
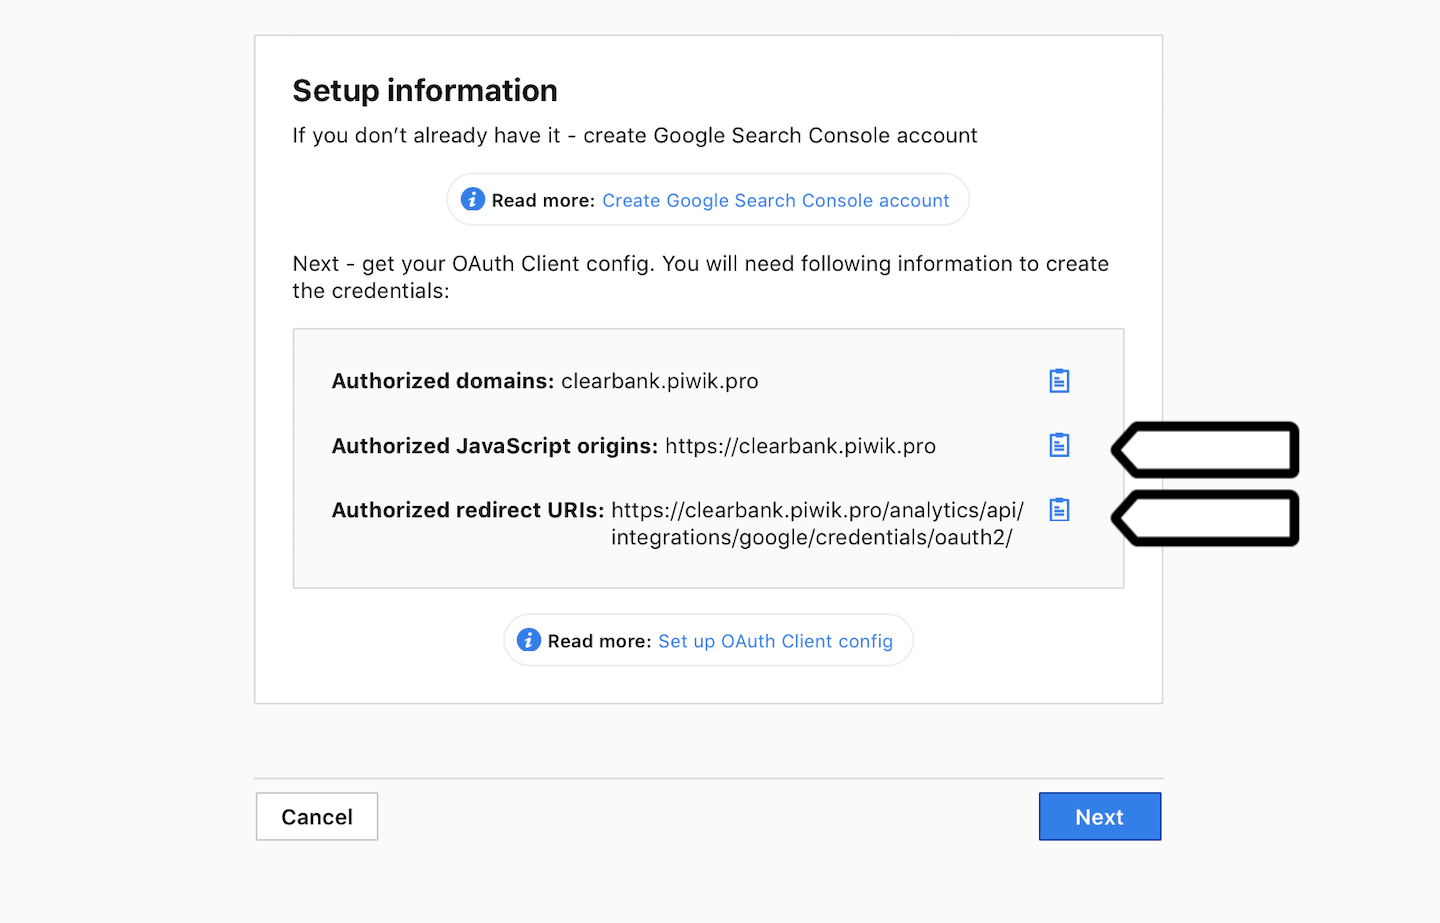
40. Go back to Google Search Console.
41. Paste the copied addresses and click Create.
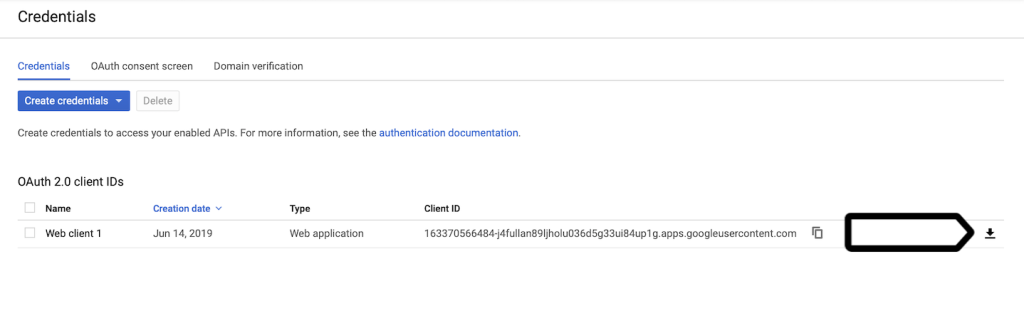
42. Once the oAuth Client ID is ready, click the download icon to download the JSON file. We’ll need it in the next step.
43. Done!
Connect your Piwik PRO site with your Google Search Console property
Now that you’ve got your oAuth 2.0 client set up for the Google Search Console API, you’re ready to proceed with integrating it into Piwik PRO. It’s a quick and simple process from here.
To complete the final step and link your Piwik PRO site with your Google Search Console property, follow these steps:
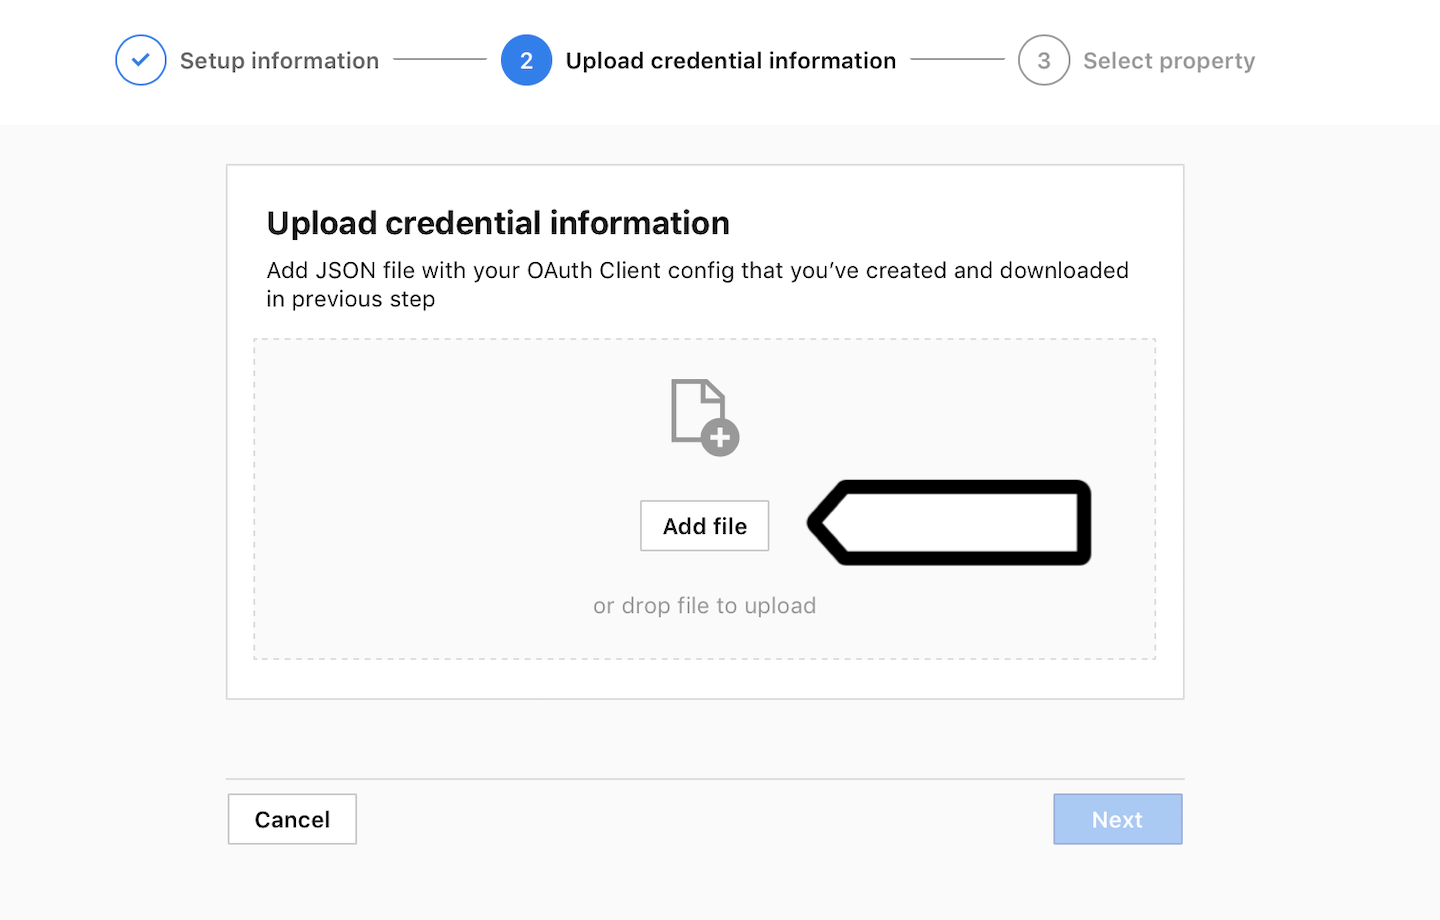
1. Go back to Piwik PRO and navigate back to the integration setup screen under Menu > Analytics > Settings > Integrations > Google Search Console.
2. Click Next.
3. Click Add file and upload the previously downloaded JSON file. Then click Next.
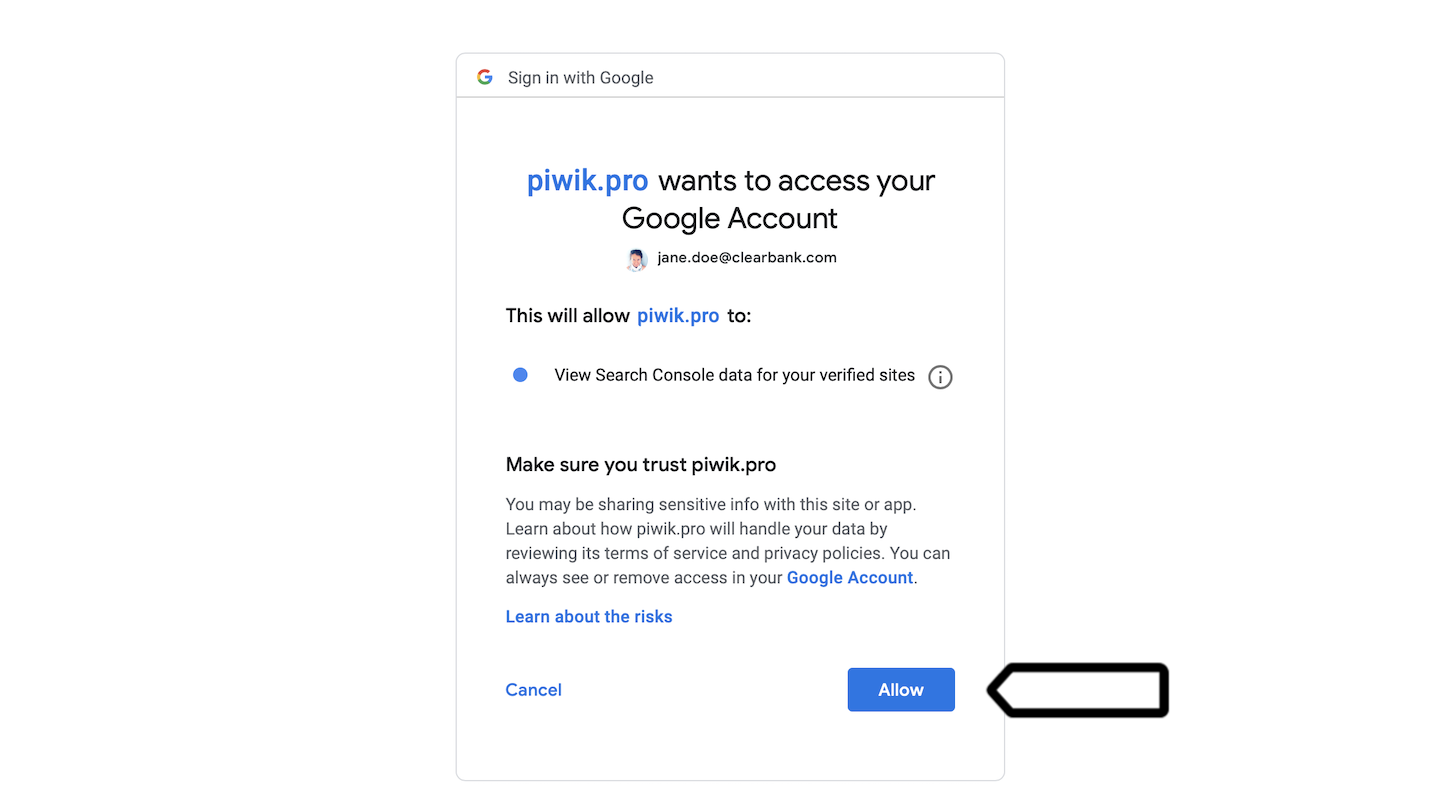
4. Follow the confirmation screens from Google and click Allow.
5. If you have multiple properties in Google Search Console, pick the one you want to link to your Piwik PRO site. Make sure that you select the correct one, otherwise your data will be incorrect.
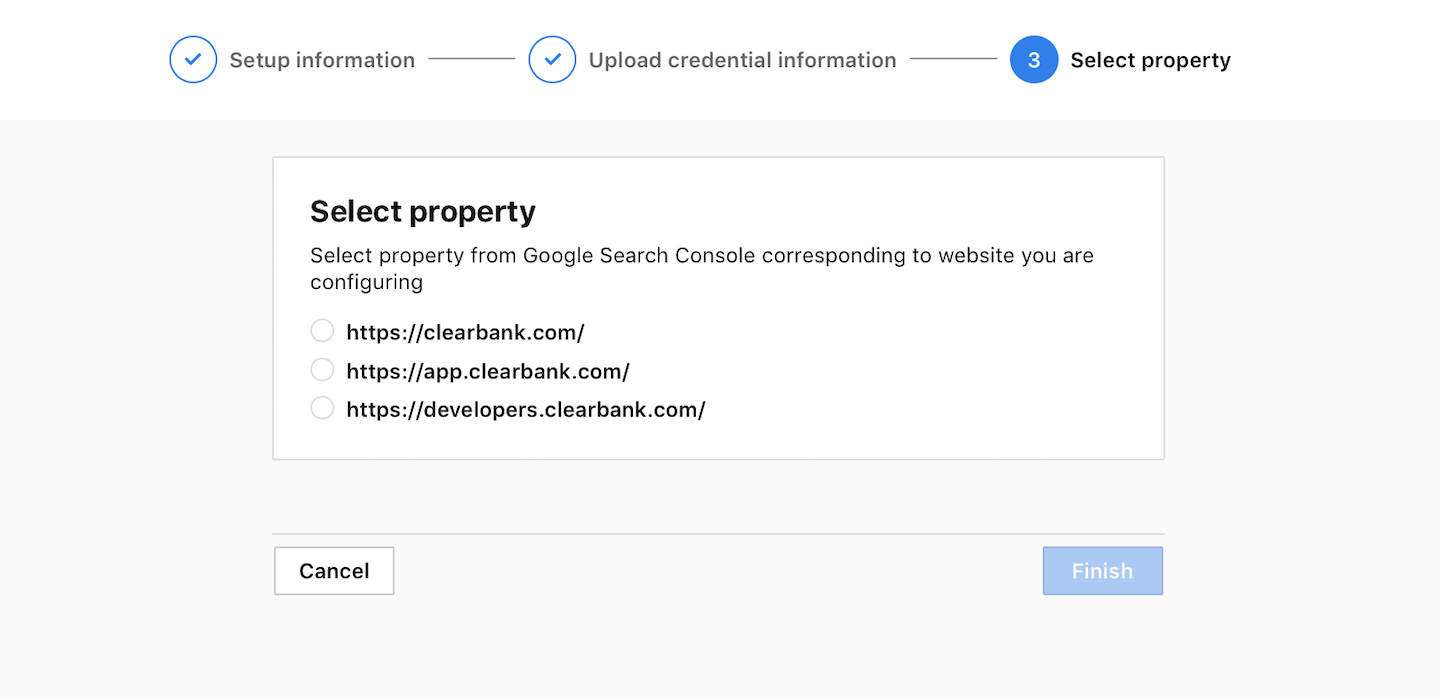
6. Click Finish.
7. Bravo! The integration is all set and Piwik PRO will download data from Google Search Console up to the last 16 months. After that, Piwik PRO will update the data once a day. Just keep in mind that Google Search Console delivers data with a 3-day delay, so the data you see in reports will be a bit late.
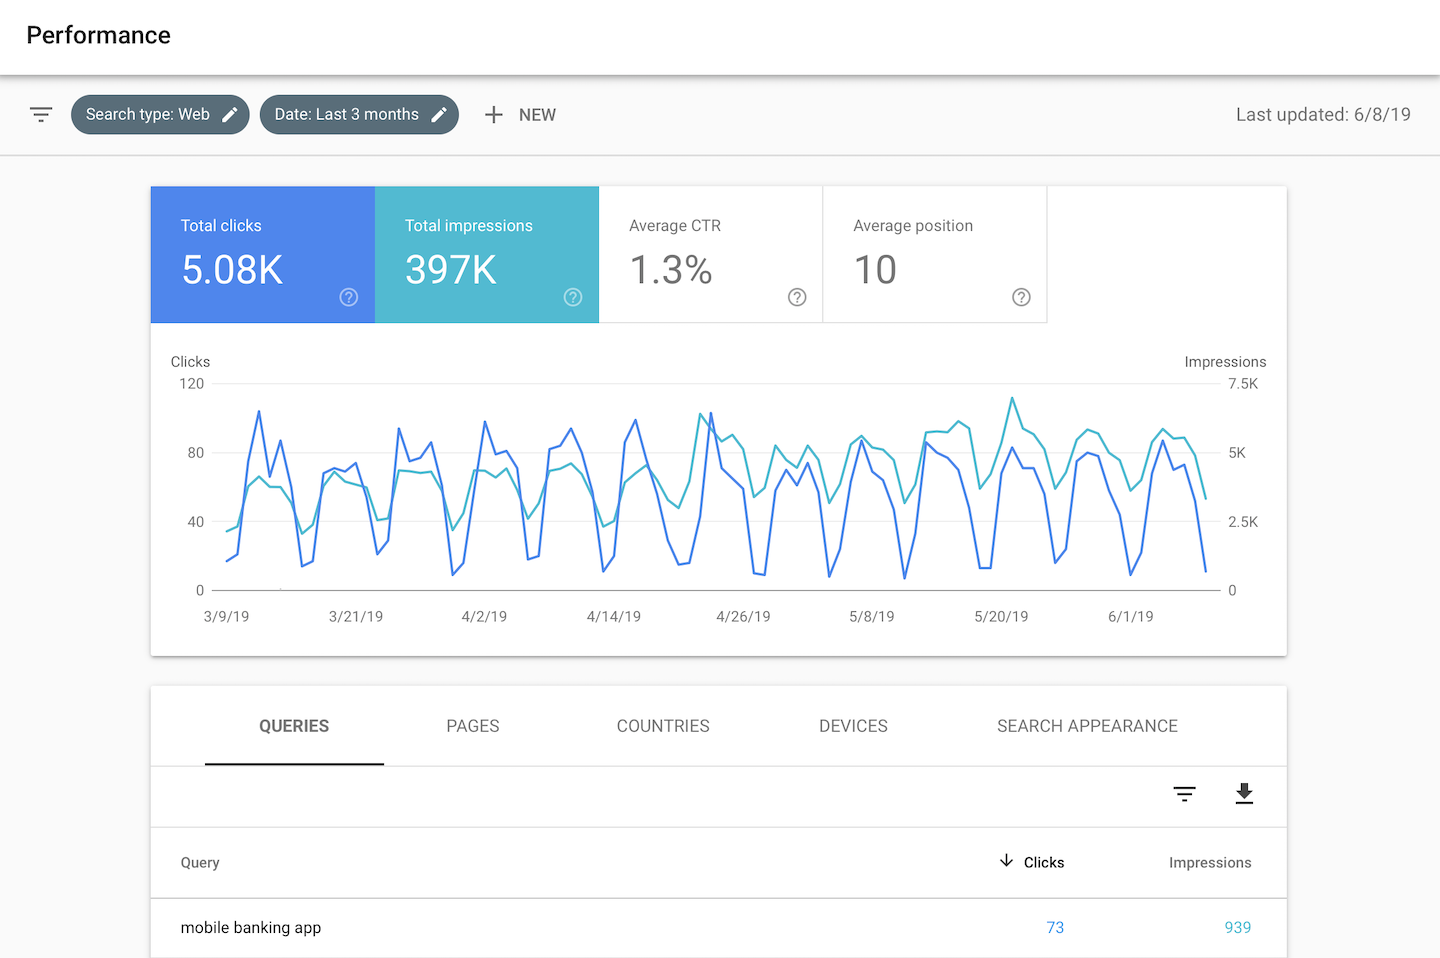
Google Search Console report
Once your integration is ready, you’ll see your search data in the Google Search Console report in Piwik PRO.
To see data for Google Search Console report, follow these steps:
1. Log in to Piwik PRO.
2. Go to Menu > Analytics.
3. Navigate to Reports.
4. On the left, click Google Search Console.
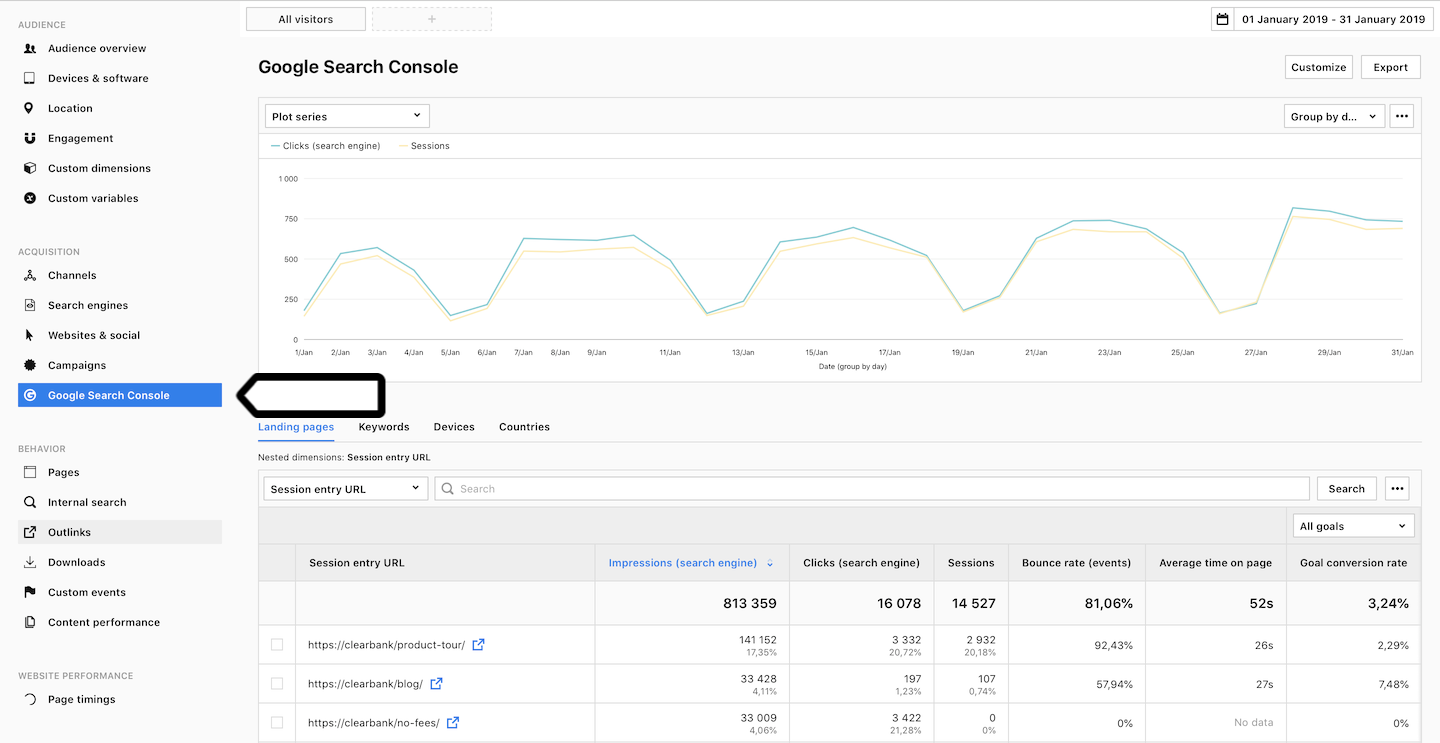
Tip: For more on the Google Search Console report, see this article.
5. Done!
Note: You may see differences between data in Piwik PRO and Google Search Console. This happens because the Google Search Console API uses data sampling and aggregation, which can affect accuracy. To learn more, visit the Google Search Console documentation.