
If you want to use a third-party consent management tool to display your consent banner, you can integrate it with Piwik PRO. This way, you’ll be able to collect full data from visitors who gave their consent and anonymous data from the others.
In this article, we’ll explain how to set it up.
Before you start
Here are some things to know before you start:
- Our consent system works with Tag Manager. Every tag in Tag Manager is linked to a consent category and only activates when consent is given (there’s also a category that doesn’t need consent). This integration shows you how to match up the analytics consent category between your cookie consent tool and Piwik PRO.
- You can use the Piwik PRO integration for Cookiebot. Read more
- You need to install our container code on each page of your website. Read more
- The Piwik PRO tag (tracking code) in Tag Manager needs to have the following consent type: Analytics. This is the default setting.
- You’ll need to add some JavaScript methods to your site’s source code that will make the visitor non-anonymous. You may need the help of a web developer to do this. But if you can’t find such help, you can skip these methods and collect anonymous data from all visitors.
- If you want to synchronize other consent types, use our JavaScript methods.
- This integration doesn’t collect or pass consent statistics. However, you can use our JavaScript methods to create such an integration.
Integrate with a third-party consent management tool
To integrate Piwik PRO with a third-party consent management tool, follow these steps:
1. Log in to Piwik PRO.
2. Go to Menu > Administration.
3. Navigate to Sites & apps.
4. On the left, pick the site or app you want to set up.
5. Navigate to Privacy.
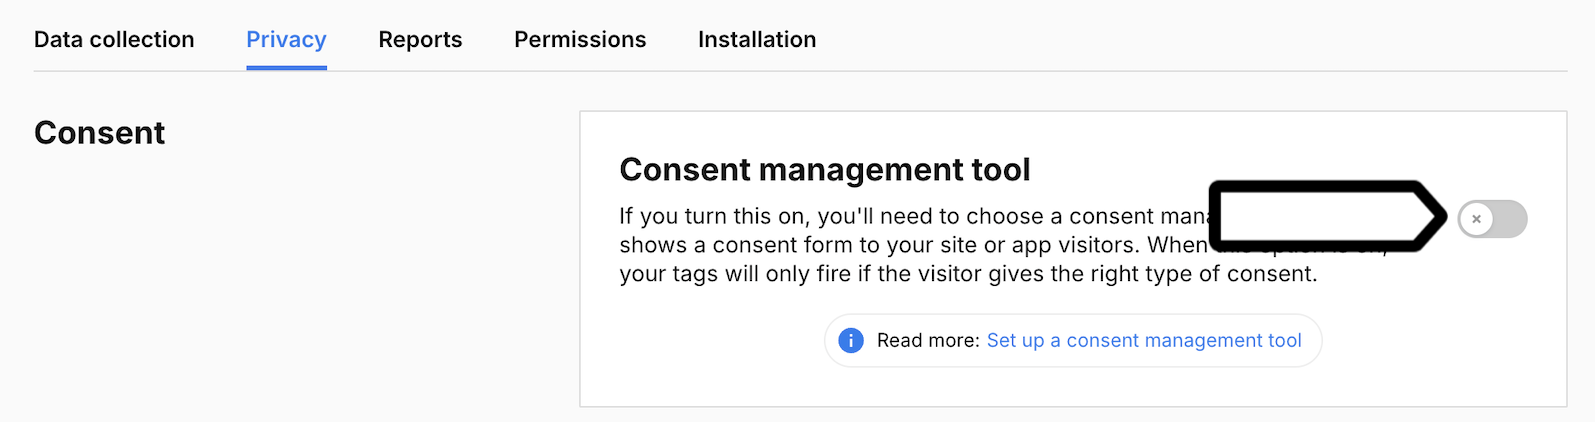
6. Turn on or off Consent management tool. Turn it on to show the consent form on your site. Turn it off to hide the form.
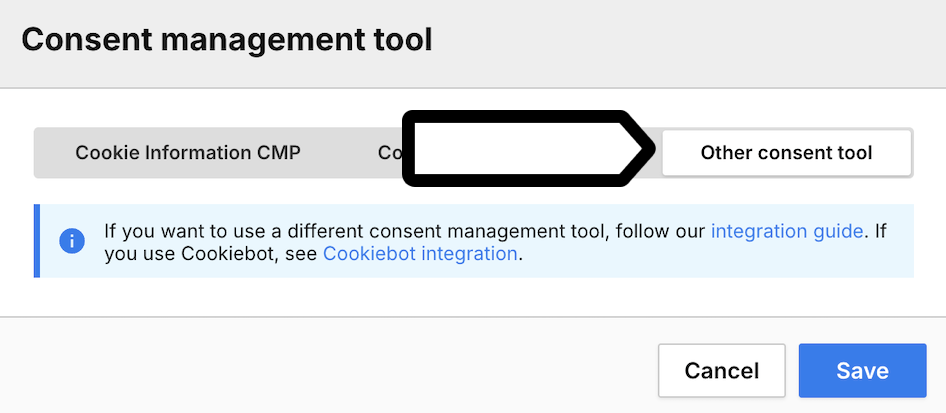
7. In Consent management tool, select Other consent tool.
8. Click Save.
9. In Consent settings, click View to customize the consent setting.
10. (Optional) Turn on Collect anonymous data from non-consenting visitors: You can collect anonymous data from visitors who haven’t given consent. We’ll fully mask their IP addresses, so you won’t recognize new or returning visitors. You’ll only know their country.
You can also choose how we group events from these visitors into sessions:
- Use a session hash: We’ll create a hash for each session based on the visitor’s IP address, operating system, browser name and version, browser language, enabled browser plugins, and site or app ID. The hash helps us recognize events from the same session. This setting only applies to non-consenting visitors.
- Use visitor cookies: We’ll use visitor cookies, such as _pk_id and _pk_ses, to recognize events that belong to the same session. They expire 30 minutes after the last event. Note: This setting only applies to non-consenting visitors.
Note: Some triggers in Tag Manager create cookies to function correctly. If you use one of the following conditions in triggers, we’ll set a cookie:
- Event condition > Traffic source
- Event condition > Returning visitor
- Event condition > Campaign
- Event condition > External referrer
- Multiplicity > Fire tag once per session
- Multiplicity > Fire tag multiple times per session, excluding first
- Multiplicity > Fire tag once per page view
Make sure that tags with those triggers are set with the right consent type.
We also set essential cookies that store visitor’s consent decision. More about cookies
11. Click Save.
12. In your website’s source code, call the setInitialComplianceSettings() method when the visitor first sees your consent form. This sets the initial consent status to -1 (no decision) for the consent types you specify.
ppms.cm.api(
  "setInitialComplianceSettings",
  {
    consents: ["analytics"],
  },
  console.log,
  console.error
);
Note: For non-anonymous visitors, Piwik PRO sets a first-party cookie, creates a session hash, unmasks IP address and reads full location data (Latitude, Longitude, Organization, Provider, City, Region, Country, Continent). Read more
Note: You can skip this step and collect anonymous data from all visitors.
Tip: You may need to ask your web developer to help you add these methods to your site’s source code.
13. Call the setComplianceSettings() method when the visitor makes a choice in your third-party consent form. For example, set analytics to 1 when they consent to analytics.
ppms.cm.api(
  "setComplianceSettings",
  {
    consents: {
      analytics: {
        status: 1,
      },
    },
  },
  console.log,
  console.error
);
14. All done! Piwik PRO can now collect data according to the visitor’s consent choice. If you turned on anonymous data collection, we’ll collect anonymous data from visitors who don’t consent.