Each report, custom report and dashboard can be emailed regularly to you, your teammates and your clients. You can choose delivery dates and receive important data straight to your mailbox.
To schedule an email report, follow these steps:
1. Go to Menu > Analytics.
2. Navigate to Settings.
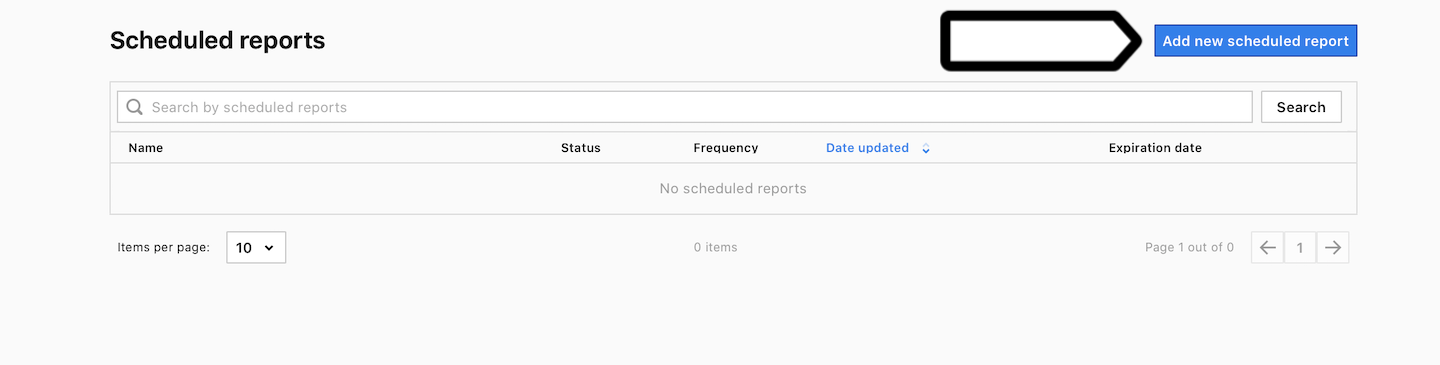
3. On the left, click Scheduled reports.
4. Click Add a scheduled report.
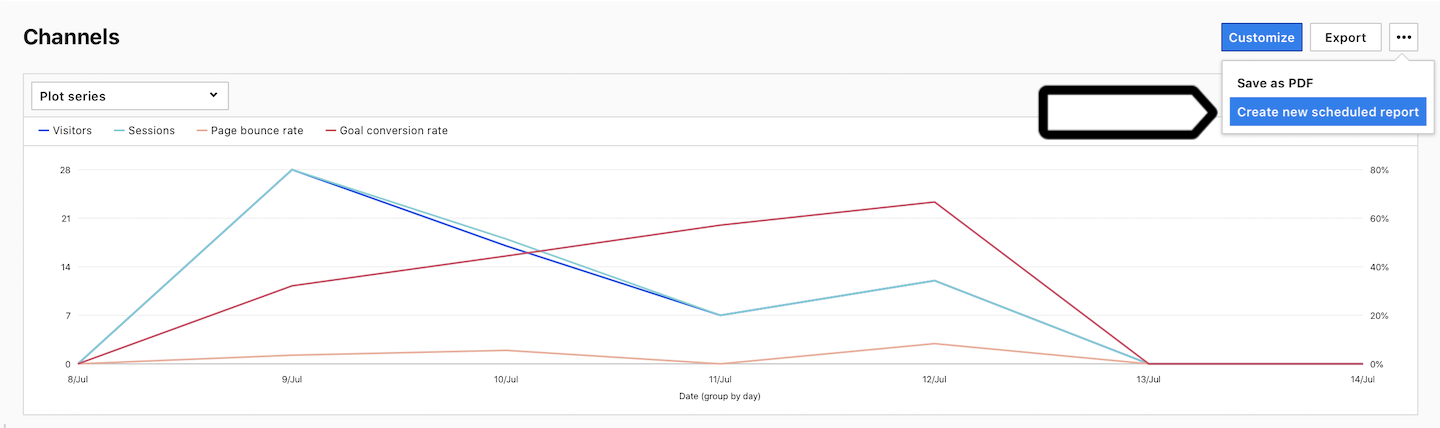
5. You can also skip steps 1-4. In a core report or custom report, click the ⋯ three-dot icon and click Create a scheduled report.
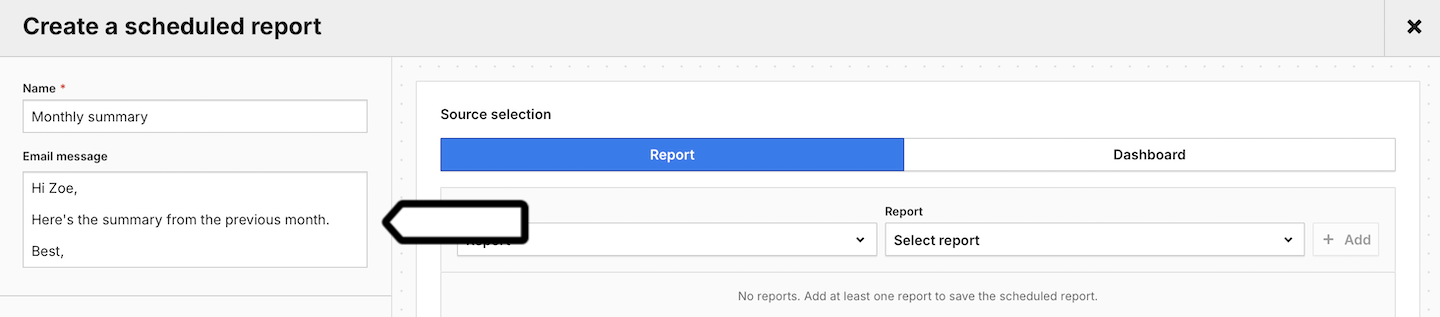
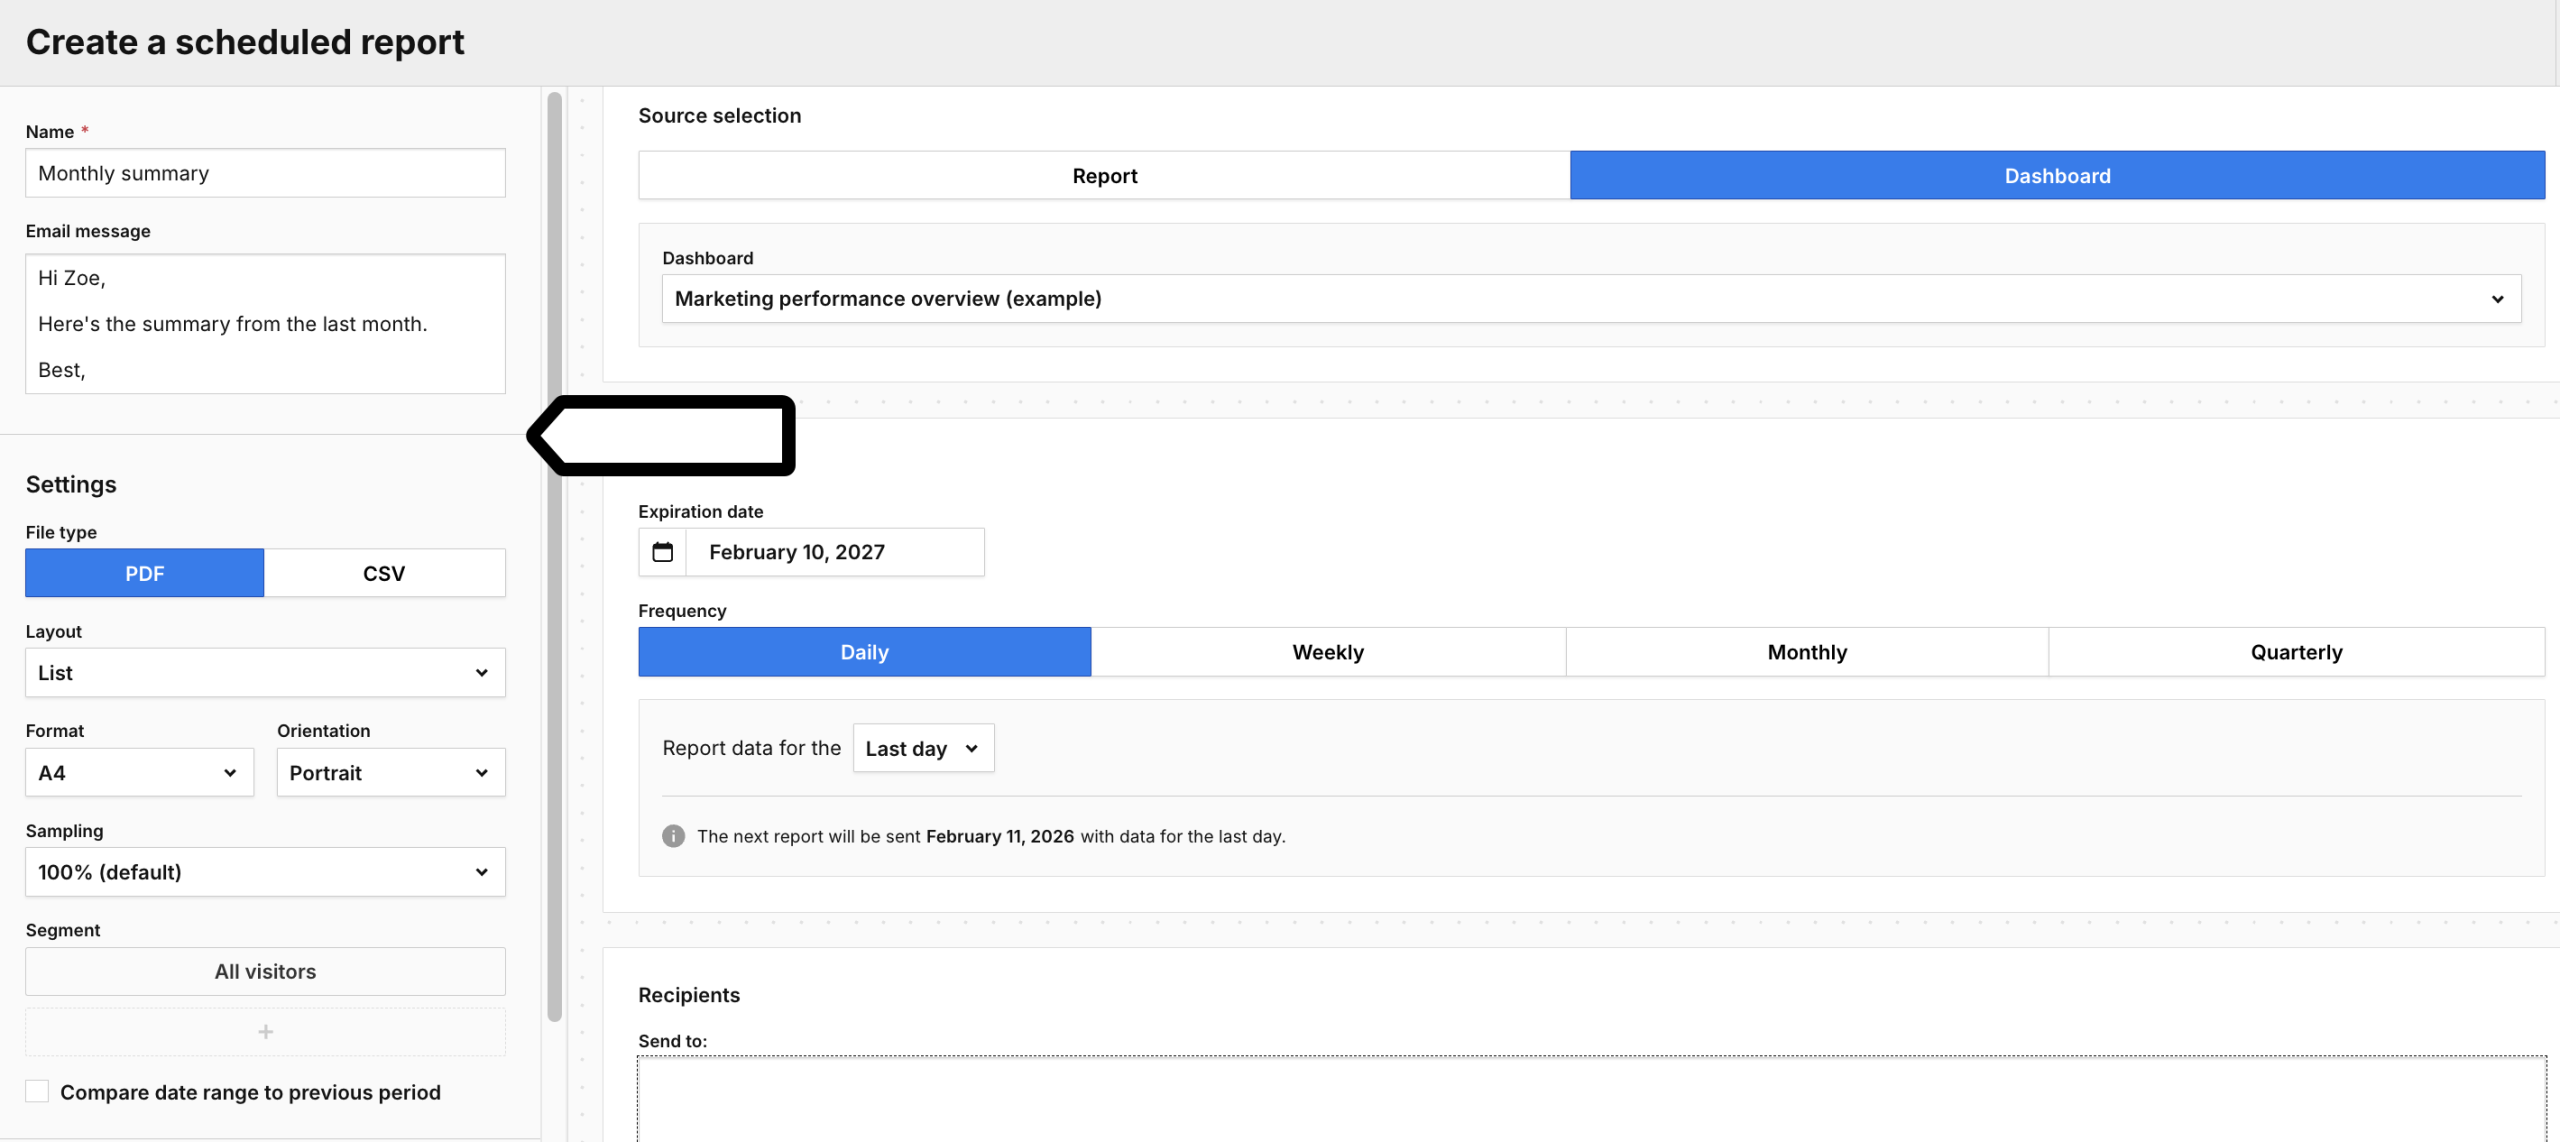
6. Name the scheduled report.
7. (Optional) Add a message that will be sent with the report.
8. In Settings, select the file type: PDF or CSV.
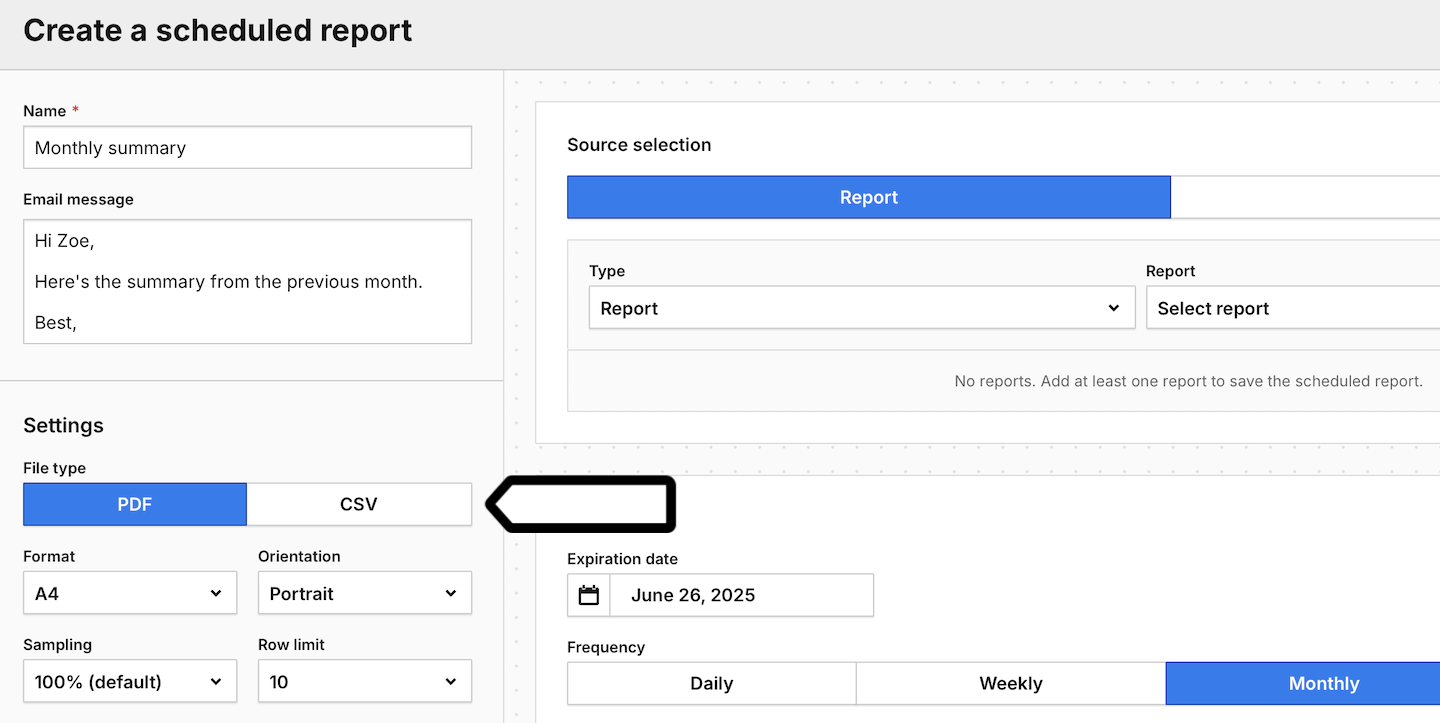
Note: Scheduled reports in CSV format are not available for dashboards, funnel reports, user flow reports and attribution reports.
9. In Settings, you can set up the following settings for PDFs:
- Format and Orientation
- Sampling: Set the sample size to calculate this report. Read more
- Row limit: Set the number of rows you want to see in the report.
- Segment
- Compare date range to previous period
And the following settings for CSV files:
- Sampling: Set the sample size to calculate this report. Read more
- Use column names instead of IDs
- Segment
- Compare date range to previous period
- Row limit: Set the number of rows you want to see in the report.
10. In Visibility, you can set up the following settings for PDFs:
- Hide date range and segment details
- Hide filter details
- Include notes: Notes are comments you can add to dates in reports.
11. In Source selection, select a report or dashboard.
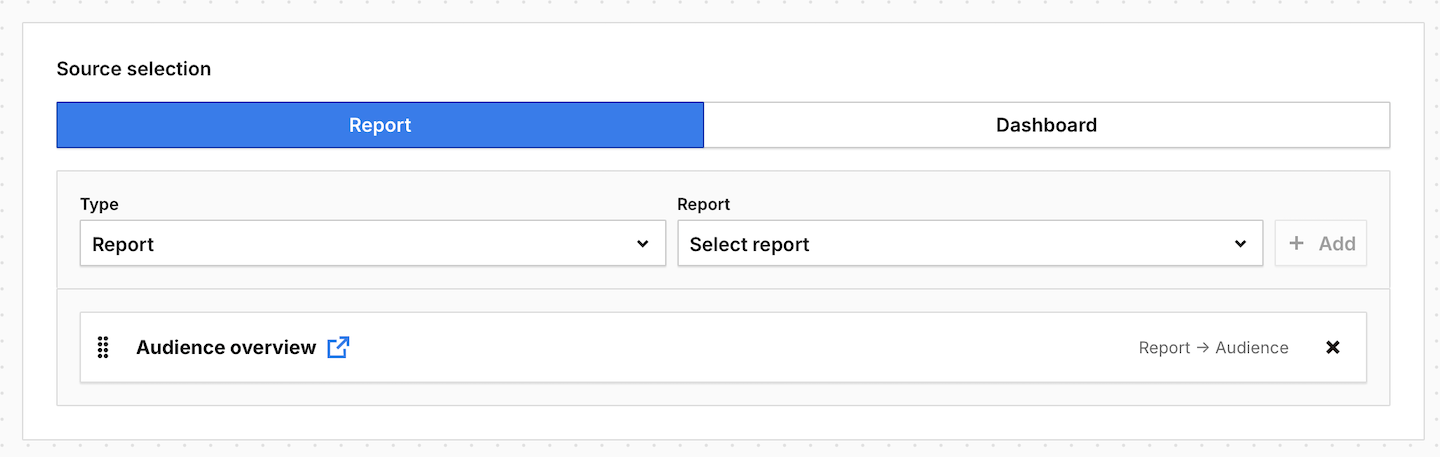
Tip: You can include only one source in a scheduled report, whether it’s a report or a dashboard. To send both, set up separate scheduled reports.
12. (Optional) Include additional reports in the scheduled report, and they will all be merged into a single PDF file.
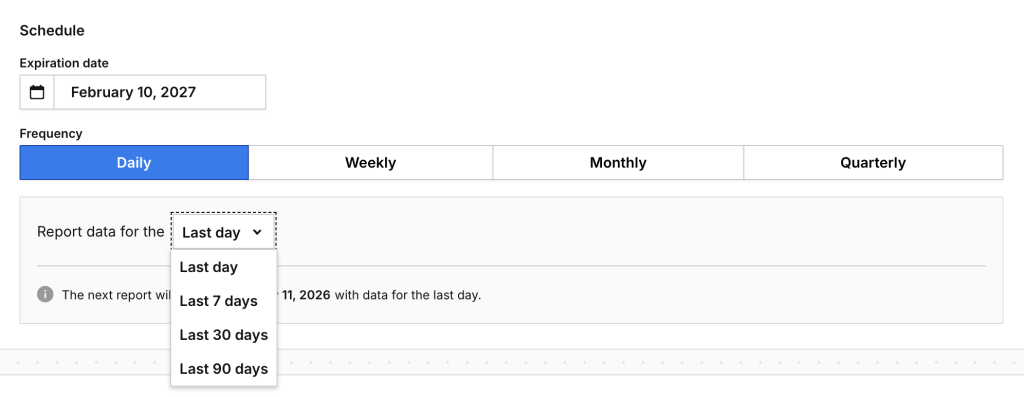
13. In Schedule, select:
- Expiration date: The report will not be sent beyond this date and will automatically pause.
- Frequency: Select quarterly, monthly, weekly or daily delivery.
- Period: For monthly reports, choose to display data from the last month, last 30 days, or last 90 days. For daily and weekly reports, opt for data from the last week, last 7 days, last 30 days, or last 90 days. For quarterly reports, you can display the last quarter or the last 90 days.
- Day of a month/week: You can pick the specific date for report delivery.
14. In Recipients, enter the email addresses of the people you want to send the scheduled report to.
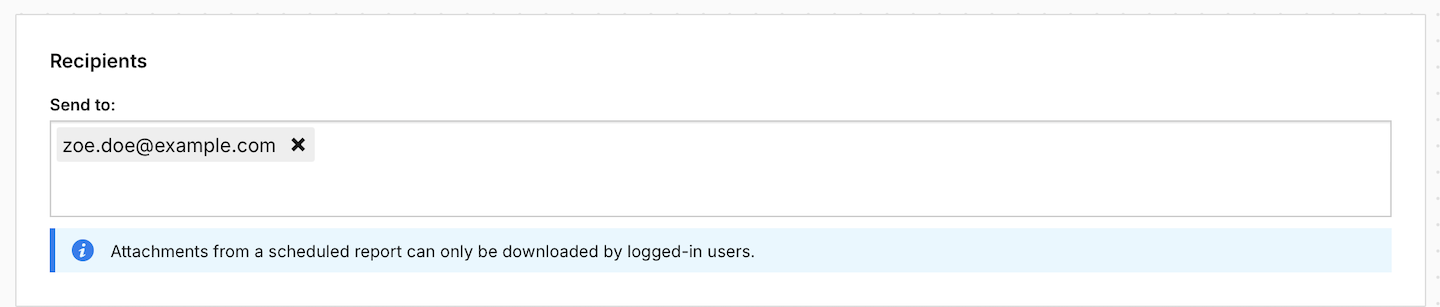
Note: Recipients need a Piwik PRO account with at least no access or view permissions to open CSV reports. PDF reports are sent as attachments and don’t need an account.
15. When you’re done, click Save.
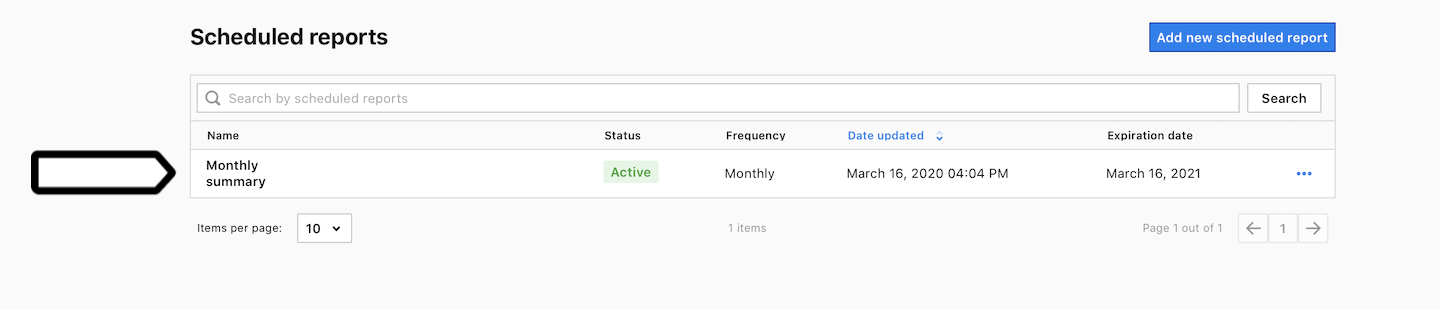
16. Everything is set! Your newly scheduled report will now appear on the list.
17. (Optional) Once you’ve scheduled your email report, you might want to give it a test run. Just click on the ⋯ three-dot icon next to the scheduled report and choose either Send to me now or Send to all now.

Note: A scheduled report sent on demand will only include data for the available period. For example, if you request a monthly report in the middle of the month, it will contain data for only half of the month.
Pause a scheduled report
To pause a scheduled report, follow these steps:
1. Go to Menu > Analytics.
2. Navigate to Settings.
3. On the left, click Scheduled reports.
4. Select the scheduled report you want to work with.
5. On the right, click the ⋯ three-dot icon.
6. Click Pause scheduled report.
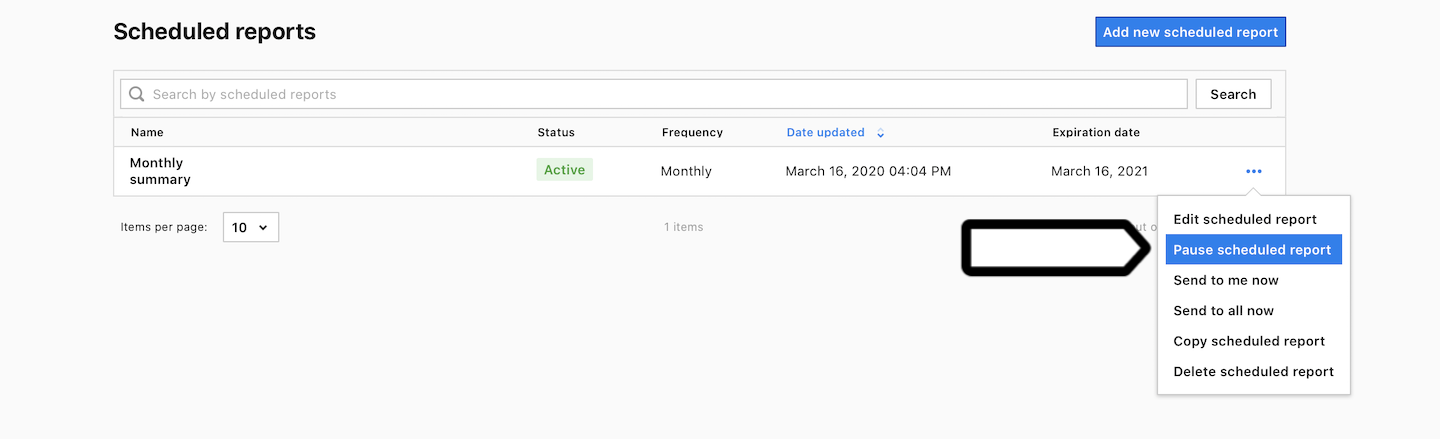
7. Done!
Edit, copy or delete a scheduled report
To edit, copy or delete a scheduled report, follow these steps:
1. Go to Menu > Analytics.
2. Navigate to Settings.
3. On the left, click Scheduled reports.
4. Select the scheduled report you want to work with.
5. On the right, click the ⋯ three-dot icon.
6. Click Edit scheduled report, Copy scheduled report or Delete scheduled report.
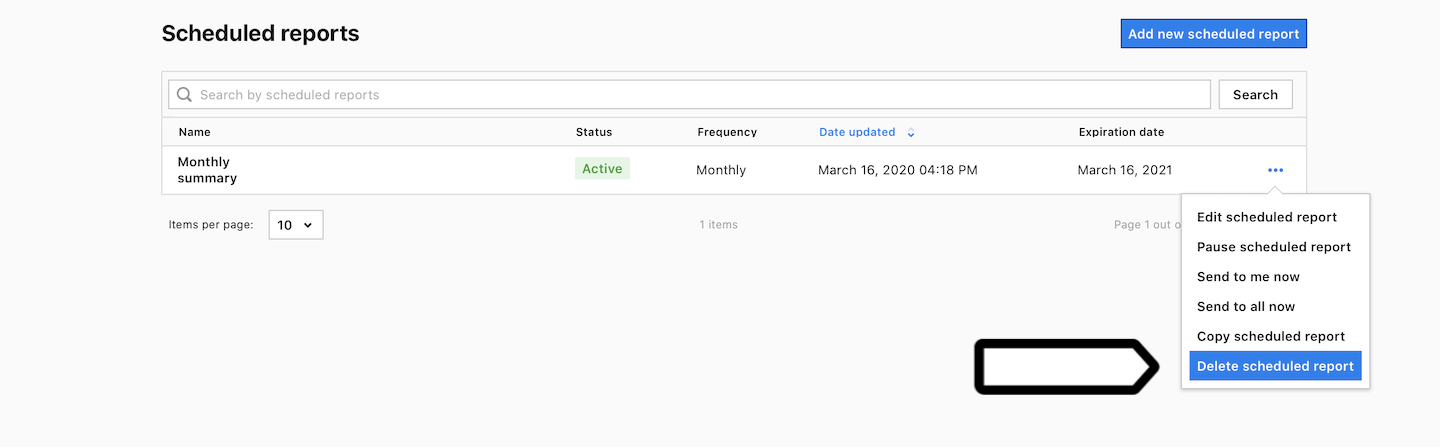
7. All done!