The changelog in Tag Manager is a list that tracks all the changes made to your site, app, or meta site/app. It lets you see what tags, triggers, or variables were added, modified, or removed.
But why do you need snapshots? Well, they make it easy to track and manage changes. If you ever publish something that doesn’t work, you can easily go back to an earlier version. And if you want to share settings between places, you can simply export a snapshot.
In this article, we’ll tell you everything you need to know about snapshots.
Before you start
Here are a few helpful things to know before you start:
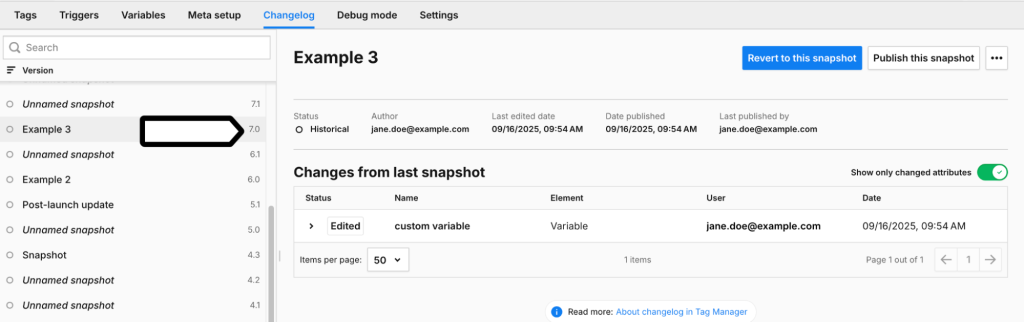
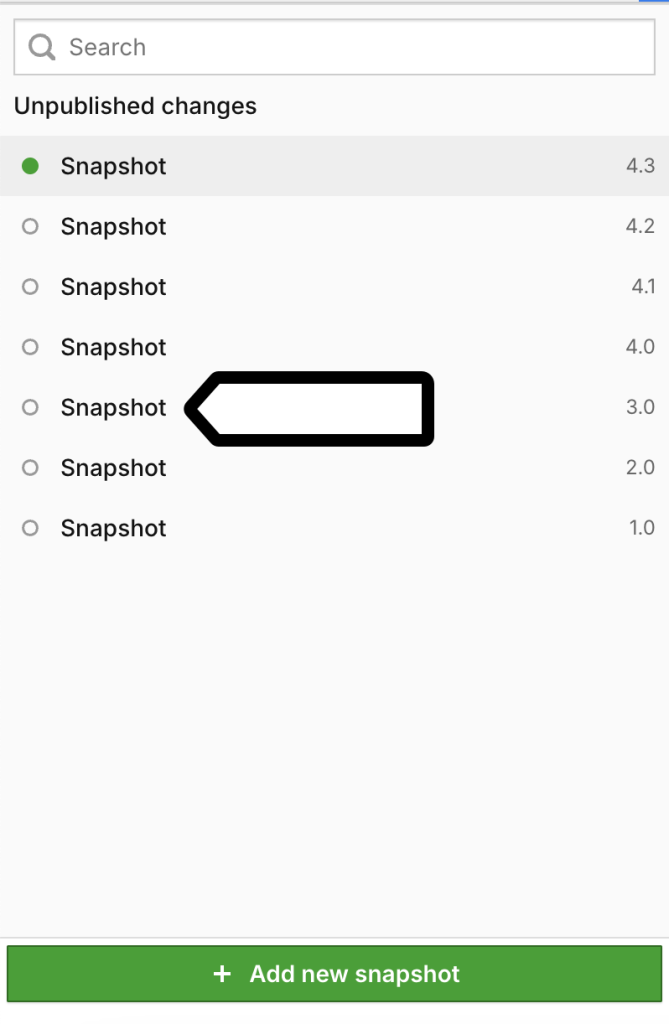
- Every time you publish your site, app or meta site/app, a new snapshot is created and given a major version number, like Snapshot 5. And if you create a snapshot manually or import settings, it gets a minor version number, such as Snapshot 5.1.
Note: Here are the examples of different snapshots:
- The snapshot Example 3 is published and has a major version number: 7.0.
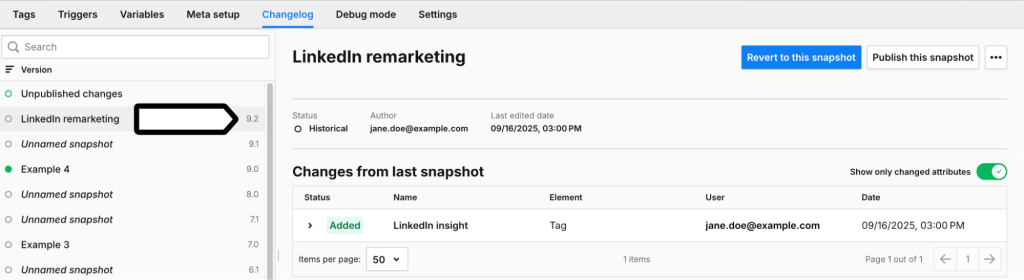
- The snapshot LinkedIn remarketing is manually created and has a minor version number 8.2.
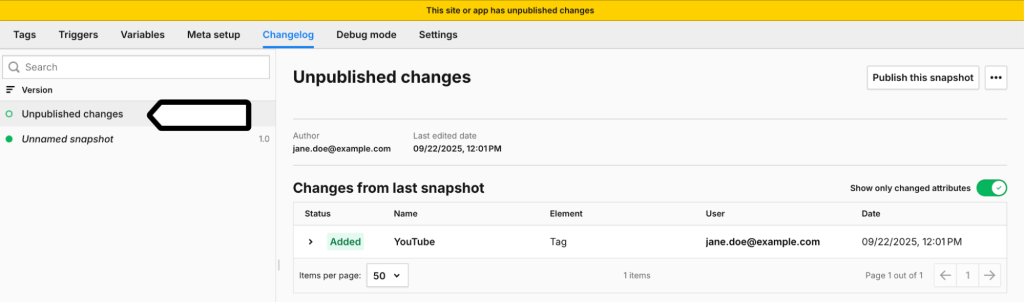
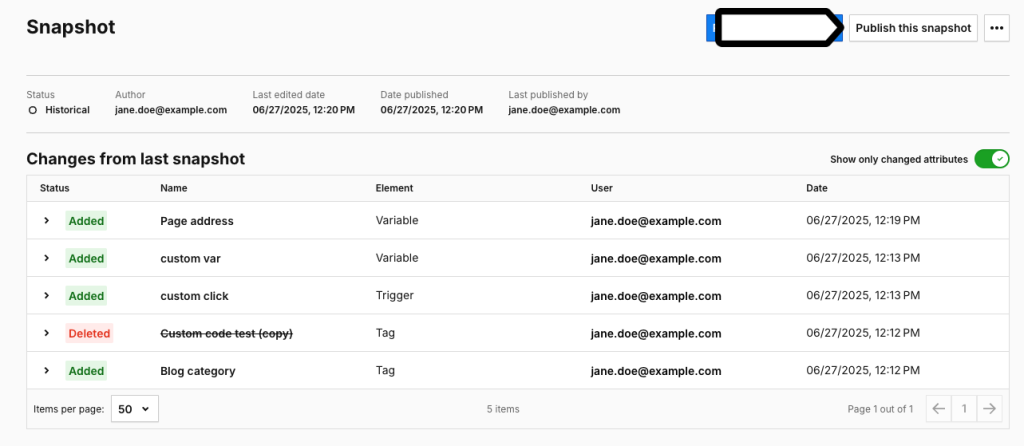
- The snapshot Unpublished changes shows the latest unpublished changes since the last snapshot.
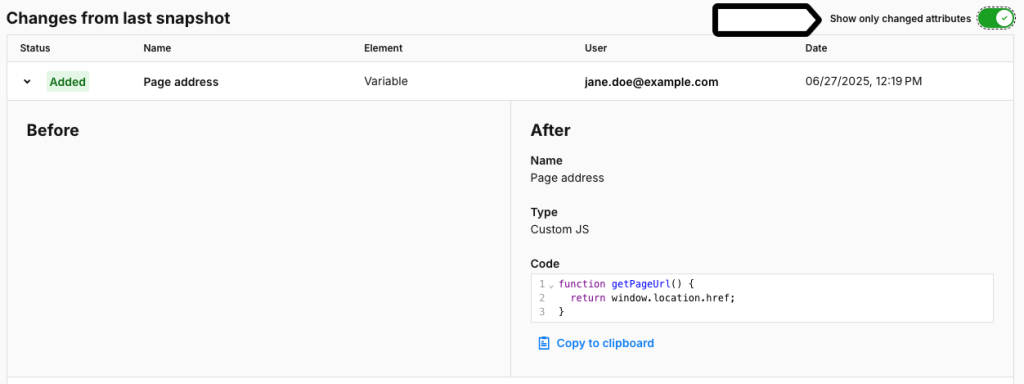
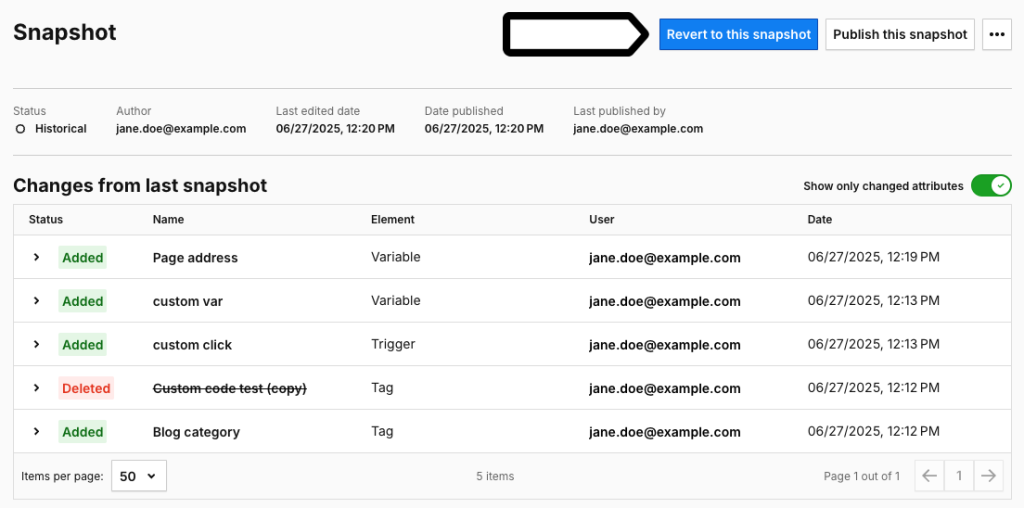
Note: You can turn on Show only changed attributes to see quickly what’s been updated in each version.
Create a snapshot manually
You can use manual snapshots to show planned changes to your teammates before publishing them.
Note: The changes from this snapshot will be saved as a draft – they won’t be published to your site, app or meta site/app.
To create a snapshot manually, follow these steps:
1. Go to Menu > Tag Manager.
2. Navigate to Changelog.
3. Click Add new snapshot
4. By default, the snapshot will get a minor version number, like Snapshot 5.1.
5. (Optional) You can edit the name of the snapshot. In the snapshot, click Edit snapshot details.

Note: You need owner permission to add names and descriptions to the snapshots
6. (Optional) In Snapshot name, edit the name of your snapshot.
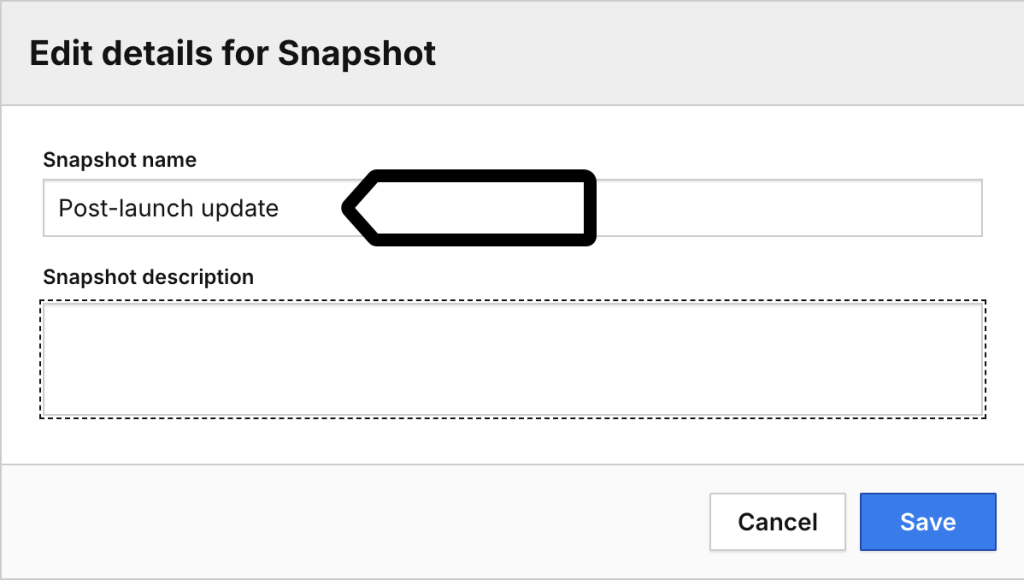
7. (Optional) In Snapshot description, add a description to briefly explain what changed and why, so the update is easier to understand at a glance.

8. (Optional) Click Save.
9. Done.
Publish the snapshot
To publish the snapshot, follow the steps:
1. Go to Menu > Tag Manager.
2. Navigate to Changelog.
3. Find the snapshot you want to publish.
Revert previous settings on your site, app, or meta site/app
To revert your previous settings, follow these steps:
1. Go to Menu > Tag Manager.
2. Navigate to Changelog.
3. On the left, click the snapshot with the settings you want to use.
4. Click Revert to this snapshot. The changes from this snapshot will be saved as a draft – they won’t be published to your site, app or meta site/app.
Tip: Snapshot 1 stores your default tracking setup.
5. Done!
Name the snapshot and add a description
You can name the snapshot and add a description to help identify it later.
Note
- You can add snapshot names and descriptions at any time, for published and historical snapshots.
- You can also add a name and descriptions at any time to the Unpublished changes section of your changelog to keep track of your updates.
- You need owner permissions to add or edit names and descriptions for snapshots.
To name the snapshot and add a description, follow these steps:
1. Go to Menu > Tag Manager.
2. Navigate to Changelog.
3. Select the snapshot you want to name.

4. In the snapshot, click Edit snapshot details.
5. In Snapshot name, name your snapshot.
6. In Snapshot description, add a description to briefly explain what changed and why, so the update is easier to understand at a glance.
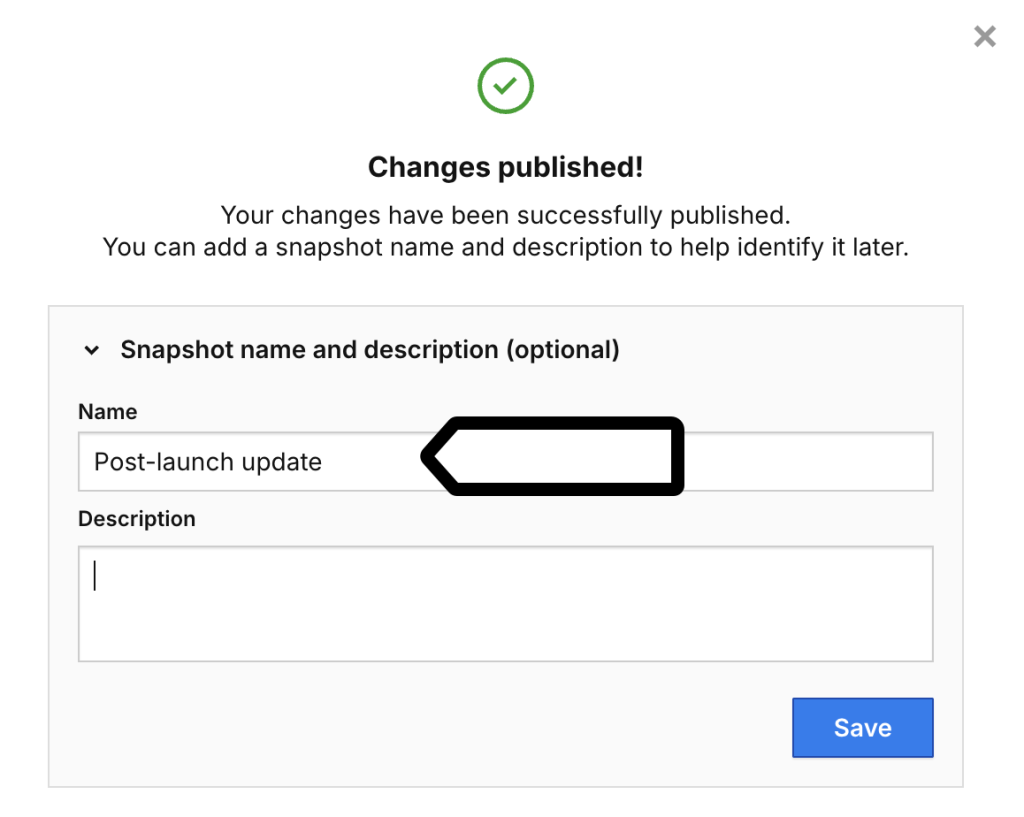
7. Click Save.
8. Done! You’ve named your snapshot and added a description.
Publish previous settings to your site, app, or meta site/app
To publish your previous settings, follow these steps:
1. Go to Menu > Tag Manager.
2. Navigate to Changelog.
3. On the left, click the snapshot with the settings you want to use.
4. Click Publish this snapshot. Changes from this snapshot will be published directly to your site, app or meta site/app. You won’t see them in the draft version (unpublished changes).
5. All done!
Export settings to another site, app, or meta site/app
To export settings to another location, follow these steps:
1. Go to Menu > Tag Manager.
2. Navigate to Changelog.
3. On the left, click the snapshot with the settings you want to use.
4. Click Export settings. The file will be saved on your hard drive as a JSON file.
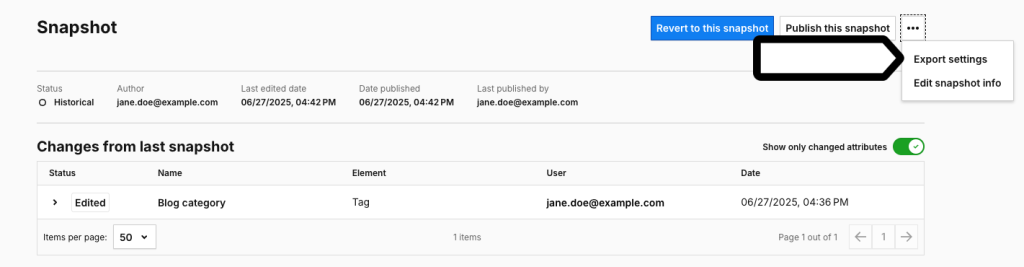
5. Done! Once the file is exported, follow the guidelines below to import the file into another site, app or meta site/app.
Import settings from another site, app, or meta site/app
There are two ways to import settings from another site or app: (1) you can import a published or unpublished version, or (2) you can import a snapshot file.
Import published or unpublished settings
To import settings from another site, app or meta site/app, follow these steps:
1. Go to Menu > Tag Manager.
2. Navigate to Settings.
3. Choose the place from which you want to copy all tags, triggers, and variables.
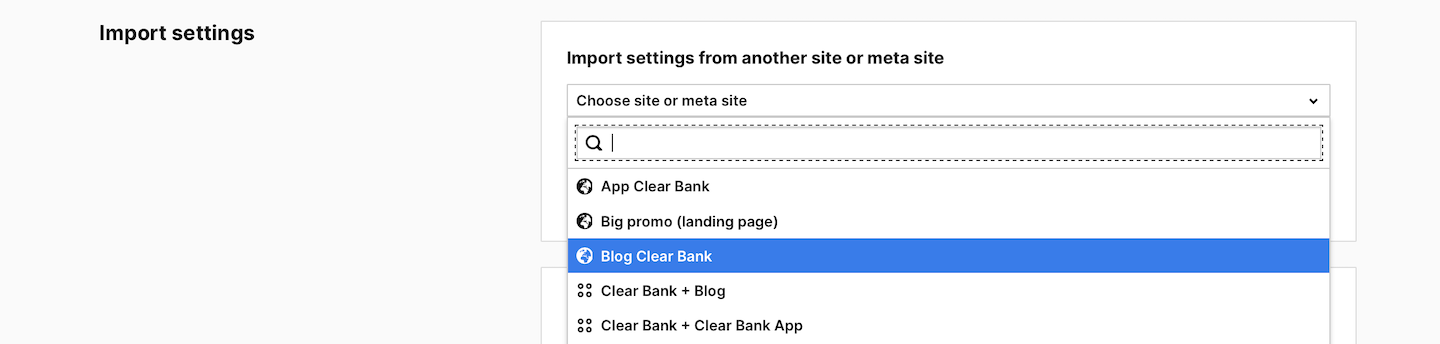
4. Choose one of the following options:
- Import the last published snapshot
- Import the snapshot with unpublished changes
Note: You’ll import all tags, triggers, and variables. Only the tag with the tracking code won’t be imported. The import will overwrite unpublished changes.
5. Click Import.
6. Done!
Import a file with a snapshot
To import settings from another site, app or meta site/app, follow these steps:
1. Go to Menu > Tag Manager.
2. Navigate to Settings.
3. In Import from a file, click Add a file.
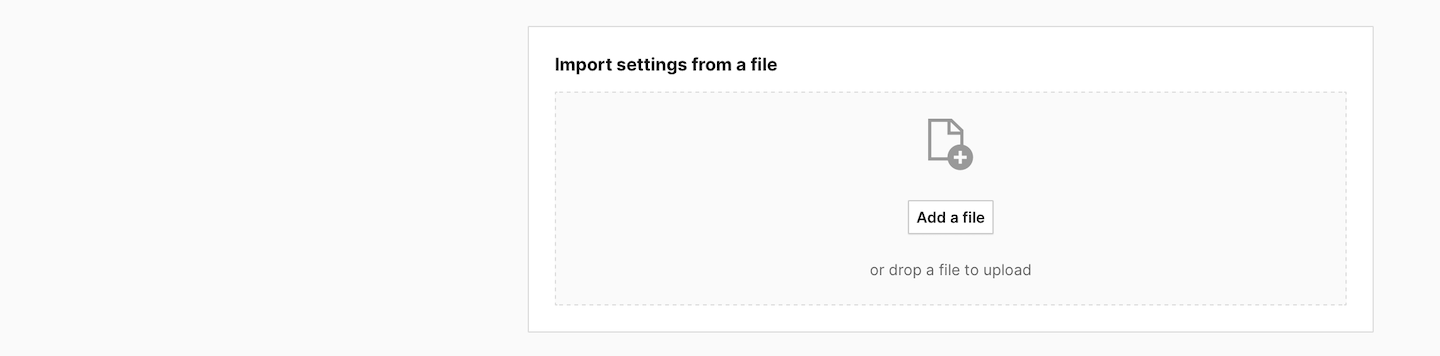
4. Add the file from your hard drive and click OK.
Note: You’ll import all tags, triggers, and variables. Only the tag with the tracking code won’t be imported. The import will overwrite unpublished changes.
5. Done!