A meta setup in Tag Manager is a way to create a setup for a group of sites or apps and apply it to all of them at once. It includes tags, triggers and variables. This tool is useful if you want to run an advertising campaign or display the same message on multiple sites or apps at the same time.
In this article, we’ll show you how to use a meta setup in Tag Manager.
Before you start
Here are some important things to keep in mind before you start:
- To use a meta setup, you need to have a meta site/app. This means that if you want to create a setup for a group of sites, you first need to create a meta site.
- You need manage-level permissions for the meta site/app to publish the meta setup.
- The changelog for an individual site/app is different from the changelog for a meta site/app. The first one shows only the changes made to that particular site or app, while the second one shows only the changes made to the meta setup.
- Publishing works separately for an individual site/app and meta site/app. If you publish changes to a meta site, the individual changes on a specific site won’t be published. Similarly, if you publish changes to the site, the changes in the meta site won’t be published.
- It’s best to avoid using variables from one specific site/app in a meta site/app setup and vice versa. Doing so can lead to unexpected issues since they might not function as intended. It’s important to treat single and meta setups as entirely distinct entities.
- We recommend using distinct names for variables in both your single site/app and meta site/app. Using the same names can cause tags to behave incorrectly.
Add a meta setup in Tag Manager
To help you understand how the meta setup works, we’ll use two sites as examples: clearbank.com and blog.clearbank.com. Our goal is to display an advertising popup on both of these sites. To do this, we can use the meta setup.
To add a meta setup, follow these steps:
1. Go to Menu > Administration > Meta sites & apps.
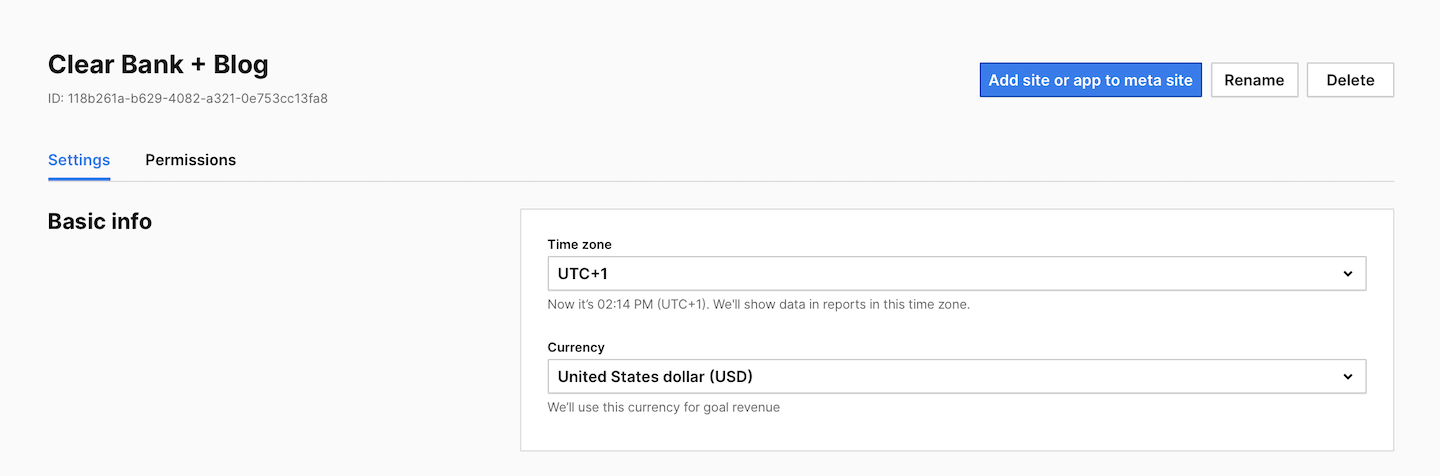
2. Create a meta site/app that will contain the sites and apps for which you want to create the meta setup. Example: Clear Bank + Blog
Note: If you want your teammate to manage the meta site/app, give them manage-level permissions. These permissions will allow them to create and publish meta setups.
3. Go to Menu > Tag Manager.
4. Pick the meta site/app name from the picker in the upper right corner.
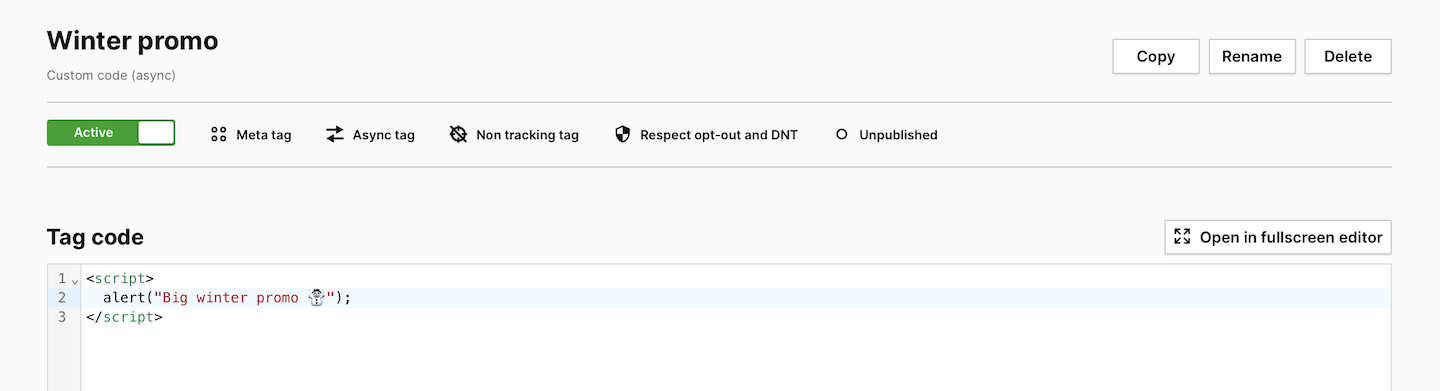
5. Now you’re ready to set up tags, triggers and variables as a meta setup. In our example, we’ll create a simple tag with custom code that’ll display a popup when a visitor scrolls 10% of the page.
6. To debug your setup, you’ll need to navigate to any site/app that belongs to your meta site/app. Pick the site/app from the picker in the upper right corner.
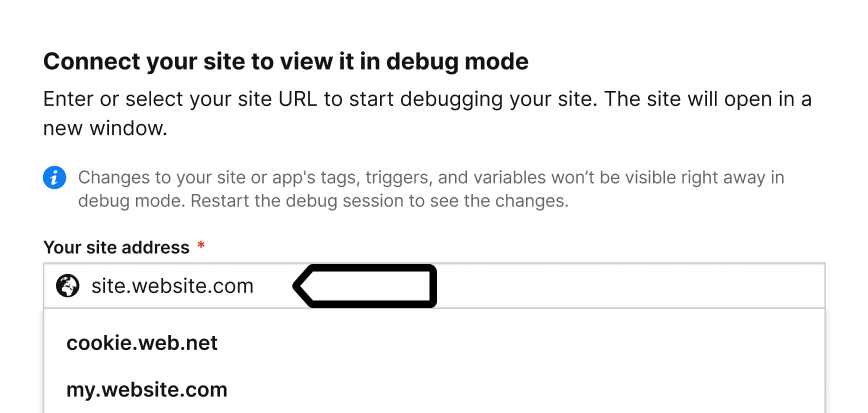
7. Go to Debug mode.
8. In Your site address, type in or select your site or app address that belongs to the meta setup.
9. Your site or app will open in a new tab.
10. Click Connect.
11. Once your site is connected, it will open in a new tab.
12. (Optional) Turn on Prevent page reload. This will stop the page from refreshing when you click elements that would normally trigger a reload.
Tip: This option is useful for testing form submissions and link clicks.
13. On your site or app, perform the action you want to test to check if the tag fires. Example: Scroll 100% of the page.
14. If you’re happy with how the meta setup works, go back to the meta site/app. Pick the meta site/app from the picker in the upper right corner.
15. Click Publish.
Note: If you publish changes to a meta site, the individual changes on a specific site won’t be published. Similarly, if you publish changes on a site, the changes in a meta site won’t be published.
16. All done! Now your meta setup will work across all connected sites and apps.
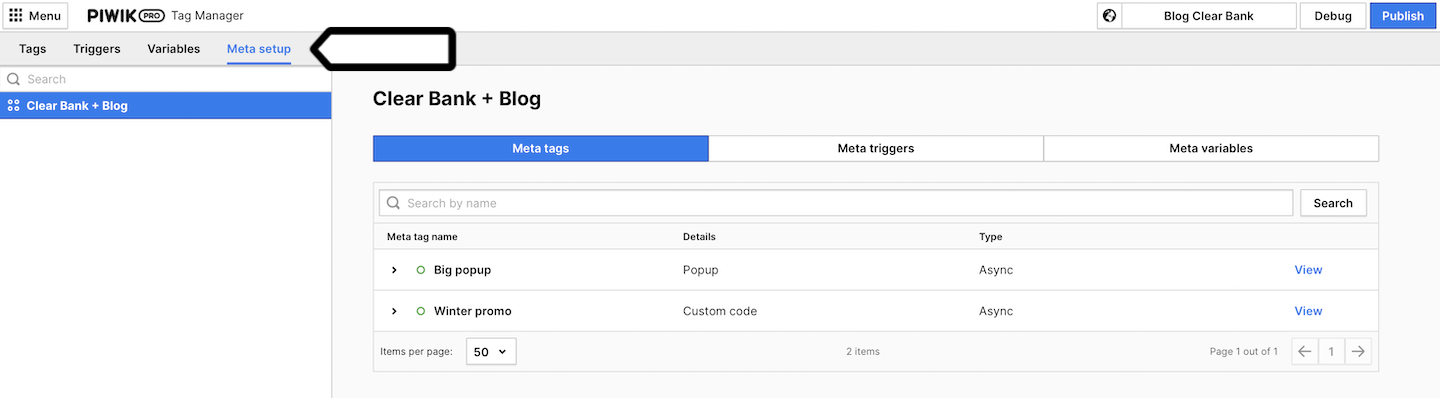
17. (Optional) If you want to see the meta setups for a certain site/app, go to that site/app and select the tab: Meta setup. Here, you’ll find a list of all the meta sites and apps that your site or app is part of, along with their individual setups.