A tag is a piece of code that you can place in your website’s code using Tag Manager. With tags, you can make changes to your website all by yourself, without having to involve web developers. You can use these tags to collect extra data, run marketing campaigns, connect products or add any type of code you want.
In this article, we’ll show you how to add a tag.
To add a tag, follow these steps:
1. Go to Menu > Tag Manager.
2. Navigate to Tags.
3. Click Add a tag.
4. Name your tag and pick its type.
Tip: Each tag type is described in this section.
5. Click Next.
6. Set up your tag.

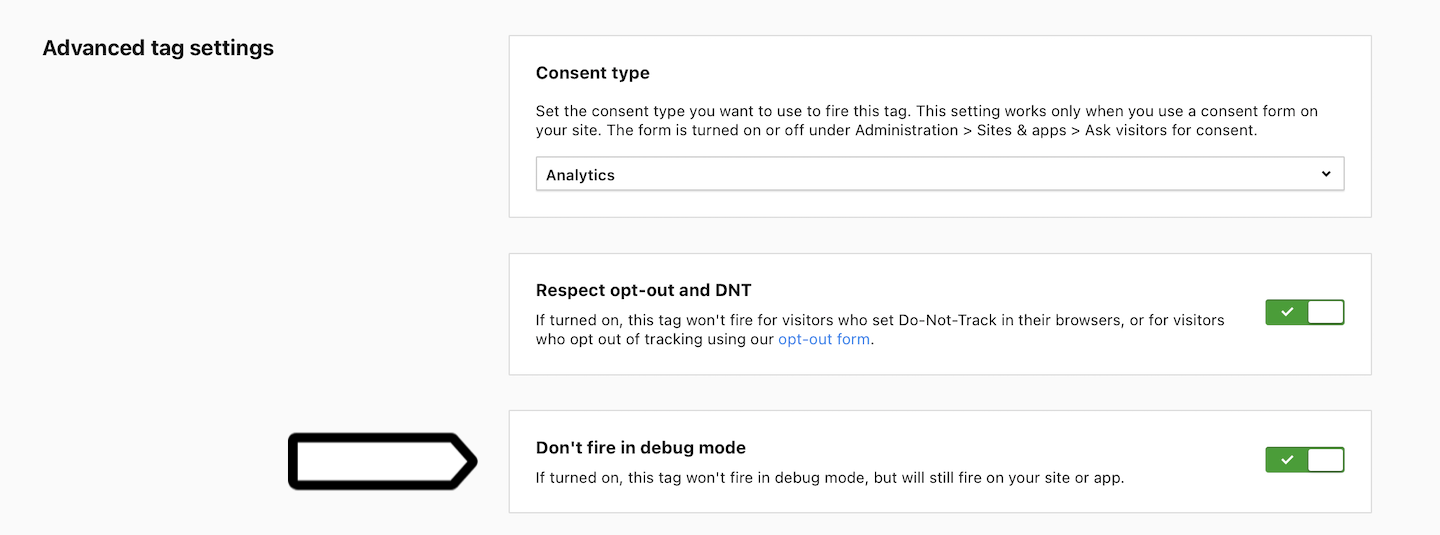
7. In Advanced tag settings, choose Consent type. Set it up if you use a consent form on your site. This tag will only fire for visitors who accept the selected consent type.

Tip: No consent is required is the type you can use for tags that don’t collect data. For example, tags that add a popup or change your site’s look.
8. Respect opt-out and DNT is turned on by default. Leave it as is if you want to respect visitors who’ve turned on the Do-Not-Track feature in their browsers or who’ve opted out of tracking using our opt-out form.

9. The tag will fire in debug mode by default but you can change it. Turn on Don’t fire in debug mode.

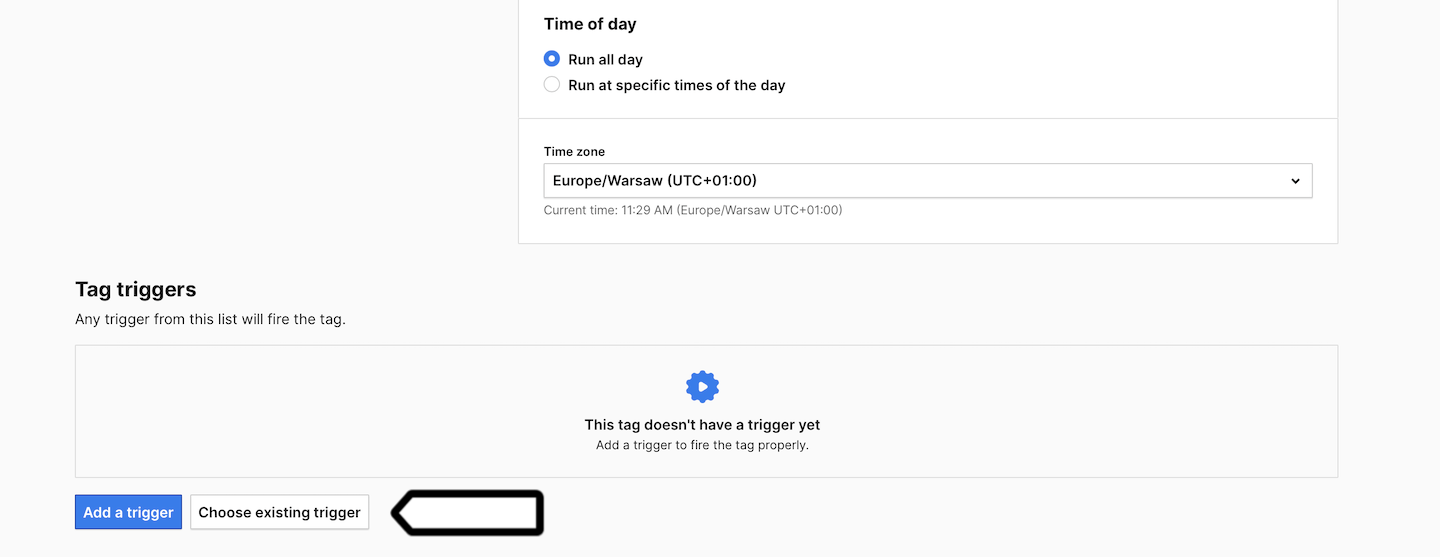
10. In Flight dates, set the date and time when the tag will fire.

11. In Tag triggers, click Add a trigger or Choose existing trigger to set up a trigger for your tag.

Tip: You can add a trigger to a tag at any time, but it’s a good practice to do so while creating the tag. Each trigger type is described in this section.
12. Click Save.
13. Test your tag in debug mode.
14. When you’re happy with how the tag works, click Publish.
Tip: To prioritize certain tags and fire them in a specific order, just head to Menu > Tag Manager > Settings> Tag priority.
15. All done!
