A trigger group fires a tag only after all triggers in the group have been activated the number of times you set. It lets you connect several visitor actions and wait until they all happen before the tag fires. Once the group is activated, extra activations of any trigger won’t make the trigger group fire the tag again. The group will activate again after the page reloads.
In this article, we’ll show you how to set up and use a trigger group.
Before you start
Here are a few things to know before you start:
- You need to create triggers before adding them to a group. In this article, you’ll learn how to create a trigger.
- A trigger group can’t have its own multiplicity rule. You set that on each trigger in the group. Example: If your trigger group has
Page view – activate 1 timeandClick – activate 2 times, the tag will fire after the page view happens once and the click happens twice. A third click won’t fire the tag again.
Add a trigger group
To add a trigger group, follow these steps:
1. Go to Menu > Tag Manager.
2. Navigate to Triggers.
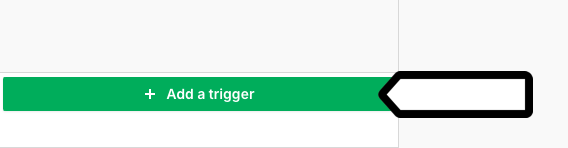
3. Click + Add a trigger.
4. In Trigger type, pick Trigger group.
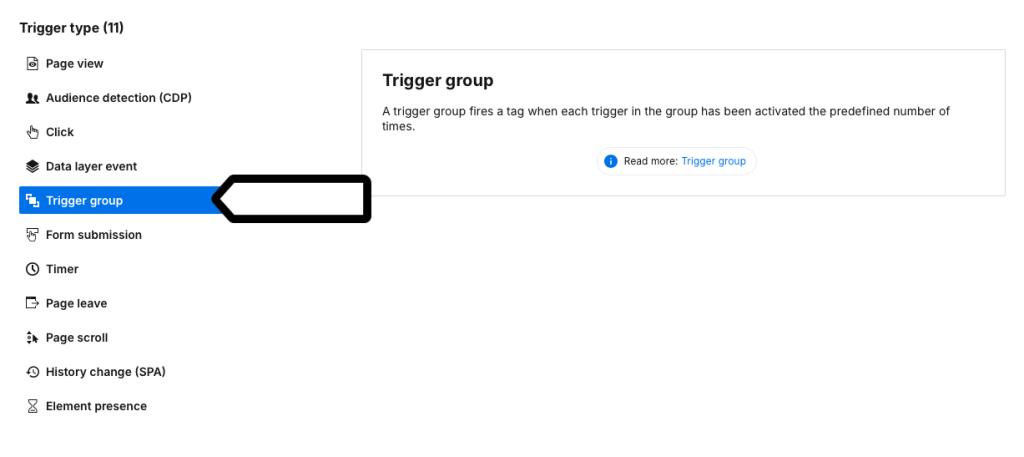
5. Click Next.
6. Name your trigger.
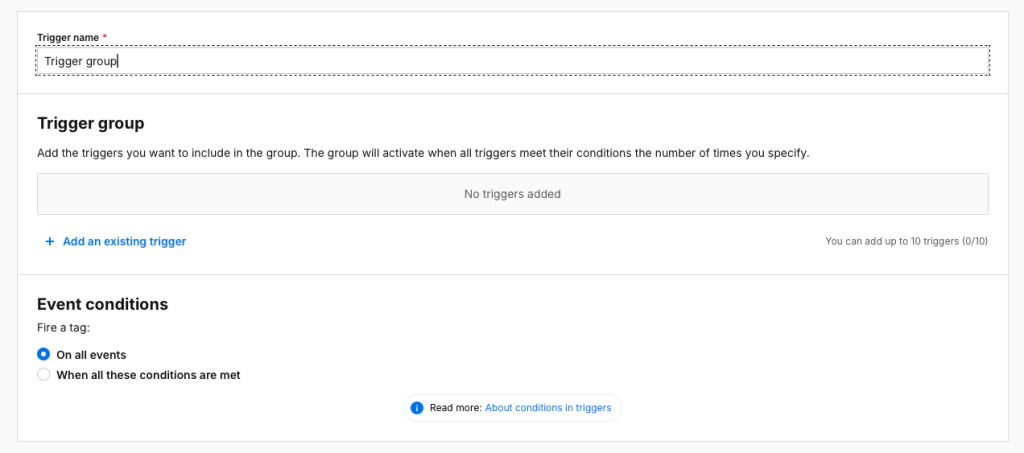
7. Click +Add an existing trigger to add your triggers to the group.
8. Choose the triggers you want to add.
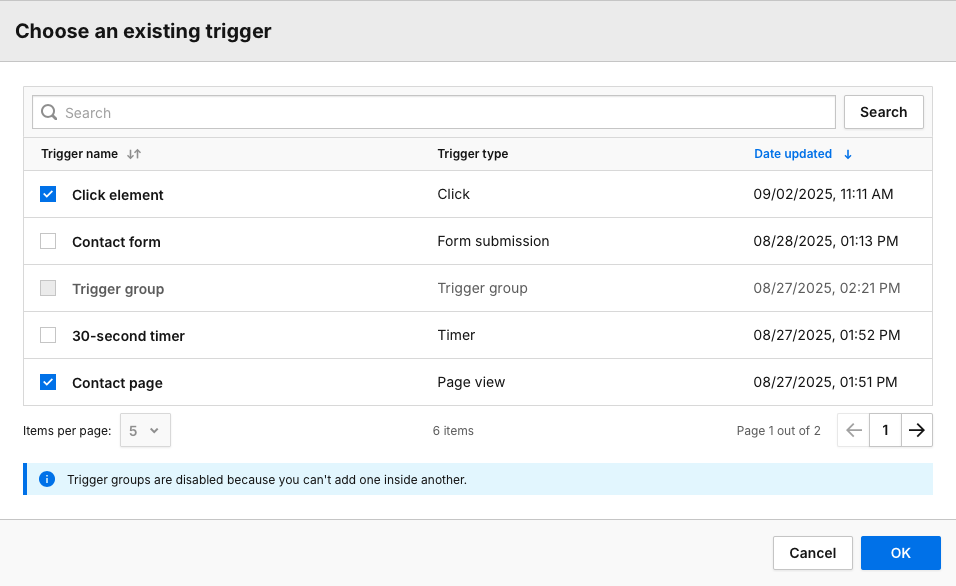
Note: You can’t add one trigger group to another one.
9. Click OK.
10. Set how many times each trigger has to be activated. In our example, the visitor needs to visit a contact page once and click an element twice.

11. In Event conditions, define the event conditions.
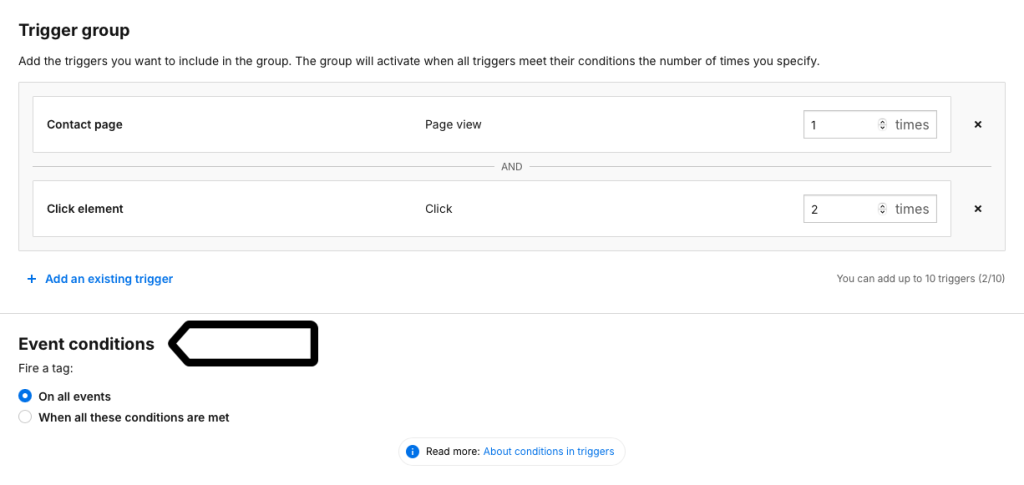
Note: Each trigger has a different set of conditions. You can learn more conditions in triggers in this article.
12. In Audiences, choose if you want to use it for all visitors or the ones from the particular audience.

13. Click Add.
14. Publish the changes.
15. Done! You can see your trigger on the list.
Use a trigger group in a tag
To use a trigger group in a tag, follow these steps:
1. Go to Menu > Tag Manager.
2. Navigate to Tags.
3. Open a tag or create a new one.
4. In Tag triggers, click Choose an existing trigger or add a new one.
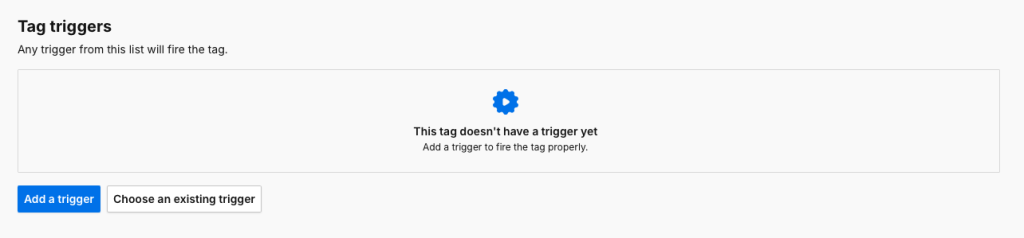
5. Select a trigger group from the list, or create a new one using the steps in Add a trigger group section of this article.
6. Save the tag and publish the changes.
7. Done!
Event conditions
| Condition type | Description | Example |
|---|---|---|
| Page URL | Fires the tag when a visitor visits a page with the selected page URL. For example, a visitor visits the page https://clearbank.com/product-tour. |
Page Url equals https://clearbank.com/product-tour/ |
| Page path | Fires the tag when a visitor visits a page with the selected page path. For example, a visitor visits the page that contains the path /product-tour. |
Page Path contains /product-tour |
| Page hostname | Fires the tag when a visitor visits a page hosted on the selected domain. For example, a visitor visits the page hosted on clearbank.com. |
Page Hostname equals clearbank.com |
| History source |
Fires the tag when a visitor is on a page where a specific history event ( For more on the |
History source equals pushState |
| History fragment | Fires the tag when a visitor is on a page where the hash in the page URL matches the selected condition. |
Example URL: https://example.com/#pricing |
| Old history fragment |
Fires the tag when a visitor is on a page where the previous hash in the page URL matches the selected condition. For more on the |
Example previous URL: https://example.com/#about-us |
| History state |
Fires the tag when a visitor is on a page where the history state in the page URL matches the selected condition. For more on the |
or History state equals my-state |
| Old history state |
Fires the tag when a visitor is on a page where the previous history state in the page URL matches the selected condition. For more on the |
Old history state is set or Old history state equals my-state |
| Referrer | Fires the tag when a visitor visits a page to which they were directed by the selected referrer. This referrer is internal, meaning that it belongs to the same domain as your site. For example, a visitor comes from https://clearbank.com/blog. |
Referrer equals https://clearbank.com/blog |
| External referrer | Fires the tag when a visitor visits a page to which they were directed by the selected external referrer. This referrer is external, meaning that it has a different domain than your site. For example, a visitor comes from https://google.com. |
External referrer equals https://google.com |
| Campaign | Fires the tag when a visitor visits a page to which they were directed by the selected campaign (based on the utm_campaign parameter). | Campaign equals winter-promo |
| Traffic source |
Fires the tag when a history object or hash changes for the page a visitor was directed to by the selected traffic source. Possible values: campaign, organic search, social, referral, direct. |
Traffic source equals direct |
| Returning visitor | Fires the tag when a visitor is a returning visitor and a history object or hash changes. The returning visitor is recognized by Tag Manager, which uses the stg_returning_visitor cookie. | Returning visitor is true |
| Variable-based conditions | Any variable you add will appear in the list of conditions and you can use it to define trigger conditions. | –– |