Each tag needs a trigger that tells the tag when and where to fire. For example, a popup tag may need a page view trigger that activates it when someone visits a page, while a custom event tag may need a click trigger that activates it when someone clicks a sign-up button, and so on.
Triggers can be set up either when you’re creating a tag or separately in a trigger section. The same trigger can be used for multiple tags, and a tag can have multiple triggers. There are many possibilities.
In this article, we’ll go over the basics of adding a trigger.
To add a trigger, follow these steps:
Trigger section
1. Go to Menu > Tag Manager.
2. Navigate to Triggers.
3. Click Add a trigger.
When creating a tag
1. Go to Menu > Tag Manager.
2. Navigate to Tags.
3. Click on the tag you want to work with.
4. In Tag triggers, click Add a trigger.
Then the process is the same
5. Name the trigger.
6. In Event type, choose a type. Example: Page view.
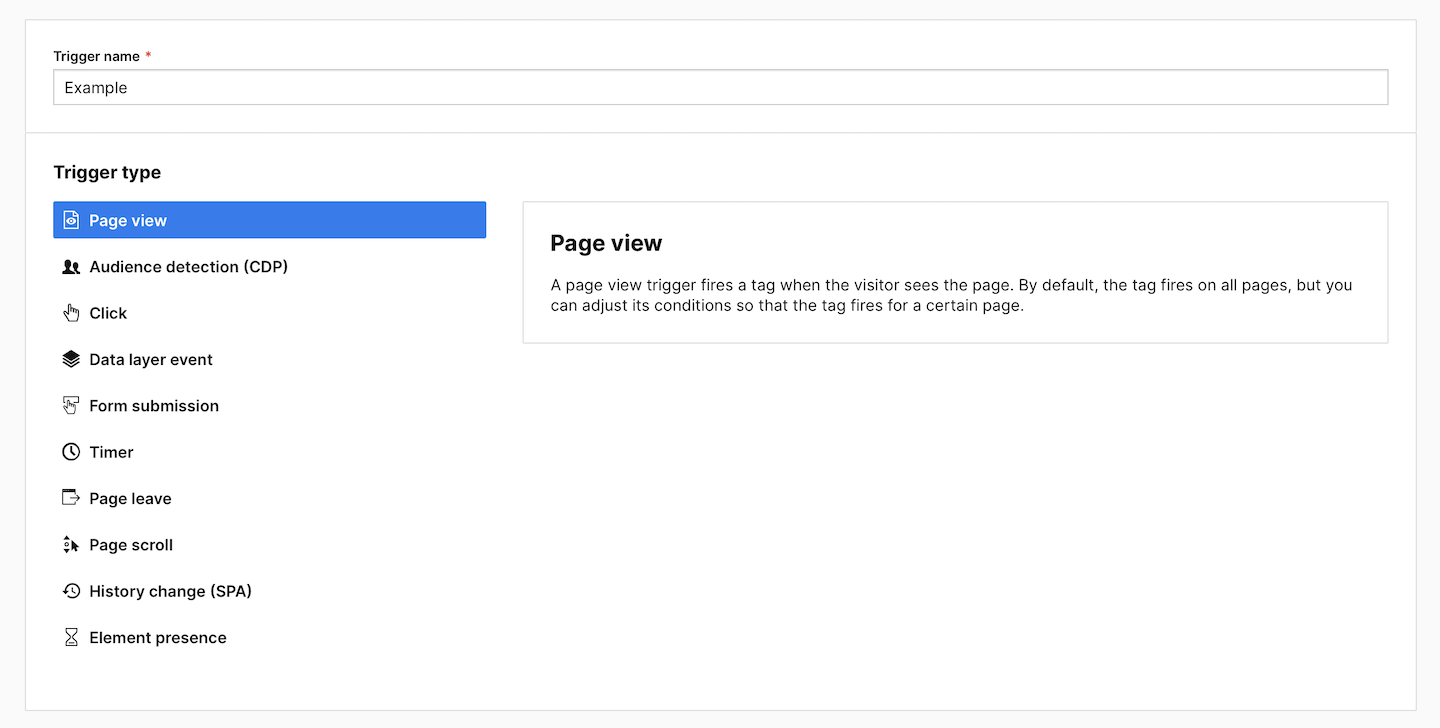
Tip: Each trigger type is described in this section.
7. Click Next.
8. Set up the trigger. Each trigger type has different settings available.
9. In Event conditions, define the event conditions. Example: Page URL contains blog.
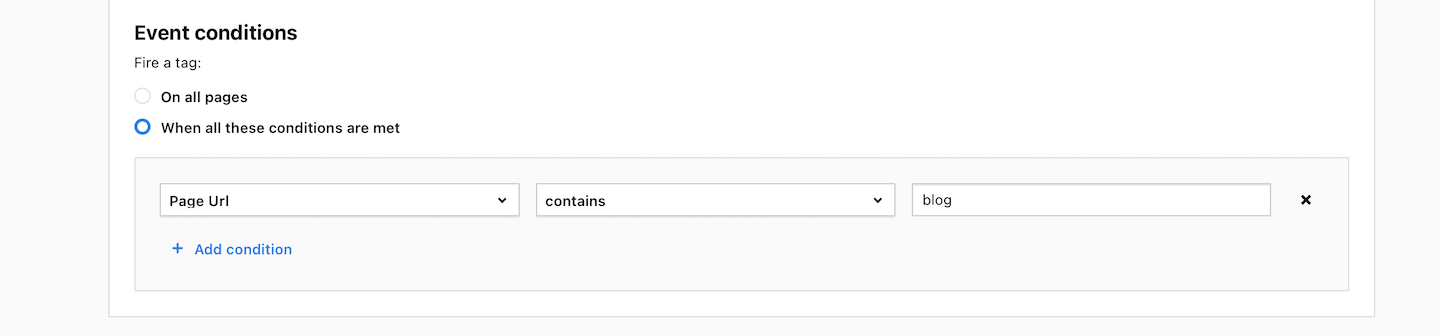
Tip: Each trigger has a different set of conditions. You can learn more about each condition in this article.
10. Available from 17.0.0 In Audiences, pick the audience for which you want to fire the tag.
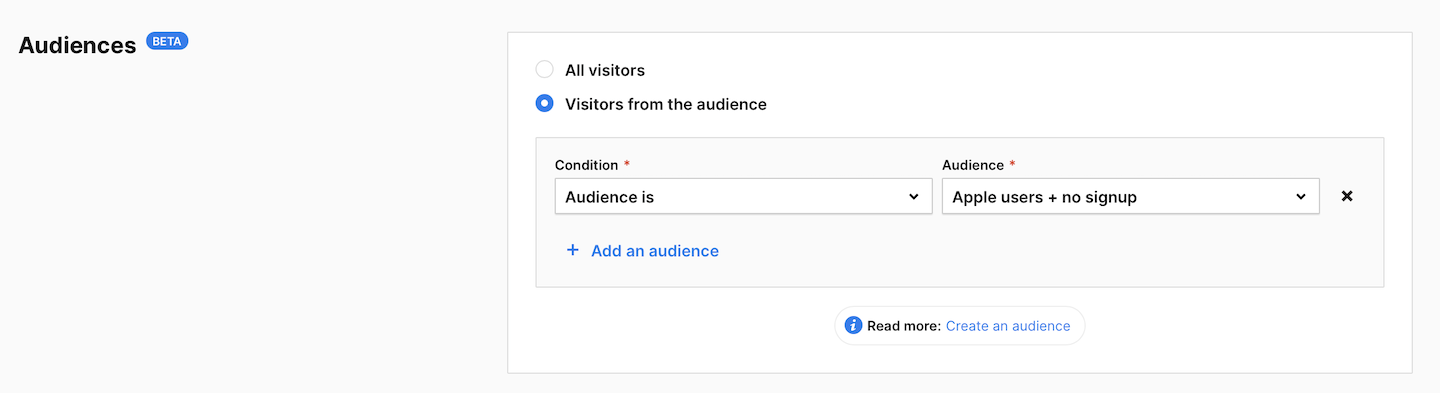
Note: Audiences don’t work for a page view trigger. You can use an audience detection (Data Activation) trigger, formerly an audience detection (CDP) trigger, instead.
Tip: Learn how to create an audience.
11. In Multiplicity, set how often the tag should be fired. Example: Many times during a session.

12. When you’re done, click Add.
13. All done!