Note: This integration is deprecated and will be removed in early 2024 due to changes in Tableau’s web data connector. We recommend the following solutions:
- Upload raw data exports to Tableau: Export raw data from Piwik PRO and upload it to Tableau.
- Use alternative BI tools: Consider switching to other tools like Looker Studio, Power BI (desktop) or Power BI (service).
When you want to use data collected by Piwik PRO in Tableau, you need to integrate one product with another. The integration uses the web data connector for Tableau and takes a few clicks to complete. After it’s done, you can comfortably visualize your data in Tableau.
To integrate with Tableau, follow these steps:
1. Open Tableau Desktop.
2. Go to Connect > Web Data Connector.
3. Enter this URL: http://<your_account_name>.piwik.pro/analytics/tableau-connector changing <your_account_name> to your account name.
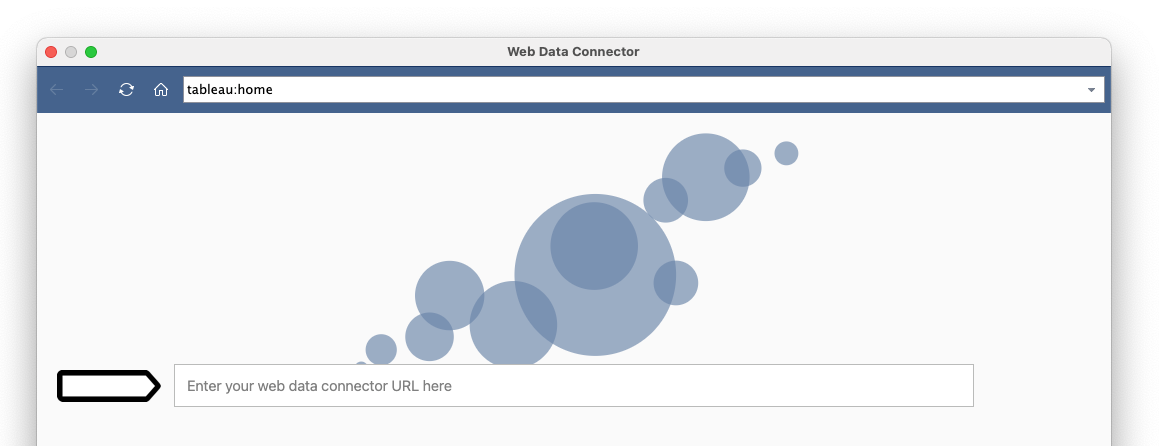
4. Click Enter.
5. You’ll see our setup screen.
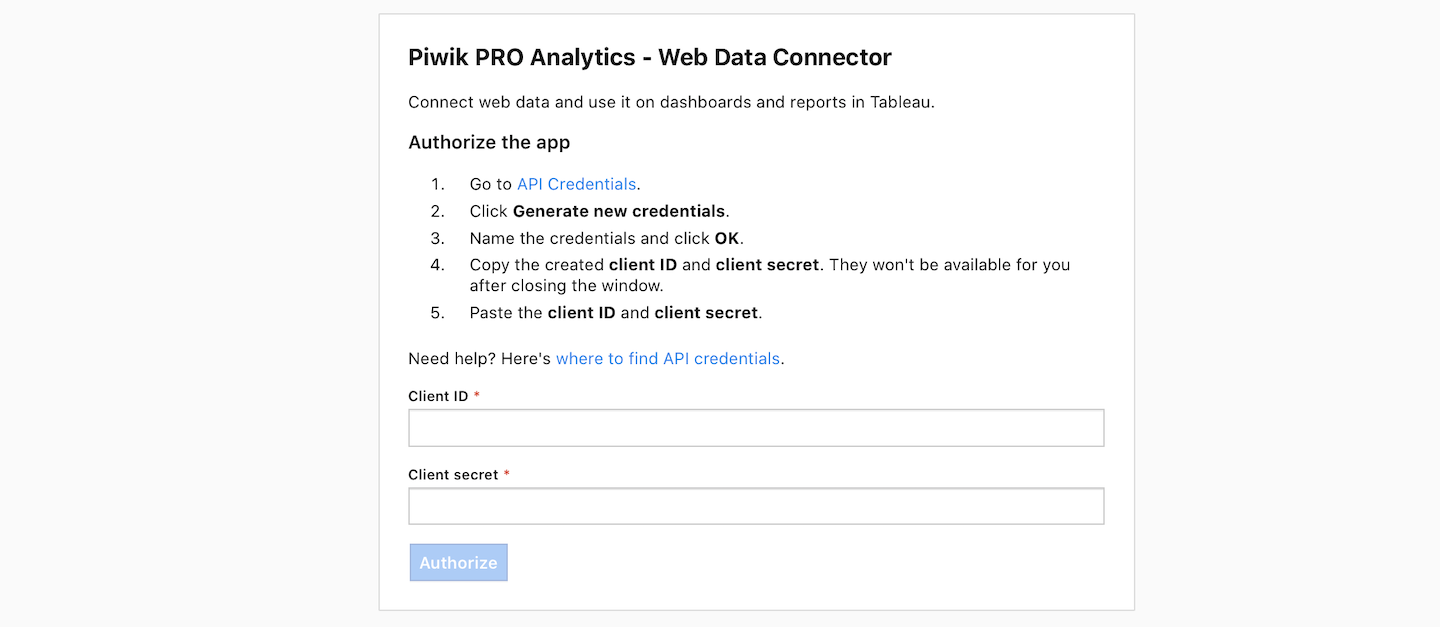
6. Log in to Piwik PRO.
7. Go to Menu > Profile.
8. Navigate to API keys.
9. Click Create a key.
10. Name the credentials and click OK.
11. Copy the created client ID and client secret. They won’t be available after you close the window.
Note: If you plan to update your data in the future, save your client ID and client secret securely. This way you won’t need to create new credentials.
12. Paste the client ID and client secret in the web data connector.
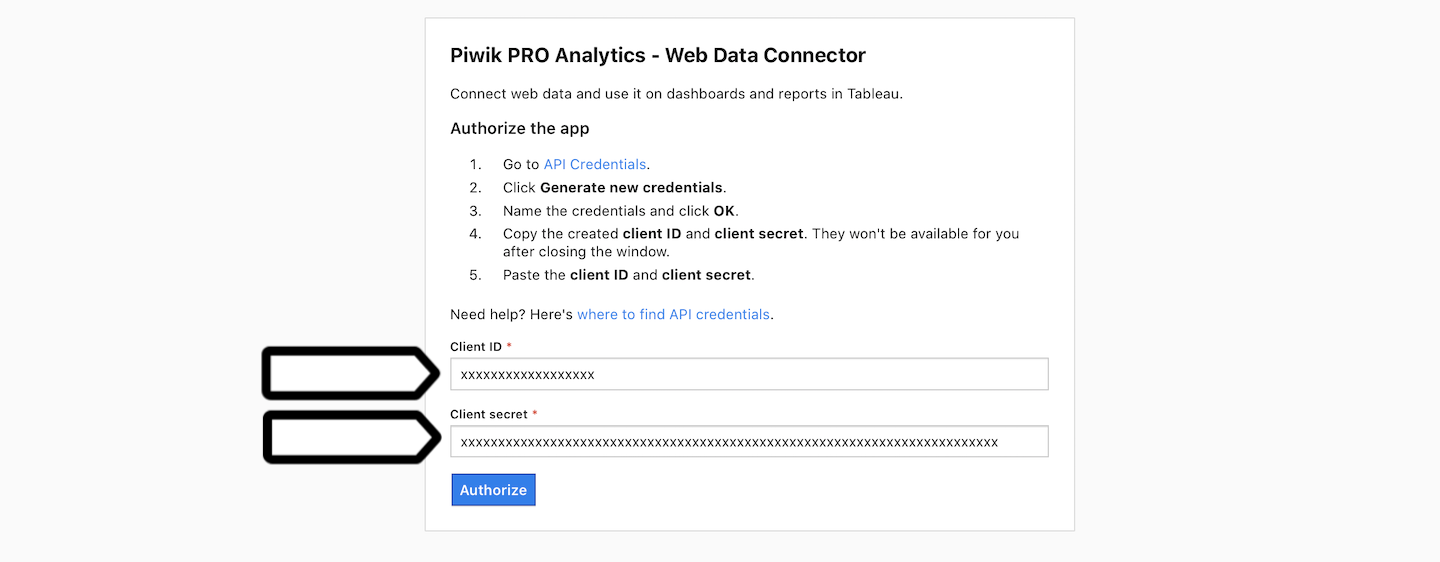
13. Click Authorize.
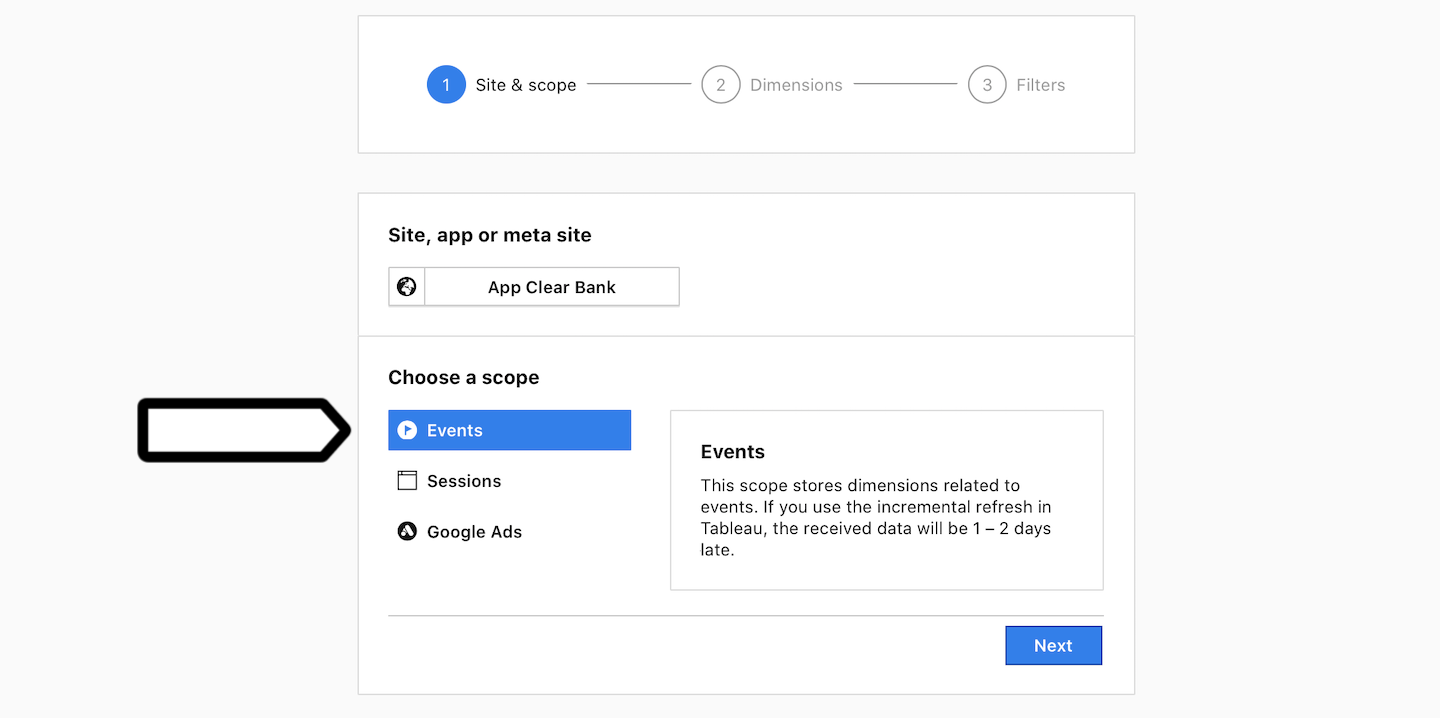
14. Choose the site, app or meta site from which you want to import data.
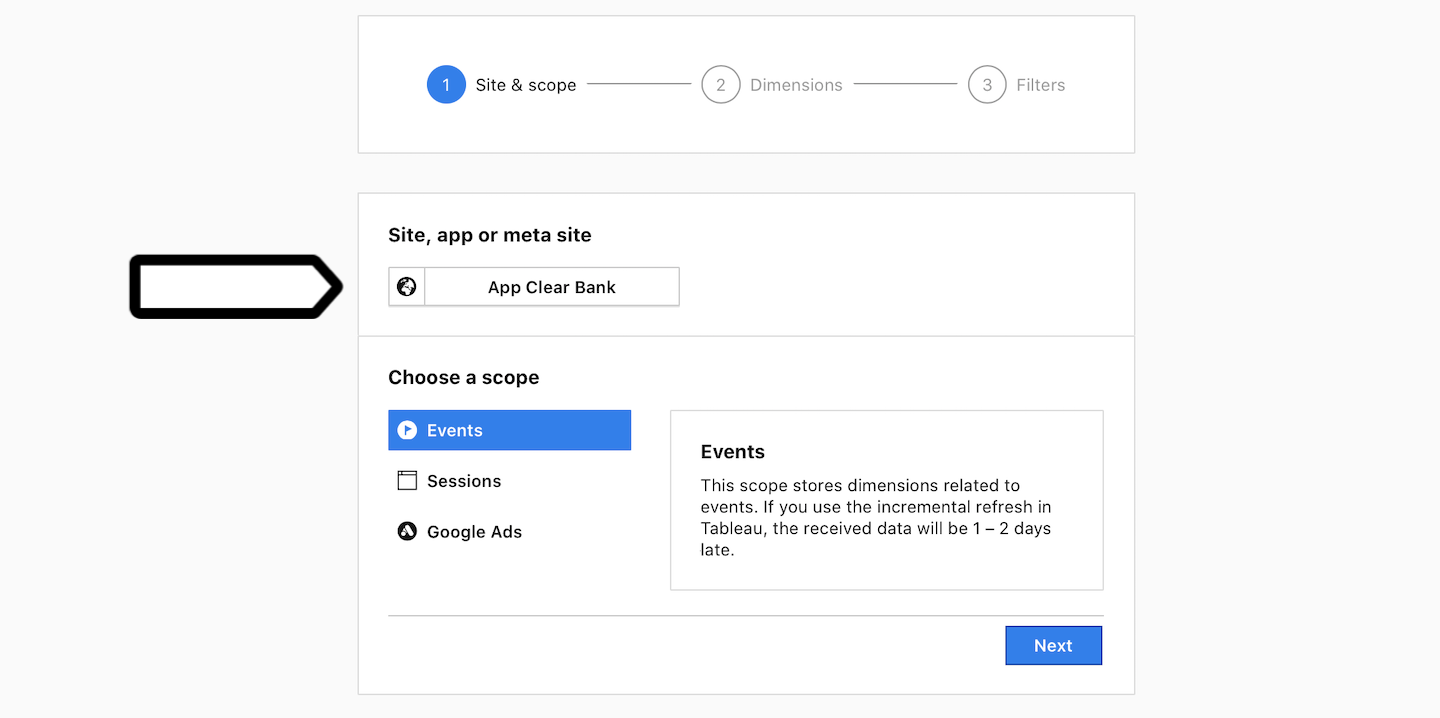
15. Choose one of the scopes: events, sessions or Google Ads.
- Events: This scope stores dimensions related to events. If you use the incremental refresh in Tableau, the received data will be 1 – 2 days late.
- Sessions: This scope stores dimensions related to sessions. If you use the incremental refresh in Tableau, the received data will be 1 – 2 days late.
Available from 16.0.0Google Ads: This scope stores dimensions related to data from Google Ads. If you use the incremental refresh in Tableau, the received data will be 2–3 days late.
16. Click Next.
17. Choose dates and dimensions that you want to import.
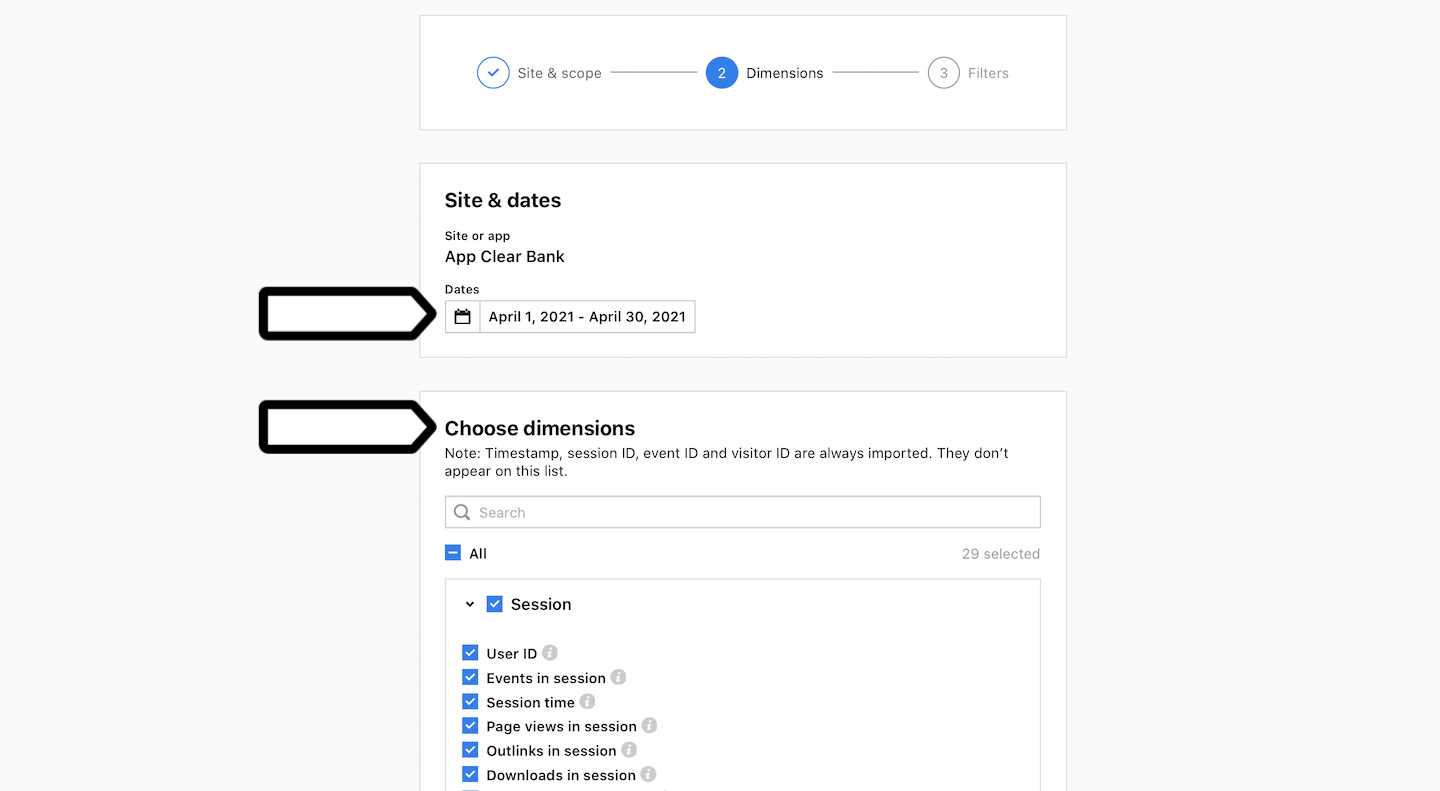
Note: Timestamp, session ID, event ID and visitor ID are always imported. They don’t appear on this list.
18. Click Next.
19. (Optional) Add filters.
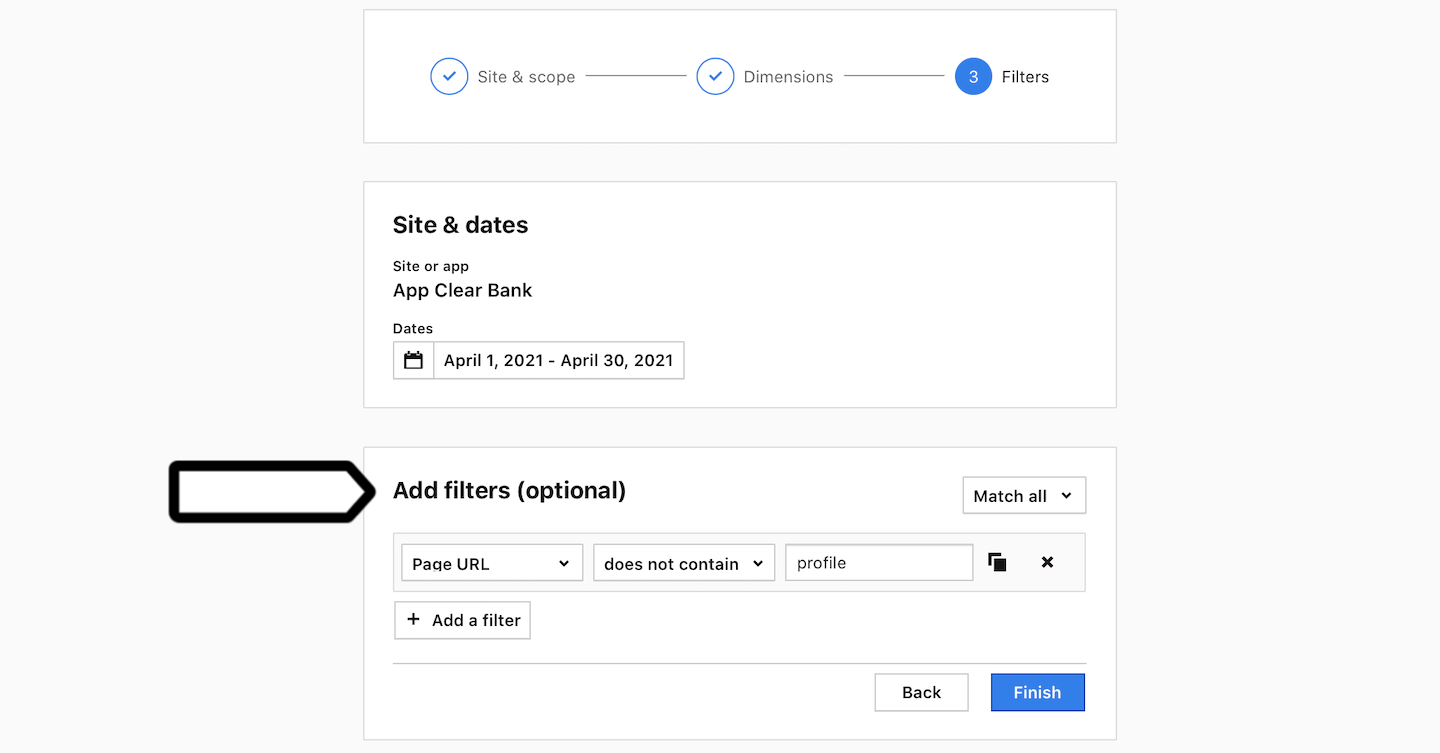
20. When you’re done, click Finish.
21. The connector will now download your data schema.
22. Open a worksheet in Tableau and wait while the connector imports all your data.
Note: Importing data can take anywhere from a few minutes to several hours. This time depends on the size of your data set.
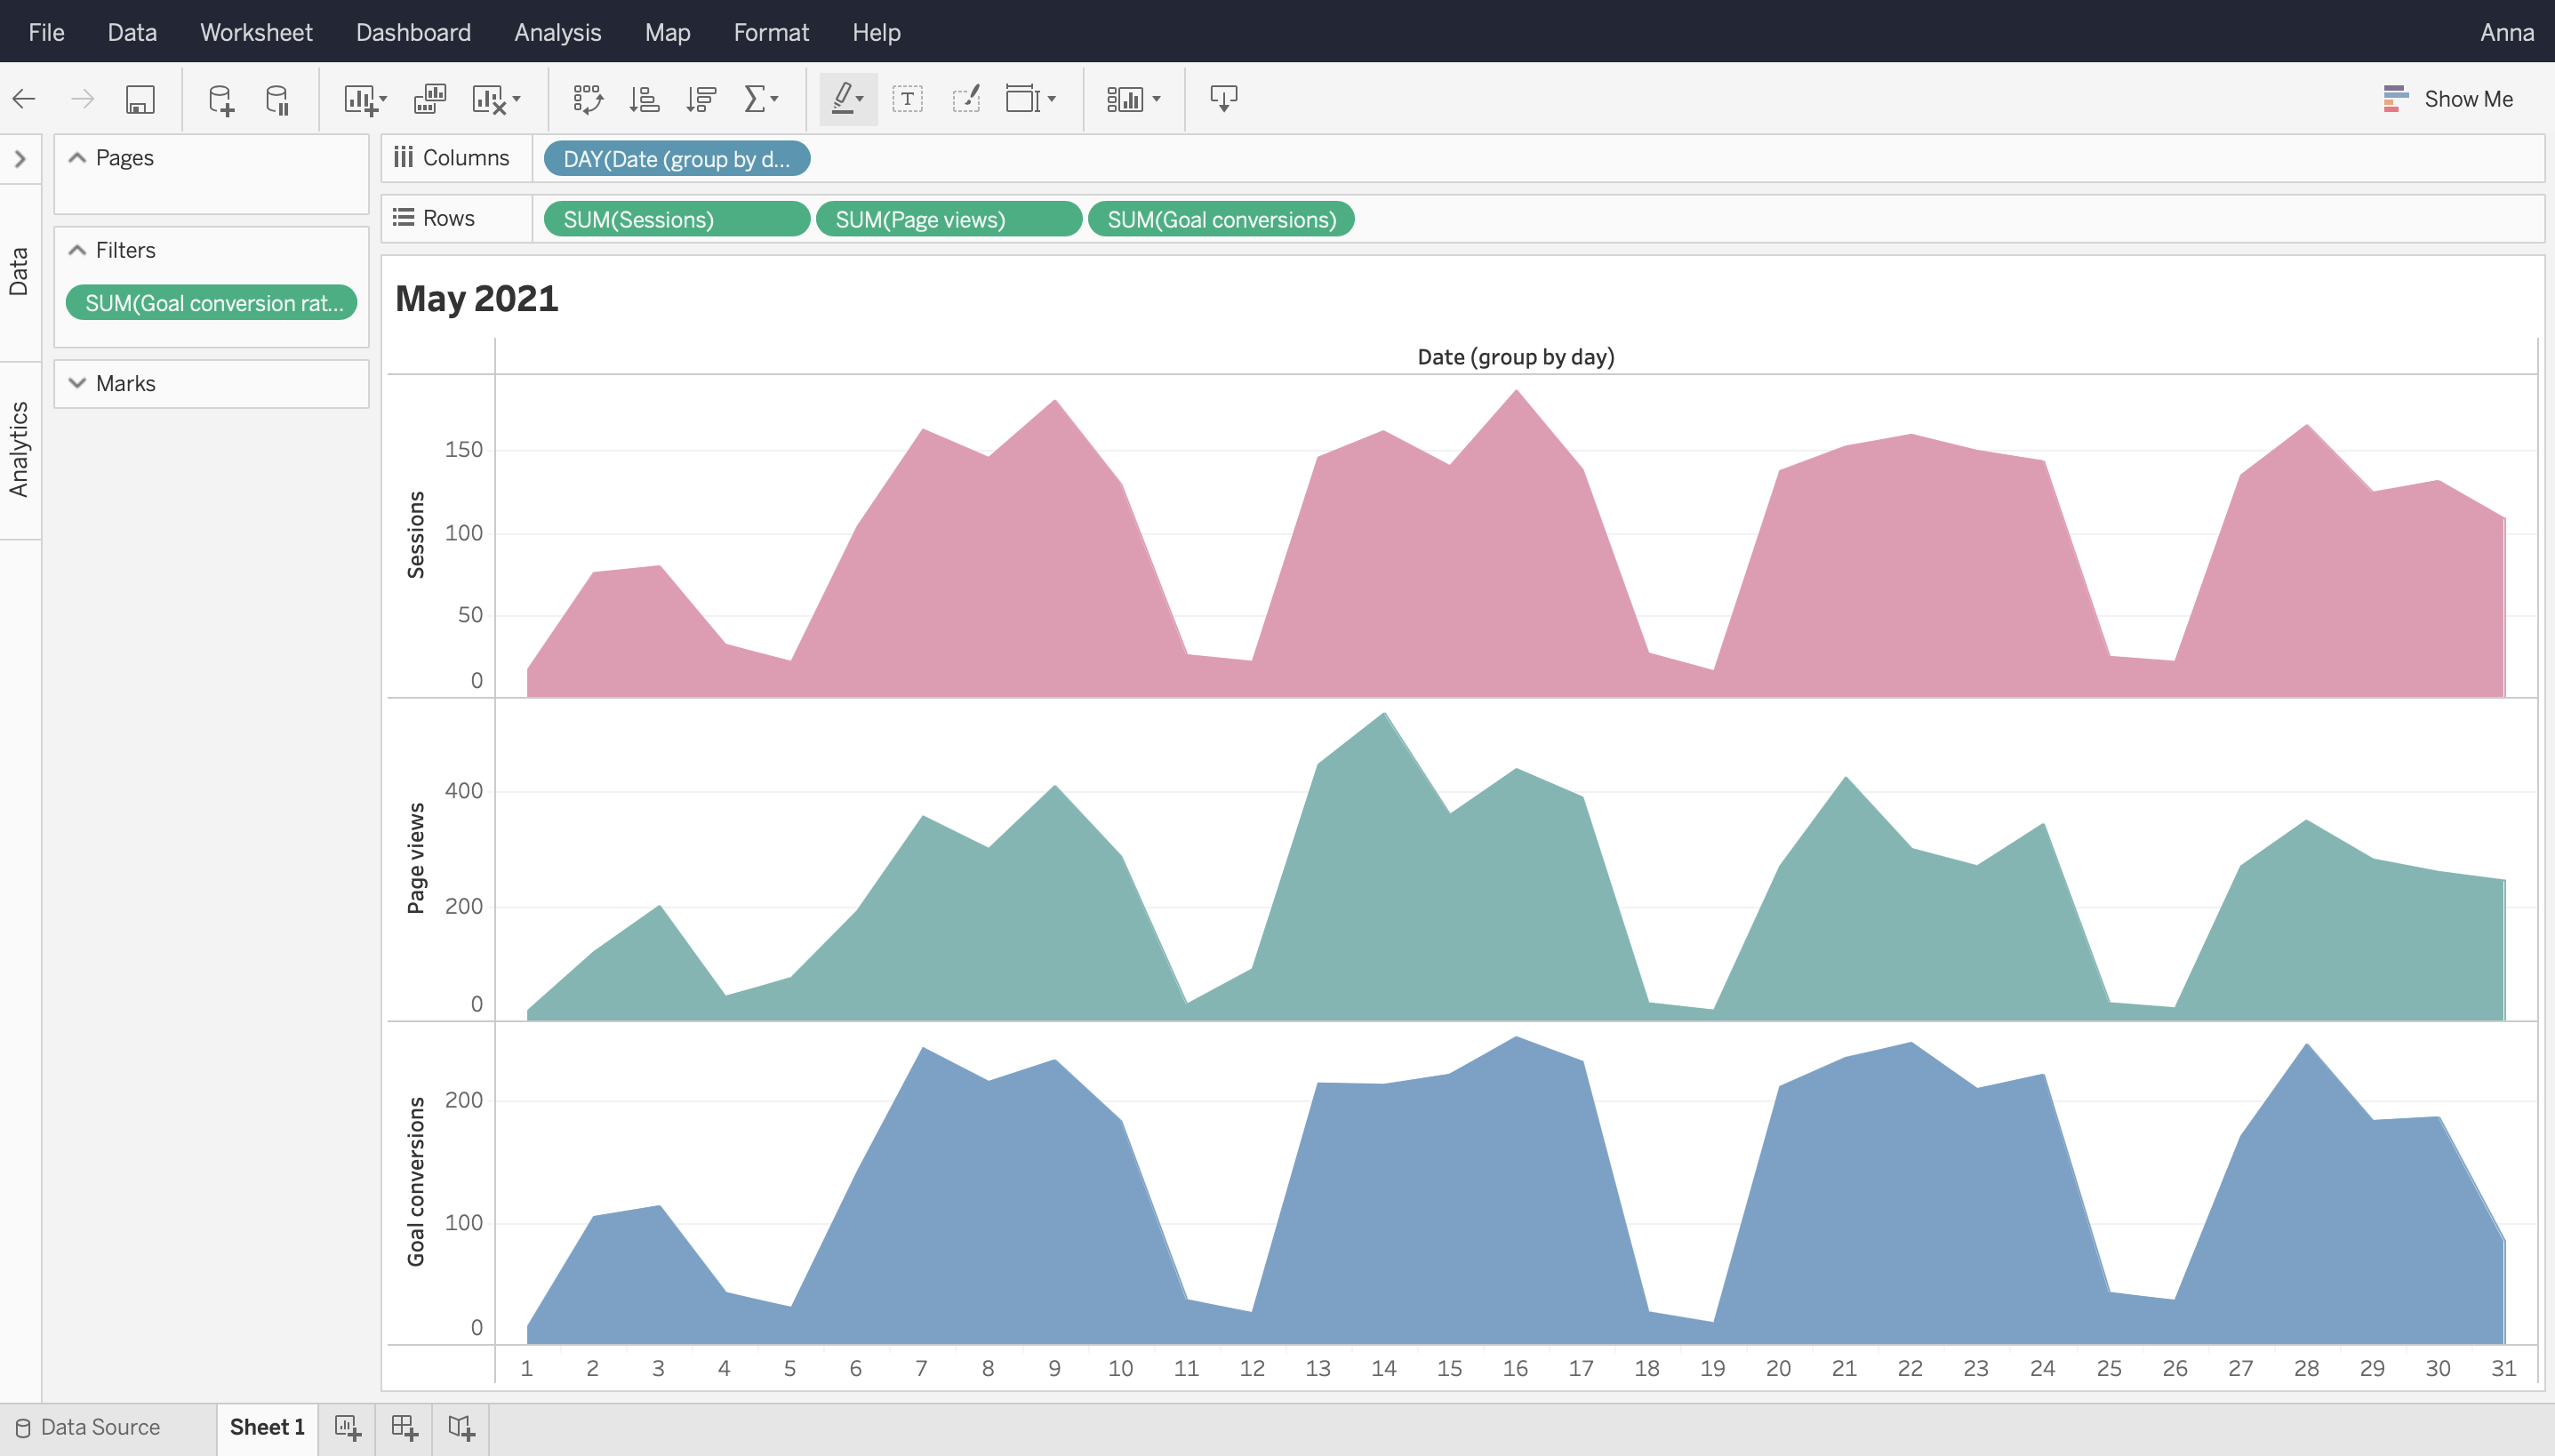
23. Done! When the import is finished, you can start your analysis.
Note: After connecting your data, you can update it at any time using the incremental refresh in Tableau. You’ll need to authorize the update with your API credentials. Also keep in mind that session and event data will be 1–2 days late and Google Ads data 2–3 days late.
Set up automatic data refresh for Tableau Online
When you’re using Tableau Online and want to automatically refresh your data from Piwik PRO, you need to set up Tableau Bridge (legacy). The bridge will connect Tableau Online with Tableau Desktop and let you securely use API keys needed for the refresh.
To set up automatic data refresh for Tableau Online, follow these steps:
1. Open Tableau Desktop.
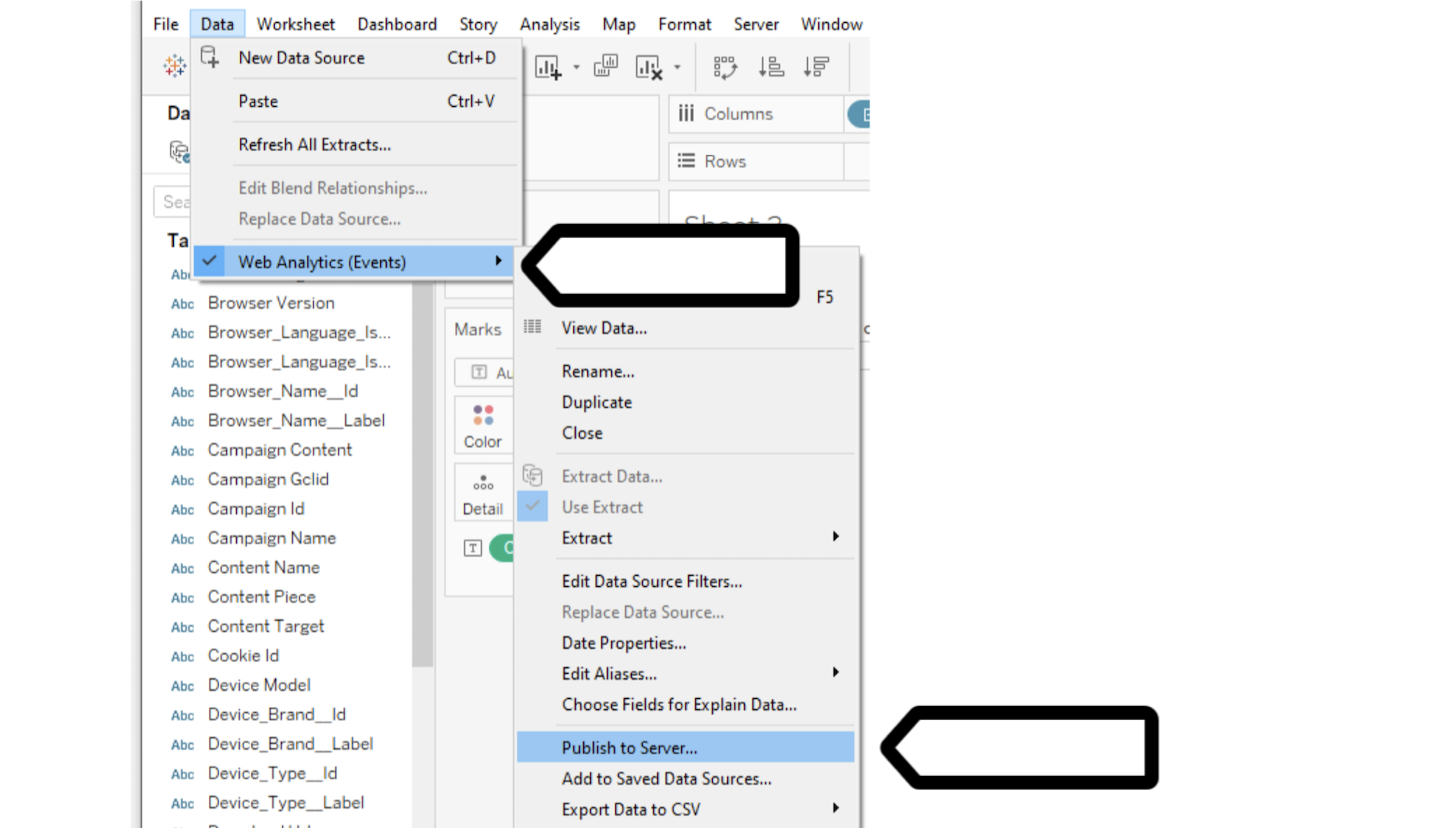
2. Navigate to Data > Your connected data set > Publish to Server…
3. Install Tableau Bridge (legacy) on your desktop or Windows Server (recommended).
4. Log in to Tableau Bridge (legacy) using your Tableau Online account.
Note: To set up the bridge, you’ll need the following permissions in Tableau: creator, site administrator creator or server administrator.
5. Set up a Tableau Bridge (legacy) schedule in Tableau Online.
Note: We recommend that you set up incremental refresh because it’s faster. Also don’t set it up more often than once a day because incremental refresh is pulling data for finished days.
Note: The refresh will only run when the machine with Tableau Bridge (legacy) is turned on and connected to the same network you’re using to access Piwik PRO API and Tableau Online.
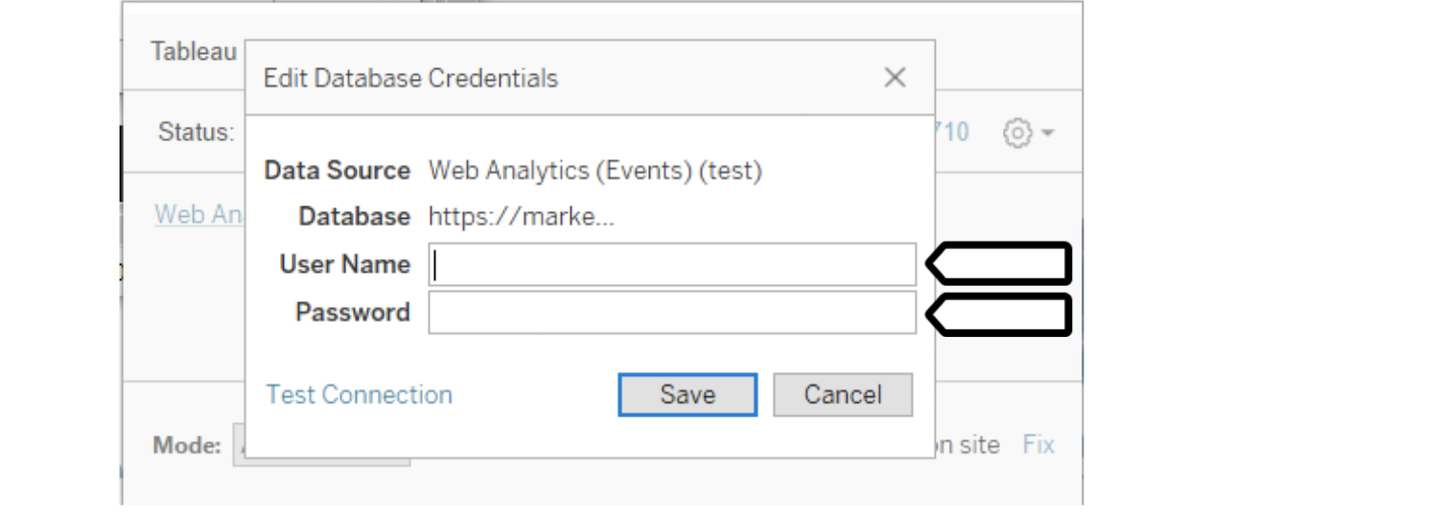
6. In Tableau Bridge (legacy), type in your API credentials from Piwik PRO:
- User Name: Client ID
- Password: Client secret
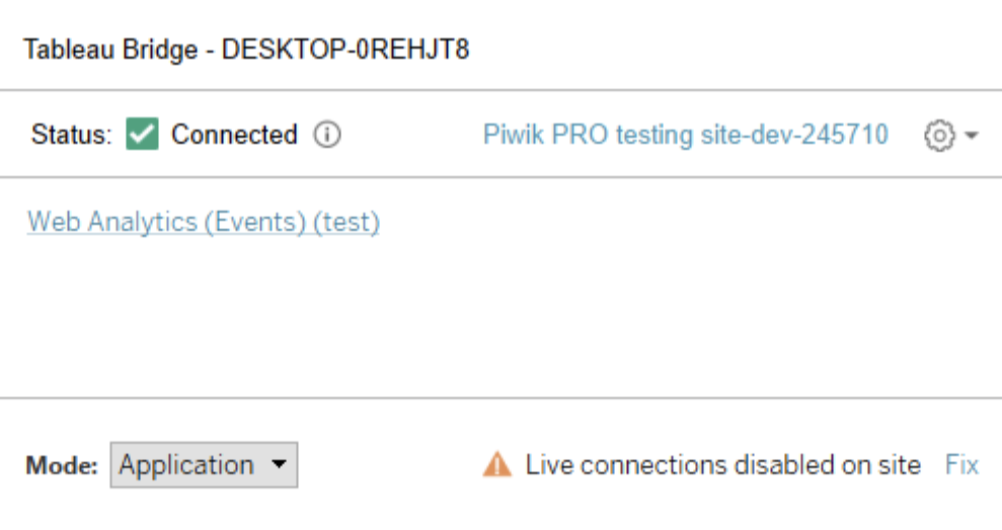
7. Here’s how your setup for Tableau Bridge (legacy) should look like.
8. All set! Now your web data from Piwik PRO will be automatically updated in Tableau Online.