Note: This method is only for accounts with versions below 16.8.0. For version 16.8.0 and higher, use the heatmap & clickmap tag.
If you want to collect data for heatmaps and clickmaps, you need to use our custom code. This code records all clicks on each page as custom events, sends them to Analytics and displays them in our site inspector.
To add our custom code, follow these steps:
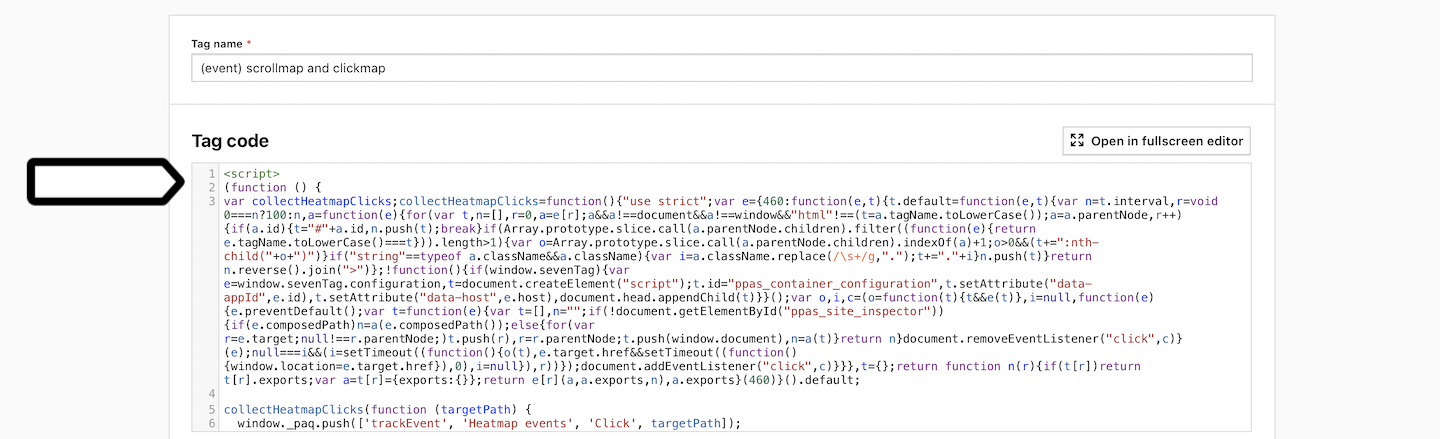
1. Here’s the code that you’ll use:
<script>
  (function() {
    var collectHeatmapClicks;
    collectHeatmapClicks = function() {"use strict";var e = { 460: function(e, t) {t.default = function() {return { injectConfigForSiteInspector: function() {if (window.sevenTag) {var e = window.sevenTag.configuration, t = document.createElement("script");t.id = "ppas_container_configuration", t.setAttribute("data-appId", e.id), t.setAttribute("data-host", e.main_domain), document.head.appendChild(t)}}, getElementPath: function(e, t) {var r = (void 0 === t ? {} : t).blacklistedClasses, n = void 0 === r ? [] : r, a = function(e) {var t = e;return n.forEach((function(e) {t = t.replace(new RegExp(e, "g"), " ").trim()})), t}, o = function(e) {for (var t, r = [], o = 0, i = e[o]; i && i !== document && i !== window && "html" !== (t = i.tagName.toLowerCase()); i = i.parentNode, o++) {if (i.id) {t = "#" + i.id, r.push(t);break}if (Array.prototype.slice.call(i.parentNode.children).filter((function(e) {return e.tagName.toLowerCase() === t})).length > 1) {var c = Array.prototype.slice.call(i.parentNode.children).indexOf(i) + 1;c > 0 && (t += ":nth-child(" + c + ")")}if ("string" == typeof i.className && i.className) {var s = i.className.trim();n.length && (s = a(s)), s = s.replace(/\s+/g, "."), t += "." + s}r.push(t)}return r.reverse().join(">")}, i = [], c = "";if (e.composedPath) c = o(e.composedPath()); else {for (var s = e.target; null !== s.parentNode;) i.push(s), s = s.parentNode;i.push(window.document), c = o(i)}return c} }}} }, t = {};return function r(n) {if (t[n]) return t[n].exports;var a = t[n] = { exports: {} };return e[n](a, a.exports, r), a.exports}(460)}().default;
    var heatmapCollector = collectHeatmapClicks();

    heatmapCollector.injectConfigForSiteInspector();

    document.addEventListener('click', function(e) {
      window._paq.push([
        'trackEvent',
        'Heatmap events',
        'Click',
        heatmapCollector.getElementPath(
          e, {
            blacklistedClasses: []
          },
        ),
      ]);
    });
  })();
</script>
In this code, you can change the following parameters:
blacklistedClasses: [], // An array of regexps (e.g./class-name/ for strict string search) of CSS class names that will be filtered from the final path
Note: This code saves clicks and clicked elements as custom events. Keep the event names as they are because the site inspector uses them to show the data.
Note: This tag slightly delays page loading when a visitor clicks on elements that reload the page. It gives the tag time to send data to the tracker. The delay is less than one second.
2. Go to Menu > Tag Manager.
3. Navigate to Tags.
4. Click Add a tag.
5. Choose the following tag template: Custom code.
6. Click Next.
7. Name the tag.
8. In Tag code, add the code from step 1.
9. In Tag triggers, click Choose existing trigger to set up a trigger for your tag.
10. Choose the following trigger: All page views.
Note: You can also use a page view trigger that will fire the tag on specific pages.
11. Click OK.
12. Click Add for the tag.
13. Test your tag in debug mode.
14. When you’re happy how the tag works, click Publish.
Note: This tag will record a custom event each time a visitor clicks any element on your site. This will increase the number of actions on which we base our pricing.
15. Done!