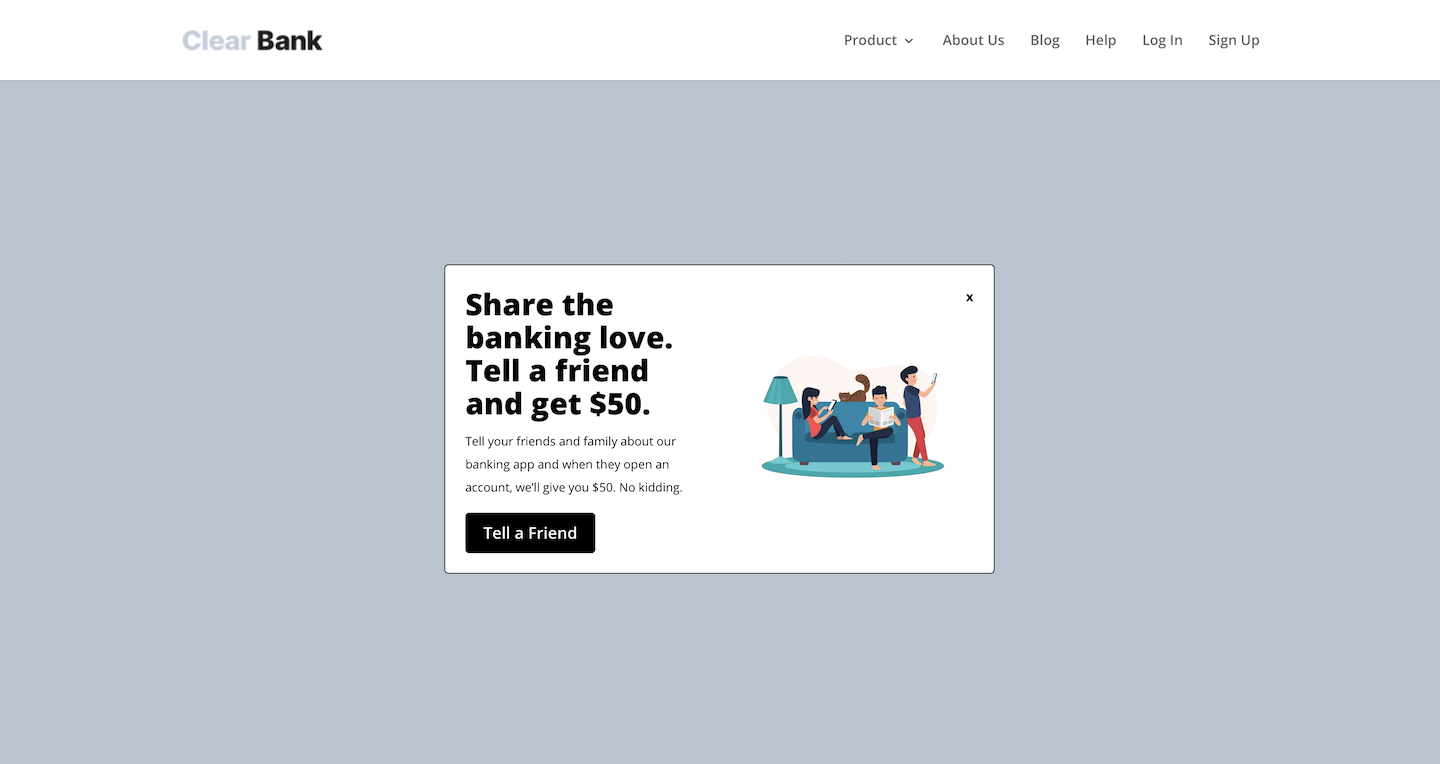
A popup tag lets you display popups on your website and run your marketing campaigns more effectively. With popups you can better engage your website visitors and boost your campaign’s visibility.
In this article, we’ll show you how to set it up.
Before you start
Here are some things to know before you start:
- You need to know a bit about HTML and CSS to design your popup, but the tag setup is easy.
- The closing button must keep the class name
ppms-popup-close-buttonfor it to work correctly. - By default, this tag appears for visitors who agree to A/B testing and personalization. But you can change its settings.
- This tag loads at the same time as other tags.
Set up a popup tag
To set up a popup tag, follow these steps:
1. Design and code your popup in HTML.
2. Go to Menu > Tag Manager.
3. Navigate to Tags.
4. Click Add a tag.
5. Shoose the following tag template: Popup.
6. Click Next.
7. Name your tag.
8. In HTML tag code, type the code with your popup. Customize the CSS to make the popup match the design of your site.
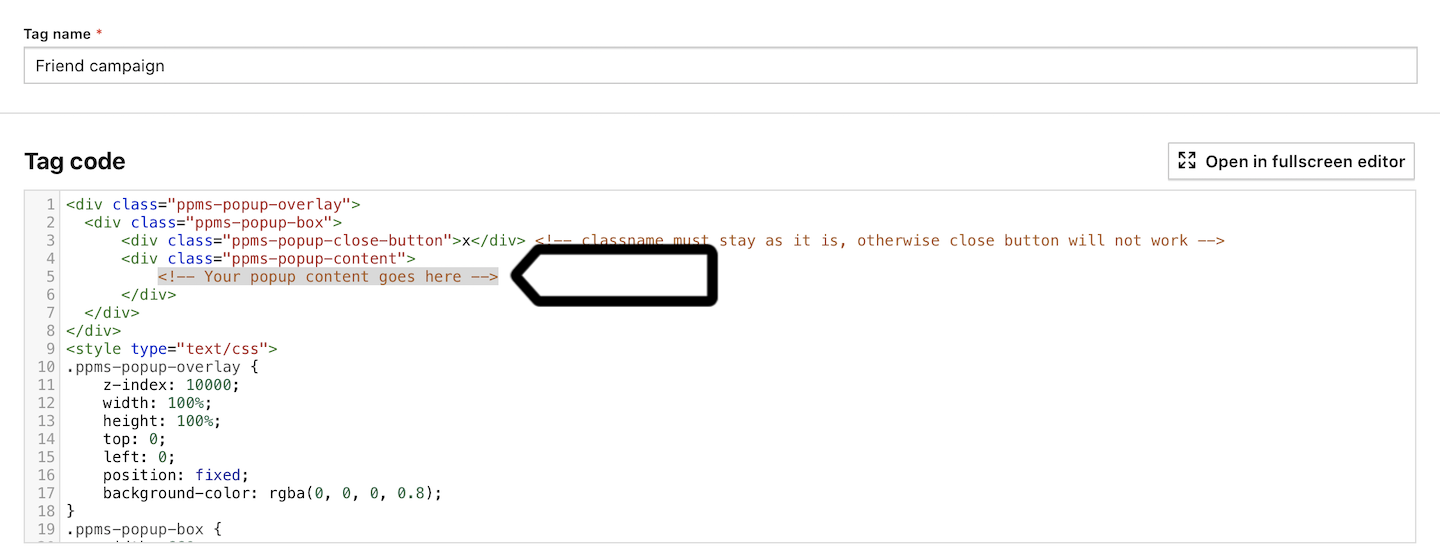
Note: The closing button must keep the class name ppms-popup-close-button for it to work correctly.
9. In Advanced tag settings, choose the tag type. By default, your popup appears to visitors who agree to A/B testing and personalization, but you can change this.

10. Respect opt-out and DNT is turned off by default. Turn it on, if you want to respect visitors who’ve turned on the Do-Not-Track feature in their browsers or who’ve opted out of tracking using our opt-out form.
11. Enable document.write is turned off by default. Turn it on only if your tag needs it.
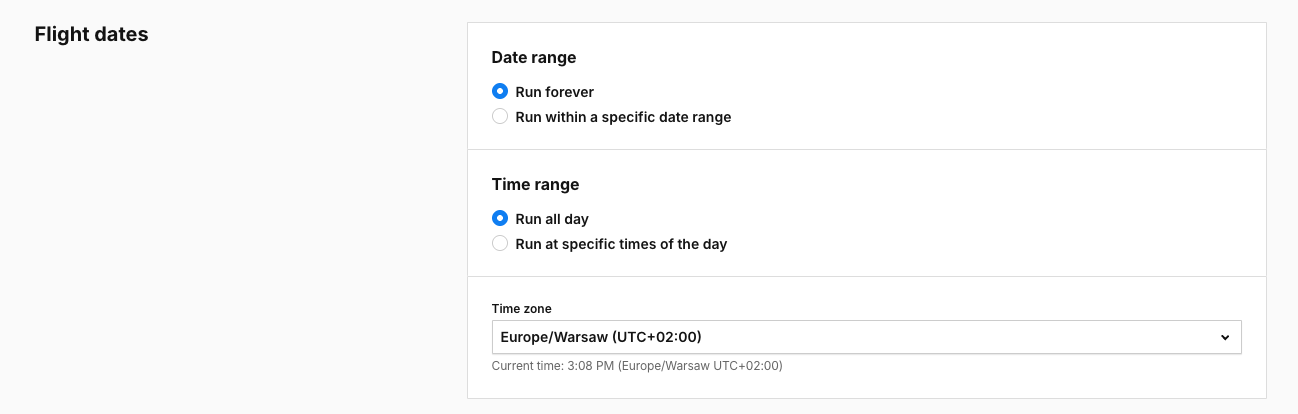
12. In Flight dates, set the date and time when the tag will fire.
13. In Tag triggers, click Add a trigger or Choose existing trigger to set up a trigger for your popup.
Tip:
- Marketers often use a page scroll or timer trigger for popups.
- It’s best to show the popup only once per session to avoid overwhelming visitors with repeated displays.
13. When you’re done, click Add.
14. Test your tag in debug mode.
15. When the tag works correctly, click Publish.
16. All set!
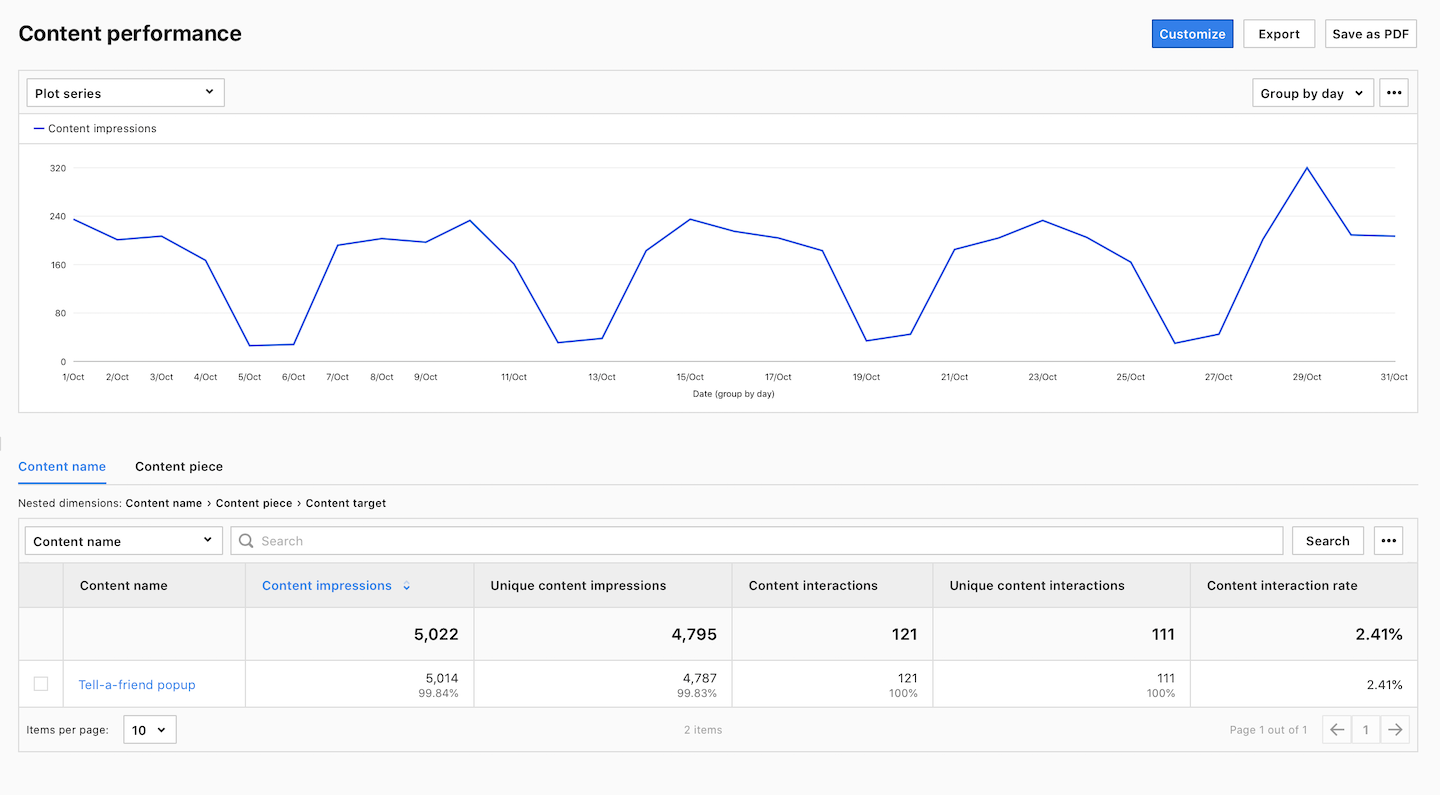
Track popup impressions
To start tracking popup impressions, follow these steps:
1. Go to Menu > Tag Manager.
2. Navigate to Tags.
3. On the left, click Piwik PRO (tracking code).
4. In Piwik PRO setup, go to Data collection.
5. Turn on Interactions with popups and content.
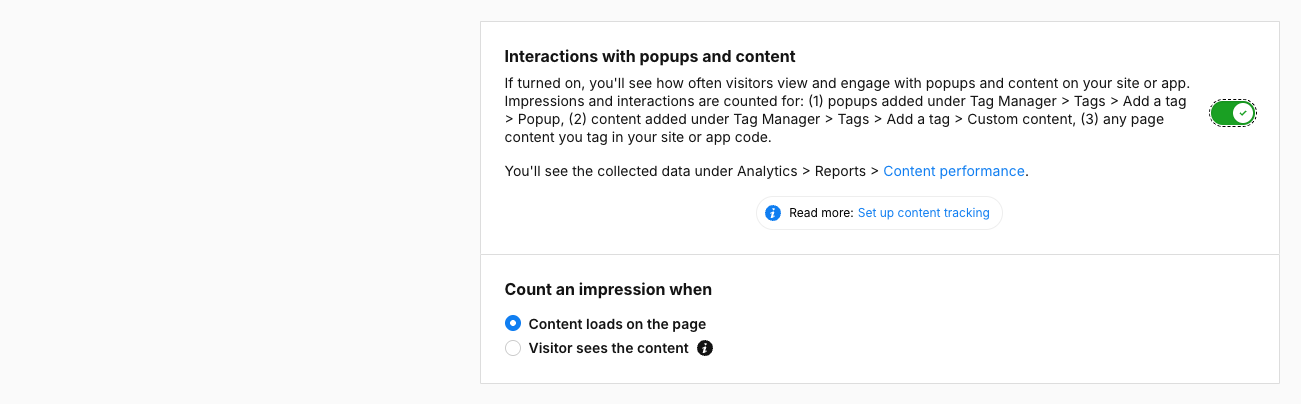
6. All set! The tracker will now begin counting popup views on your site. And you’ll be able to find all the stats in Menu > Analytics > Reports > Content performance.