Note: This tag works for GA3. We plan to release GA4 version in a while.
A Google Analytics Tracking tag lets you install a tracking code for Google Analytics (GA3).
To set it up, follow these steps:
1. Log in to Google Analytics (GA3).
2. Click Admin. Select your account and property.
3. Click Tracking info > Tracking code
4. Copy your tracking ID – it’s displayed at the top of the page.
5. Log in to Piwik PRO.
6. Go to Menu > Tag Manager.
7. Navigate to Tags.
8. Click Add a tag.
9. Choose the following tag template: Google Analytics Tracking.
10. Click Next.
11. Name your tag.
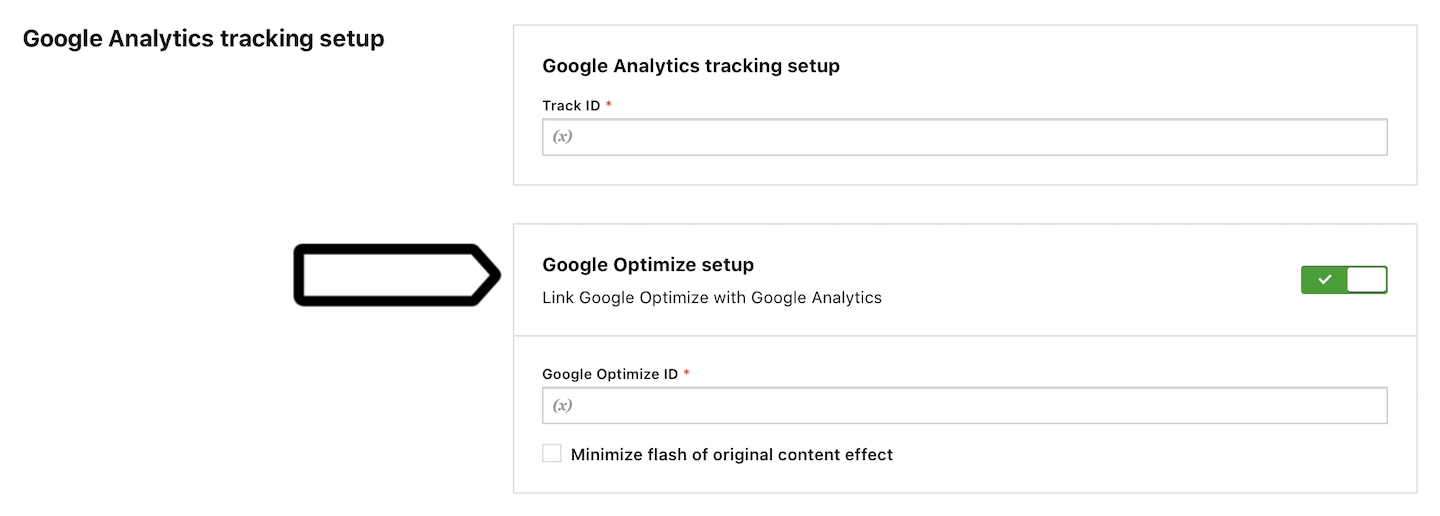
12. Paste your tracking ID.

13. (Optional) You can turn on Google Optimize setup and set it up.

14. In Advanced tag settings, choose Consent type. Set it up if you use a consent form on your site. This tag will only fire for visitors who accept the selected consent type.
15. Respect opt-out and DNT is turned on by default. Leave it as is if you want to respect visitors who’ve turned on the Do-Not-Track feature in their browsers or who’ve opted out of tracking using our opt-out form.
16. In Flight dates, set the date and time when the tag will fire.
17. In Tag triggers, click Add a trigger or Choose existing trigger to set up a trigger for your tag.
18. Click Save.
19. Test your tag in debug mode.
20. When you’re happy with how the tag works, click Publish.
21. Done!
