A Salesforce and Pardot Tracking Code tag tracks visitor’s activity on your website and sends this data to Salesforce.
To set it up, follow these steps:
1. Log in to Salesforce Pardot.
2. Go to Marketing > Campaigns
3. Select Website tracking campaign.
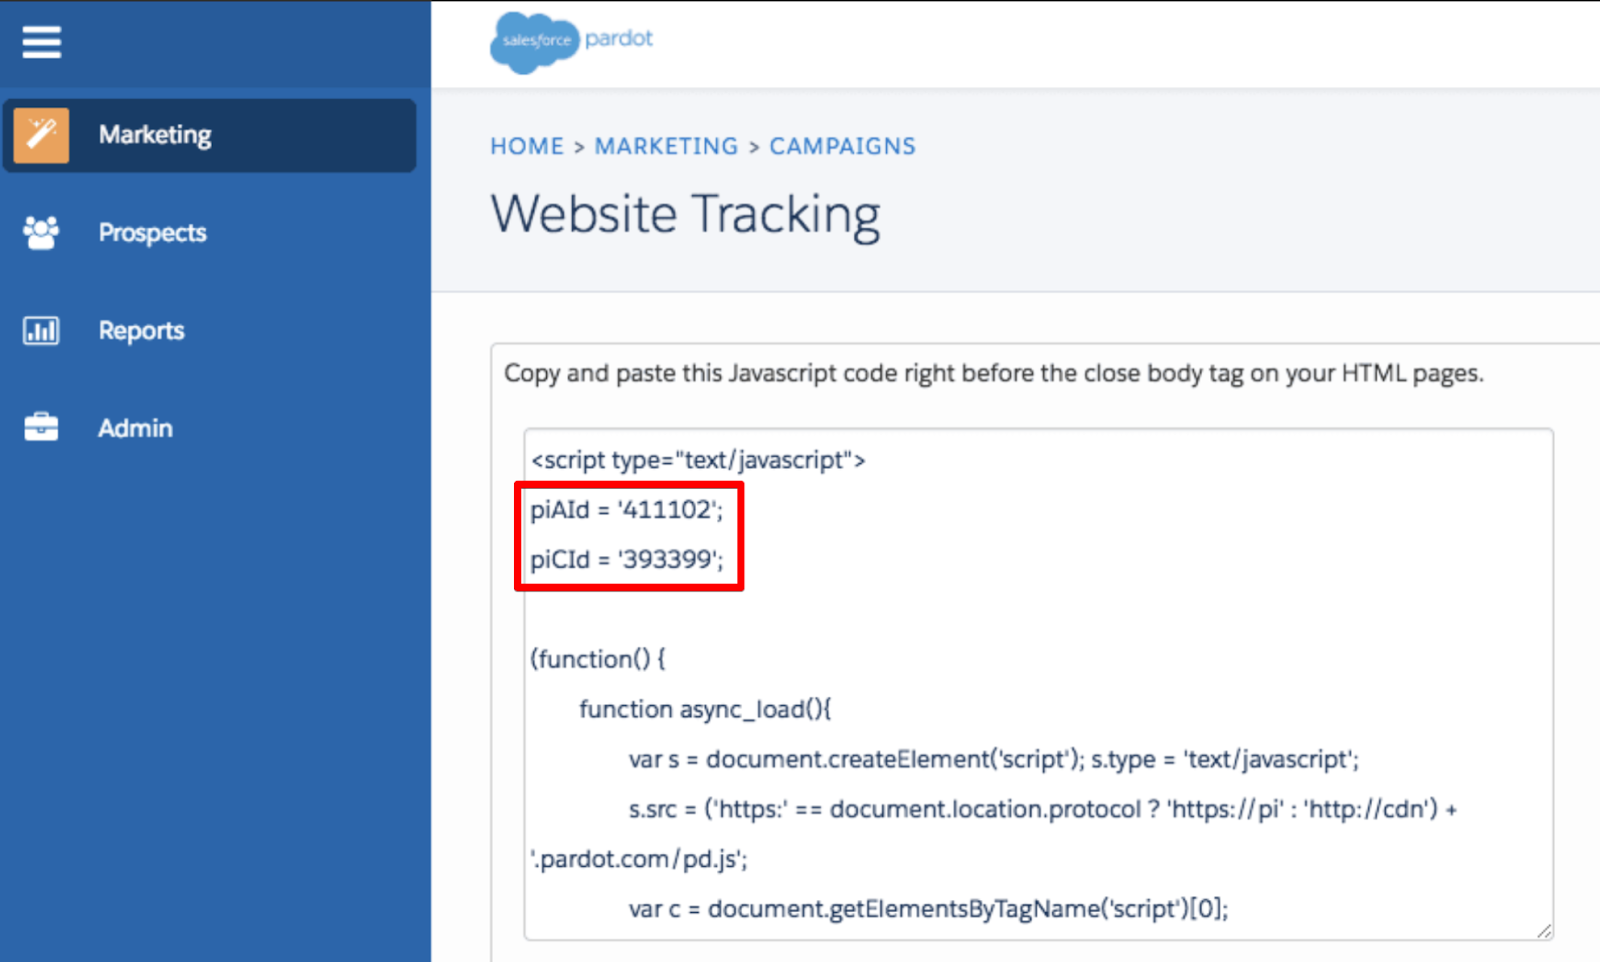
4. Click View tracking code.
5. Copy the piAid and piCid.
6. Log in to Piwik PRO.
7. Go to Menu > Tag Manager.
8. Navigate to Tags.
9. Click Add a tag.
10. Select the following tag template: Salesforce & Pardot Tracking Code.
11. Click Next.
12. Name your tag.
13. Paste your IDs.

14. In Advanced tag settings, choose Consent type. Set it up if you use a consent form on your site. This tag will only fire for visitors who accept the selected consent type.
15. Respect opt-out and DNT is turned off by default. Turn it on, if you want to respect visitors who’ve turned on the Do-Not-Track feature in their browsers or who’ve opted out of tracking using our opt-out form.
16. In Flight dates, set the date and time when the tag will fire.
17. In Tag triggers, click Add a trigger or Choose existing trigger to set up a trigger for your tag.
18. Click OK.
19. Click Add.
20. Test your tag in debug mode.
21. When you’re happy with how the tag works, click Publish.
22. Done!