Installation for: Analytics, Tag Manager, Data Activation, Consent Manager
If you’re using Google Tag Manager, you can easily set up a Piwik PRO container on your website. By installing the entire container (not just the tracking code), you can get the most out of all of our modules, including Analytics, Tag Manager, Data Activation (formerly Customer Data Platform, or CDP), and Consent Manager. To get started, simply add your website to Piwik PRO. Then add our code as a custom HTML tag in Google Tag Manager.
In this article, we’ll walk you through the process step by step.
Enterprise plan
Note: If you choose to install Piwik PRO using a tag manager other than ours, we won’t be able to provide technical support for such a setup. We aim to deliver you the best possible service, but we can’t do that for third-party tools.
Add a site or app in Piwik PRO
To add a site or app in Piwik PRO, follow these steps:
1. Log in to Piwik PRO.
2. Go to Menu > Administration.
3. Navigate to Sites & apps.
4. Click Add a site or app.
5. Type the site or app name and address and click Save.
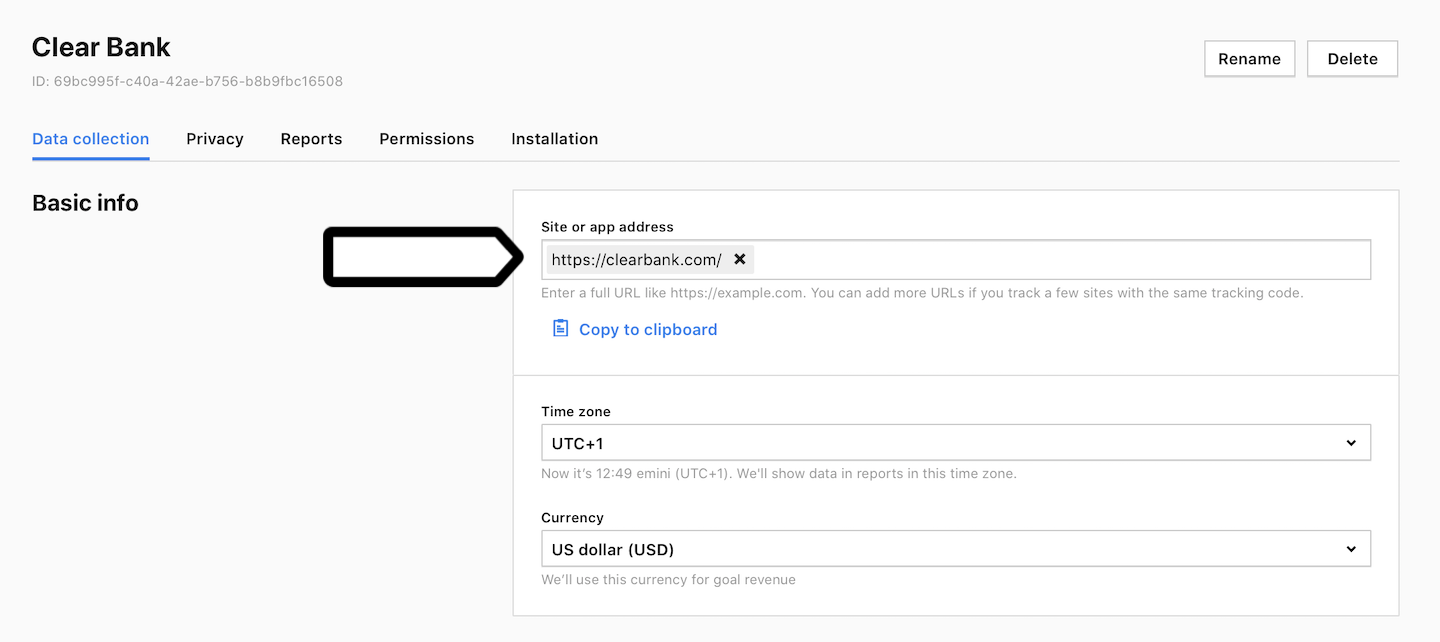
Note: If you want to track a few domains with the same tracking code, add their addresses.
6. Set the time zone and currency.
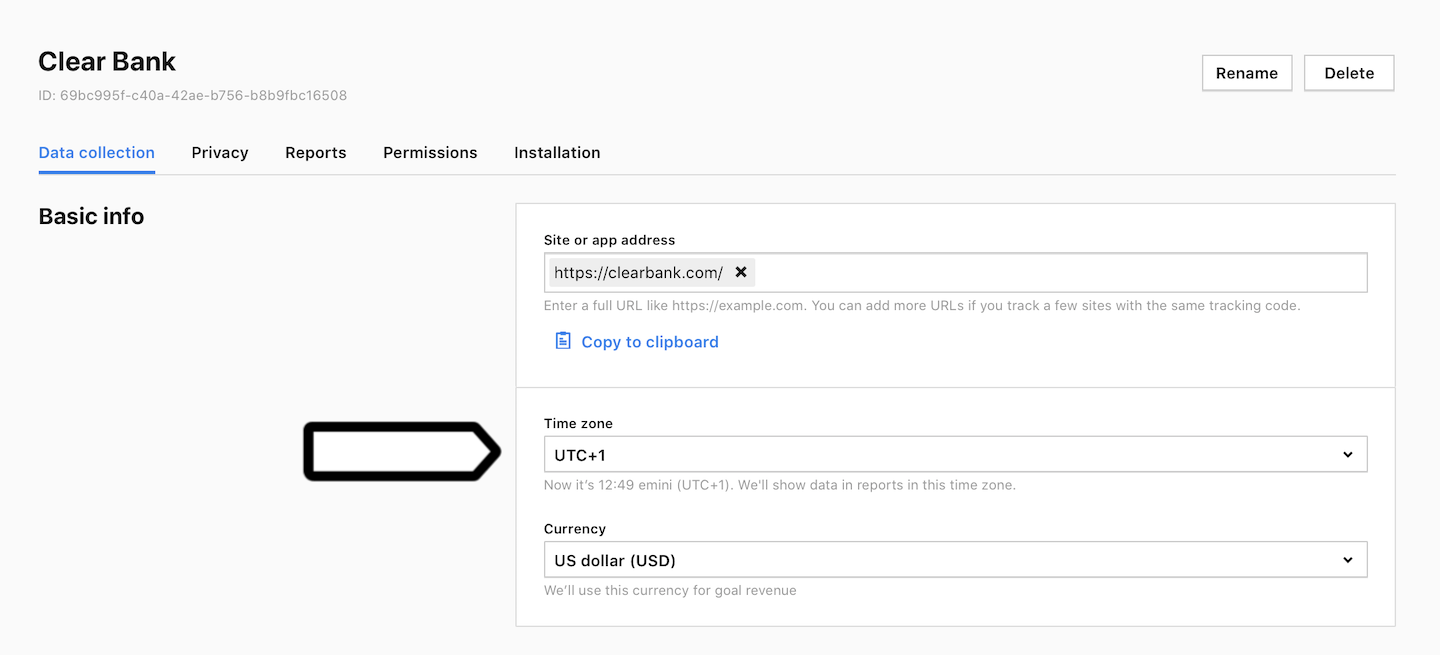
Note: We’ll show data in reports in this time zone. We’ll use this currency for goal revenue.
7. Navigate to Installation.
8. In Sites, click Install manually.
9. Copy the code from the box.
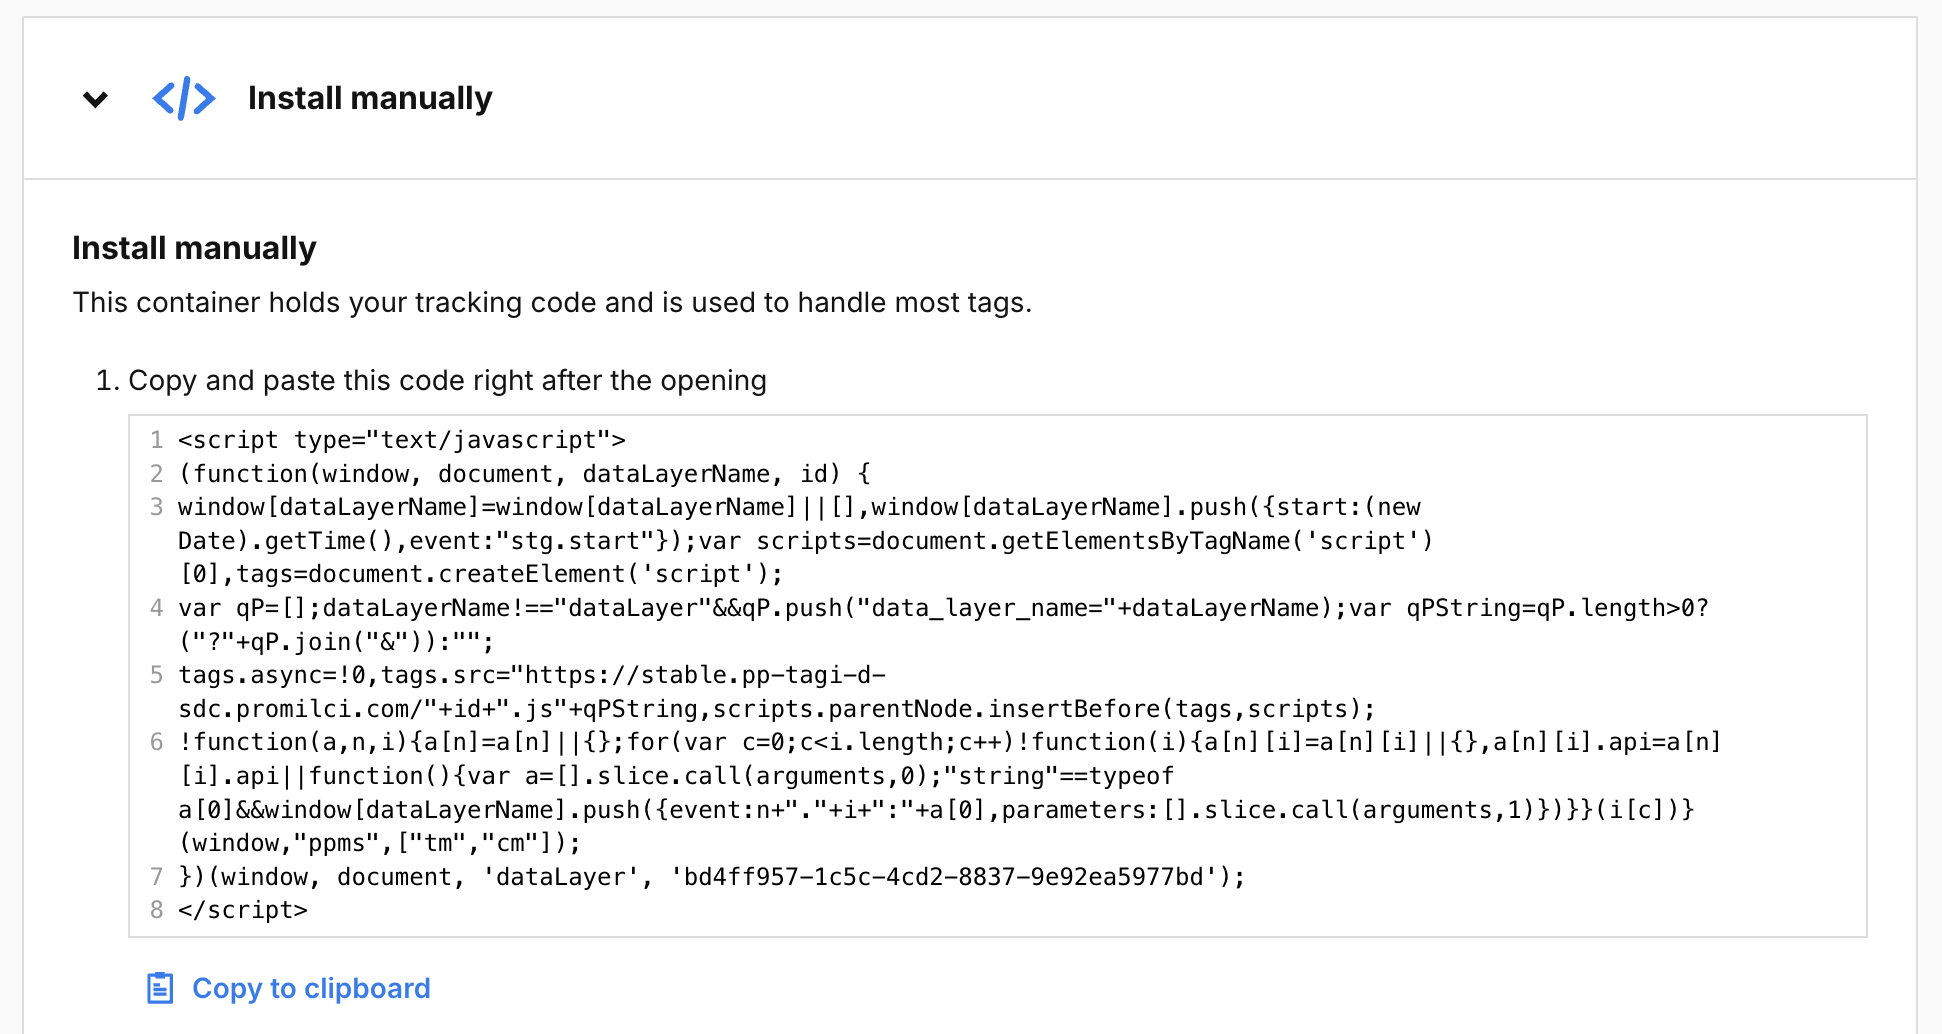
Note: This container holds your tracking code and is used to handle most tags. Always install this container.
10. Save the copied code in a text editor. You’ll need it in Google Tag Manager.
Install a container using Google Tag Manager
Needed permissions: Edit or higher for your container in Google Tag Manager
To install the Piwik PRO container with Google Tag Manager, follow these steps:
1. In Google Tag Manager, choose the container for your site or app.
2. Go to Tags.
3. Click New to add a new tag.
4. Name your tag. Example: Piwik PRO container.
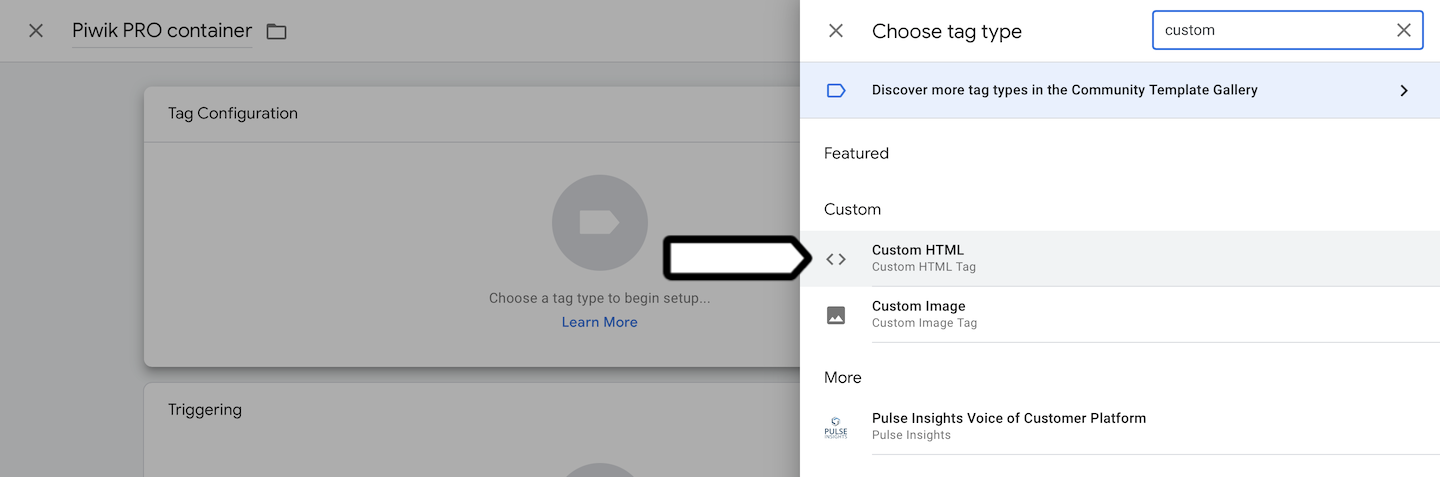
5. Click Choose a tag type to begin setup…
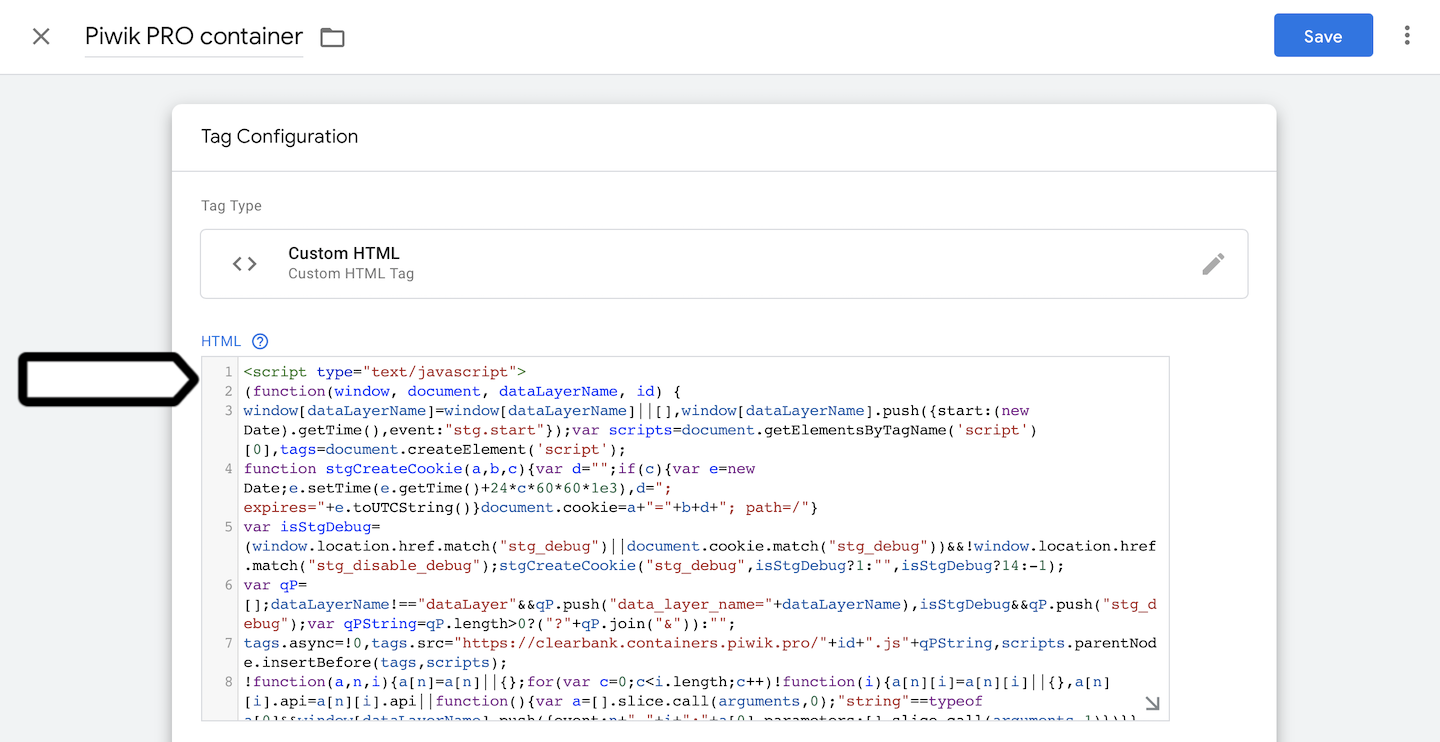
6. Search for Custom HTML and click on it.
7. Paste the container’s code you copied earlier.
8. In Triggering, click Choose a trigger to make this tag fire…
9. Select All pages.
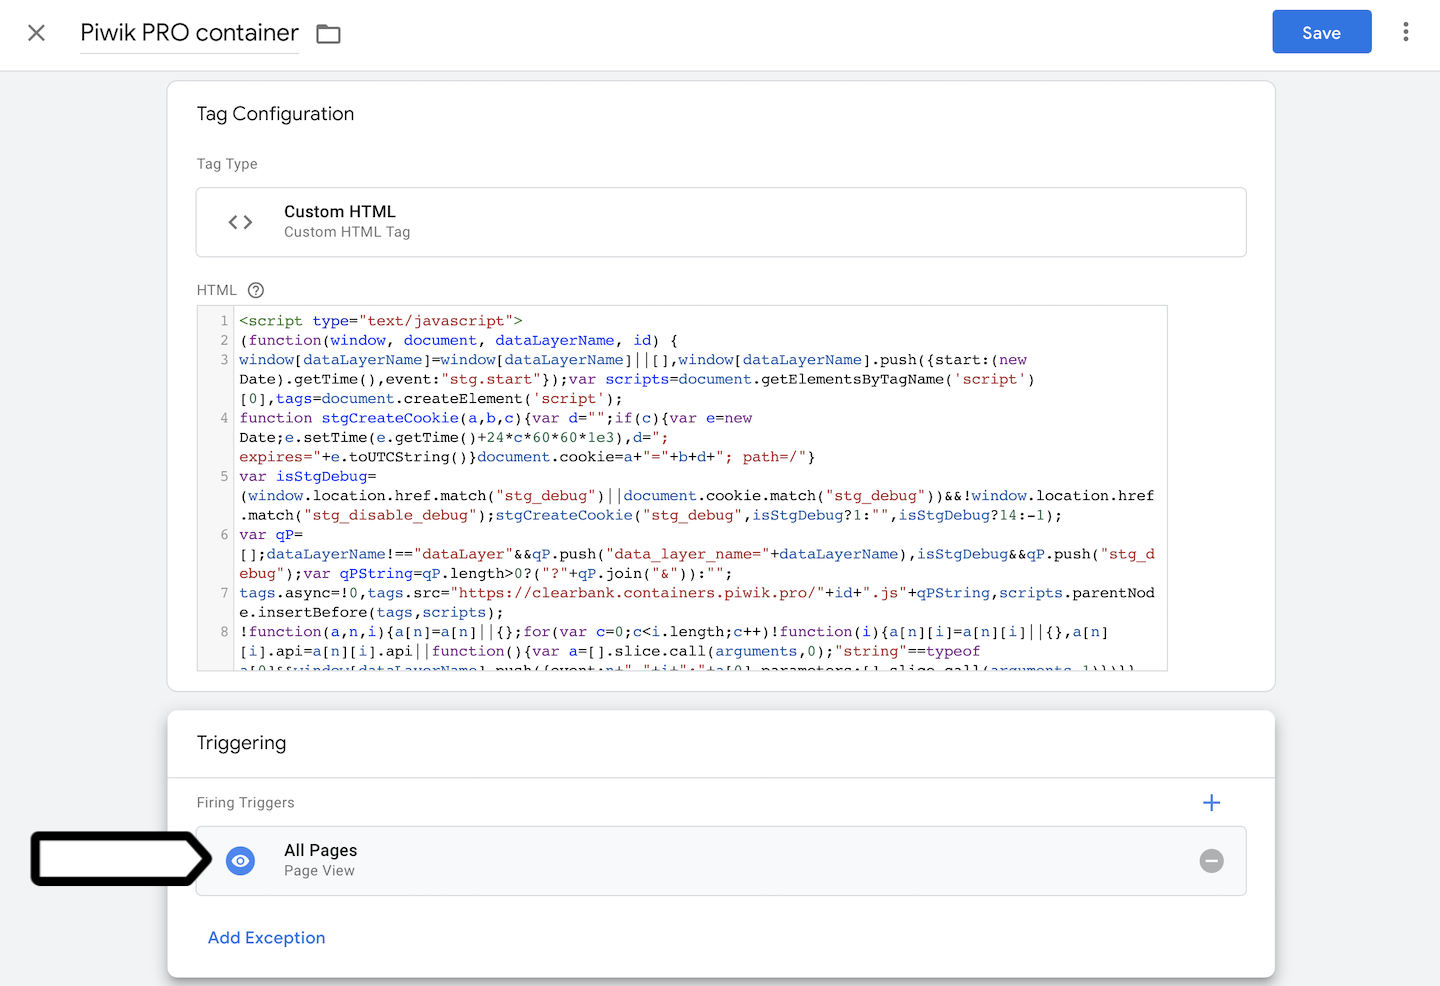
10. Click Save.
11. Click Submit and then click Publish to push changes to your site or app.
12. Done! Data will appear in reports in about an hour. Data in the tracker debugger will appear instantly.
Tip: You can also check manually to see if your tracking works. Read more
13. We’ll start showing a consent form on your site after after you’ve installed the container. Add your privacy policy address to the form or turn off the consent form.