If you’re building landing pages on Instapage, you can now collect visitor data with Piwik PRO. The setup is easy. You need to create a site in Piwik PRO and then add our container (with a tracking code) to your landing page on Instapage. Let’s see how this can be done.
Add a site in Piwik PRO
To add a site in Piwik PRO, follow these steps:
1. Go to Menu > Administration.
2. Navigate to Sites & apps.
3. Click Add a site or app.
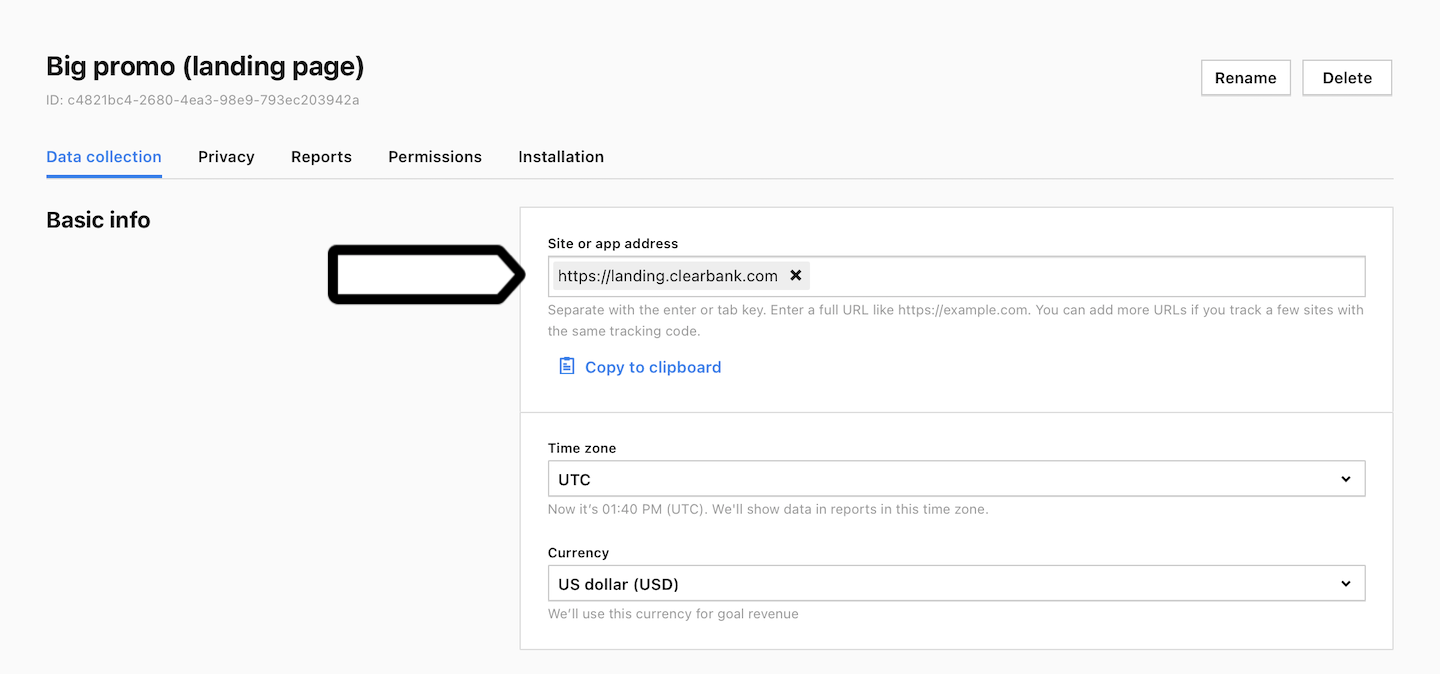
4. Type the site name and landing page’s address and click Save.
5. Set the time zone and currency.
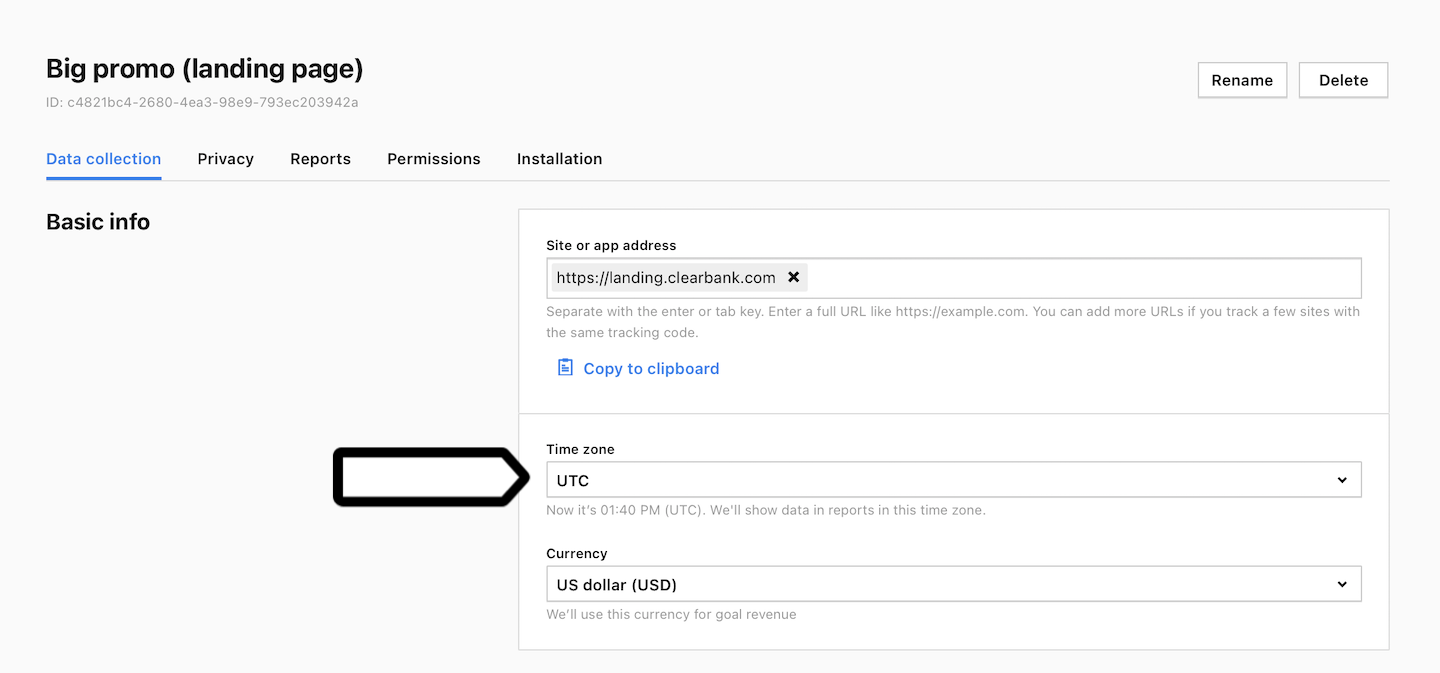
Note: We’ll show data in reports in this time zone. We’ll use this currency for goal revenue.
6. Navigate to Installation.
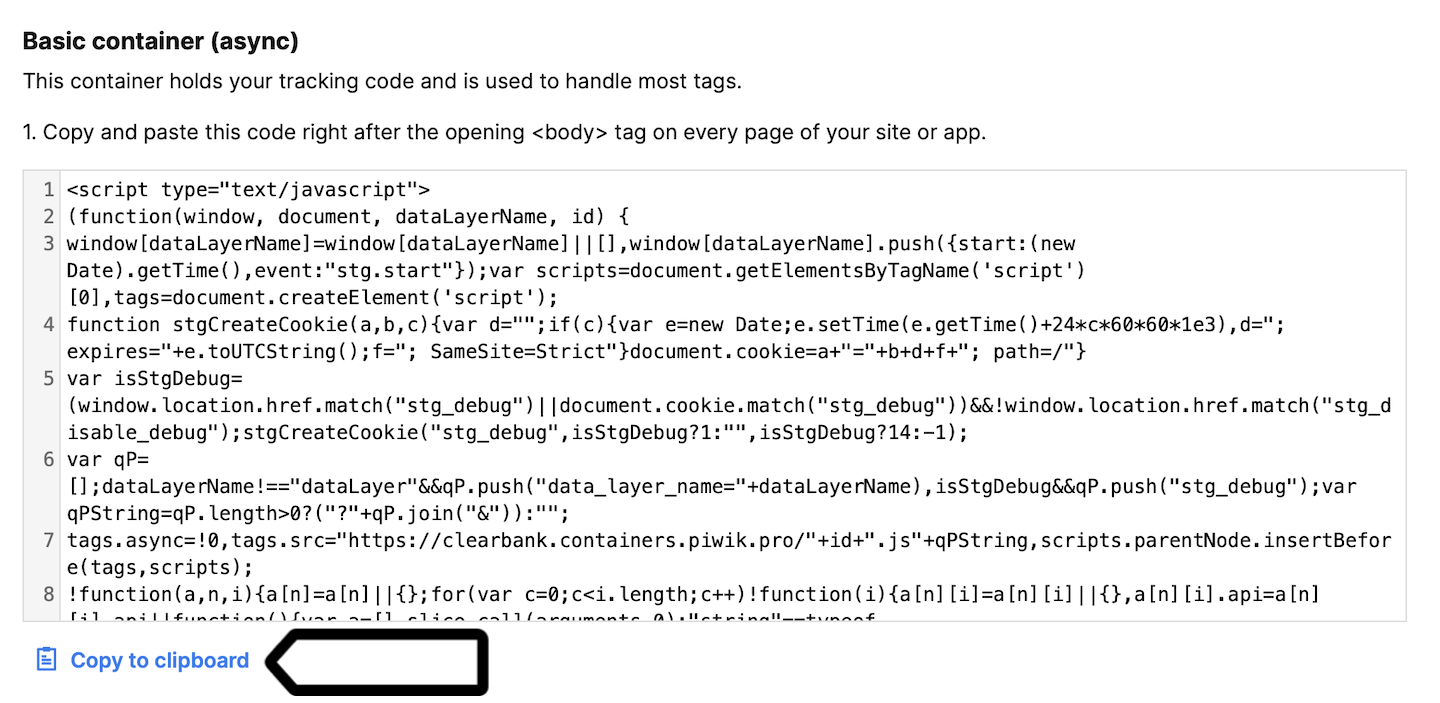
7. In Sites, click Install manually.
8. Copy the code from Basic container code.
Install a container on landing pages on Instapage
To install the Piwik PRO container on landing pages on Instapage, follow these steps:
1. Log in to Instapage.
2. Choose the landing page to which you want to add our container.
3. Click Settings in the upper right corner.
4. Click HTML/CSS.
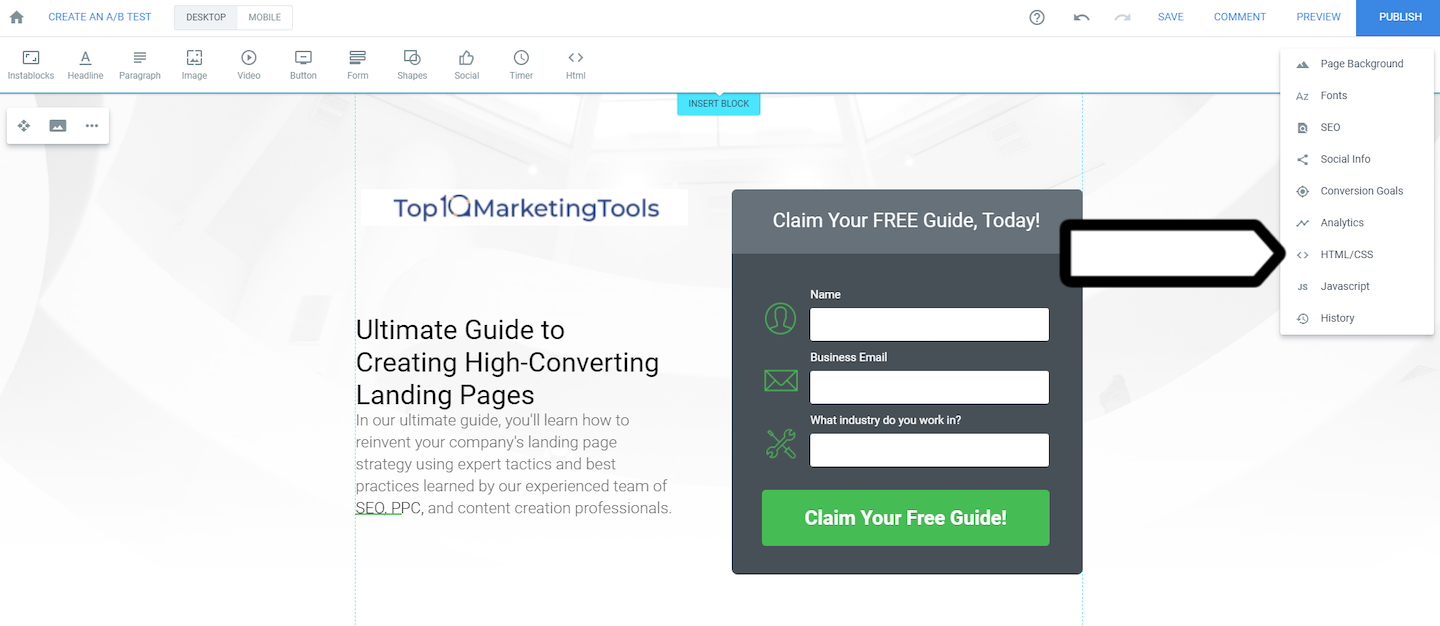
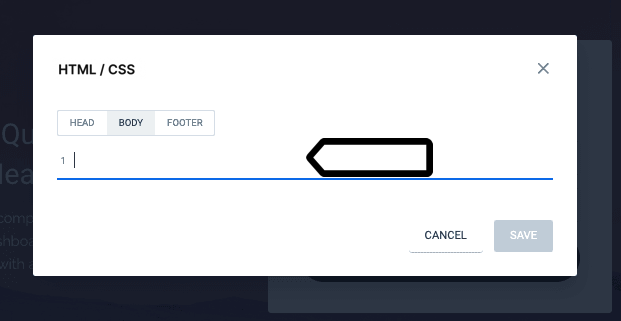
5. You’ll see an HTML/CSS editor. Choose the Body section.
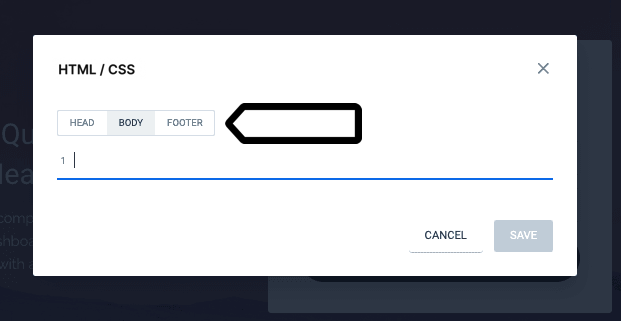
6. Paste the Piwik PRO’s container code.
7. Click Save.
8. Click Publish.
9. Done! Data will appear in reports in about an hour. Data in the tracker debugger will appear instantly.
Tip: You can also check manually to see if your tracking works. Read more
Tip: To change the way your data is collected, you can use the following settings: