Piwik PRO is designed to be used collaboratively. If you want your team to be able to work together, you’ll need to invite them to your Piwik PRO account and give them the right access levels by setting permissions for sites, apps, meta sites/apps and modules.
In this article, we’ll show you how to add or remove a user in just a few simple steps.
Invite a user
To invite a user, follow these steps:
1. Go to Menu > Administration.
2. Navigate to Users.
3. Click Invite a user.
4. Enter your teammate’s email address and click Send invitation.
Note: Invitations are sent in version 16.0.0 and higher. In versions below 16.0.0, you need to set a password for your teammate and ask them to reset that password during the first log-in.
If SSO is enabled on your account, new users won’t get an email invitation. They can log in using your identity provider (idP). Since authentication is handled by the IdP, there’s no need to set any additional password.
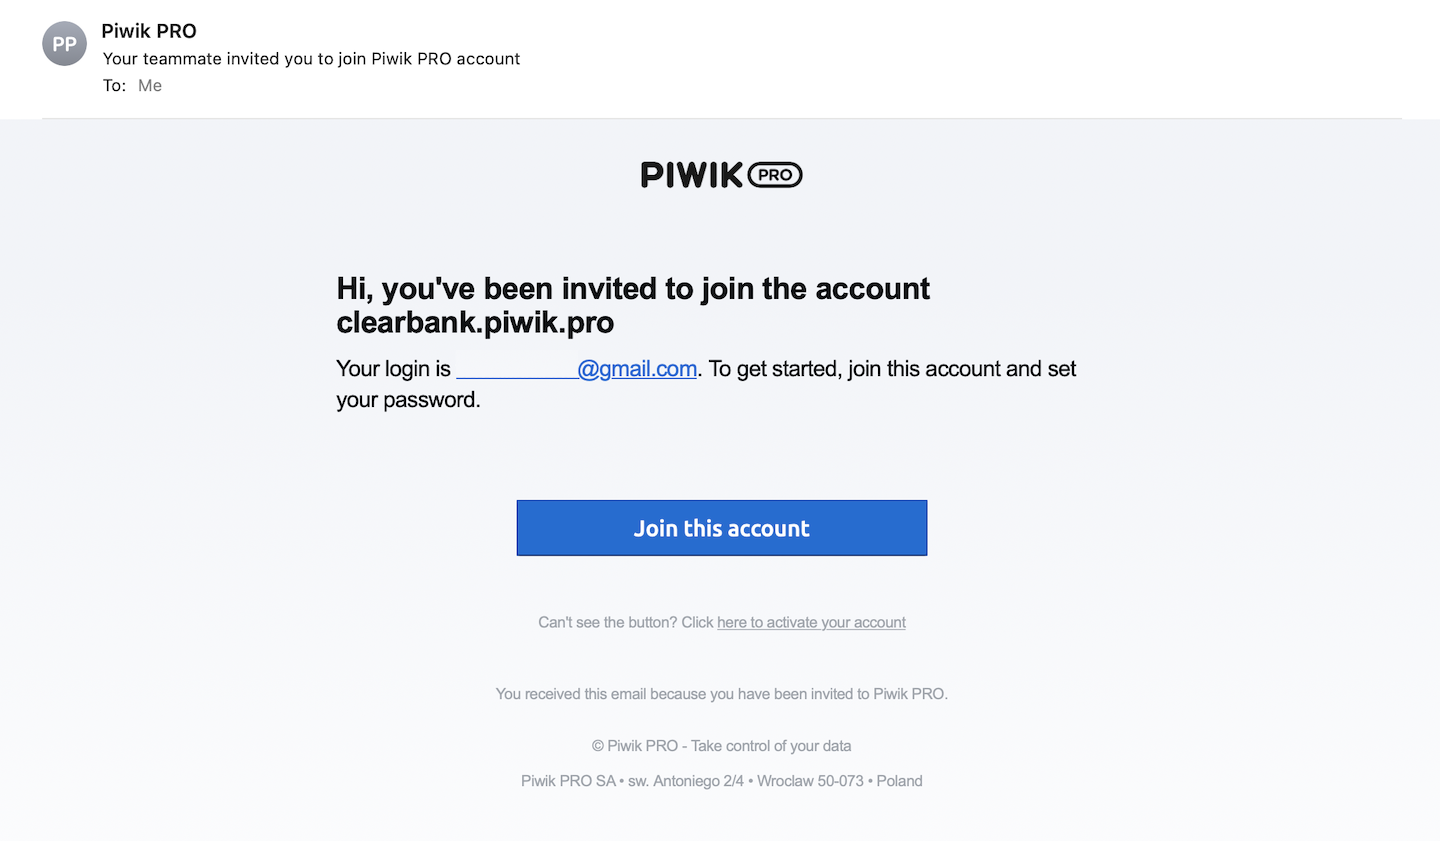
5. Your teammate will receive an email with an activation link. They can then click on the link Join this account and set their password.
Note: Your teammate didn’t get the email? This can help:
- Ask them to check their spam folder.
- Double-check their email address.
6. After sending the invitation, set permissions for your teammate. By default, new users don’t have access to any site, app or meta site/app.
7. Go to Menu > Administration > Websites & apps > Permissions to grant permissions for a site or app.
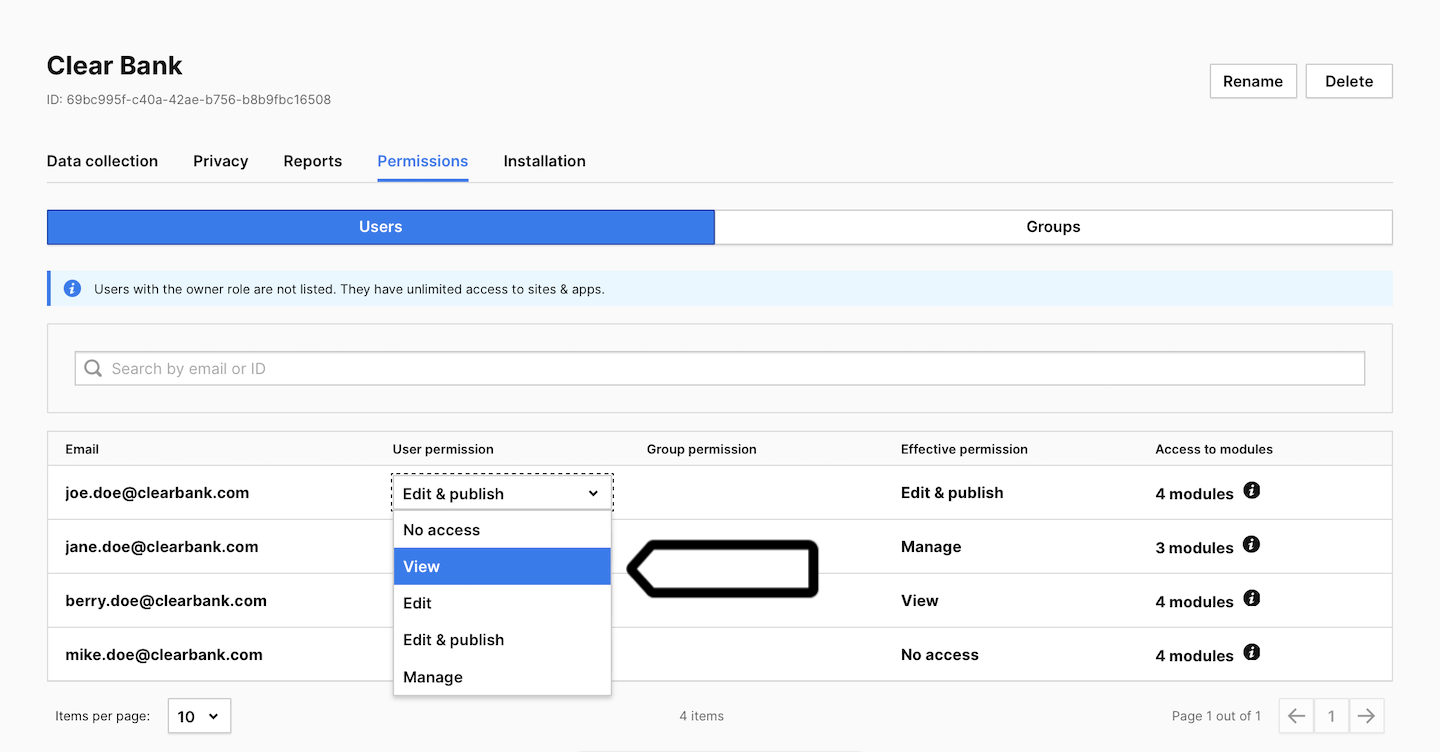
Note: Users with the owner role are not listed. They have unlimited access to all sites/apps.
Here’s a brief overview of site/app permissions:
- Manage: The user can see and edit a site/app; edit and publish tags, triggers and variables; manage permissions and use Consent Manager. But they can’t add a site/app or new user.
- Edit & publish: The user can perform the same actions as those with permission to Manage, except manage permissions.
- Edit: The user can edit a site/app and edit tags, triggers and variables. But they can’t publish changes, manage permissions or use Consent Manager.
- View: The user can see a site/app as well as tags, triggers and variables.
- No access: The user can’t see any of the above.
For more details, see this article.
8. Go to Menu > Administration > Meta sites & apps > Permissions to grant permissions for a meta site/app.
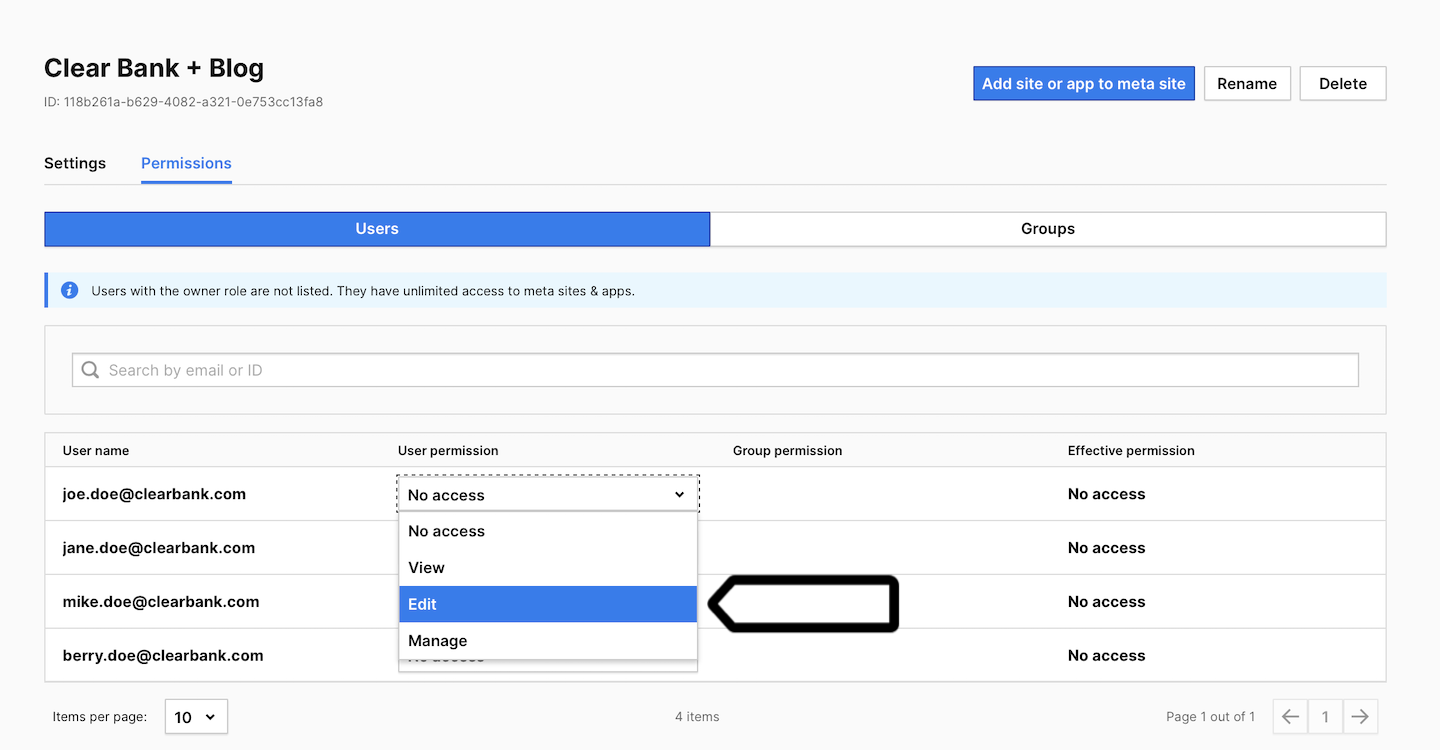
Note: Users with the owner role are not listed. They have unlimited access to all meta sites/apps.
Here’s a brief overview of meta site/app permissions:
- Manage: The user can see meta site/app settings; assign permissions to users; edit and publish tags, triggers and variables. But they can’t add a new meta site/app.
- Edit: The user can add and edit tags, triggers and variables as well as see and manage all meta site/app reports. But they can’t publish changes.
- View: The user can see all meta site/app reports, tags, triggers and variables.
- No access: The user can’t see any of the above
For more details, see this article.
9. (Optional) Go to Menu > Administration > Users > Profile to change access to modules.
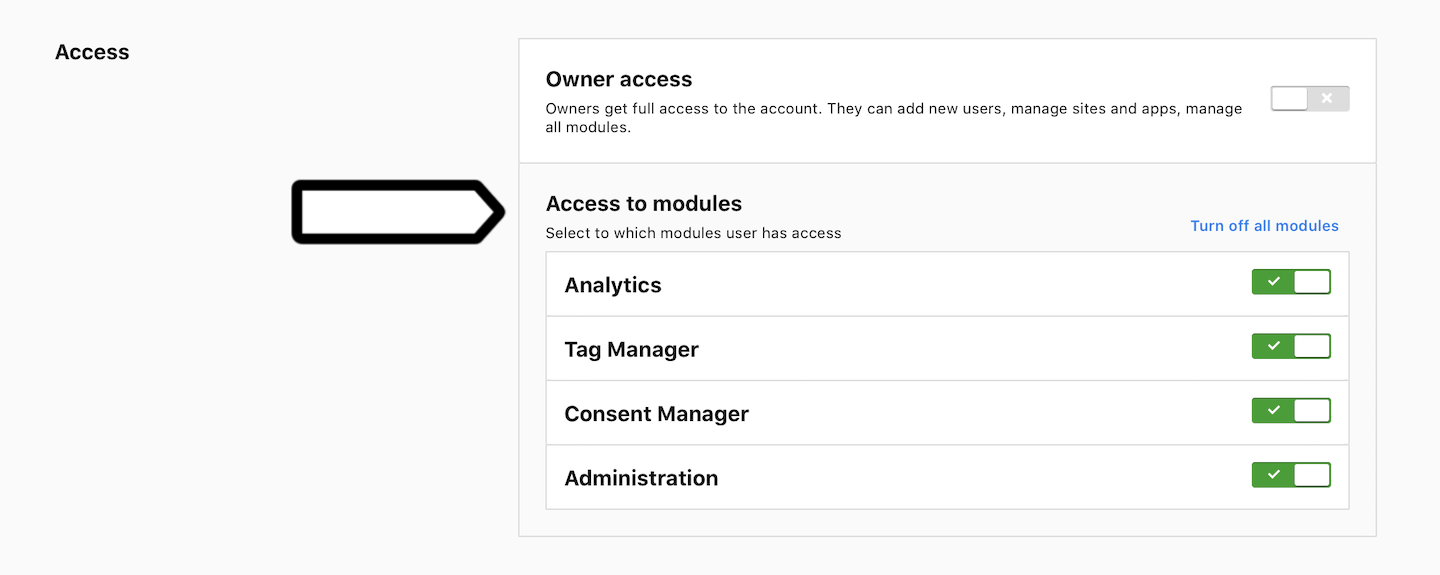
10. (Optional) Turn on Owner access to give your teammate the owner role. They will then have unlimited access to everything.

The difference between the owner and user is:
- Owner is the primary contact for the account and can perform all actions on the account, including adding a site/app, inviting others to join, assigning user/owner levels and granting permissions.
- User can only perform certain actions depending on the type of permissions they have for certain sites/apps. By default, a new user has no access to anything.
Note: If you want to track changes made by your teammates on your account, use the audit log.
Remove a user
To remove a user, follow these steps:
1. Go to Menu > Administration.
2. Navigate to Users.
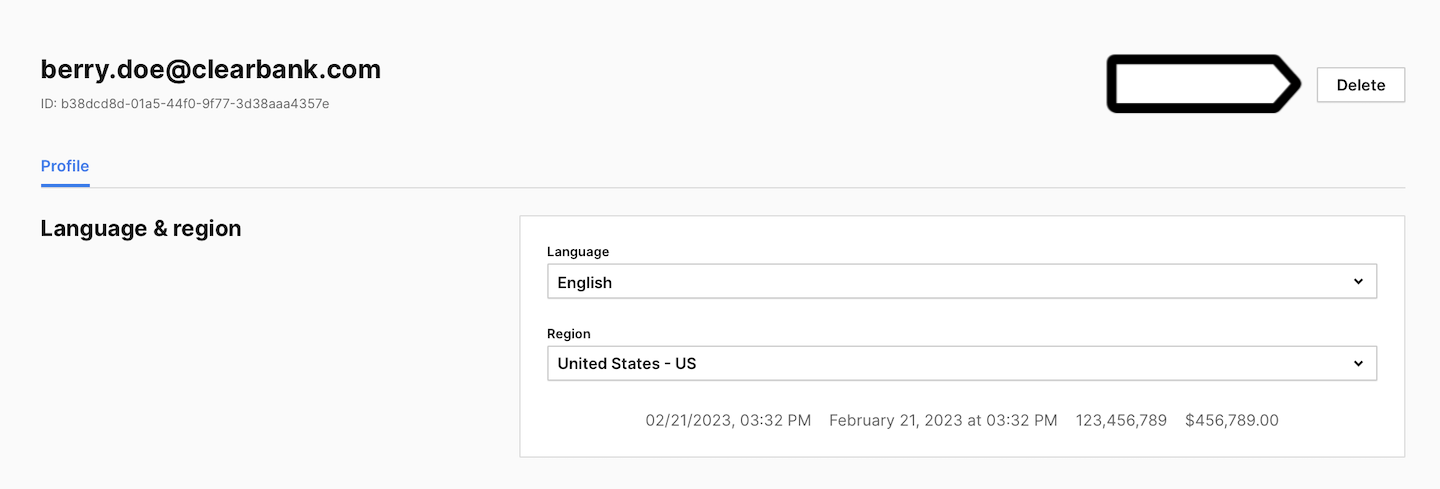
3. Pick the user you want to remove.
4. Click Delete.
5. Confirm that you want to delete this user.
6. Done! This user will no longer be able to use your account.