If you’re running your website on Wix, you can quickly add the Piwik PRO container and start collecting visitor data. First, you’ll need to add a site or app to Piwik PRO. Next, add our container code as custom code on Wix.
In this article, we’ll walk you through the process step-by-step.
Add a site in Piwik PRO
To add a site in Piwik PRO, follow these steps:
1. Go to Menu > Administration.
2. Navigate to Sites & apps.
3. Click Add a site or app.
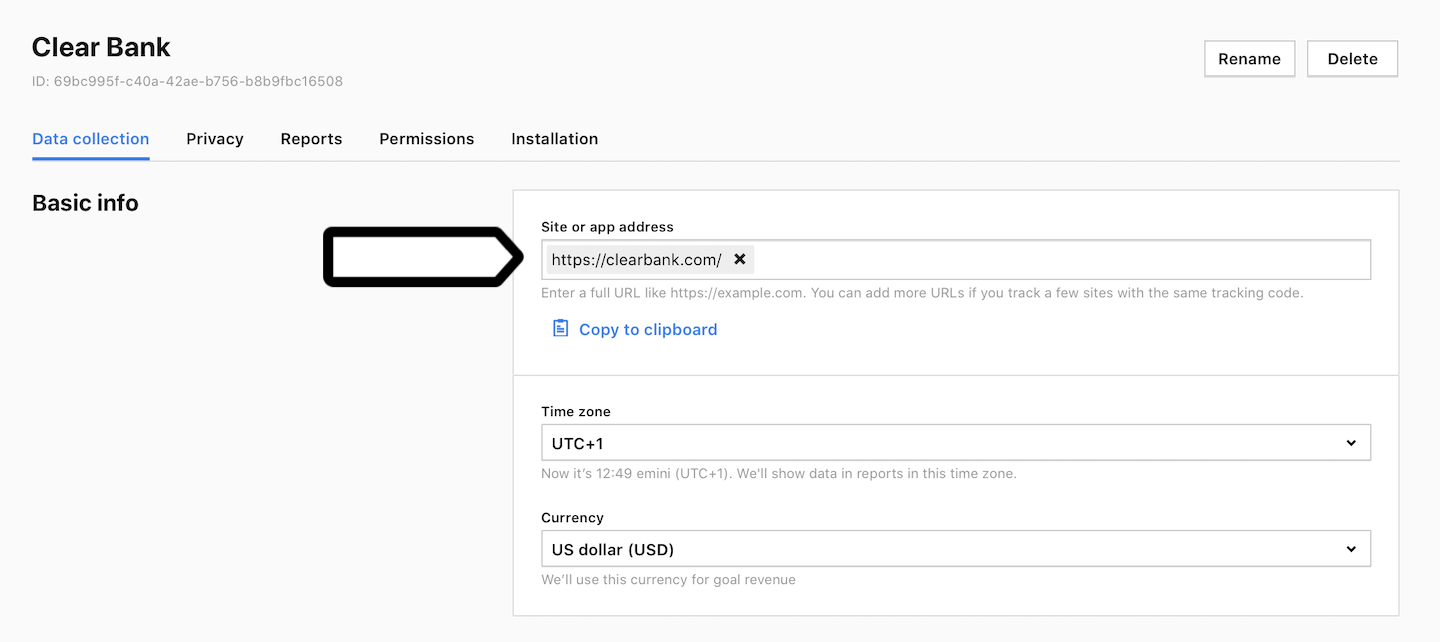
4. Type the site or app name and address and click Save.
Note: If you want to track a few domains with the same tracking code, add their addresses.
5. Set the time zone and currency.
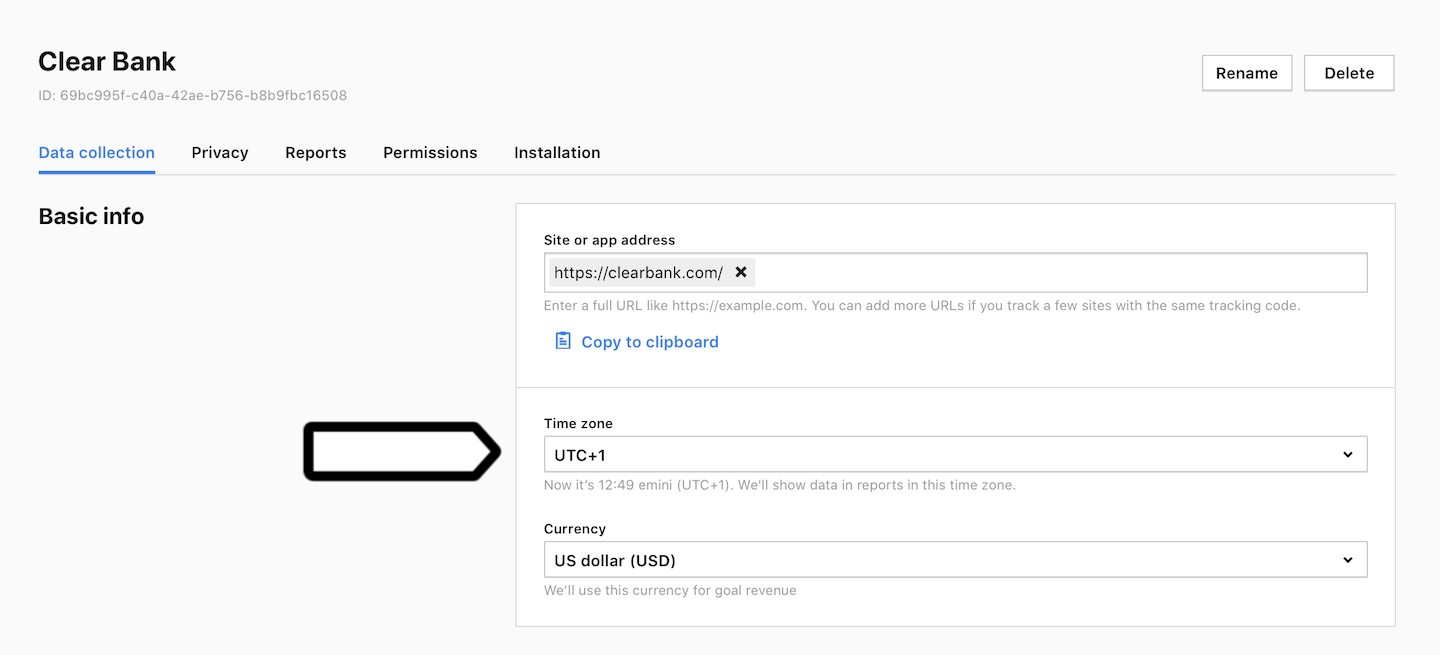
Note: We’ll show data in reports in this time zone. We’ll use this currency for goal revenue.
6. Navigate to Installation.
7. In Sites, click Install manually.
8. In Basic container (async), click Copy to clipboard.
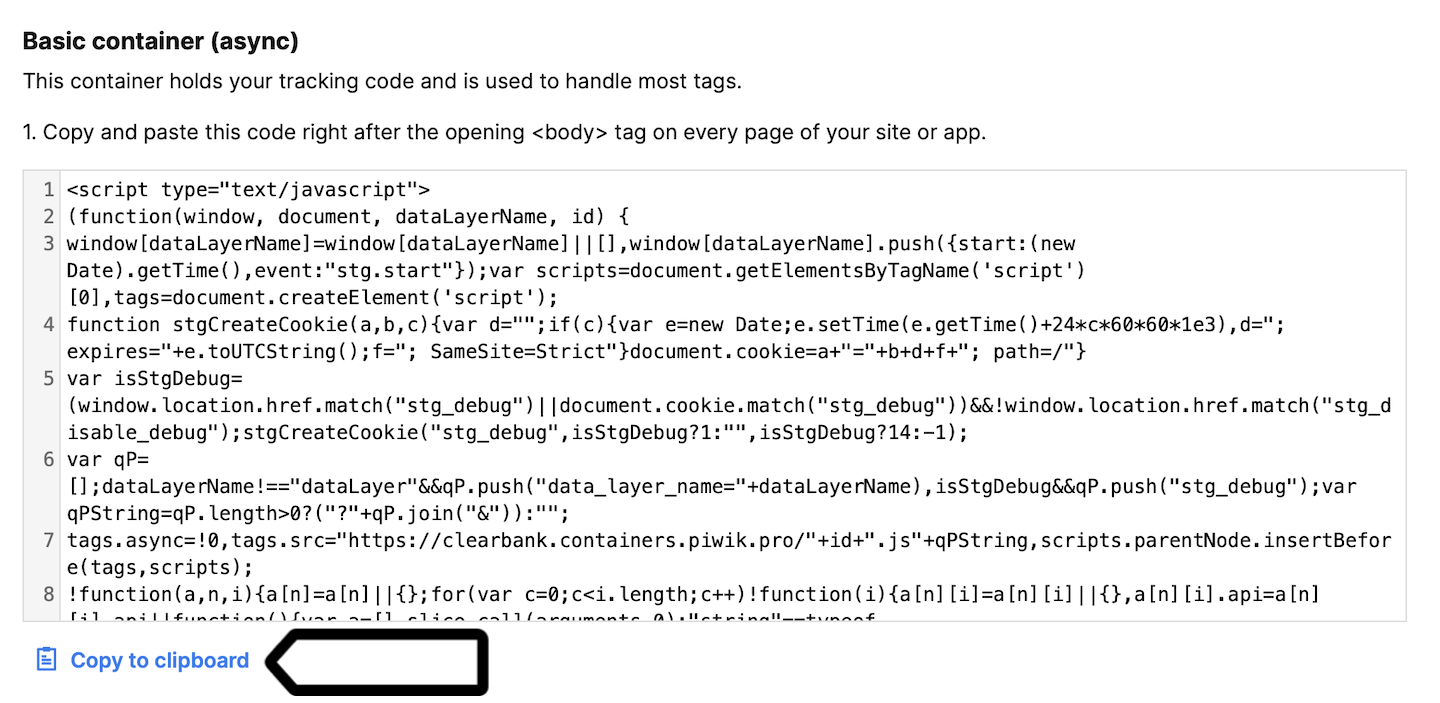
Note: This container holds your tracking code and is used to handle most tags. Always install this container.
Install a container on a Wix site
To install the Piwik PRO container on a Wix site, follow these steps:
1. Log in to Wix.
2. Go to Settings.
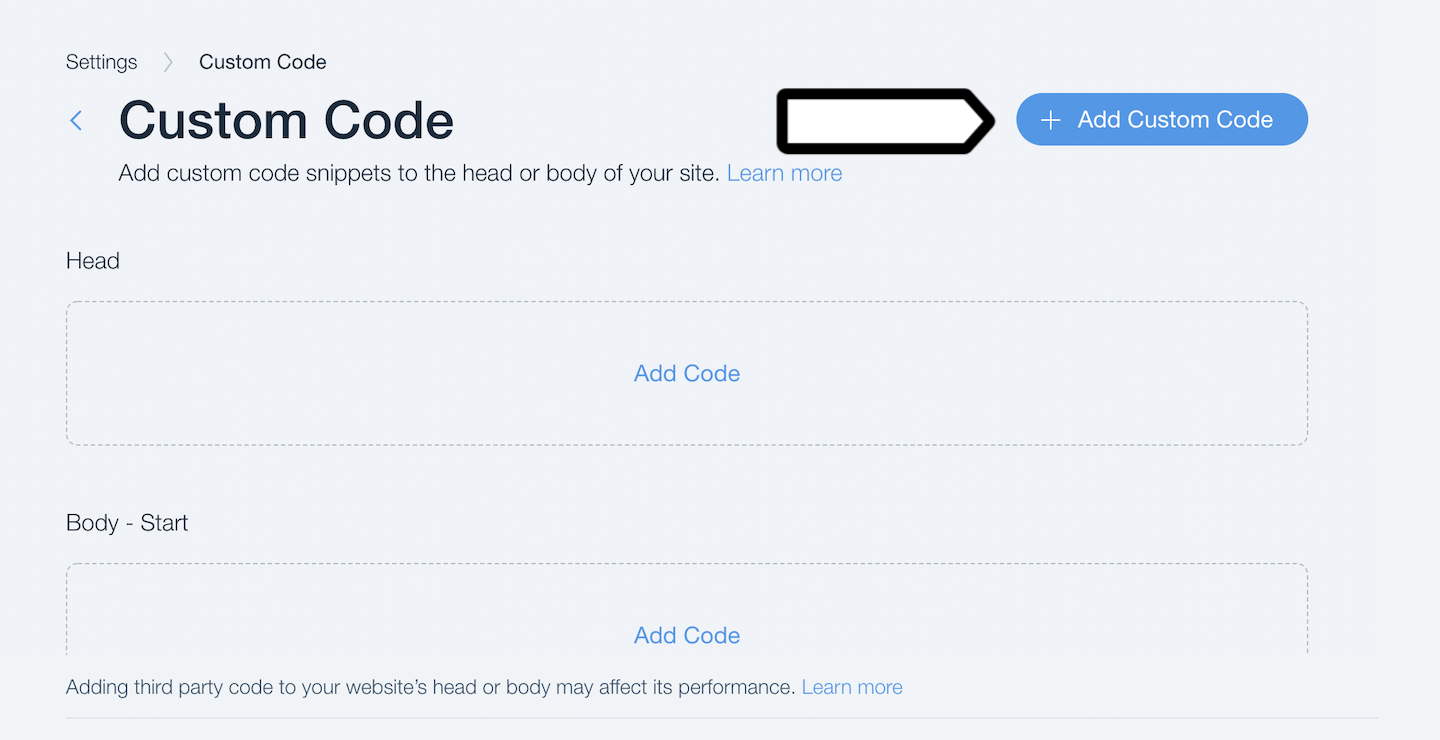
3. In Advanced, click Custom Code.
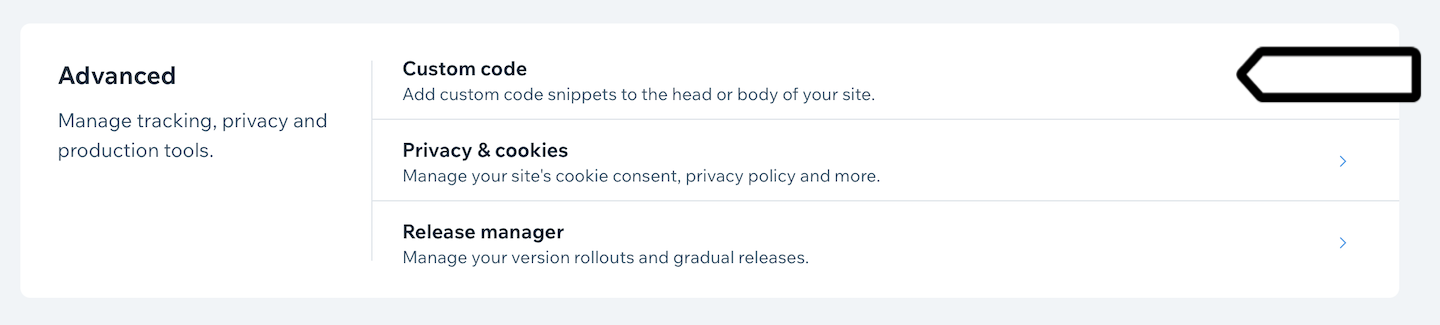
Note: You need one of the Wix premium plans to use a custom code.
4. Click + Add Custom Code in the upper right corner.
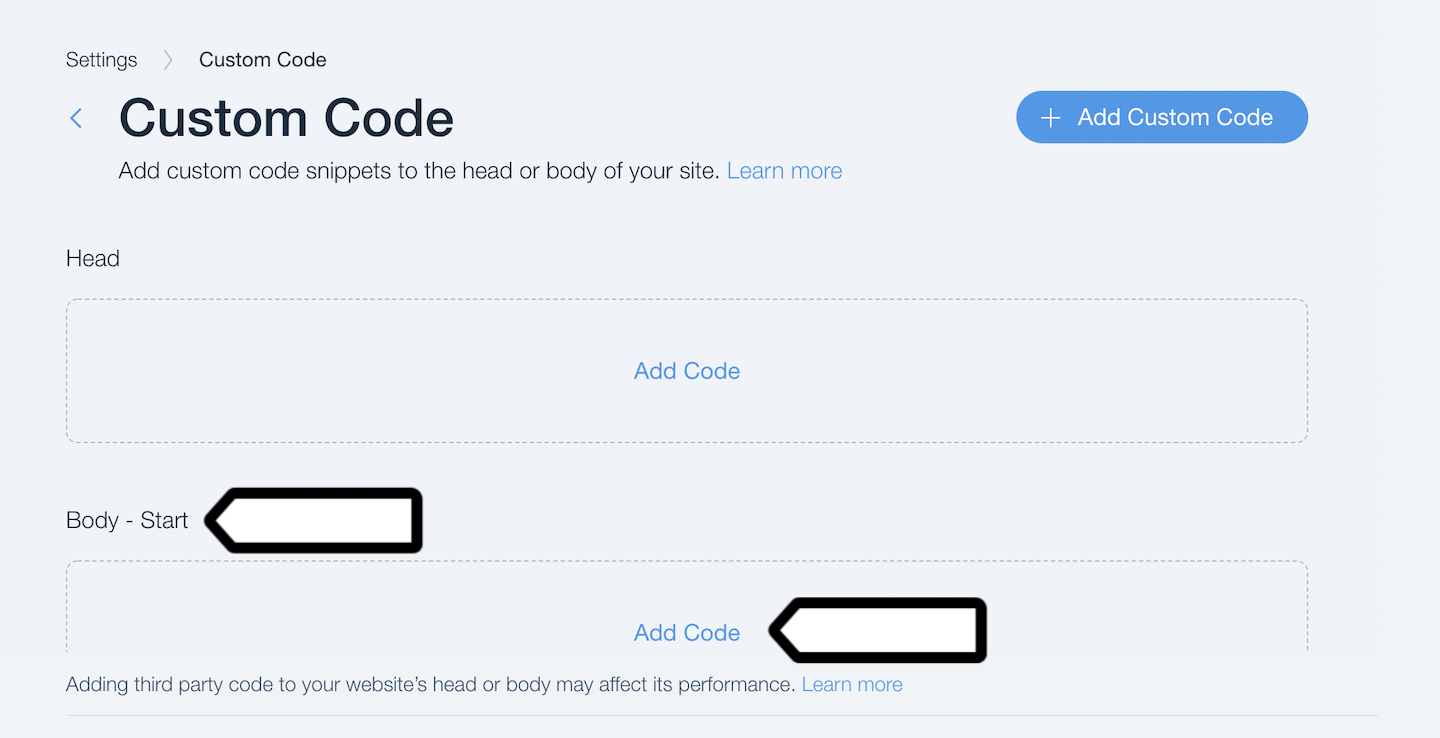
5. In Body – start, click Add Code.
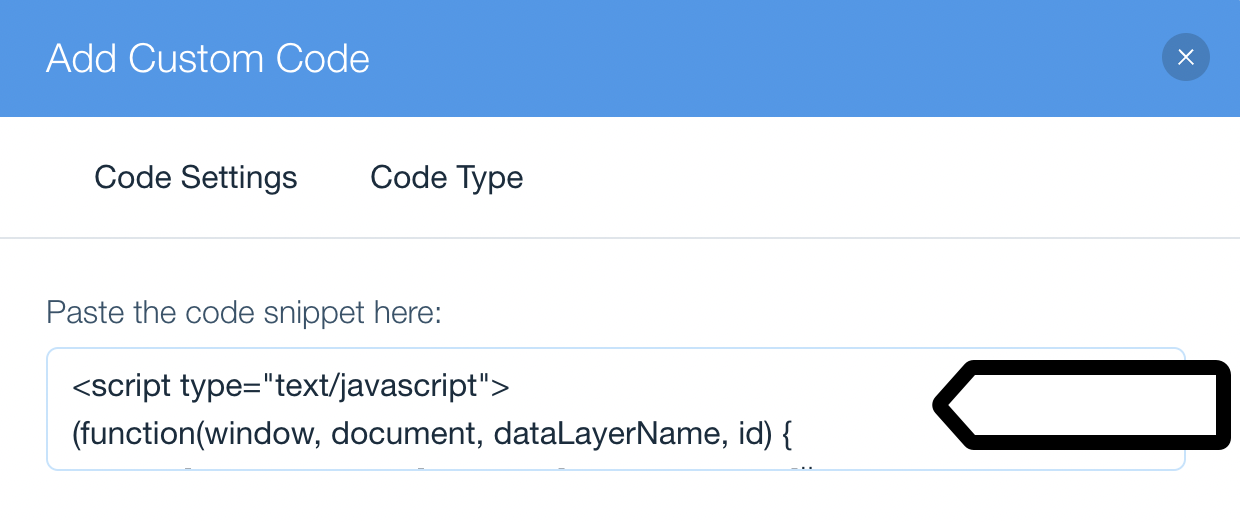
6. Paste the Piwik PRO’s container code.
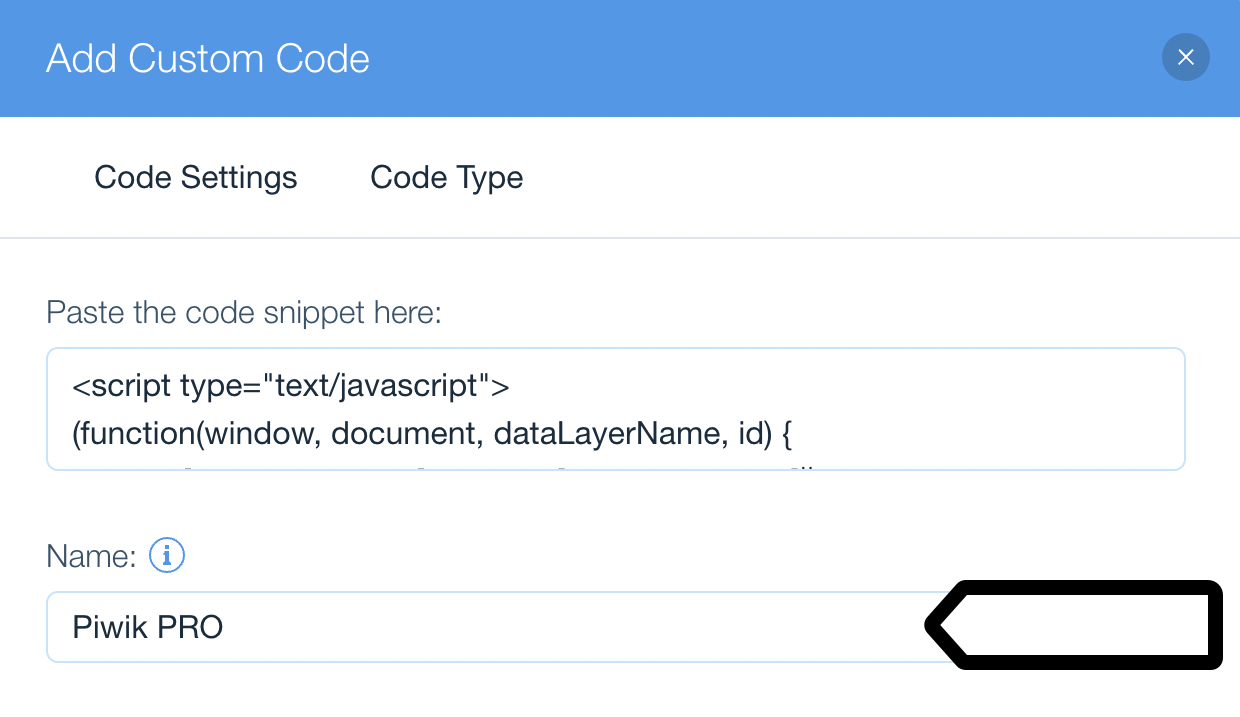
7. Name the code. Example: Piwik PRO.
8. In Add Code to Pages, choose All pages. This adds the code to all of your site’s pages, including any new pages that you create in the future.
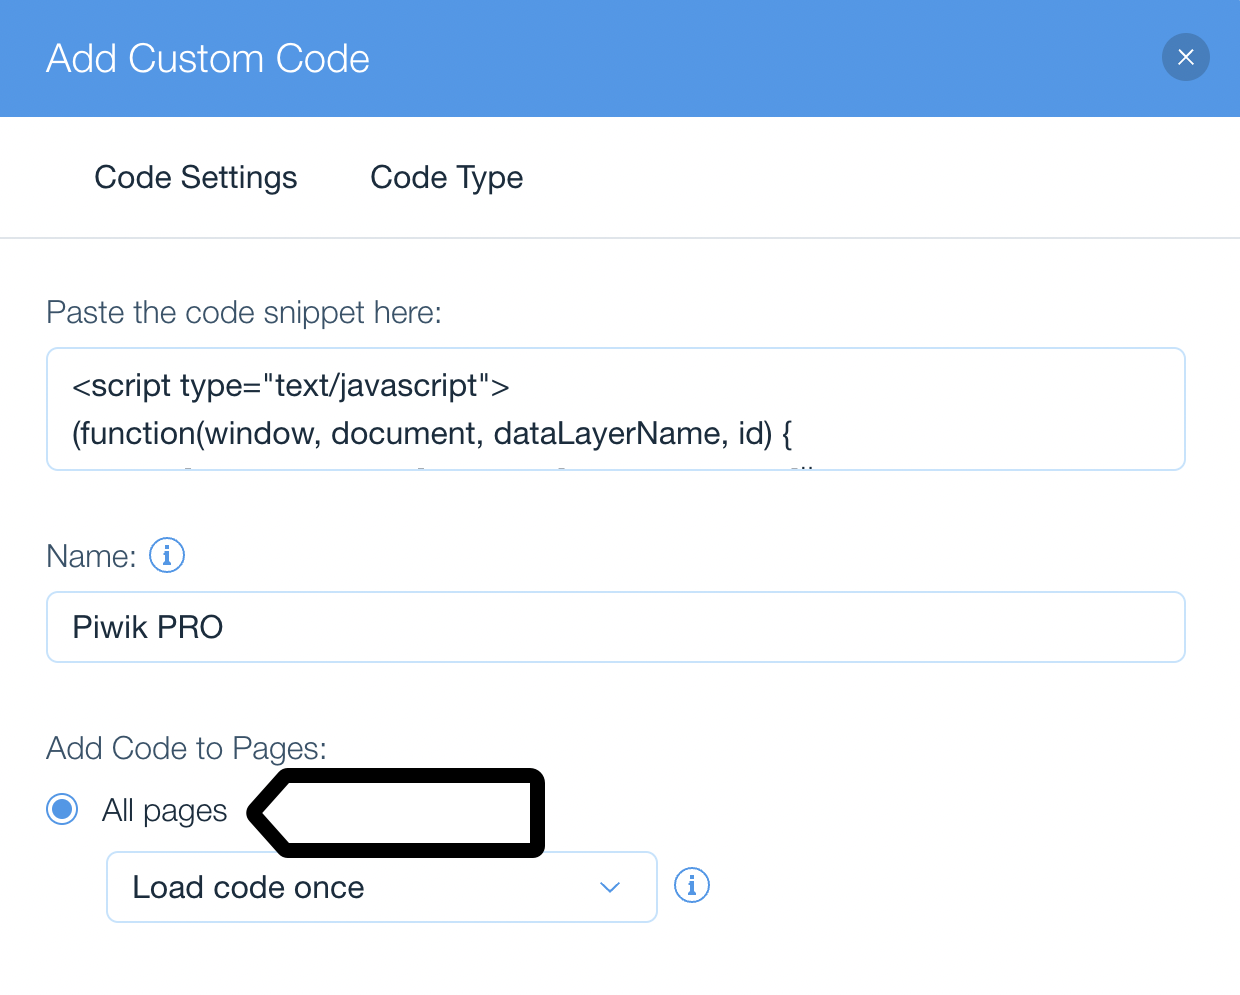
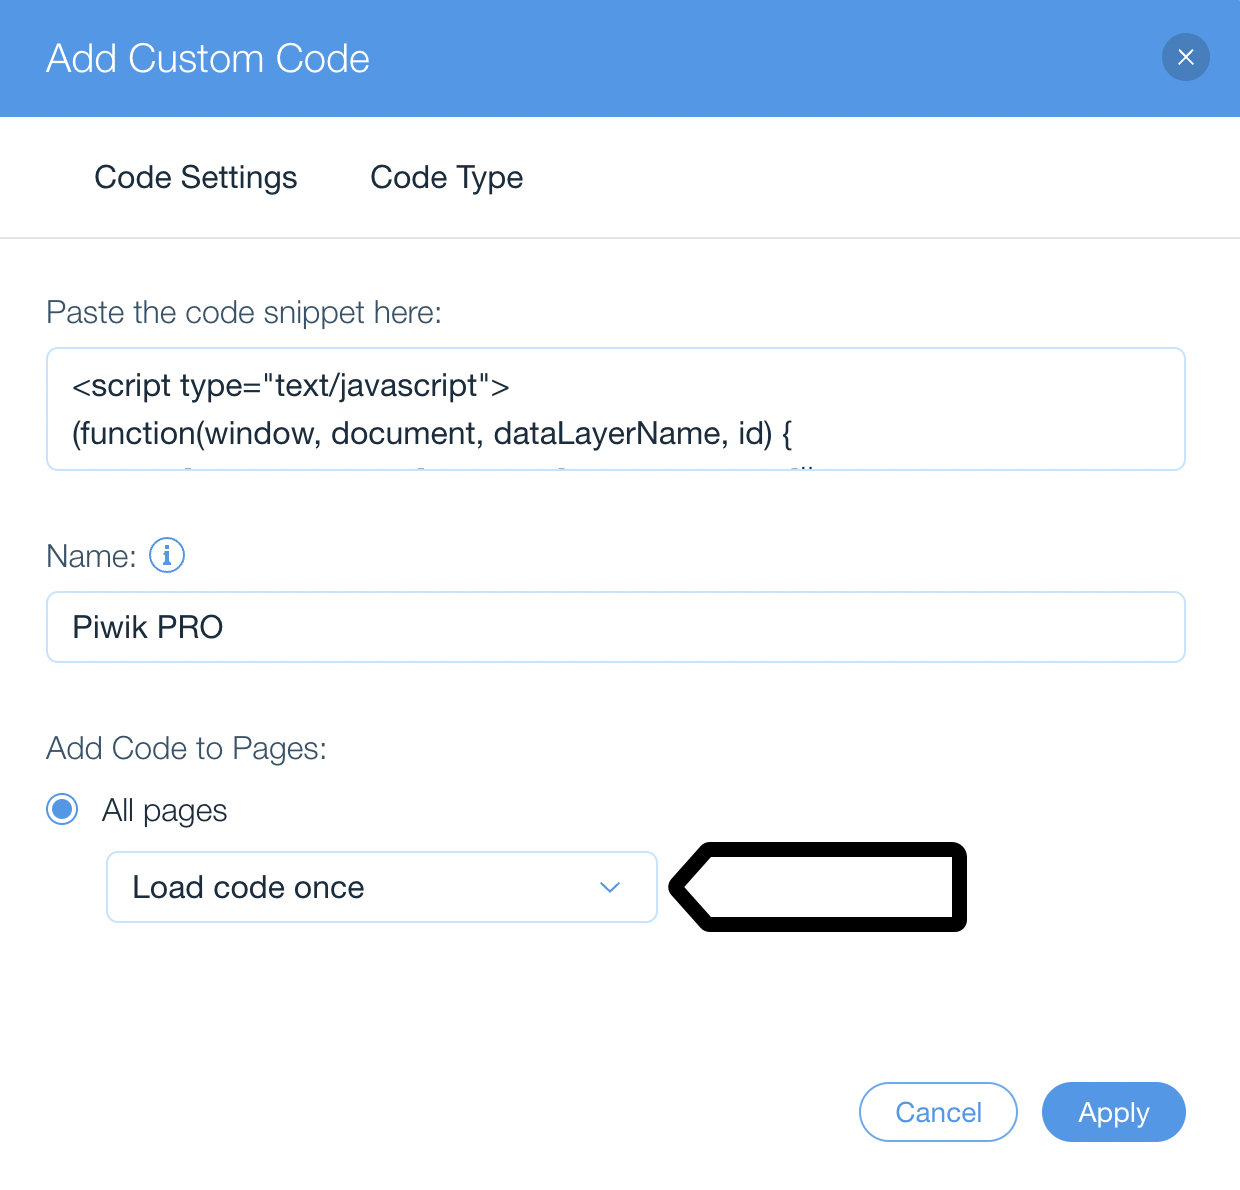
9. Choose Load code once.
Note: Wix sites are built as single-page applications (SPAs). In versions 16.19.0 and higher, Piwik PRO tracks SPAs automatically. Read more
Tip: For more on how Wix loads custom code, see this article.
10. Click Apply.
Note: If you use Wix’s consent system instead of Piwik PRO Consent Manager, categorize your code as Analytics.
11. Done! Data will appear in reports in about two hours. Data in the tracker debugger will appear instantly.
Tip: You can also check manually to check if your tracking works. Read more
Tip: To change the way your data is collected, you can use the following settings: