After installing Piwik PRO, you’ll see a Piwik PRO tag in Tag Manager. This tag is responsible for collecting data. You can change its settings at any time and make the tracker collect data differently.
To make changes to the tag, follow these steps:
1. Go to Menu > Tag Manager.
2. Navigate to Tags.
3. On the left, click Piwik PRO.
4. In Basic tracking setup, you’ll see: Site or app ID, Site or app address, JavaScript library address and Tracker address.

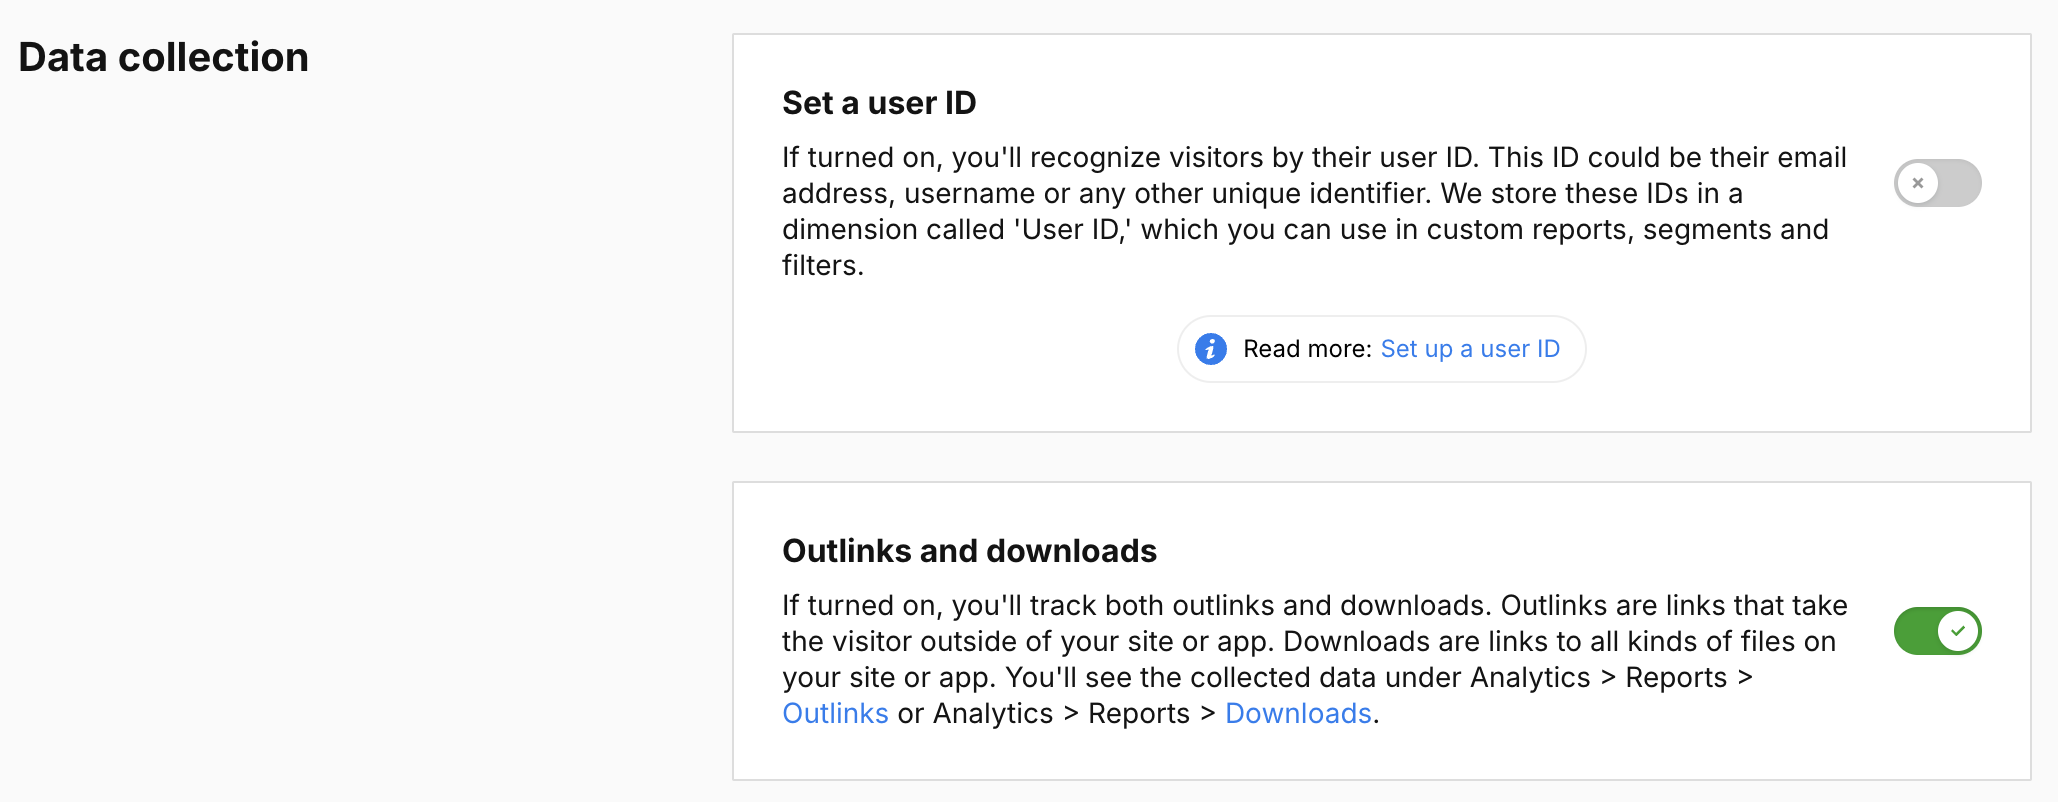
5. In Data collection, you can set the following elements:
- Set a user ID: If turned on, you’ll recognize visitors by their user ID. This ID could be their email address, username or any other unique identifier. We store these IDs in a dimension called ‘User ID,’ which you can use in custom reports, segments and filters. Read more
- Outlinks and downloads: If turned on, you’ll track both outlinks and downloads. Outlinks are links that take the visitor outside of your site or app. Downloads are links to all kinds of files on your site or app. You’ll see the collected data under Analytics > Reports > Outlinks or Analytics > Reports > Downloads.
- Interactions with popups and content: If turned on, you’ll see how often visitors view and engage with popups and content on your site or app. Impressions and interactions are counted for: (1) popups added under Tag Manager > Tags > Add a tag > Custom popup, (2) content added under Tag Manager > Tags > Add a tag > Custom content, (3) any page content you tag in your site or app code. You’ll see the collected data under Analytics > Reports > Content performance. Read more
- Measure session duration precisely: If turned on, you’ll get a precise measurement of session duration. Session duration is the length of time between opening the first page and closing the last one. However, pinpointing the exact moment a visitor closes the last page can be difficult. This is why this feature sends repeated ping requests to see if a visitor is still on the last page.
- Recognize a visitor across domains: If turned on, we’ll be able to keep track of individual visitors as they move from one site or app to another. As a result, visitor sessions that would otherwise be treated separately for each site or app will be treated as single continuous sessions. This option only works for domains that use the same tracking code and are added under Administration > Sites & apps > Data collection > Remove parameters from page URLs. We include the pk_vid parameter in the page URL to pass the visitor ID between domains. Read more
- Recognize a visitor across subdomains: If turned on, we’ll be able to keep track of individual visitors as they move from one subdomain to another. As a result, visitor sessions that would otherwise be treated separately for each subdomain will be treated as single continuous sessions. This option only works for subdomains that use the same tracking code. You need to choose a domain in which to store a cookie with the visitor ID. Read more
6. In Collect data for custom dimensions, you can set up which data is collected as custom dimensions.
Note: Before you set up data collection, create custom dimensions in Analytics > Settings > Custom dimensions. Read more
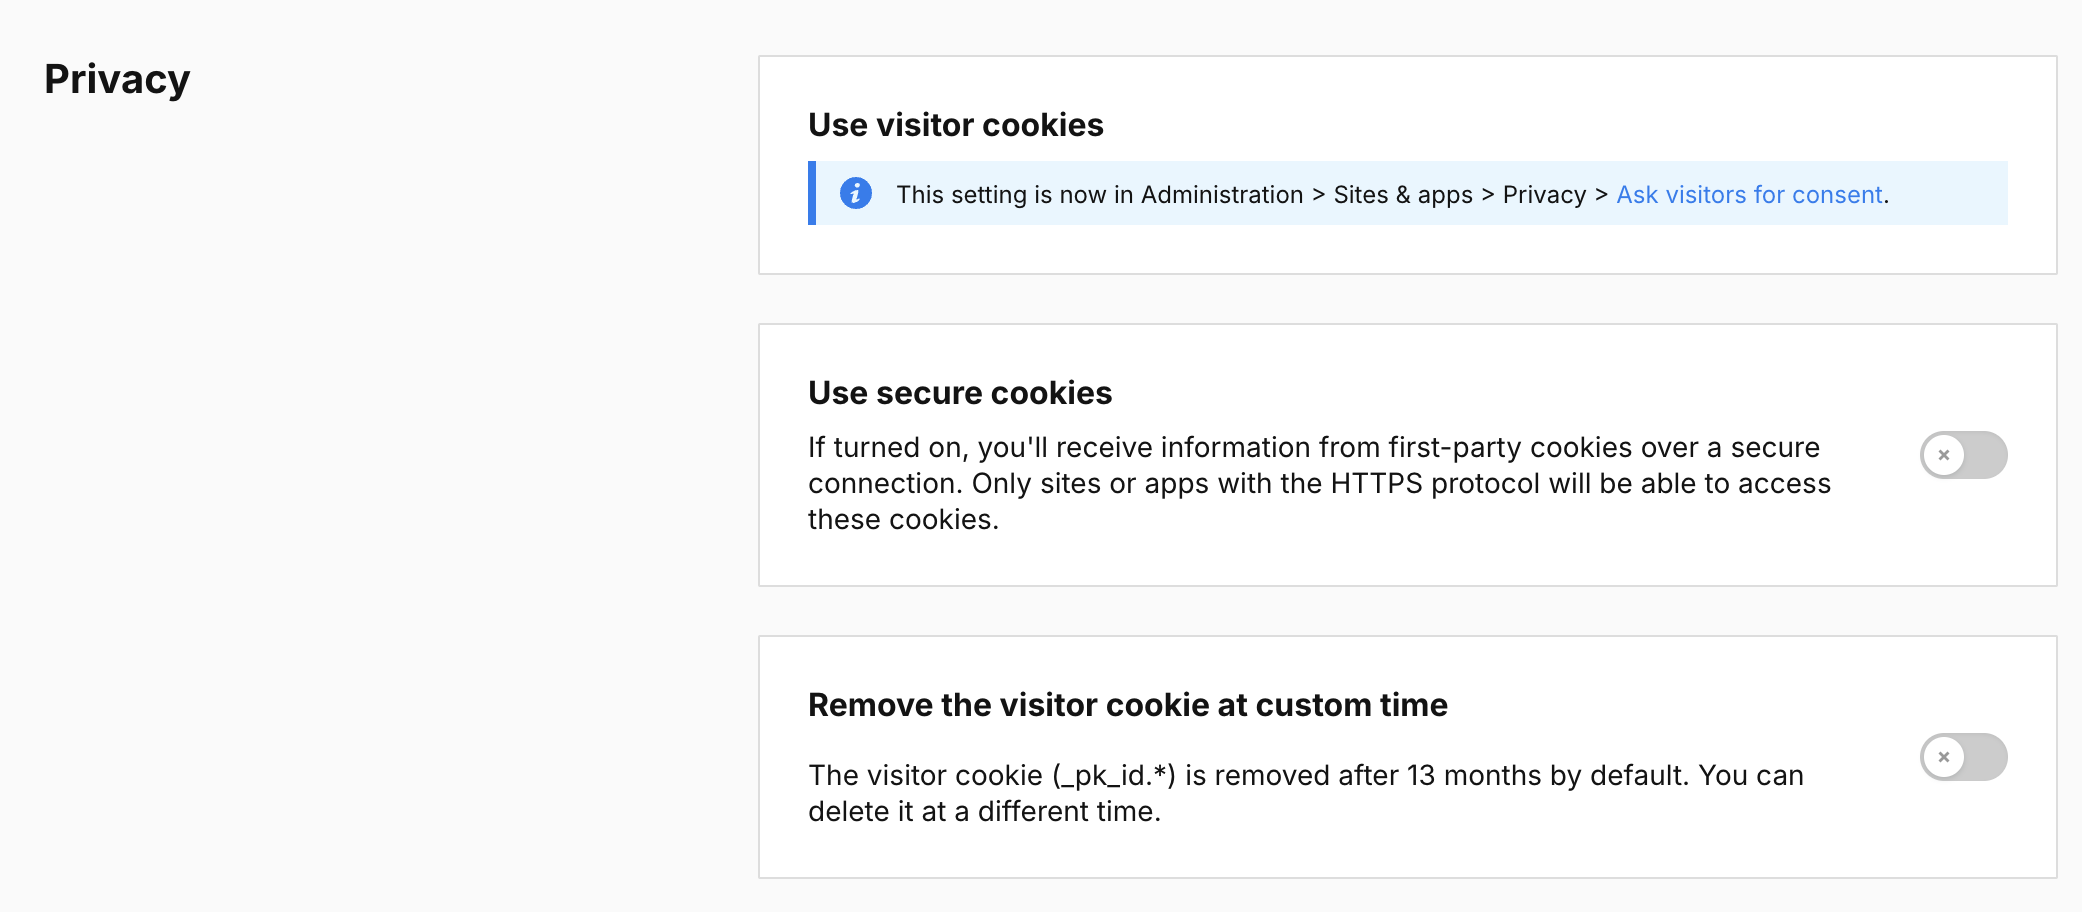
7. In Privacy, you can set the following elements:
- Use secure cookies: If turned on, you’ll receive information from first-party cookies over a secure connection. Only websites with the HTTPS protocol will be able to access these cookies.
- Remove the visitor cookie at custom time: The visitor cookie (_pk_id.*) is removed after 13 months by default. You can delete it at a different time.
- Remove the session cookie at custom time: The session cookie (_pk_ses.*) is removed after 30 minutes by default. You can delete it at a different time.
- Consent type: Set the consent type you want to use to fire this tag. This setting only works if you use a consent form on your site. The form is turned on or off under Administration > Websites & apps > Ask visitors for consent.
- Respect opt-out and DNT: If turned on, this tag won’t fire for visitors who’ve turned on the Do-Not-Track feature in their browsers or who’ve opted out of tracking using our opt-out form.
8. In UX issues, you can set the following elements:
- Detect JavaScript errors: If turned on, you’ll record all kinds of JavaScript errors on your website. The errors will be saved as custom events with the error type and the URL of the page where they occurred. You’ll see them under Analytics > Reports > Custom events or if you create a custom report. Read more

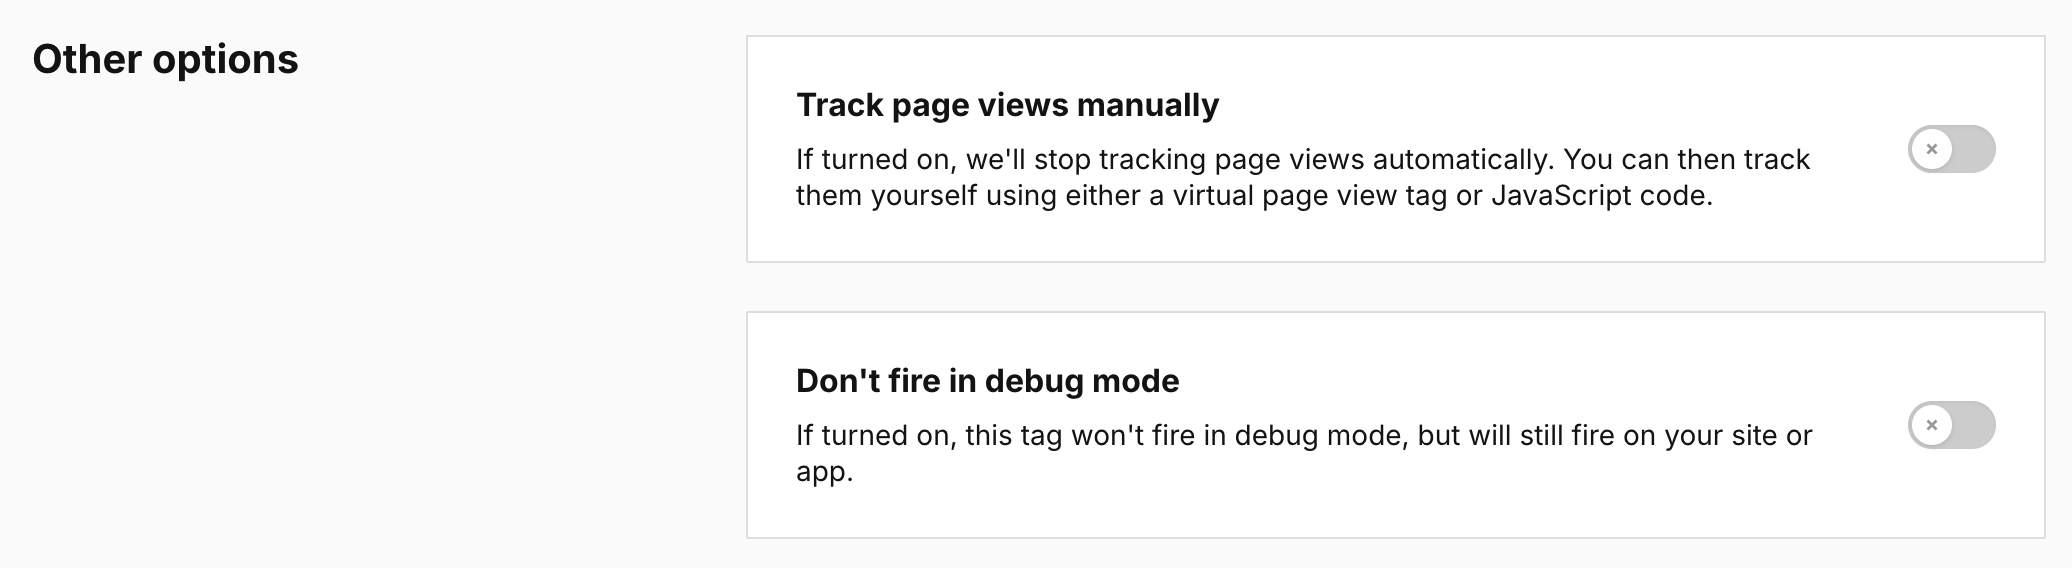
9. In Other options, you can set up the following elements:
- Track page views manually: If turned on, we’ll stop tracking page views automatically. You can then track them yourself using either a virtual page view tag or JavaScript code.
- Don’t fire in debug mode: If turned on, this tag won’t fire in debug mode, but will still fire on your site or app.
10. In Flight dates, you can set the date and time when the tag will fire.
11. In Tag triggers, you can change triggers for this tag.
Note: Be careful with changing flight dates and triggers for this tag because it greatly influences your data collection.
12. When you’re done, click Save.
13. Test your tag in debug mode.
14. When you’re happy with how the tag works, click Publish.
15. Done!