Video tutorial: watch on YouTube
If your website is built with Drupal, you can easily add our container with a tracking code by installing the Piwik PRO module, and start collecting visitor data right away.
In this article, we’ll walk you through the process step-by-step.
Before you start
Here are a few helpful things to know before you start:
1. There are two ways to install Piwik PRO container with a tracking code in Drupal:
If you’re using Drupal CMS 1.0, the latest version, you can install the Piwik PRO module directly from Drupal and complete the setup there.
If you’re using an older Drupal version, you’ll need to manually install the Piwik PRO container with a tracking code. Start by adding your site in Piwik PRO, and then continue the installation.
Install Piwik PRO plugin for Drupal CMS 1.0.
To install a tracking code container with the Piwik PRO plugin for Drupal CMS 1.0., follow these steps:
1. Log in to Drupal.
2. Navigate to Administration > Extend.
3. Click Browse.
4. In Search, type in Piwik PRO.
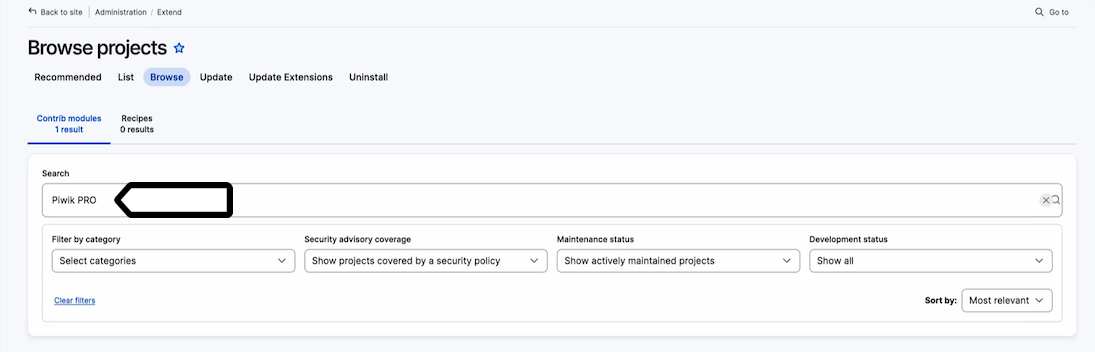
5. Click Select.
6. Click Install.
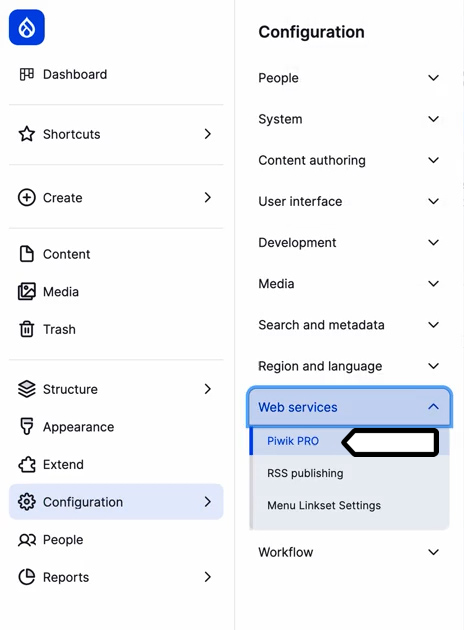
7. In Administration, go to Configuration > Web services.
8. Select Piwik PRO.
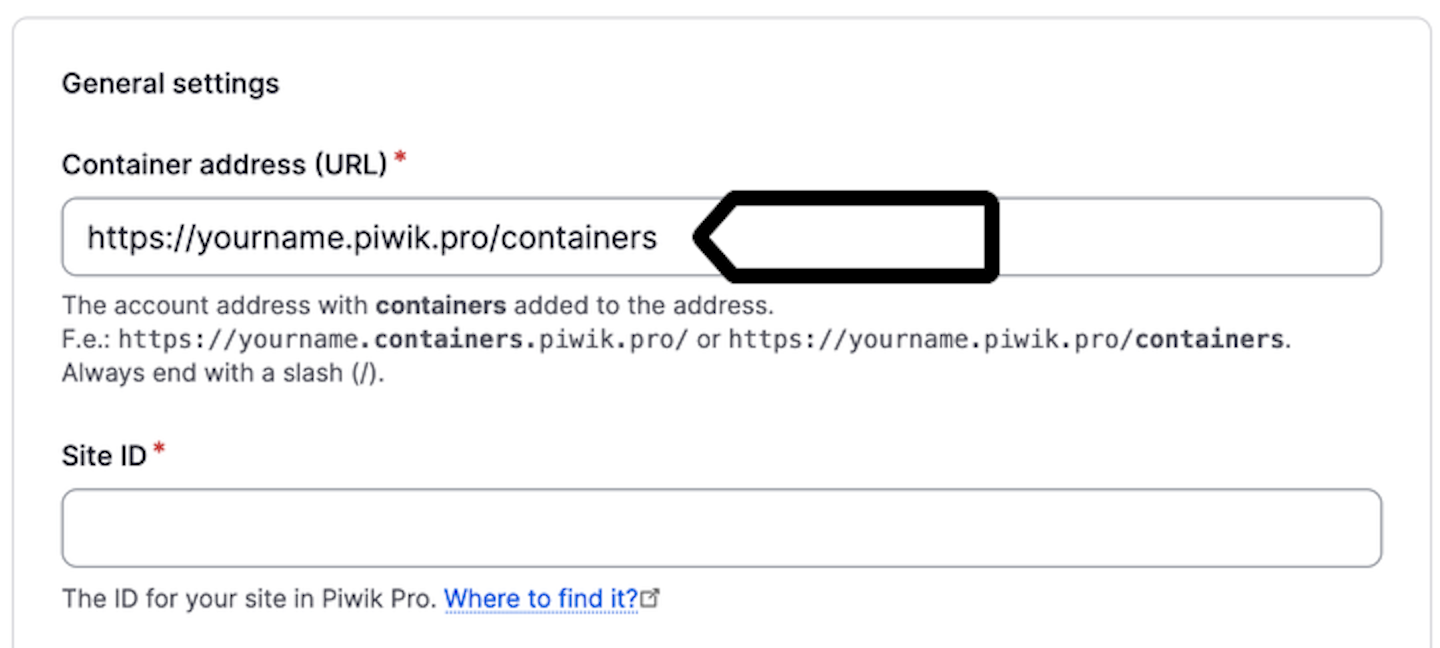
9. Type in the container address (URL).
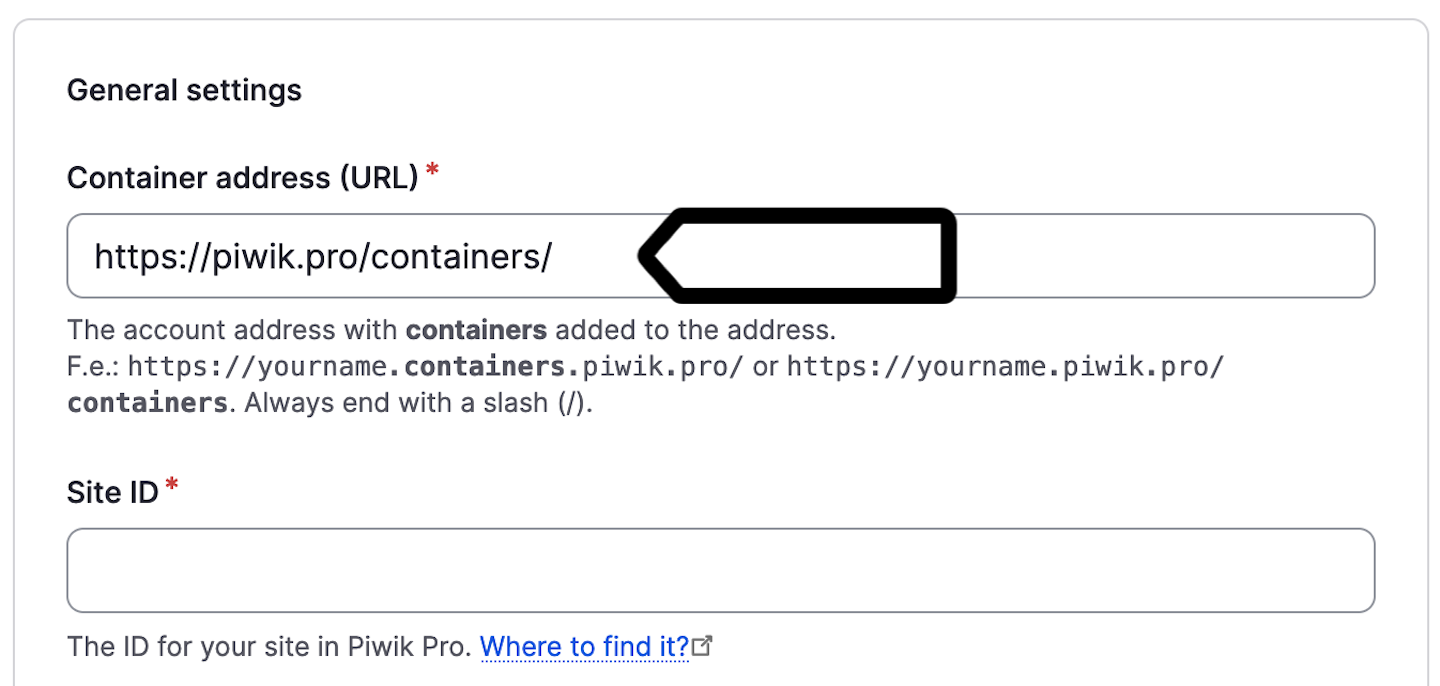
Note: Enter your Piwik PRO account address with containers added to the address.
For standard domains: https://yourname.containers.piwik.pro
For custom domains: https://yourname.piwik.pro/containers
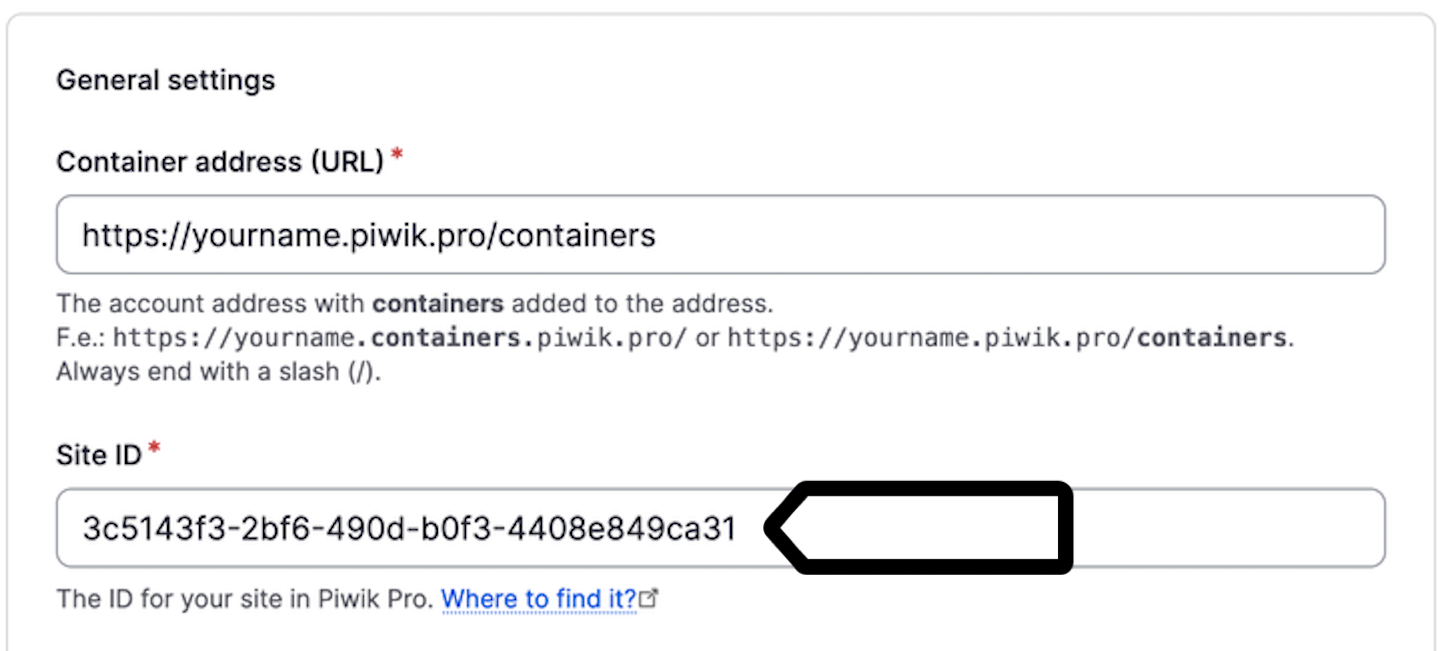
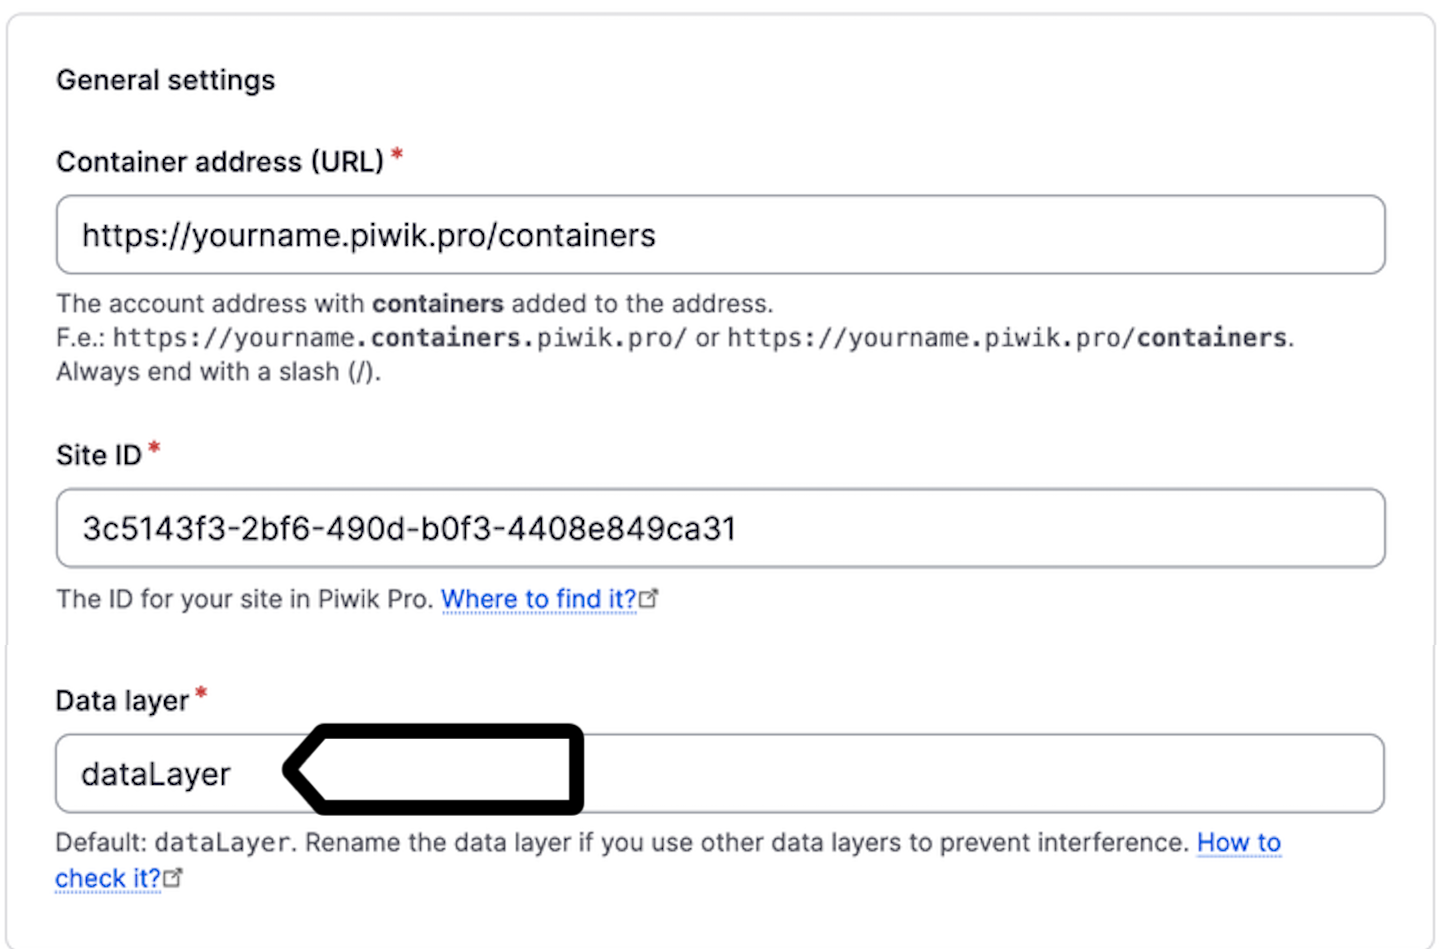
10. Type in your site ID. Where to find it?
11. (Optional) Rename the data layer.
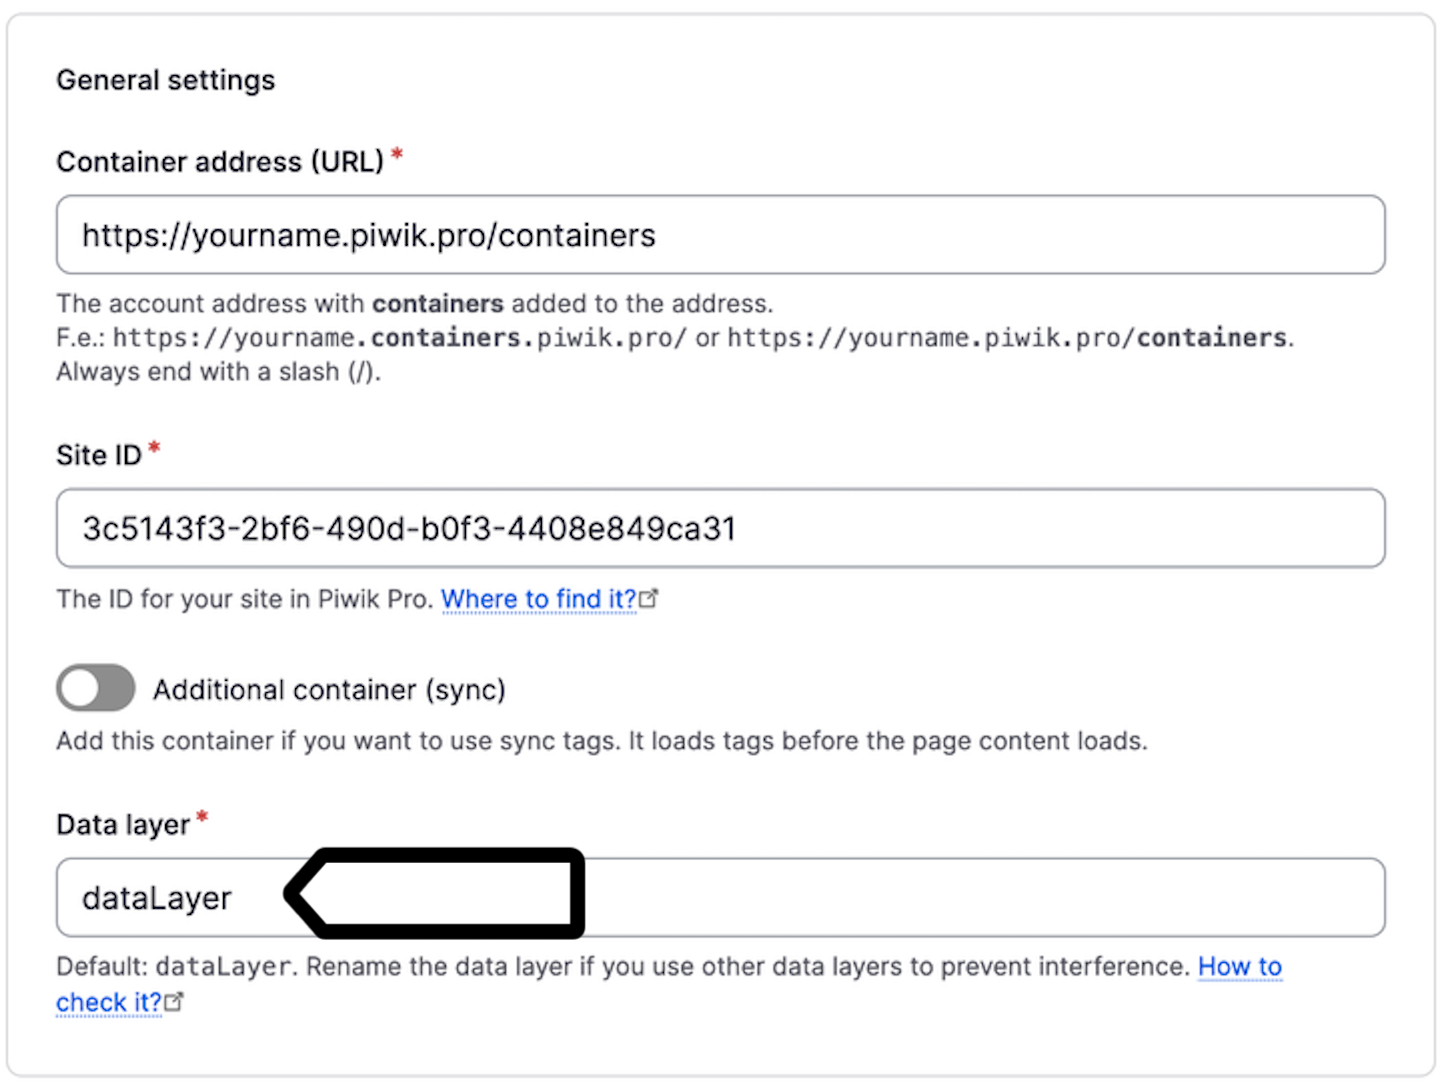
Note: Rename the data layer if you use other software with data layers. If the names are the same, the software can interfere with each other.
To check if your data layer name is not used by other software on your site, follow these steps:
- In the console on your site, run this command:
!window.hasOwnProperty("customDataLayer");replacing customDataLayer with your custom name.
- If this command returns true, then you can safely use your custom name.
12. In Add tracking to specific pages, select one of the following options and specify the pages:
Every page except the listed pages
The listed pages only
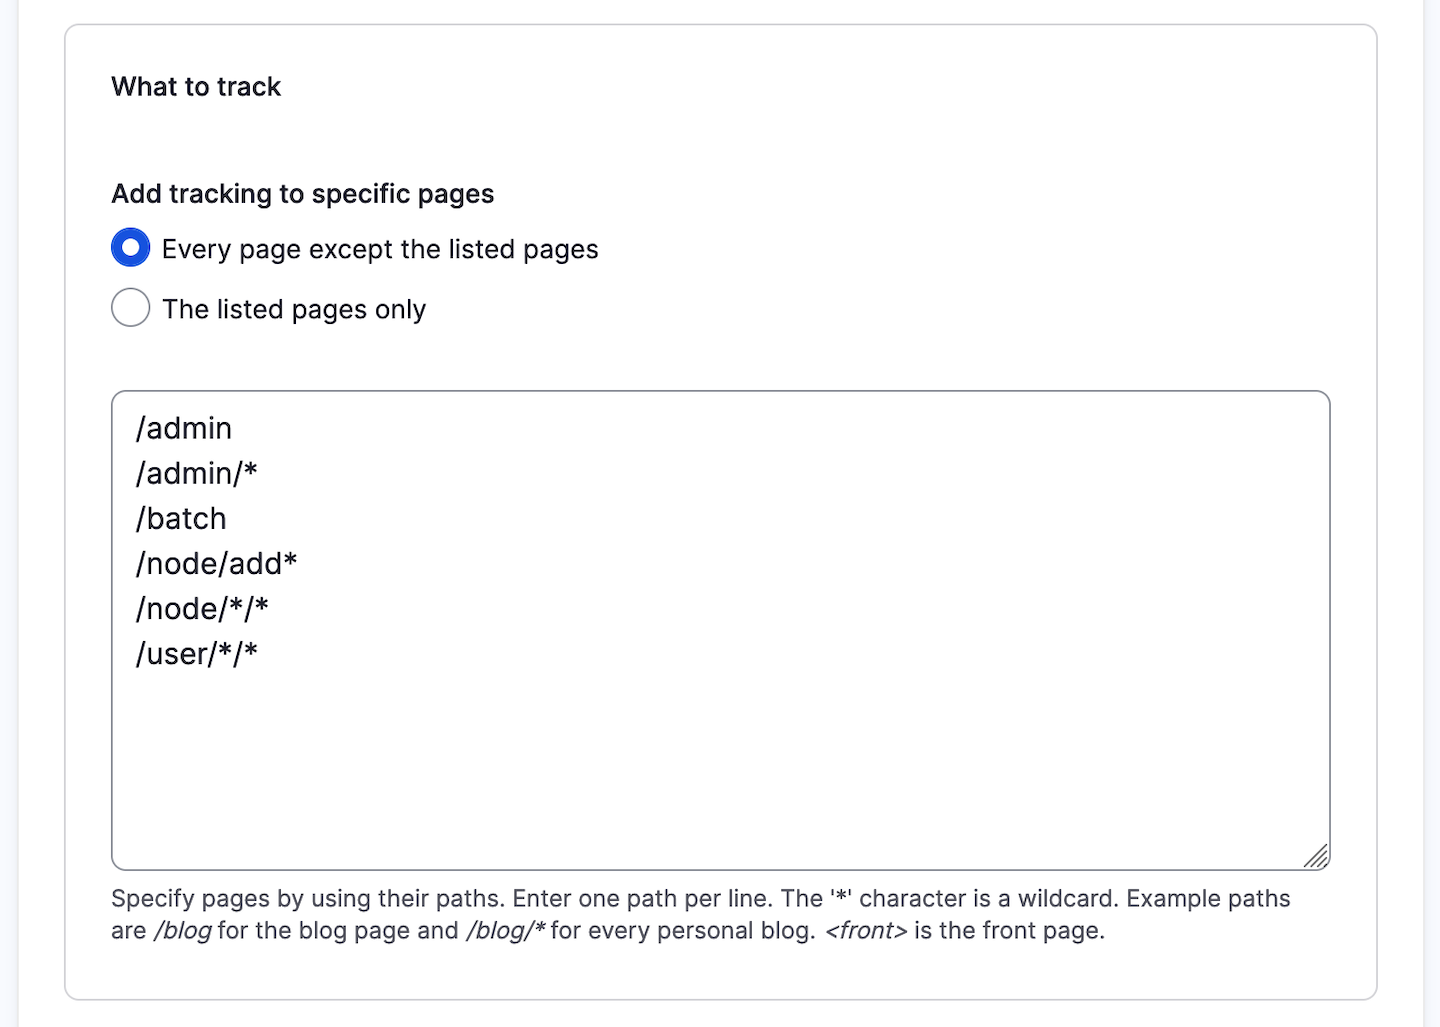
Note: Specify pages by using their paths. Enter one path per line. The ‘*’ character is a wildcard. Example paths are /blog for the blog page and /blog/* for every personal blog. <font> is the front page.
13. Click Save configuration.
14. Done.
Add a site in Piwik PRO
To add a site in Piwik PRO, follow these steps:
1. Go to Menu > Administration.
2. Navigate to Sites & apps.
3. Click Add a site or app.
4. Type the site name and site address and click Save.
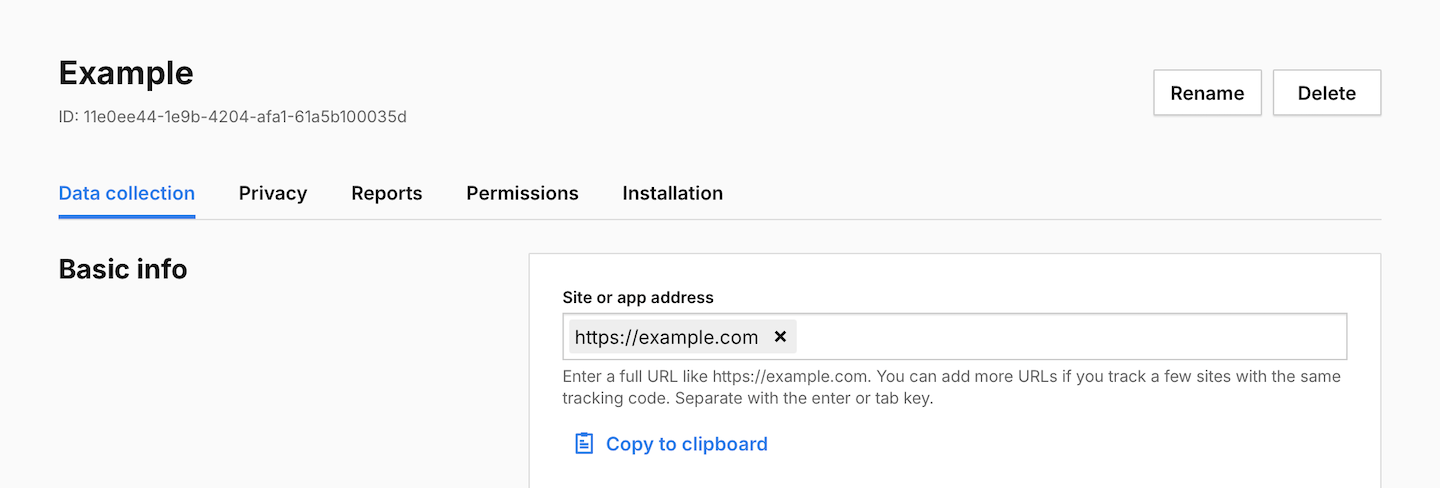
Note: If you want to collect data from a few domains with the same tracking code, add their addresses.
5. Set the time zone and currency.
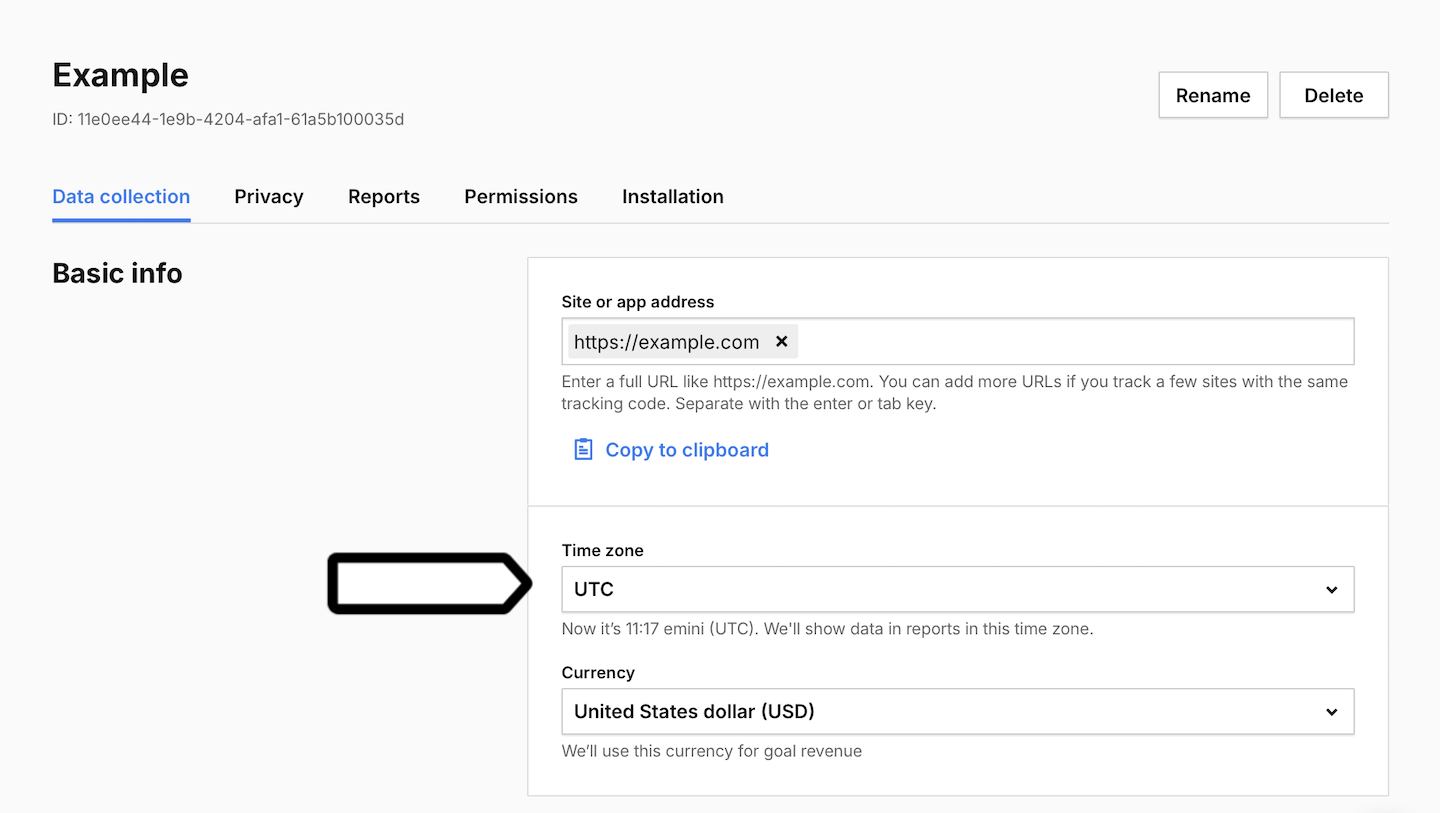
Note: We’ll show data in reports in this time zone. We’ll use this currency for goal revenue.
Install Piwik PRO module in Drupal
To install the Piwik PRO module in Drupal, follow these steps:
1. Log in to Drupal.
2. Install the following module as you would normally do: https://www.drupal.org/project/piwik_pro.
3. Navigate to Administration > Extend and enable the module.
4. Navigate to Administration > Configuration > Web services > Piwik PRO.
5. Type in the container address (URL).
Note: Enter your Piwik PRO account address with containers added to the address.
For standard domains: https://yourname.containers.piwik.pro
For custom domains: https://yourname.piwik.pro/containers
This address may be different for Piwik PRO private cloud accounts. Contact us to get the right address.
6. Type in your site ID. Where to find it?
7. (Optional) Rename the data layer.
Note: Rename the data layer if you use other software with data layers. If the names are the same, the software can interfere with each other.
To check if your data layer name is not used by other software on your site, follow these steps:
- In the console on your site, run this command:
!window.hasOwnProperty("customDataLayer");replacing customDataLayer with your custom name. - If this command returns true, then you can safely use your custom name.
8. In Add tracking to specific pages, select one of the following options and specify the pages:
- Every page except the listed pages
- The listed pages only
Note: Specify pages by using their paths. Enter one path per line. The ‘*’ character is a wildcard. Example paths are /blog for the blog page and /blog/* for every personal blog. <font> is the front page.
9. Click Save configuration.
10. All done! Data will appear in reports in about two hours. Data in the tracker debugger will appear instantly.
Tip: You can also check manually to see if your tracking works. Read more
11. We’ll start showing a consent form on your site after you’ve installed the container. Add your privacy policy address to the form or turn off the consent form.
Tip: To change the way your data is collected, you can use the following settings: