Segments let you divide your visitors into smaller groups and analyze them separately in reports and on dashboards. By breaking down your data, you can gain insights that would be difficult to discover when looking at all your data together. For example, you can see specific patterns among visitors who use your site on mobile devices or trends among those who signed up for your newsletter.
In this article, we’ll show you how to create and apply segments.
Before you start
Here are some things to know before you start:
- Segments work for historical data.
- You can create as many segments as you wish.
- You can create a segment that will only be visible to you or to all users.
- You can set a segment to be visible across all your sites/apps.
- You can copy a segment to other sites/apps.
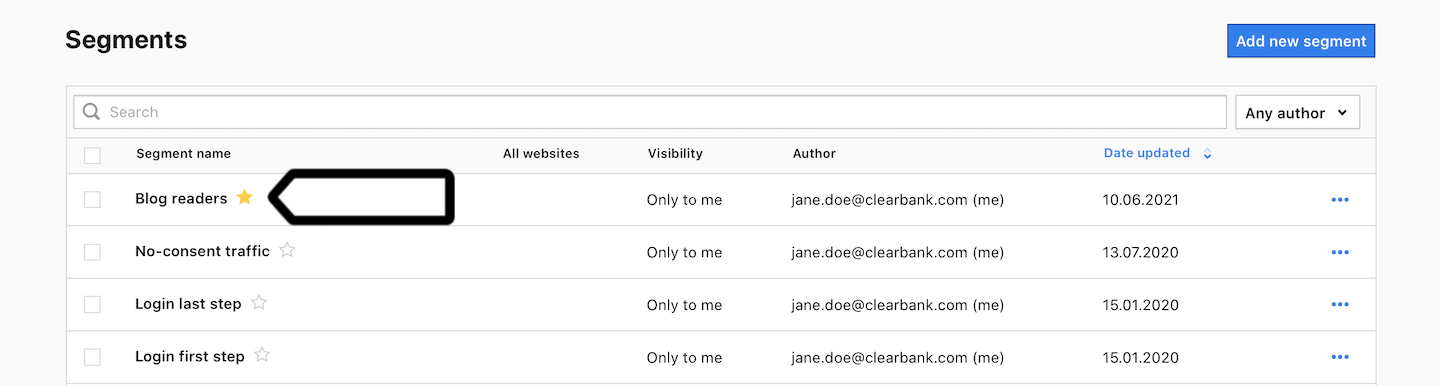
- You can mark a segment with a star to make it appear at the top of the list.
- You can use
ANDandORlogic operators in segment conditions. - Segments use two scopes: event and session. The scope is applied automatically on the basis of the segment definition, report definition and filters used in a report.
Create a new segment
To create a new segment, follow these steps:
1. Go to Menu > Analytics.
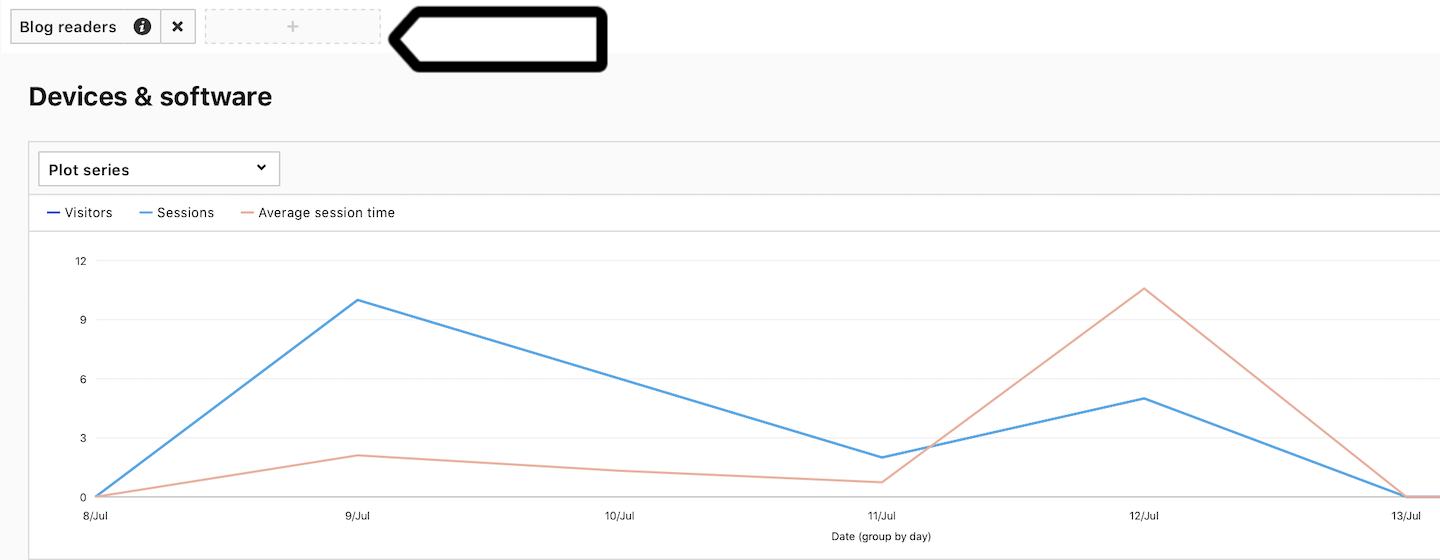
2. The option to add segments appears at the top of any open tab (Dashboards, Reports, Custom reports, Goals or Ecommerce). Click the + button.
Note: You can also access segments in Menu > Analytics > Settings > Segments.
3. Click Manage segments.
4. Click Add a segment.
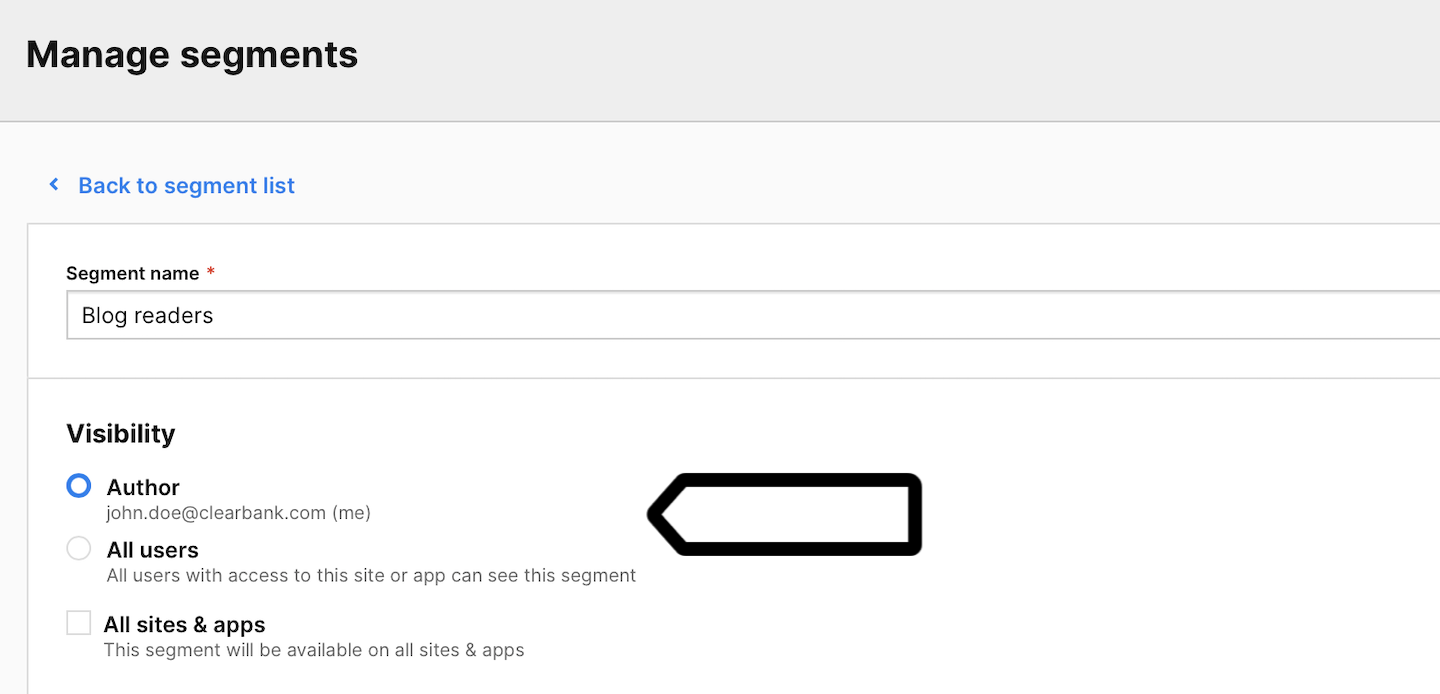
5. Name the segment.
6. In Visibility, choose Author or All users. All users lets you share this dashboard with your teammates.
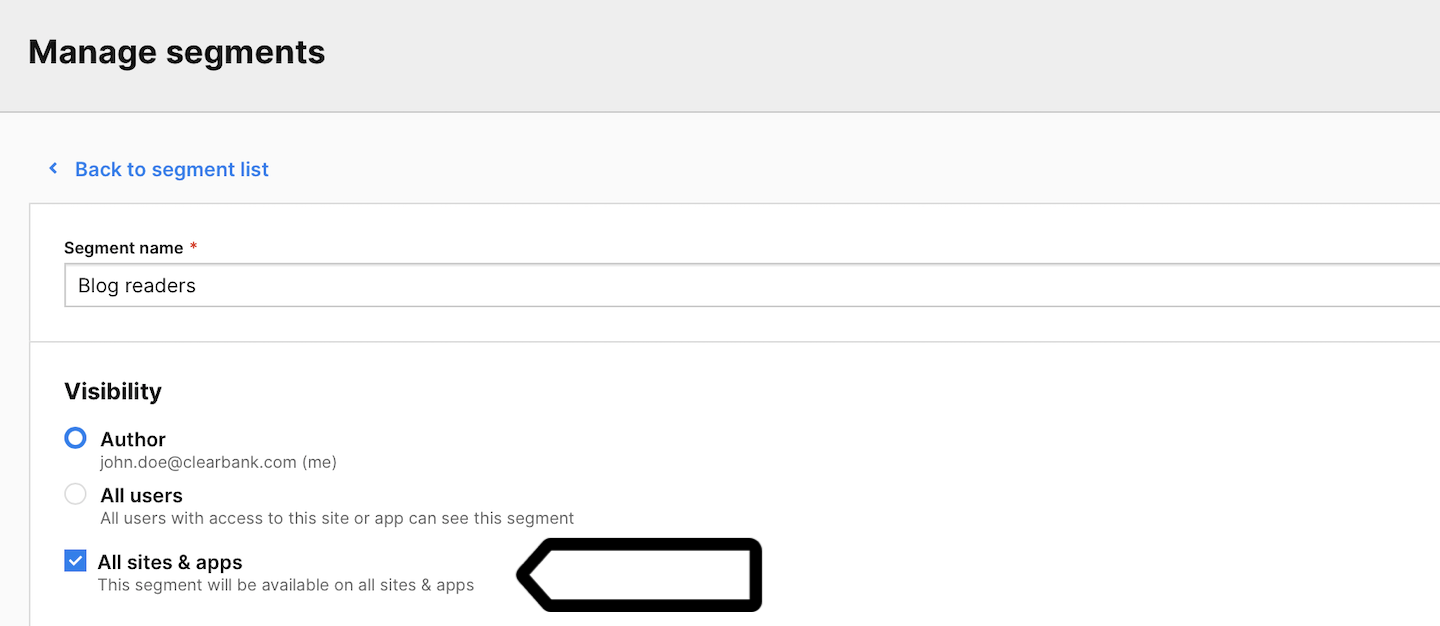
7. (Optional) Check All sites & apps to make this segment visible across all sites and apps.
8. On the right, select the dimension you want to use and drag it into the drop-in field.
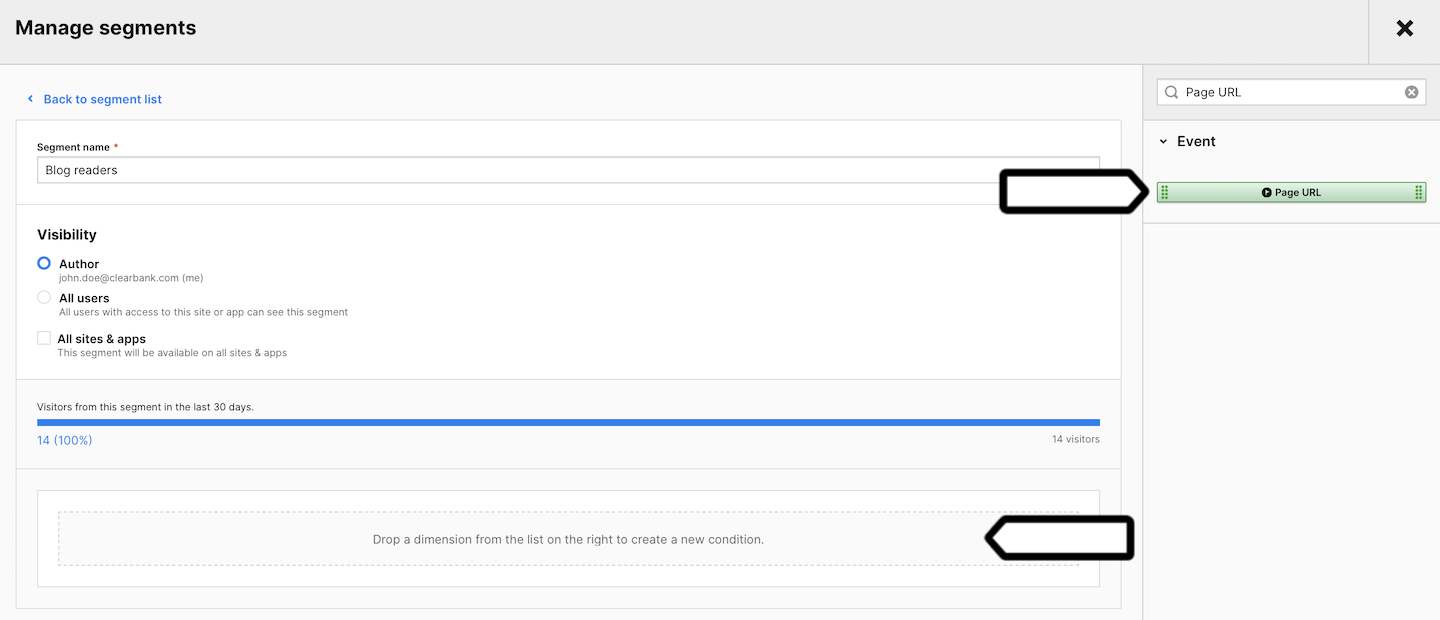
9. Set a condition. Example: Page URL contains https://clearbank.com/blog.

10. (Optional) Drag and drop more dimensions and set conditions. You can use AND and OR logic operators in segment conditions.
11. When you’re done, click Save.
12. (Optional) You can star your segment to make it appear at the top of the list.
13. Complete! Your segment is ready for use.
Use segments in reports and on dashboards
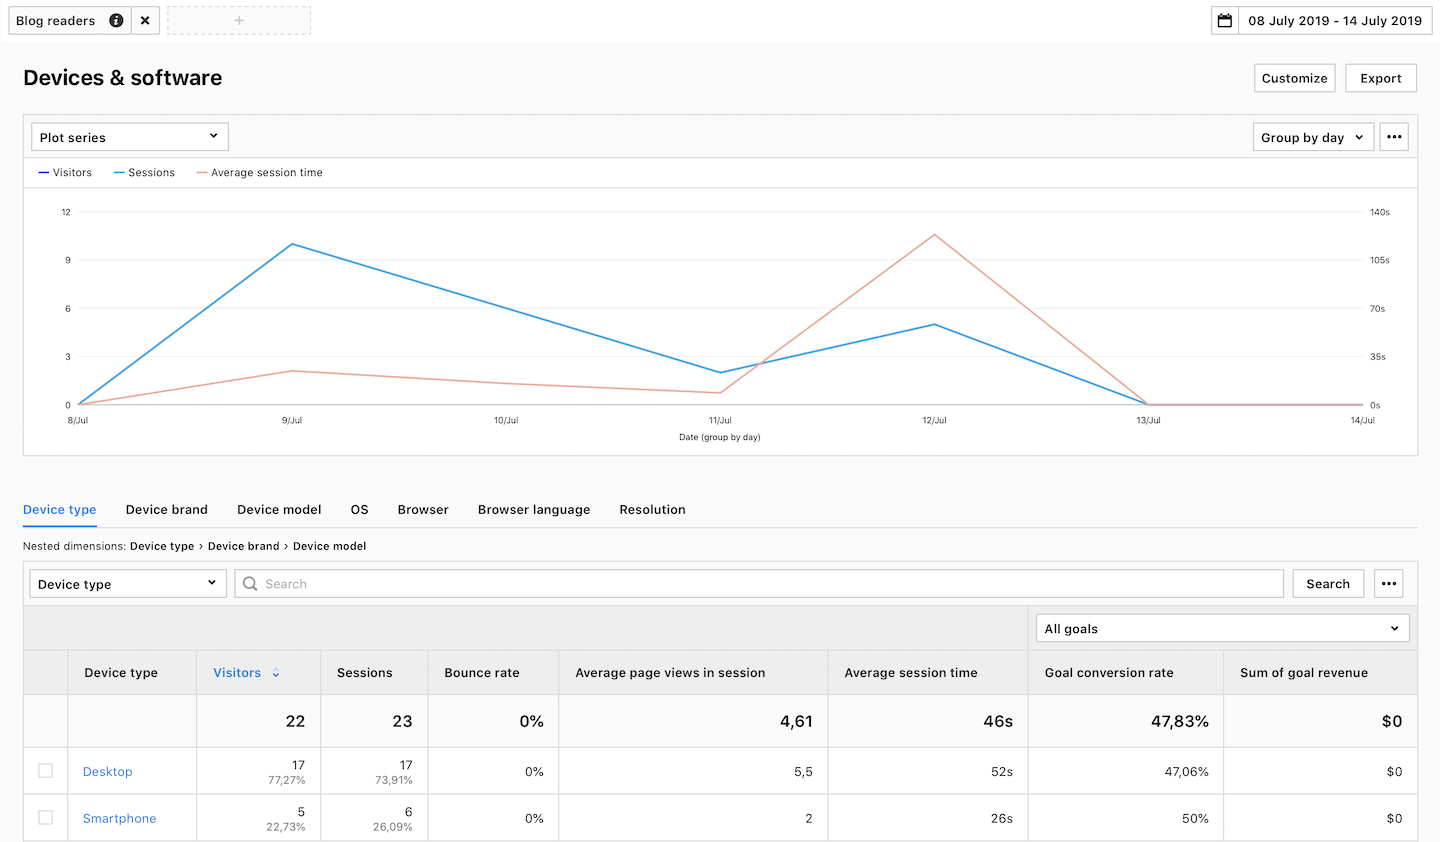
Once your segments are ready, you can apply them to your dashboards, core reports and custom reports.
To use a segment, follow these steps:
1. Go to Menu > Analytics.
2. Navigate to Dashboards, Reports, Custom reports, Goals or Ecommerce.
3. Select the report you want to see.
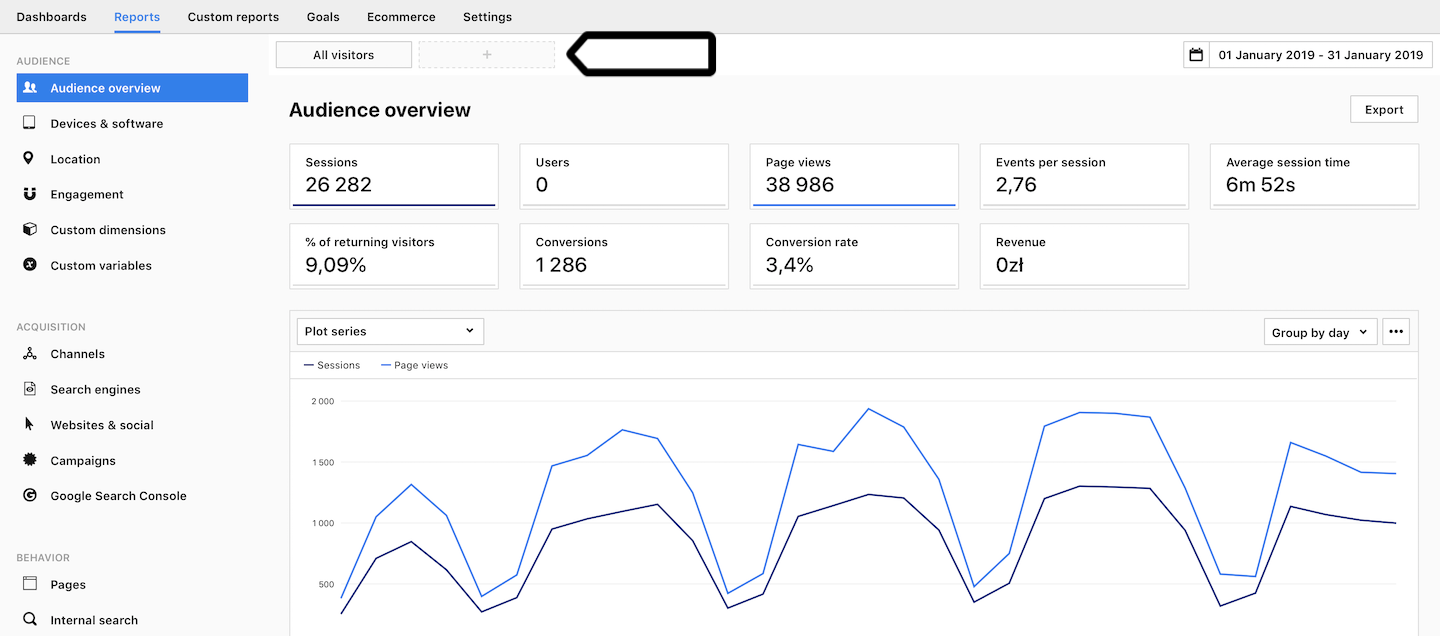
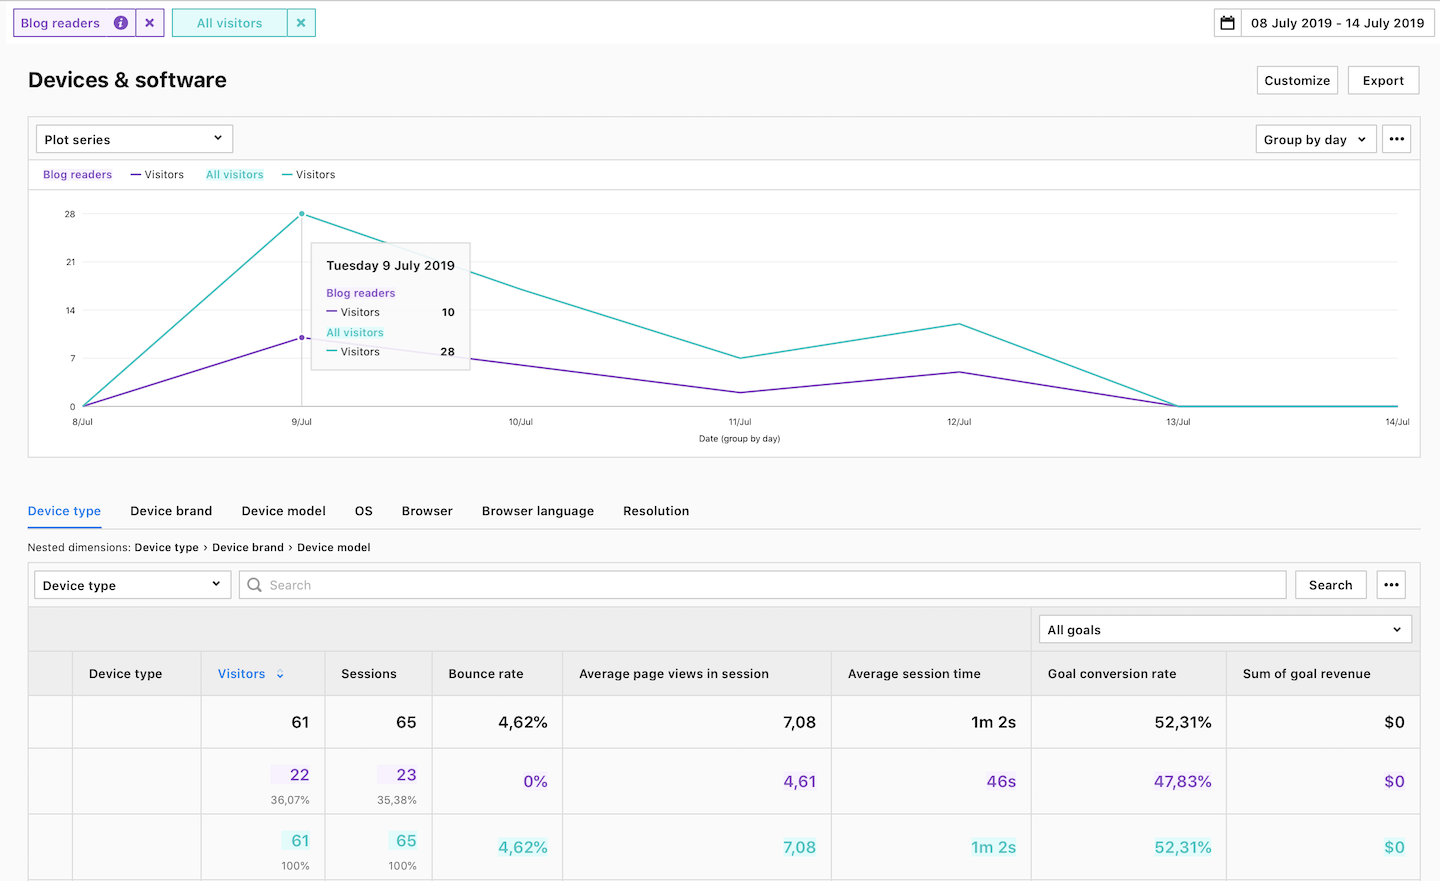
4. Click All visitors at the top of the report or dashboard.
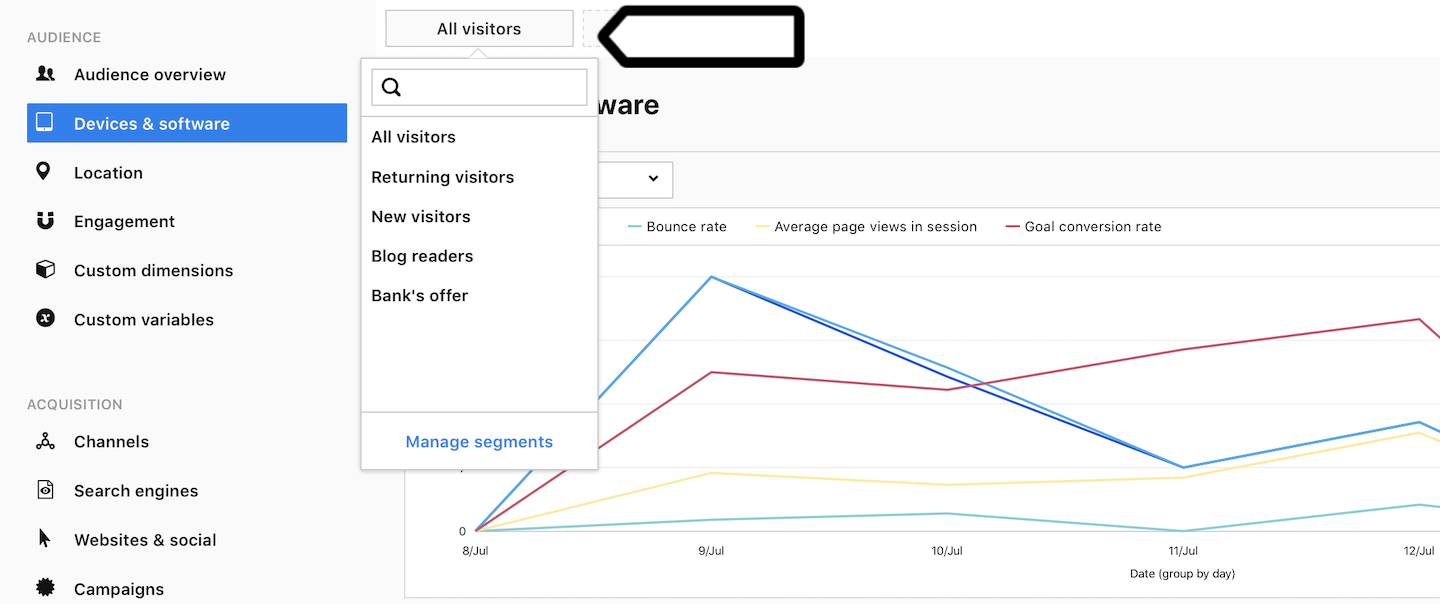
5. Select the segment you want to use and view your report.
If you want to compare two segments, follow these steps:
1. Apply the first segment as described in the previous section.
2. Click the + button.
3. Select the segment you want to compare with the first one and view your report.
Copy your segment to other sites/apps
To copy the created segment to other or all sites/apps, follow these steps:
1. Go to Menu > Analytics.
2. Navigate to Settings.
3. On the left, click Segments.
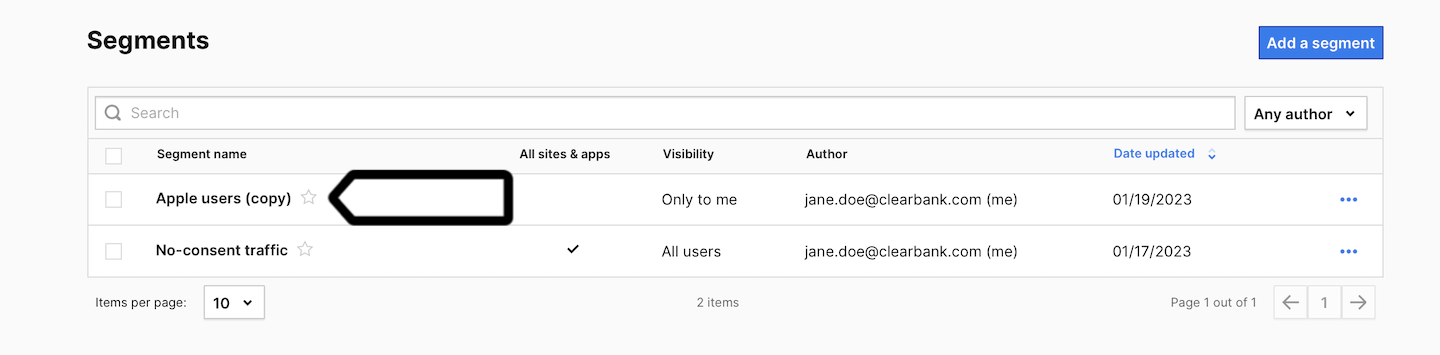
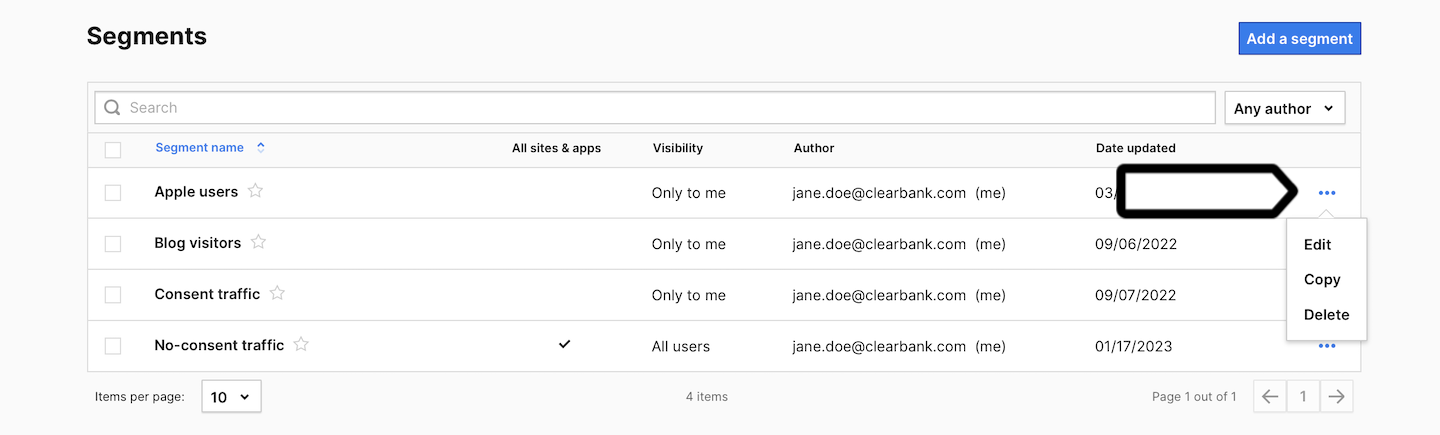
4. Find the segment you want to copy in the list, click the ⋯ three-dot icon next to it and click Copy.
5. (Optional) Rename the segment.
6. Choose one of the following options: Copy to other sites & apps or
Copy to all sites & apps. And if needed, pick the destination sites/apps.
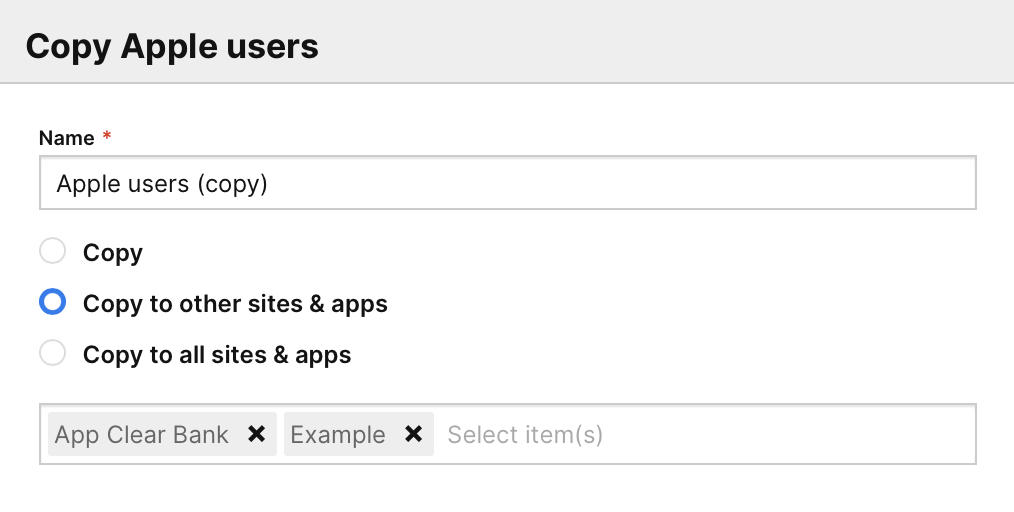
7. In Visibility, choose Author or All users. All users lets you share this dashboard with your teammates.
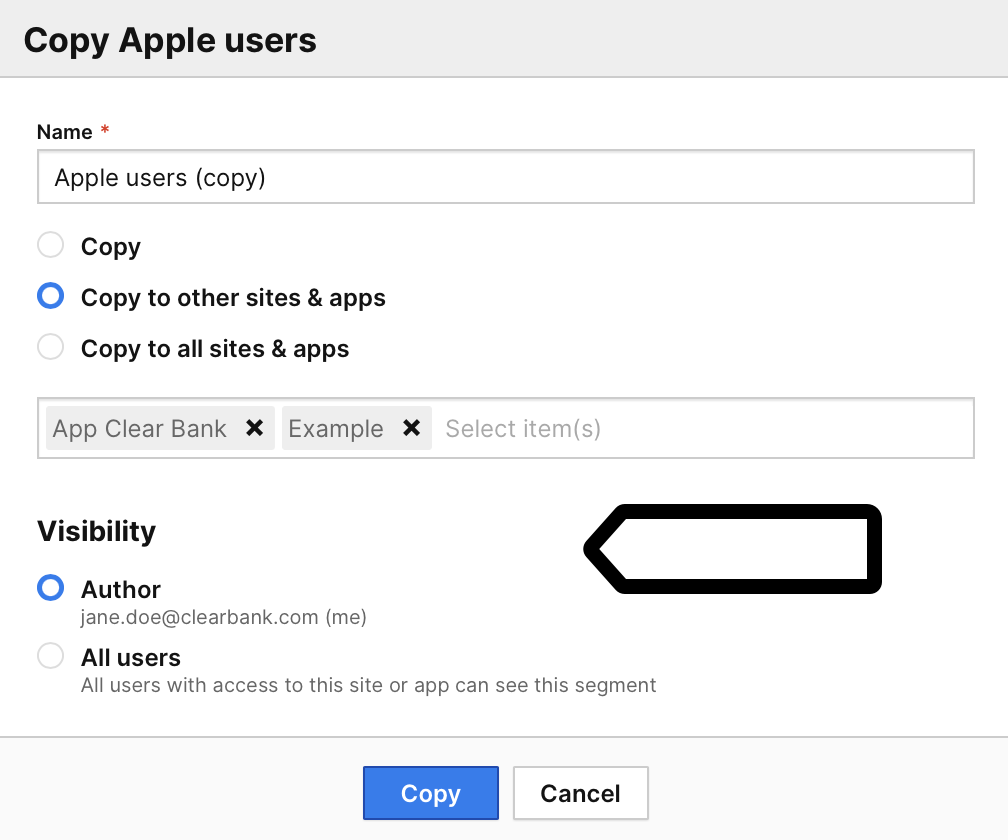
8. When you’re finished, click OK.
9. Well done! The copied segment is now avaliable on the site/app you copied it to.