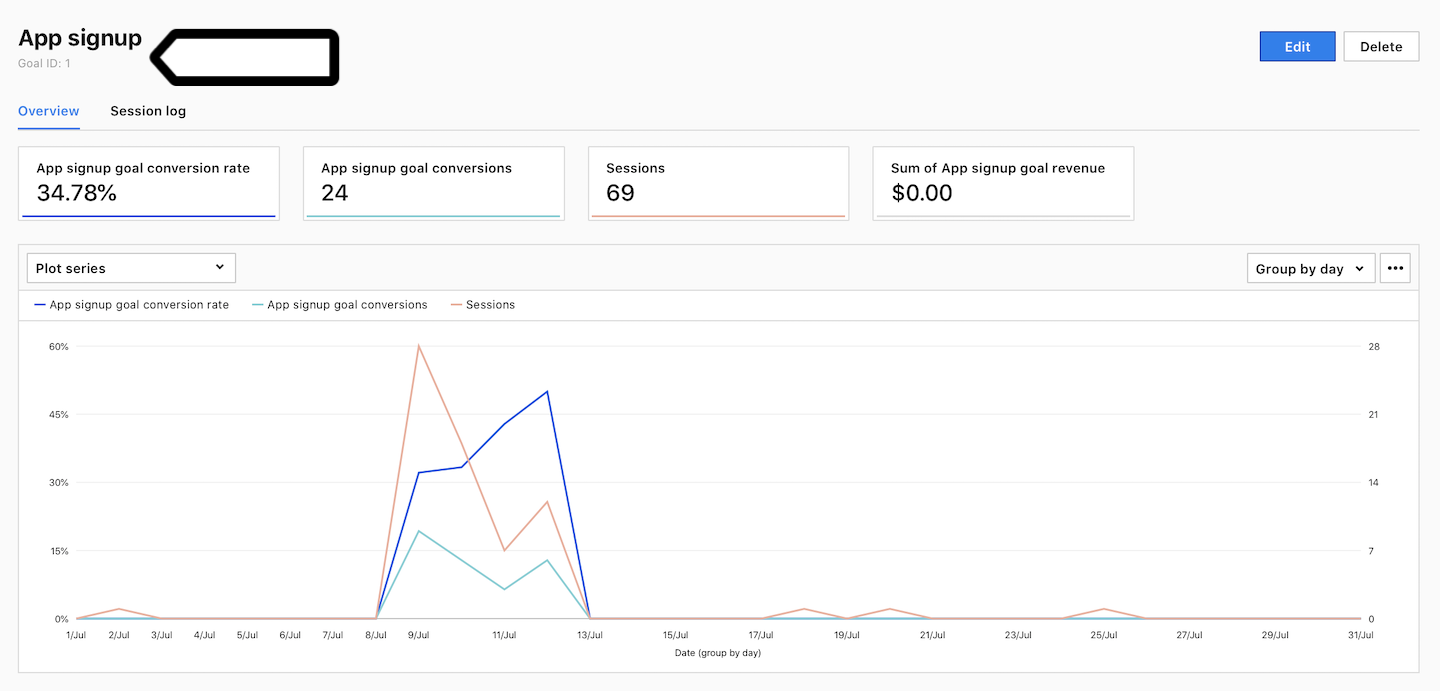
A goal conversion tag helps you track goals manually when standard methods won’t work.
To set it up, follow these steps:
1. Create a new goal in Menu > Analytics > Goals and select manual tracking in its settings.
Tip: Read more about goals.
2. Copy the goal ID. You’ll need it in the next steps.

3. Go to Menu > Tag Manager.
4. Navigate to Tags.
5. Click Add a tag.
6. Name your tag and select the following type: Goal conversion.
7. Click Next.
8. Paste the goal ID and set the revenue, and currency if you want.

Note:
- For more about currency conversion, see this article.
- You can track a previously created custom dimension by picking the index number of the dimension and providing its value. For more, read this article.
Tip: You can add goal IDs and revenue dynamically using variables in Tag Manager.
9. In Advanced tag settings, choose Consent type. Set it up if you use a consent form on your site. This tag will only fire for visitors who accept the selected consent type.
10. Respect opt-out and DNT is turned on by default. Leave it as is if you want to respect visitors who’ve turned on the Do-Not-Track feature in their browsers or who’ve opted out of tracking using our opt-out form.
11. In Flight dates, set the date and time when the tag will fire.
12. In Tag triggers, click Add a trigger or Choose existing trigger to set up a trigger for your tag.
13. Click Save.
14. Test your tag in debug mode.
15. When you’re happy with how the tag works, click Publish.
16. All set!
