If you’re running your online store on WooCommerce, you can quickly start collecting shopper data using our dedicated WordPress plugin. The plugin will install our container with a tracking code, which will automatically track ecommerce events like ecommerce orders and abandoned carts. This will result in full ecommerce reporting in Piwik PRO.
To get started, you’ll need to add your store as a site/app in Piwik PRO. And then you’ll use the WordPress plugin to install our container.
In this article, we’ll show you how to complete this process.
Add a site in Piwik PRO
To add your WooCommerce store as a site in Piwik PRO, follow these steps:
1. Go to Menu > Administration.
2. Navigate to Sites & apps.
3. Click Add a site or app.
4. Type the site name and address and click Save.

Note: If you want to track a few domains with the same tracking code, add their addresses.
5. Set the time zone and currency.
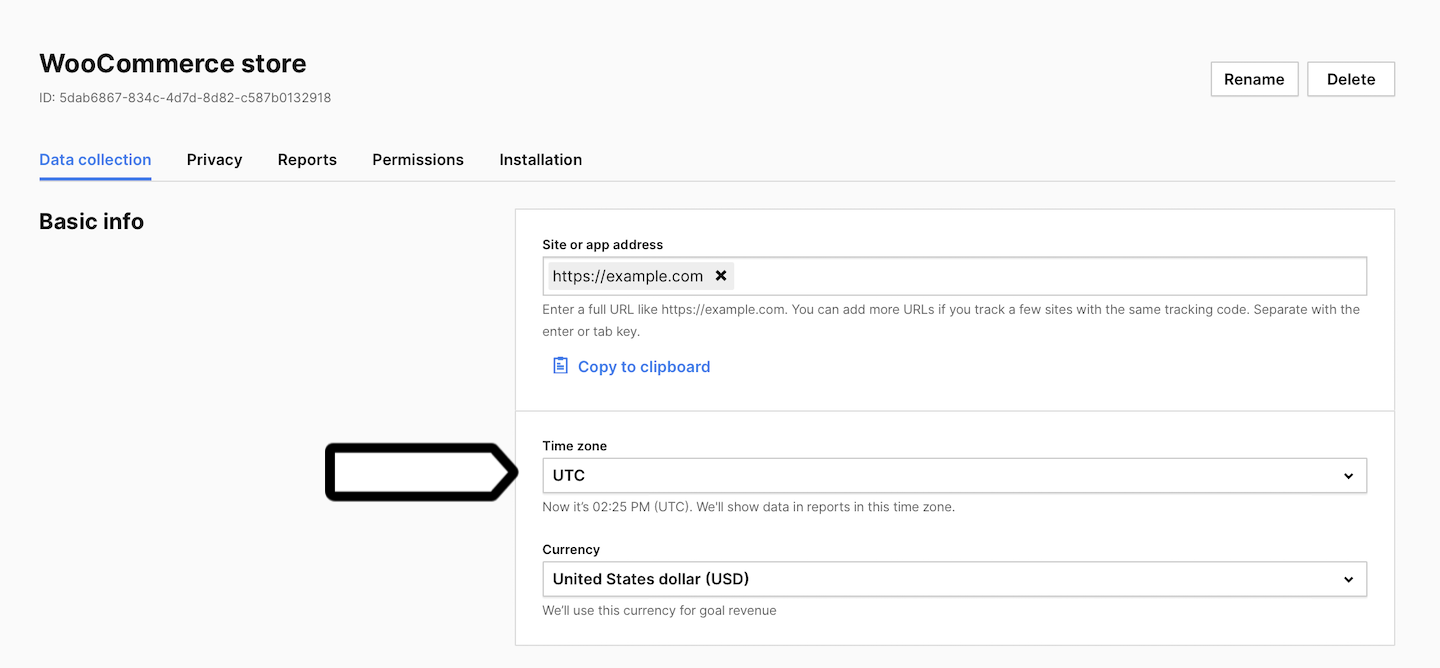
Note: We’ll show data in reports in this time zone. We’ll use this currency for goal revenue.
6. Navigate to Reports.
7. Turn on Show ecommerce reports. They will appear in Menu > Analytics > Ecommerce.
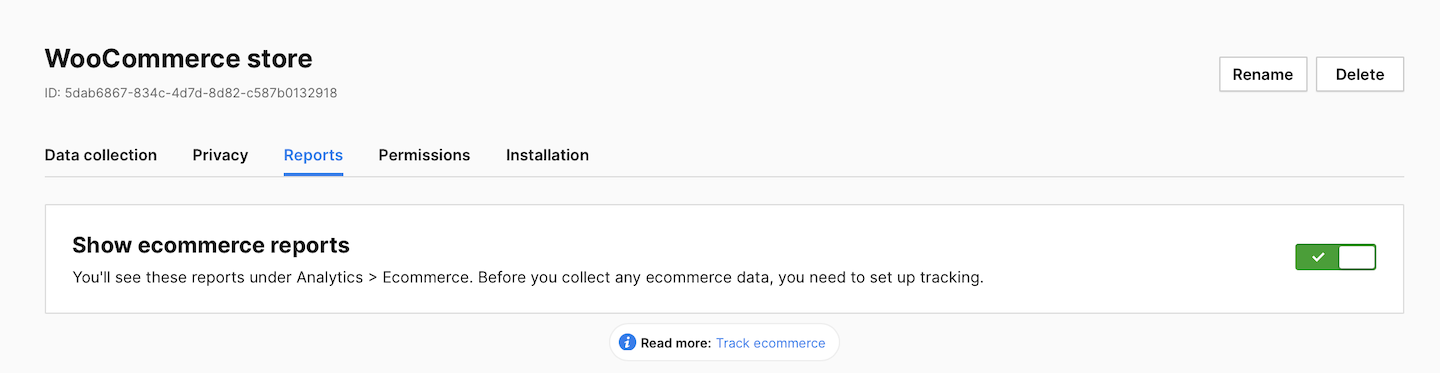
Note: Piwik PRO automatically collects ecommerce data from your WooCommerce store. You don’t need to set it up manually.
Install a container with the WordPress plugin
Note: You need to have an administrator role in WordPress to add and manage plugins.
To install a container (with a tracking code) using our WordPress plugin, follow these steps:
1. In your WordPress admin panel, go to Plugins > New Plugin.
2. Search for Piwik PRO or install the plugin form wordpress.org.
3. Click Install now.
4. Click Activate.
5. Go to Settings > Piwik PRO.
6. Type in the container address (URL).
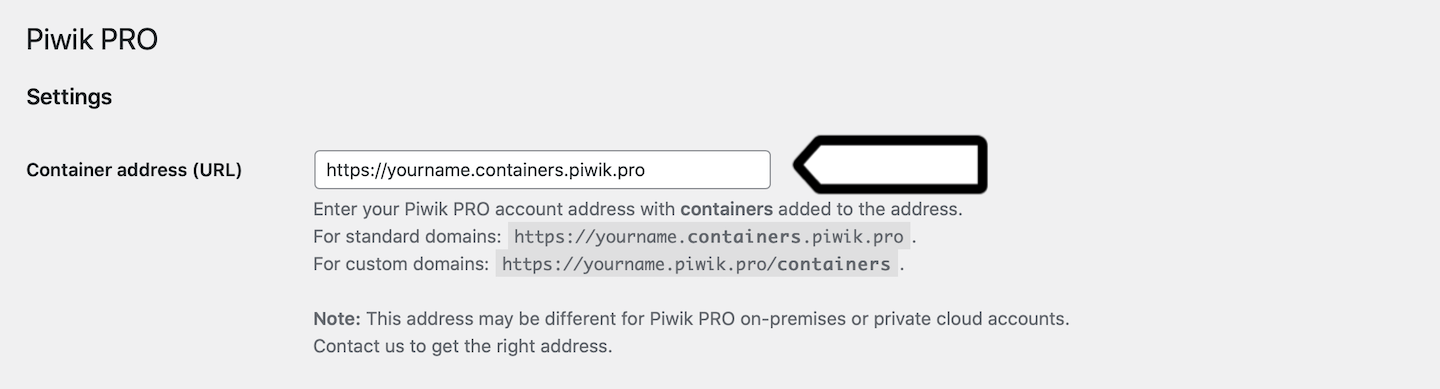
Note: Enter your Piwik PRO account address with containers added to the address.
- For standard domains:
https://yourname.containers.piwik.pro - For custom domains:
https://yourname.piwik.pro/containers
This address may be different for Piwik PRO on-premises or private cloud accounts. Contact us to get the right address.
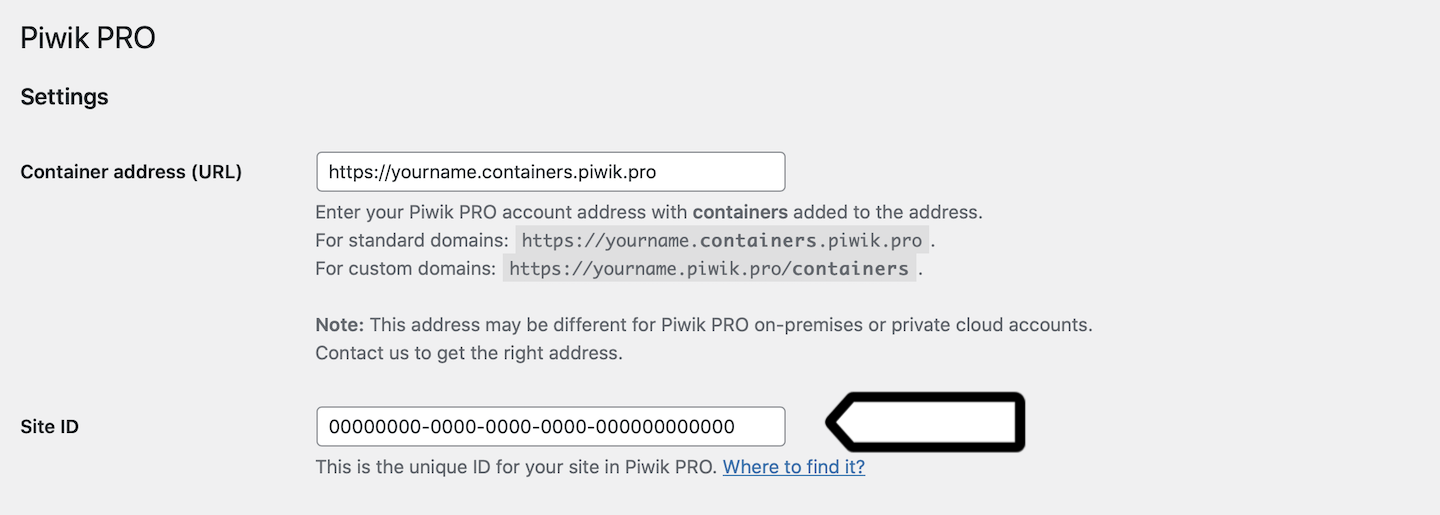
7. Type in your site ID. Where to find it?
8. Leave Basic container (asynch) checked. This container holds your tracking code and is used to handle all tags.
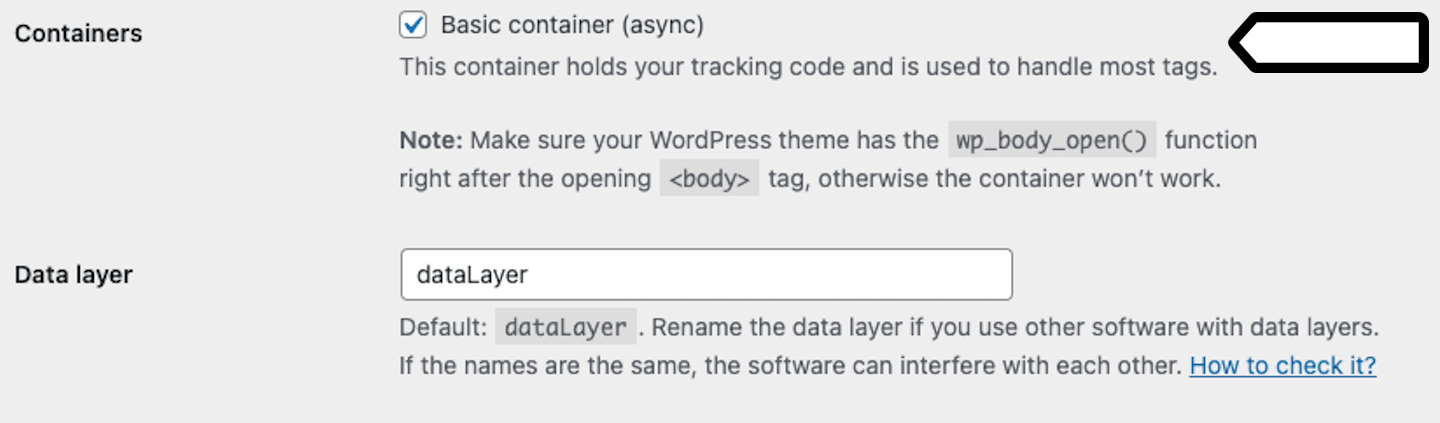
Note: Make sure your WordPress theme has the wp_body_open() function right after the opening <body> tag, otherwise the container won’t work.
9. (Optional) Rename the data layer.
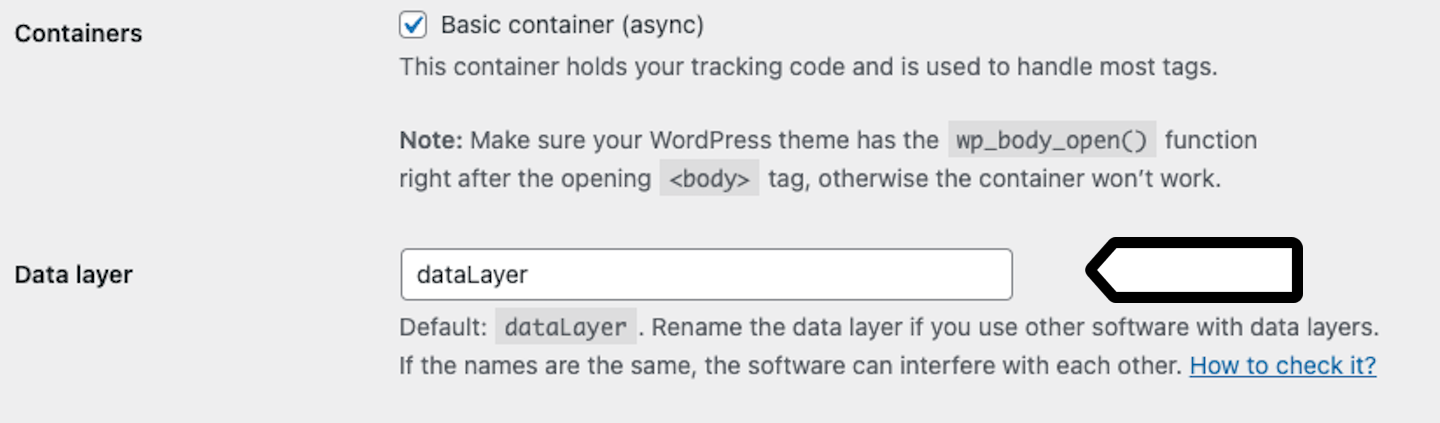
Note: Rename the data layer if you use other software with data layers. If the names are the same, the software can interfere with each other.
To check if your data layer name is not used by other software on your site, follow these steps:
- In the console on your site, run this command:
!window.hasOwnProperty("customDataLayer"); replacingcustomDataLayerwith your custom name. - If this command returns true, then you can safely use your custom name.
10. Click Save changes.
11. All set! Data will appear in reports in about an hour. Data in the tracker debugger will appear instantly.
Tip: You can also check manually to see if your tracking works. Read more
12. We’ll start showing a consent form on your site after you’ve installed your container. Add your privacy policy address to the form or turn off the consent form.
Tip: To change the way your data is collected, you can use the following settings:
Support the Content Security Policy mechanism
The Content Security Policy restricts third-party tools from loading code onto your site and only allows content from approved origins to be fetched. To support the Content Security Policy mechanism when using our WordPress plugin, you need to add a nonce value as an attribute to the containers and scripts that these containers load.
To add a nonce value, follow these steps:
1. Add the following code to the function.php file in your theme:
add_filter( 'piwik_pro_nonce', function() {
    return wp_create_nonce( time() );
} );
Tip: For more, see this article: Content Security Policy.