Note: We’ll no longer offer Consent Manager for new Piwik PRO accounts.
You can edit your forms to give them a new look and feel, pick which forms to show, display thank-you messages to visitors or improve conversions with reminders.
In this article, we’ll show you how to do it all.
Before you start
Here are some things to know about before you begin:
- Only new visitors see the consent form. Returning visitors won’t unless you add or change consent types.
- You display reminders to visitors who haven’t made a decision about consent.
- The consent options on the form match the tags you use. If you have a tag for
analytics, the analytics consent option will be on the form. If you use another tag forremarketing, both analytics and remarketing options will appear on the form. Read more - You can turn on or off consent languages in Consent Manager > Settings. Read more
- You can turn on or off your consent form in Menu > Administration > Sites & apps > Privacy > Ask visitors for consent. Read more
Bottom bar vs. large popup
We have two form types in Piwik PRO: a bottom bar and large popup. Each type can have a default form: Form with a list of consent types and an optional form: Form with one consent type.
Here are some examples:
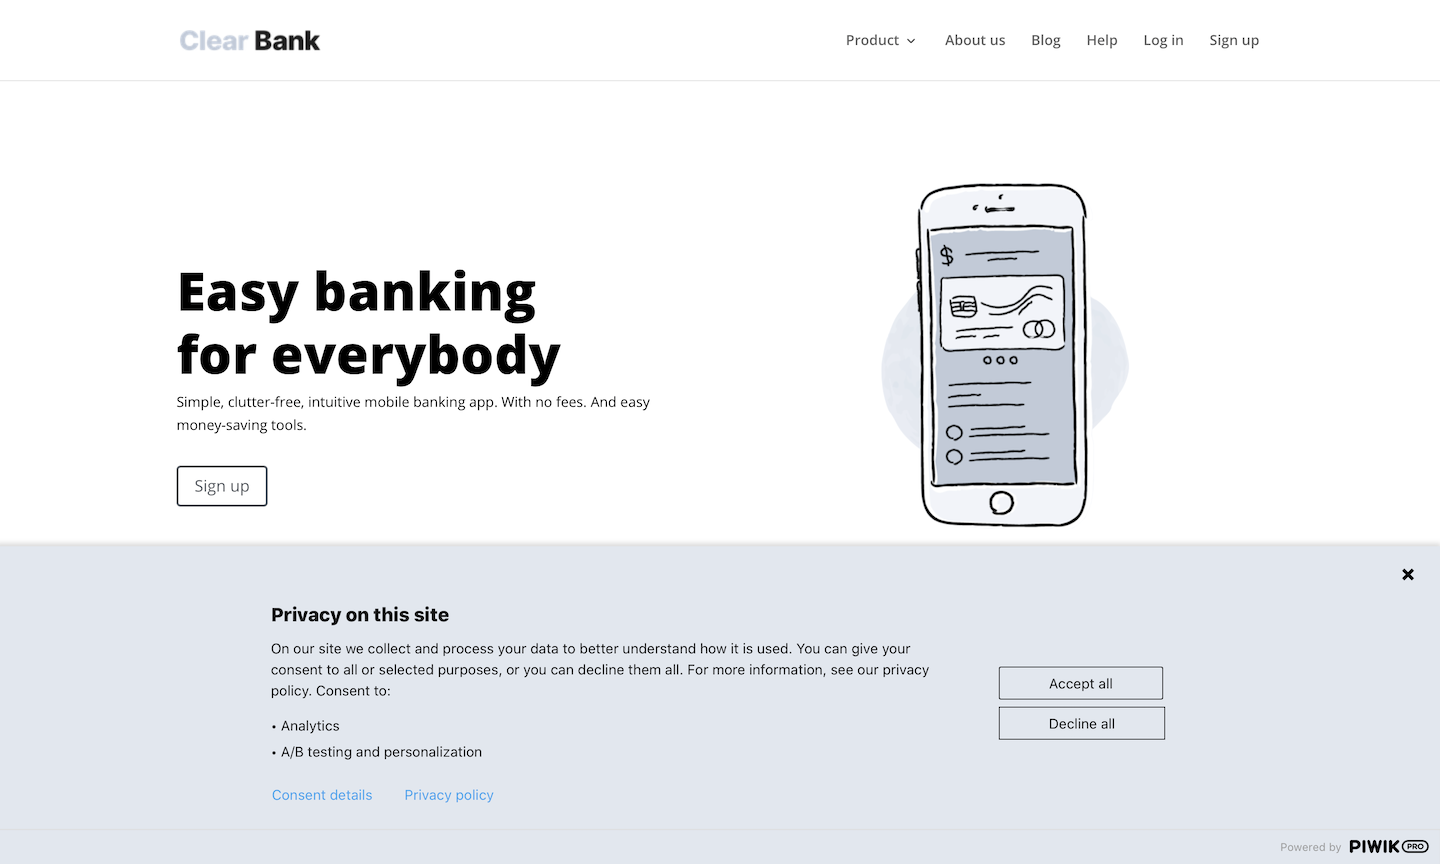
Bottom bar: Form with a list of consent types
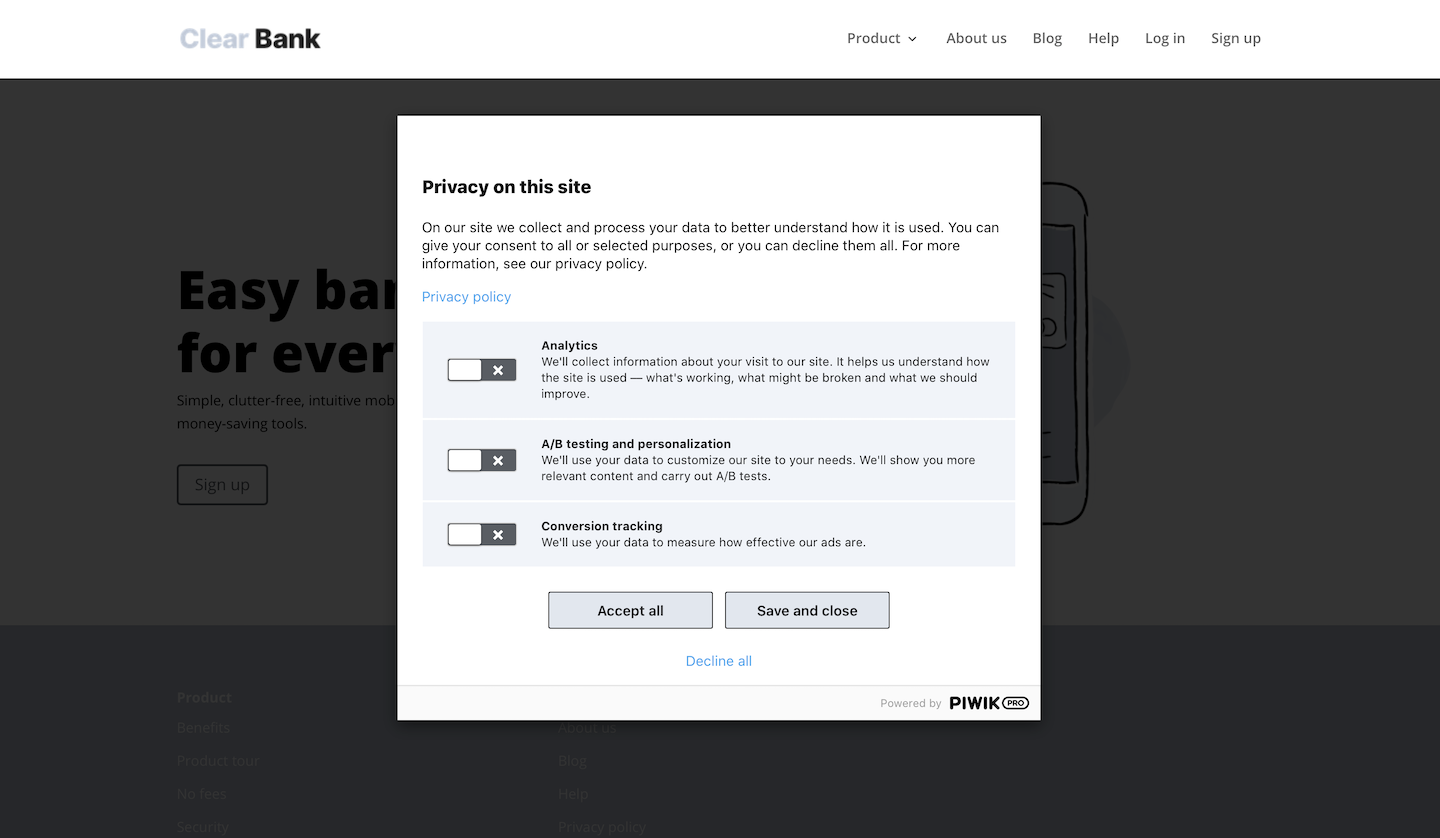
Large popup : Form with a list of consent types
Here’s how they differ:
| Bottom bar | Large popup | |
|---|---|---|
| Where | Bottom of the page | Middle of the page |
| Consent types | Names are always visible. Descriptions and toggles are visible after a visitor clicks for more options. | Names, descriptions and toggles are always visible. |
| Actions visitors can take | Accept all, decline all, see detailed settings, save choices | Accept all, decline all, save choices |
| Privacy policy | Link to privacy policy | Link to privacy policy |
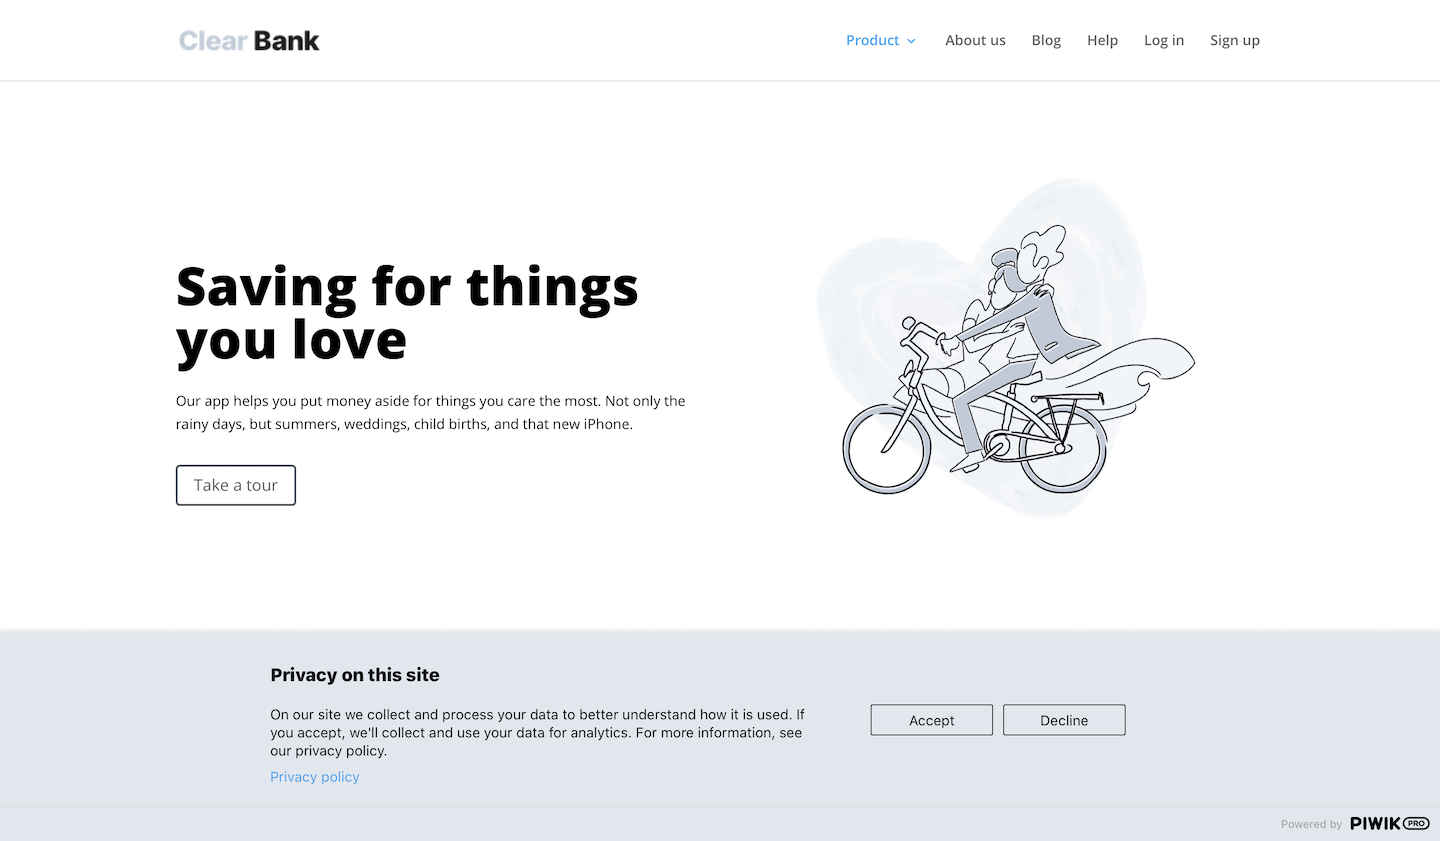
And here’s an optional form that you can turn on if you’re using just one consent type:
Bottom bar: Form with one consent type
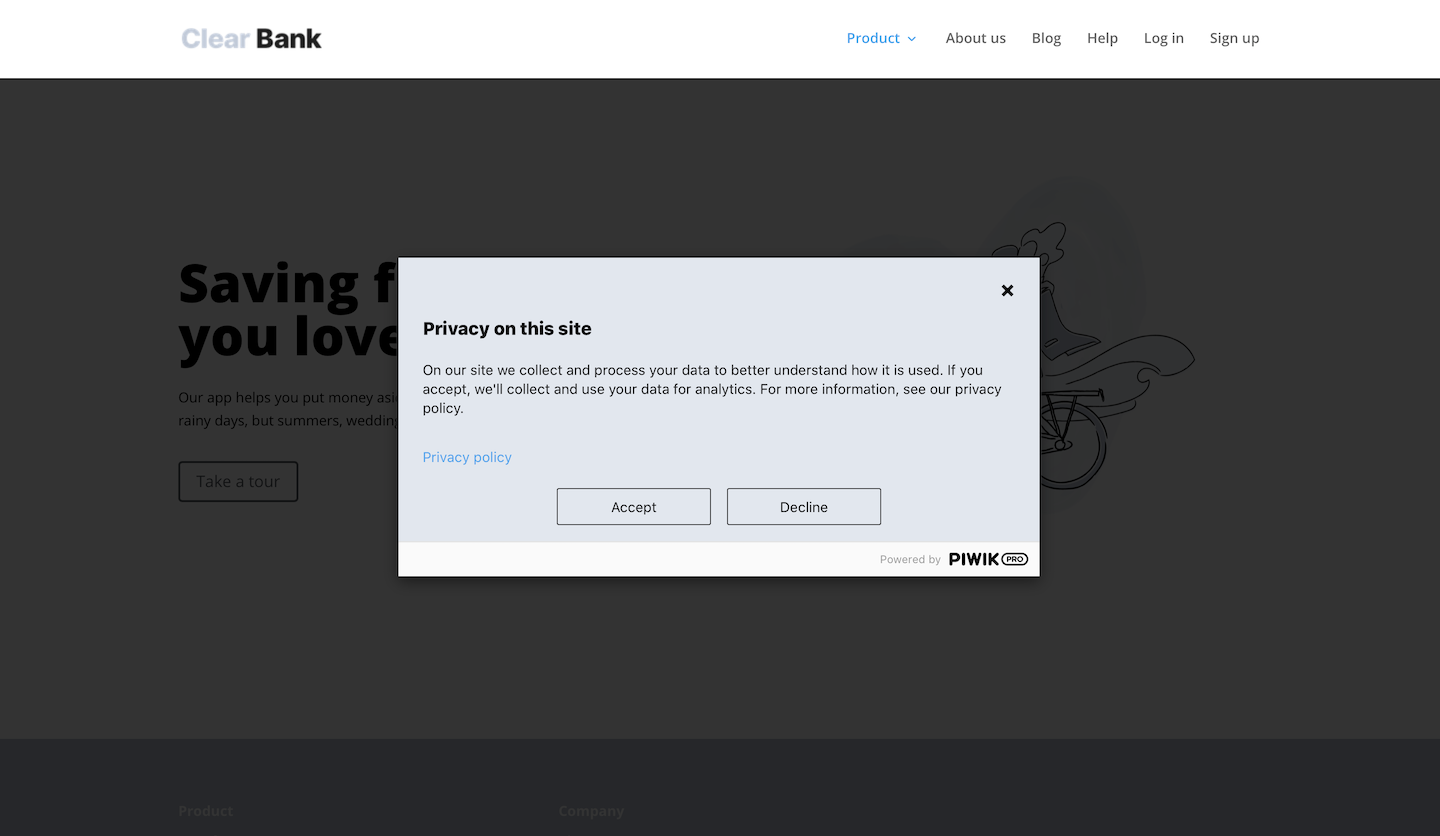
Large popup: Form with one consent type
Here’s how they differ:
| Bottom bar | Large popup | |
|---|---|---|
| Where | Bottom of the page | Middle of the page |
| Consent types | One consent type | One consent type |
| Actions visitors can take | Accept, decline | Accept, decline |
| Privacy policy | Link to privacy policy | Link to privacy policy |
Note: When this form is turned on: (1) If you use only one consent type for your tags, visitors will see this form. (2) If you use many consent types, visitors will see the default form (Form with a list of consent types). However, if you add a tag with a consent type that visitors haven’t agreed to yet and assign it to this form, returning visitors will see this form.
Edit a bottom bar or large popup
To edit and set up consent forms, follow these steps:Available from version 16.0.0. For versions below 16.0.0, go to Menu > Consent Manager > Consent templates.
1. Go to Menu > Consent Manager.
2. Pick the site/app name from the picker in the upper right corner.
3. Navigate to Forms > Consent forms.
4. Select the language in which you want to edit your form.
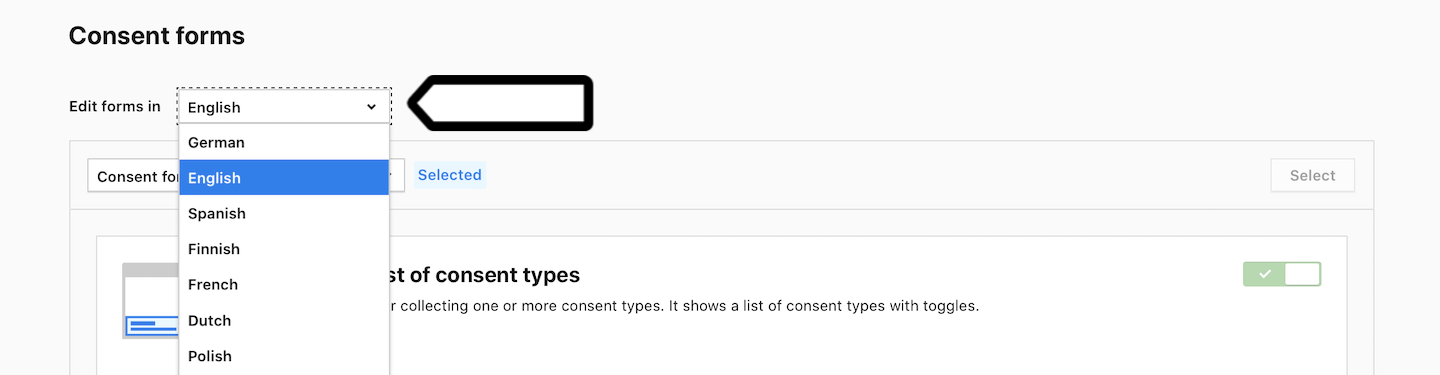
Note: You can add a language in Menu > Consent Manager > Settings > Languages. Read more
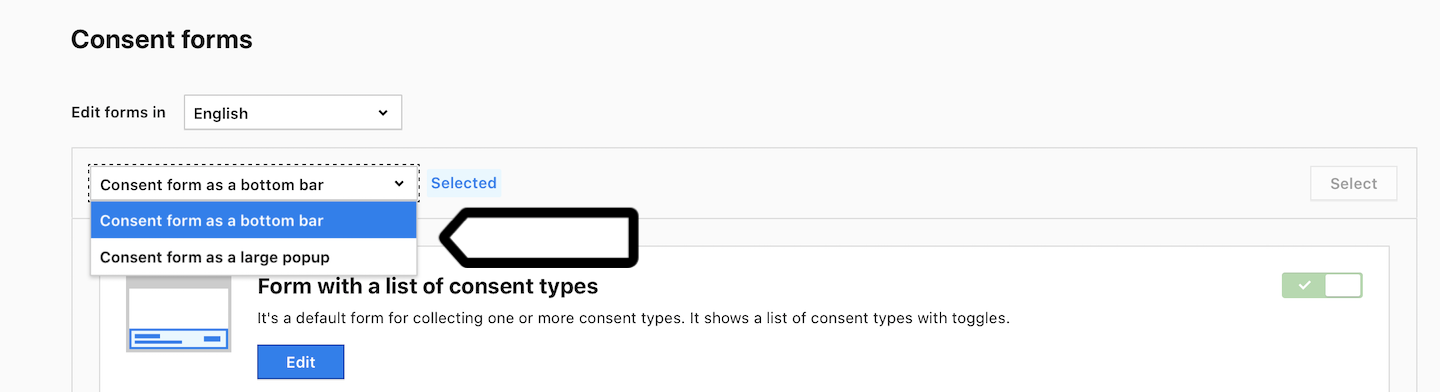
5. Choose the form type: bottom bar or large popup.
6. Click Edit to edit the form.
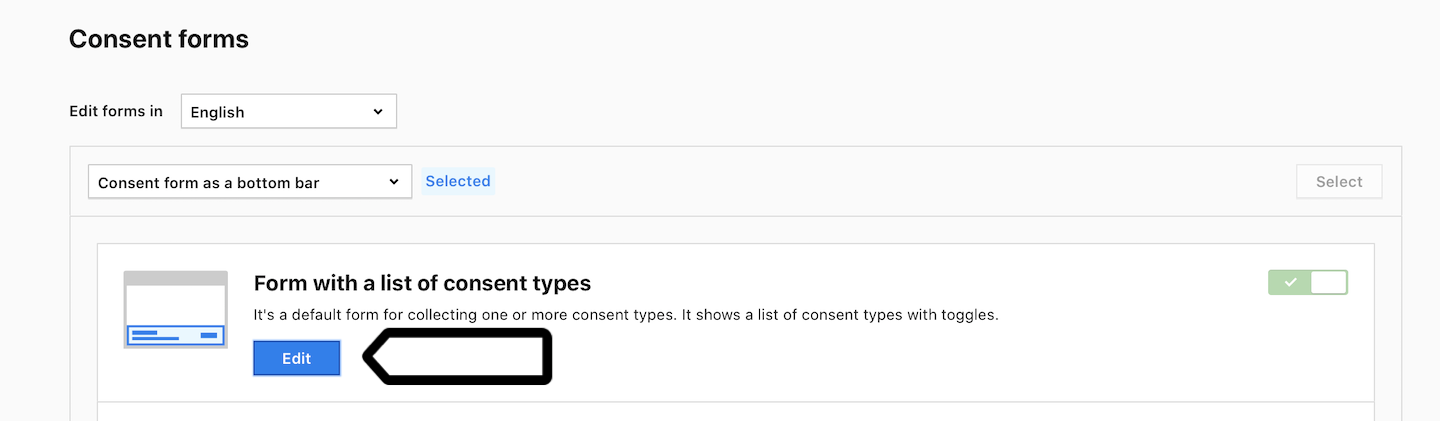
7. Edit your form in the editor.
Note: The consent options on the form match the tags you use. If you have a tag for analytics, the analytics consent option will be on the form. If you use another tag for remarketing, both analytics and remarketing options will appear on the form. Read more
8. When you’re done, click Save.
9. You can edit other forms in the same way.
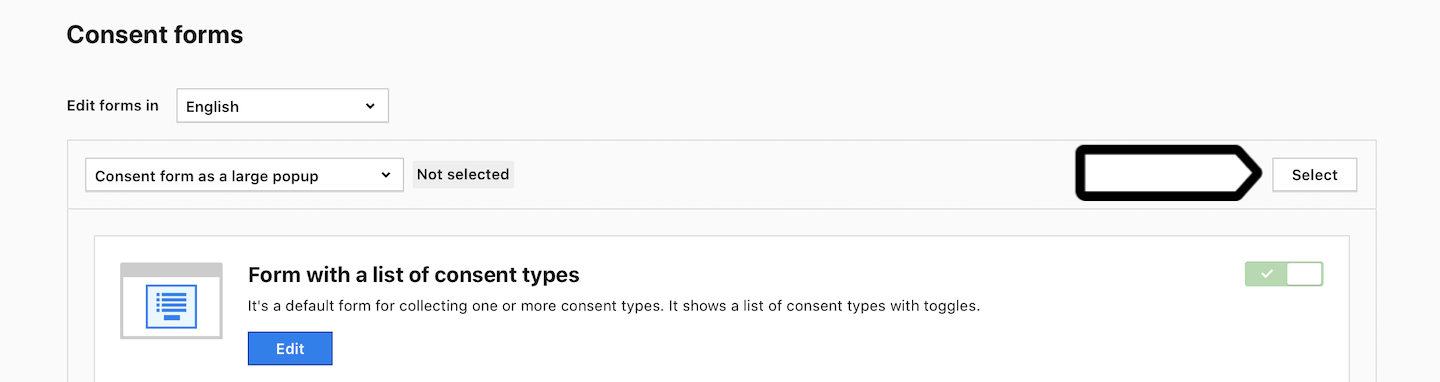
10. Click Select if the form type is Not selected.
11. (Optional) Select Form with one consent type.
12. Select the consent type for this form. In most cases, this will be analytics.
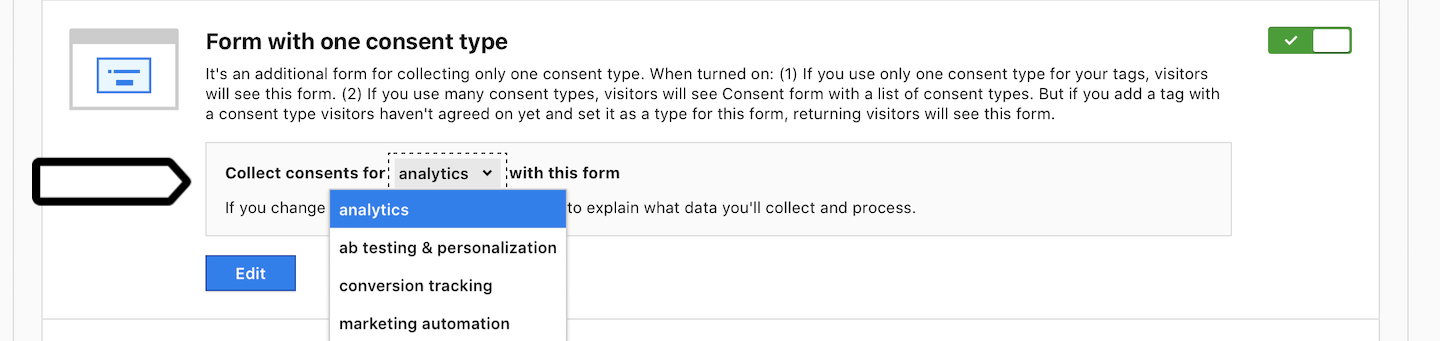
Note: It’s an additional form for collecting only one consent type. When turned on: (1) If you use only one consent type for your tags, visitors will see this form. (2) If you use many consent types, visitors will see the default form (Form with a list of consent types). However, if you add a tag with a consent type that visitors haven’t agreed to yet and assign it to this form, returning visitors will see this form.
13. (Optional) Select Success message and thank the visitors who submitted the form.

Note: No success message is displayed when a visitor closes the form.
14. All set!
Note: To make your consent form appear on your site, turn it on in Administration > Choose your site > Privacy > Ask visitors for consent. Read more
Consent reminder
You can also turn on a consent reminder that will be displayed to visitors who haven’t yet made a consent decision.
To turn on a consent reminder, follow these steps:Available from version 16.0.0. For versions below 16.0.0, go to Menu > Consent Manager > Consent templates.
1. Go to Menu > Consent Manager.
2. Pick the site/app name from the picker in the upper right corner.
3. Navigate to Forms > Consent forms.
4. Scroll down until you see Reminder.
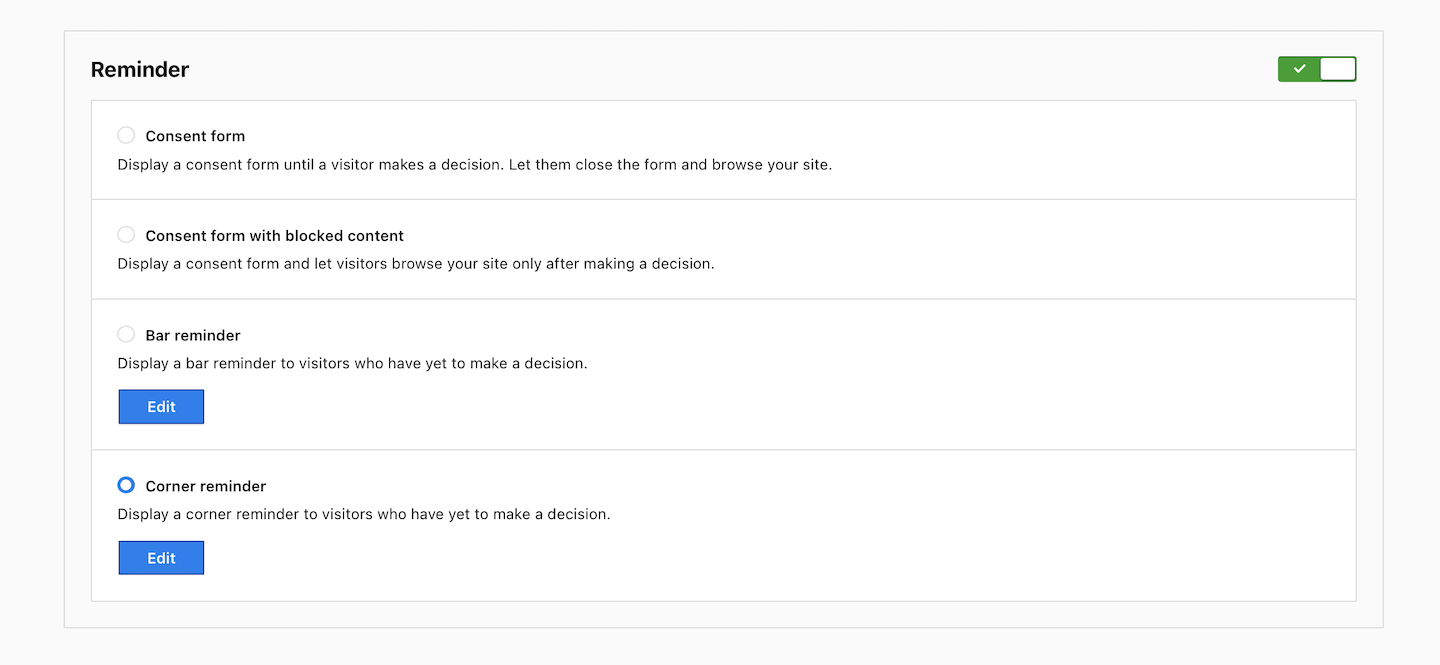
5. Turn on Reminder.
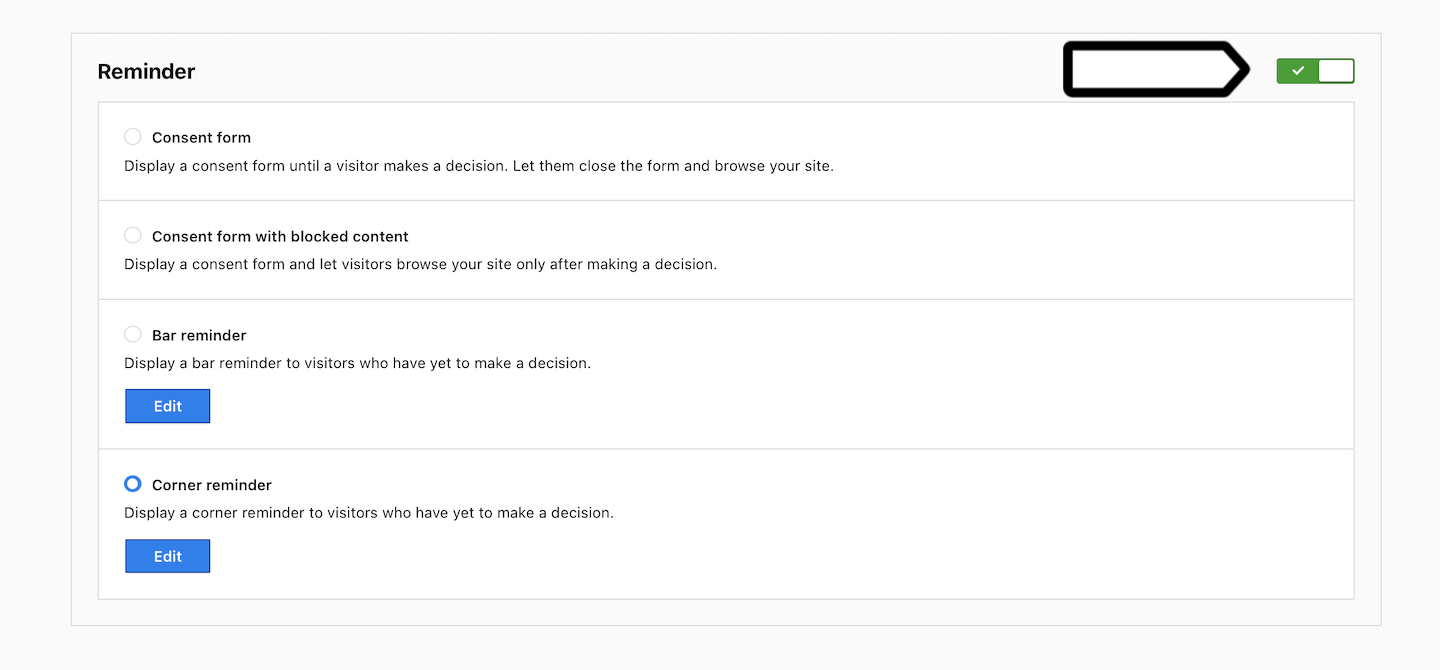
6. Select one of the following types of reminders:
Available from 16.17.0Consent form: Display a consent form until a visitor makes a decision. Let them close the form and browse your site.Available from 16.17.0Consent form with blocked content: Display a consent form and let visitors browse your site only after making a decision.- Bar reminder: Display a bar reminder to visitors who have yet to make a decision.
- Corner reminder: Display a corner reminder to visitors who have yet to make a decision.
7. Voila!