In chapter 2, we explained that tags are pieces of code that can do different things. Well, they can do almost anything. There is an infinite number of tags that can be used, so we can’t review them all. But in this chapter, we’ll show you a common custom event tag.
A custom event tag is used for collecting event data for Analytics. By default, Analytics collects lots of events like page views, outlinks or downloads. But sometimes you may want to record additional events like button clicks, form submissions or page scrolling. This is when you reach for a custom event tag.
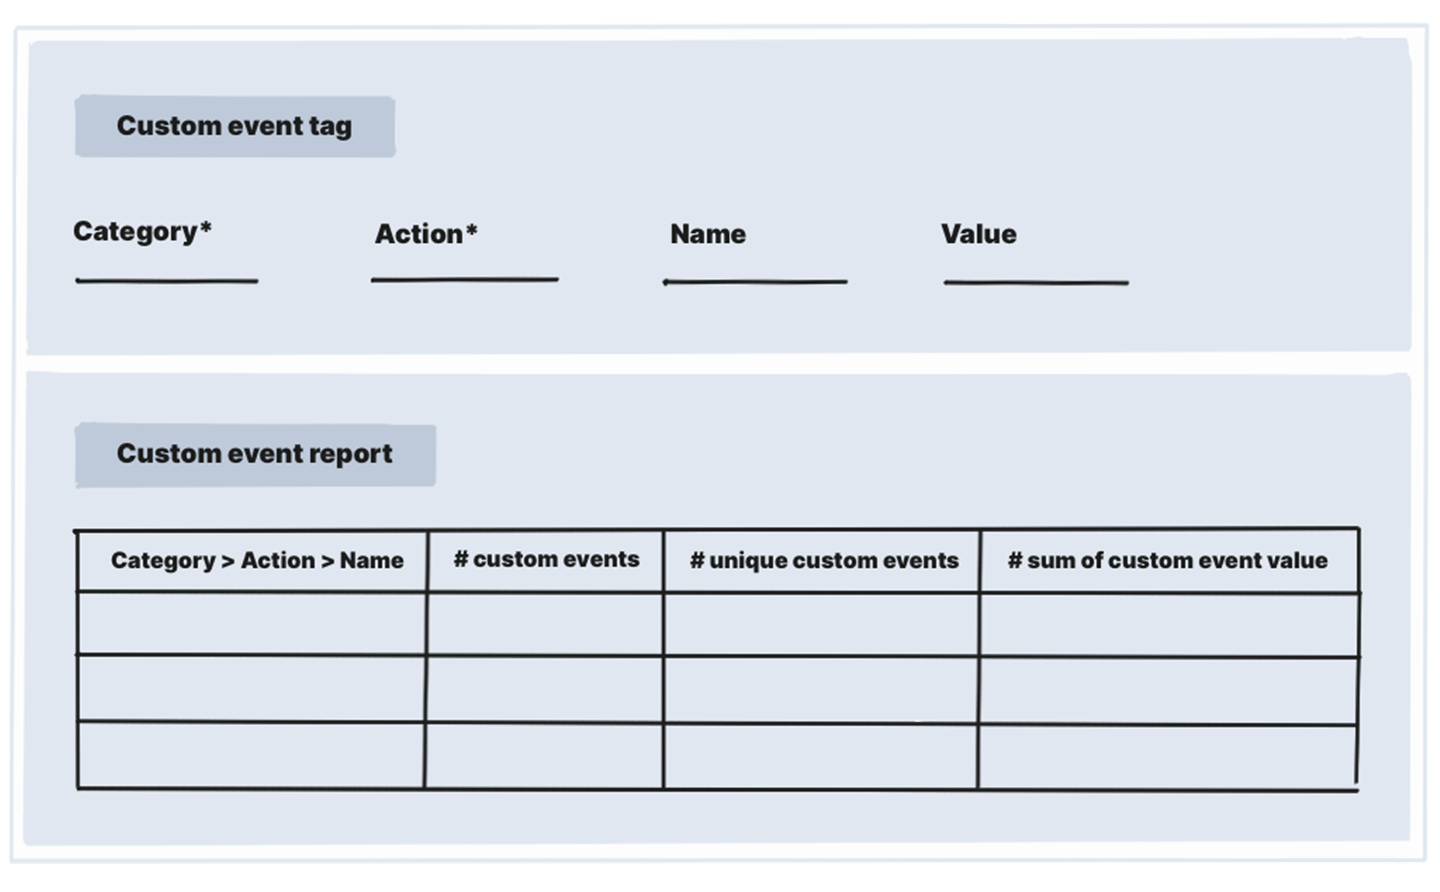
A custom event tag records an event after being triggered and passes event information to Analytics. That information comes in a structure consisting of:
- Category (required)
- Action (required)
- Name (optional)
- Value (optional)
Let’s try to create a custom event tag that will collect data about clicks on a sign-up button.
To create a custom event tag, follow these steps:
1. Go to Menu > Tag Manager.
2. Navigate to Tags.
3. Click Add a tag.
4. Select the following tag template: Custom event.
5. Click Next.
6. Name the tag.
7. Now we need to set up how the information about our event will be passed. We’ll do it this way:
- Category: Button
- Action: Read more
- Name: {{ Page Path }}
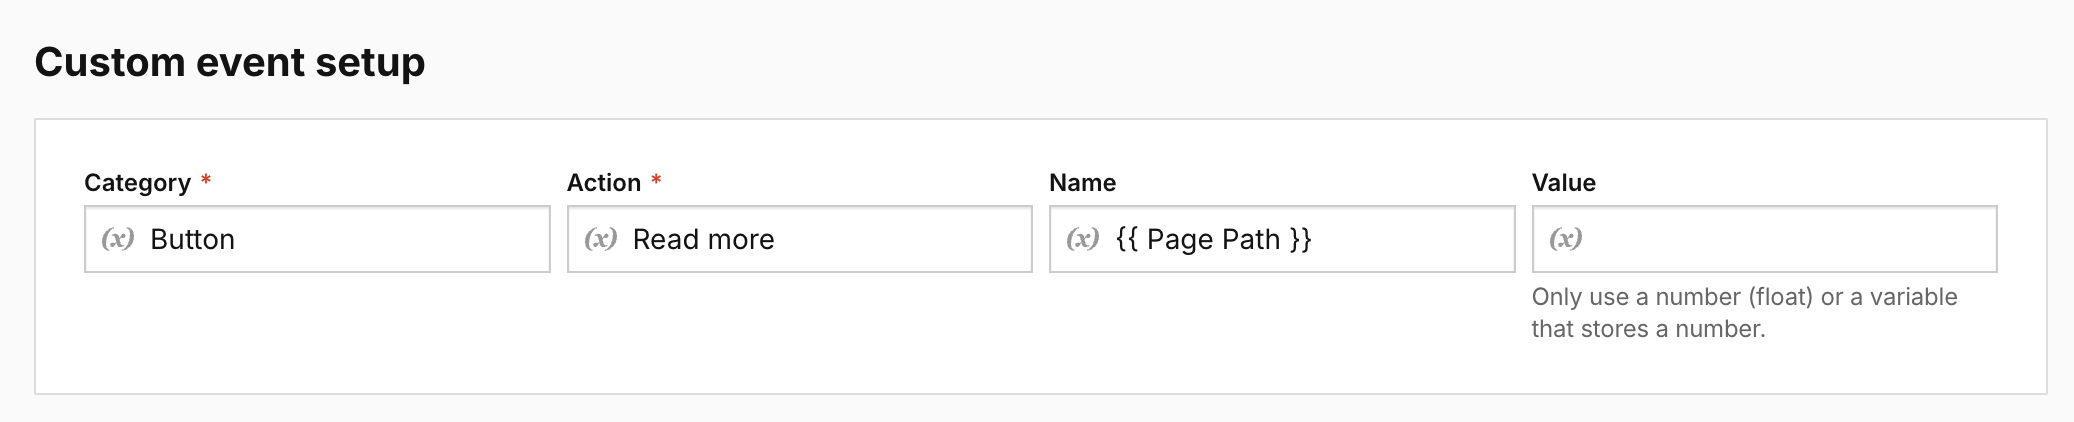
Tip: We use a built-in variable {{ Page Path }} that holds information about the page path of the page URL on which the event occurred. It’ll show us where the sign-up button was clicked.
8. In Advanced tag settings, choose Consent type. Set it up if you use a consent form on your site. This tag will fire only for visitors who accept the selected consent type.
9. In Tag triggers, click Add a trigger.
10. Select the following trigger: Click.
Note: A click trigger fires a tag on all clicks by default, but you can use conditions to define a certain click as a trigger.
11. Click Next.
12. Name the trigger.
13. In Event conditions, choose When conditions are met.
14. We’ll set the following conditions:
- Click Element equals xpath that we copied from the website. In our case it’s
a/html/body/section/div/div/div/article/section/
div/section/section[1]/div[1]/div/div/div/div[3]/div[2]/div/div/div[2]/a - Page URL equals
https://piwikpro.com/clearbank/
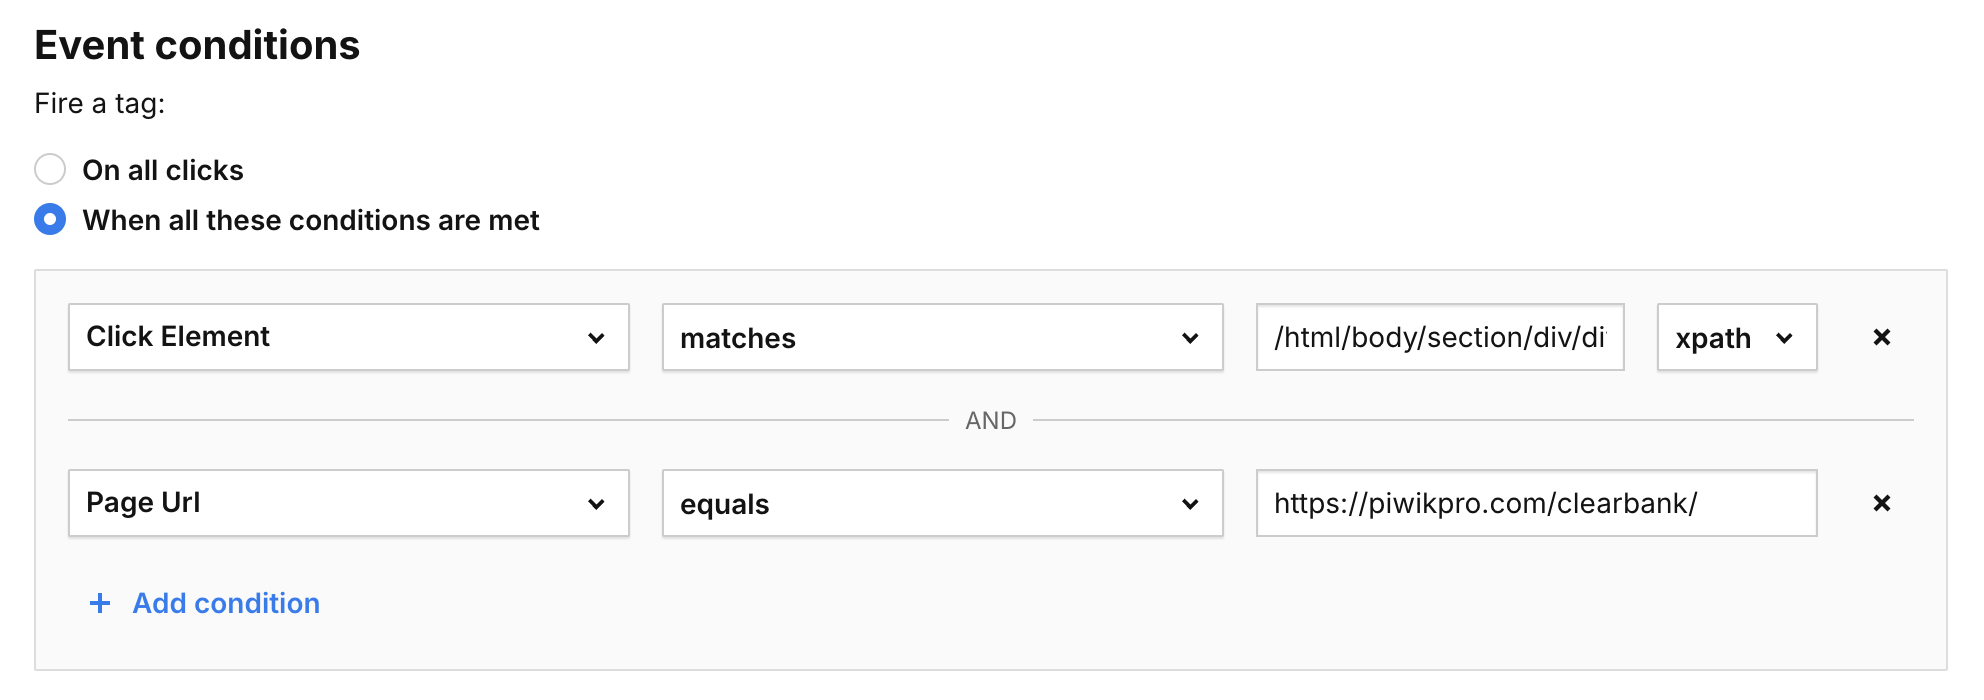
Note: We use a click element to define the clicked element and add a condition checking that the click occurs on our home page.
This setup is unique for our site, and yours can be different. For more on how to find click classes and track buttons, see our guide.
15. Click Add for the trigger.
16. Click Add for the tag.
17. Choose the site/app you want to work with. Use the site/app picker in the upper right corner.
18. Go to Debug mode.

19. In Your site address, type in or select your site or app address.
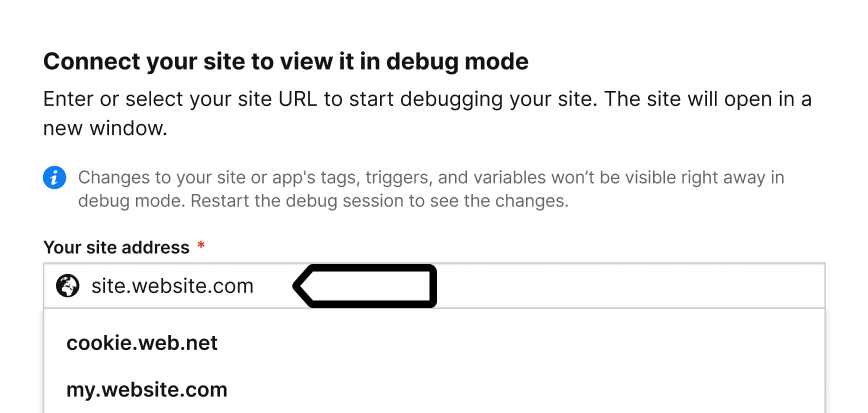
Note: The available sites depend on those you’ve added to your account in
Administration > Sites & apps > Your specific site > Data collection > Site or app address.
20. Click Connect.
21. Once your site is connected, it will open in a new tab.
Note: If you have any trouble connecting, check that:
- The installation code on the website you’re connecting to matches the site or app in the site/app picker in the upper right corner.
- Your browser allows popups. Some browsers, such as Safari, block them by default.
- The necessary code is installed on your site.
- Your site address is correct and you’re connecting to the correct URL.
- Ad-blocking extensions are temporarily disabled.
22. Turn on Prevent page reload. This will stop the page from refreshing when you click elements that would normally trigger a reload.
Tip: This option is useful for testing form submissions and link clicks.
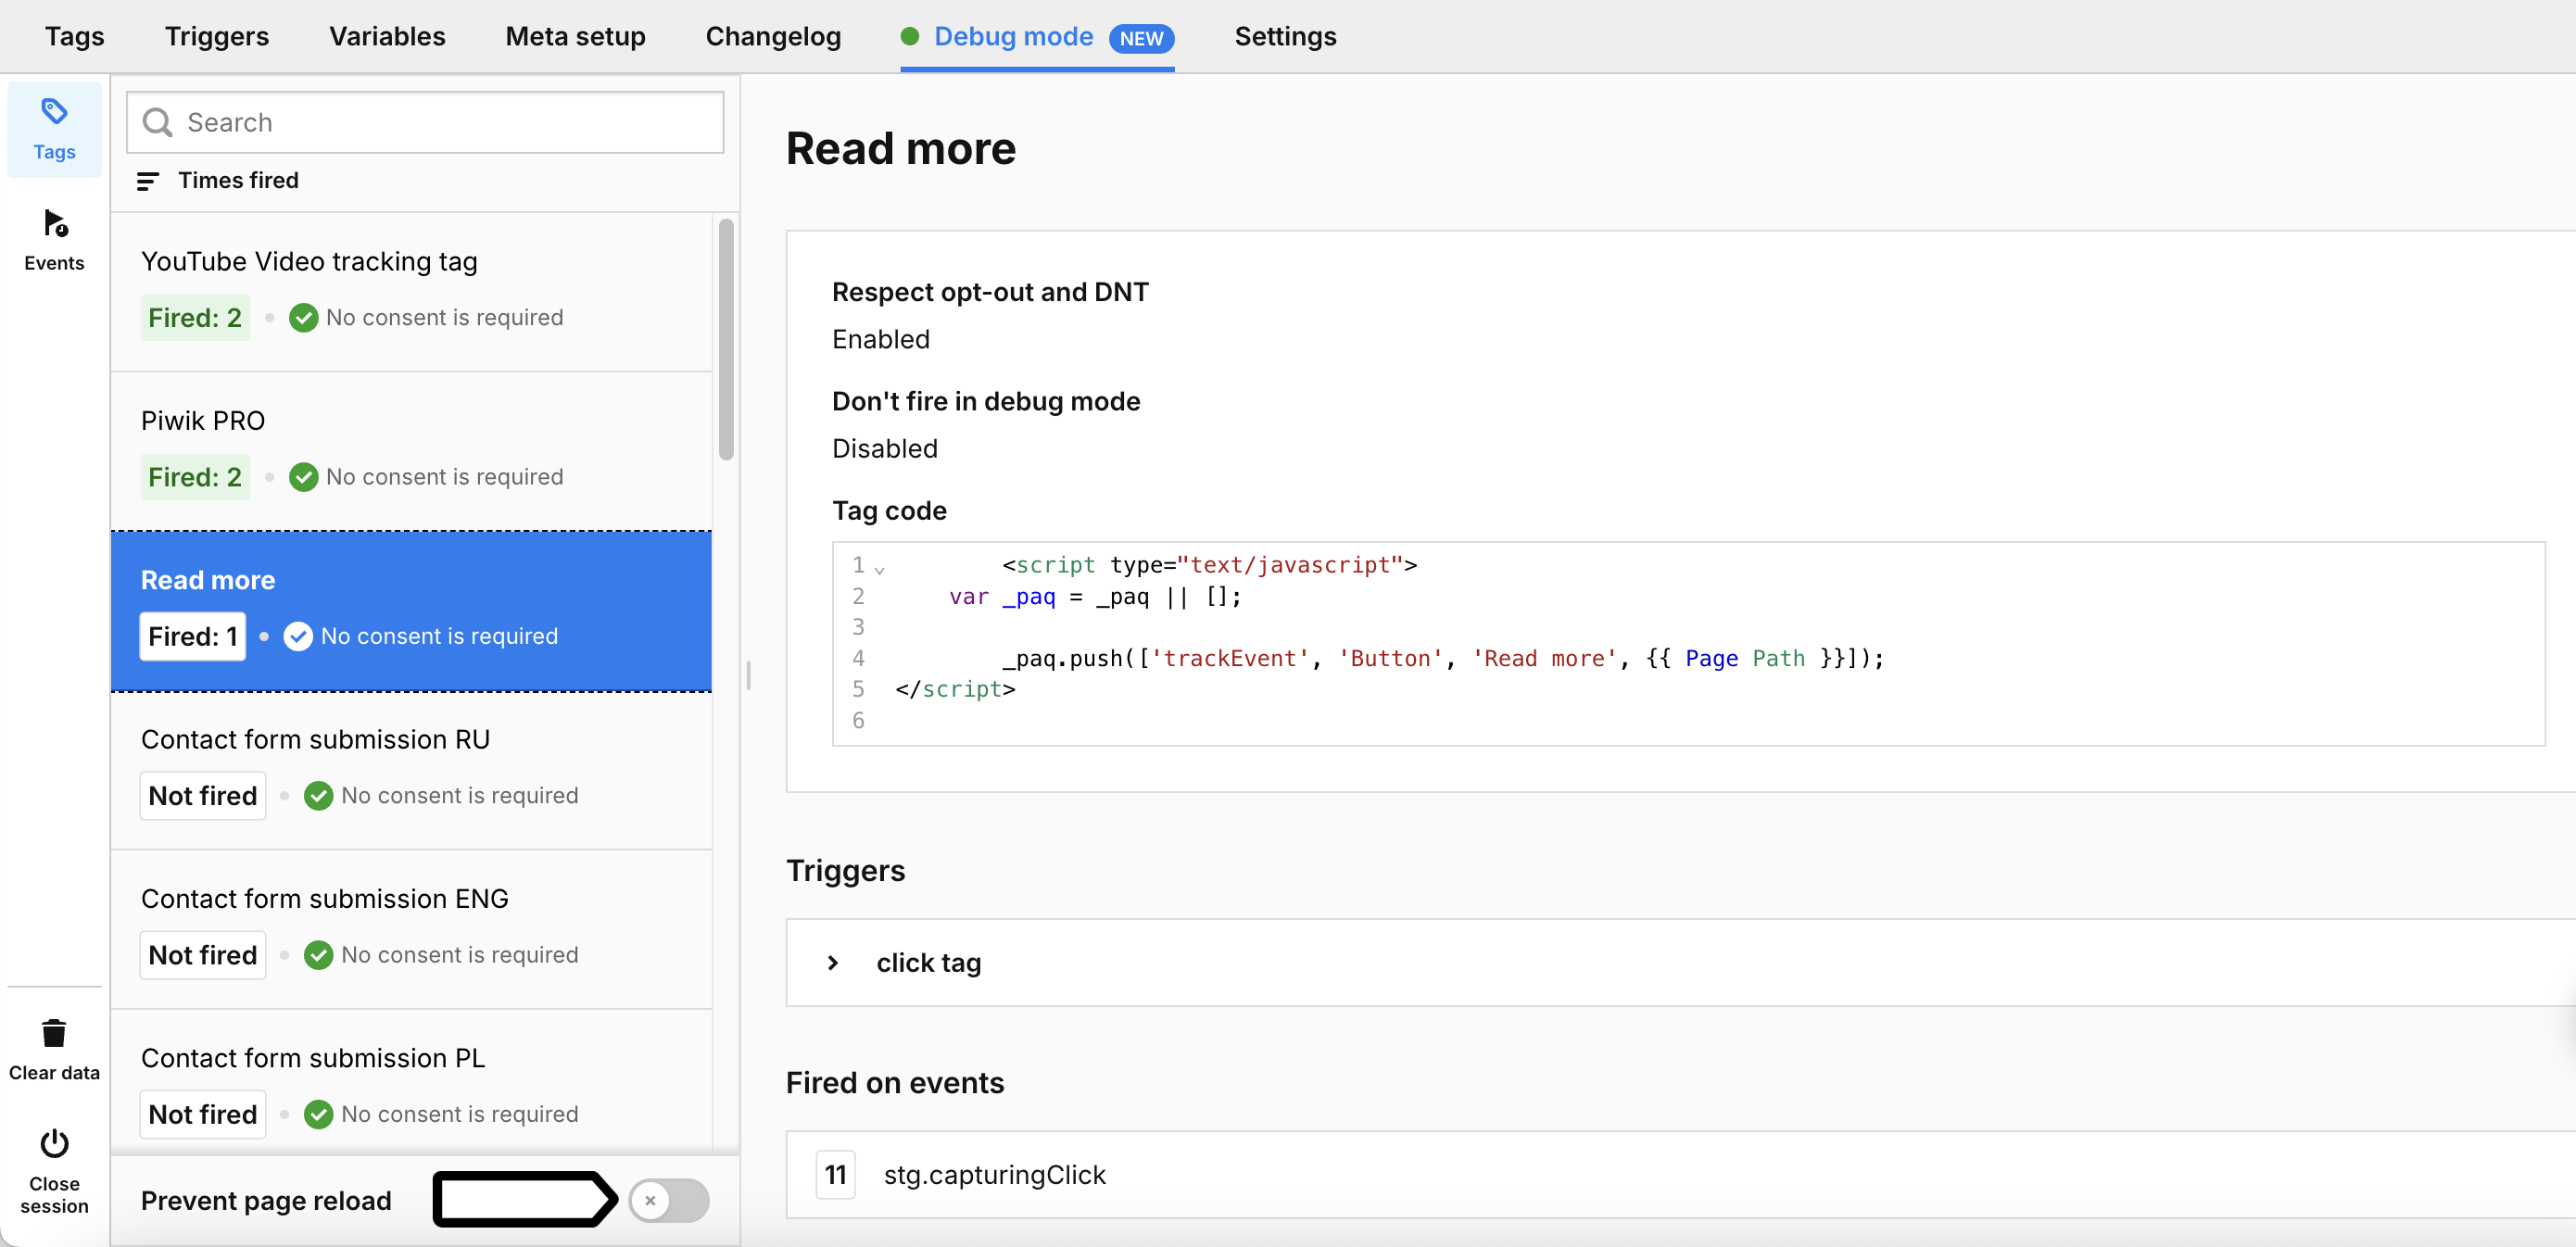
23. Now, we’ll scroll the entire page and check if our custom event tag was fired.
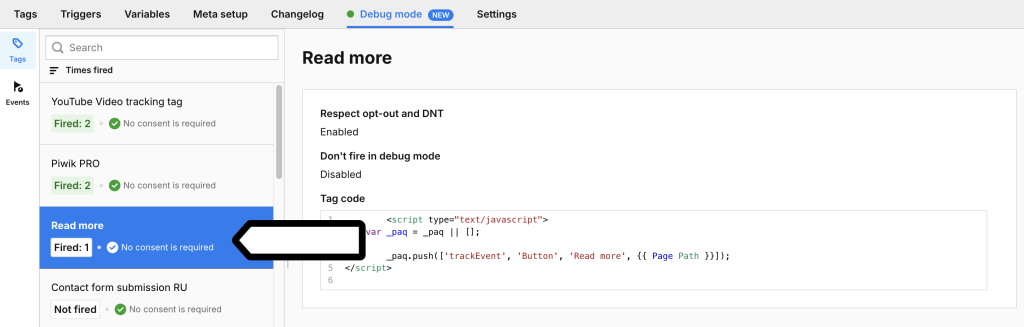
24. Click on your custom event tag to see tag details.
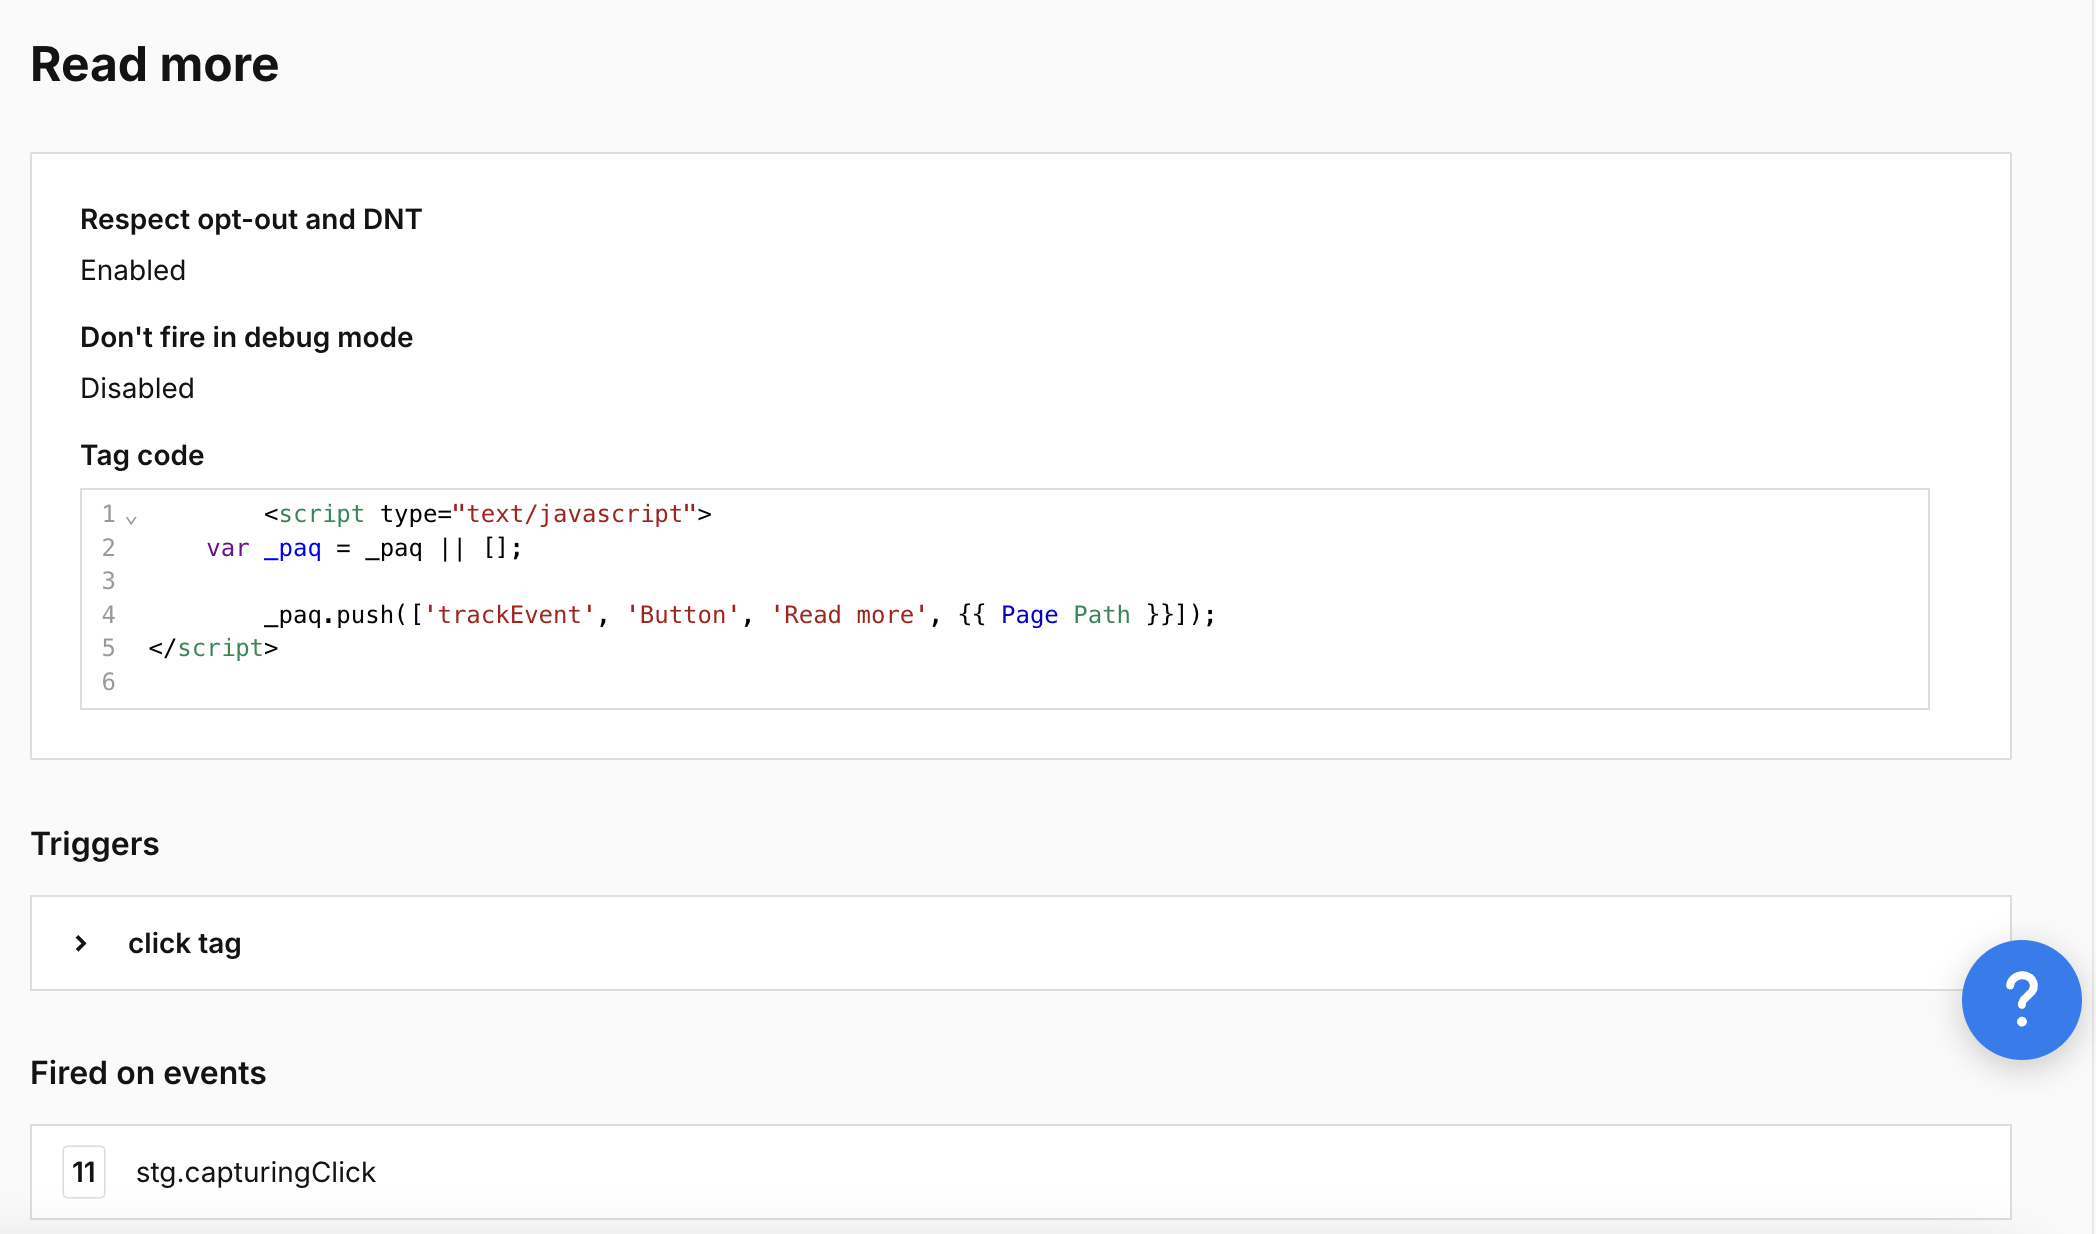
25. In the detailed view, you’ll see the full code that is responsible for collecting this custom event:
        <script type="text/javascript">
    var _paq = _paq || [];

        _paq.push(['trackEvent', 'Button', 'Read more', {{ Page Path }}]);
</script>
Tip: You can use a similar code in a custom code tag. But generally it’s easier to use a custom event tag to track events.
26. When you’re happy with how the tag works, click Publish.
27. You can quickly check if data is being collected correctly by going to Menu > Analytics > Settings > Tracker debugger.
Note: Data in the tracker debugger appears instantly. Data in reports appears in about 30 minutes.
28. Now your data is collected, and you can see it under Menu > Analytics > Reports > Custom events.
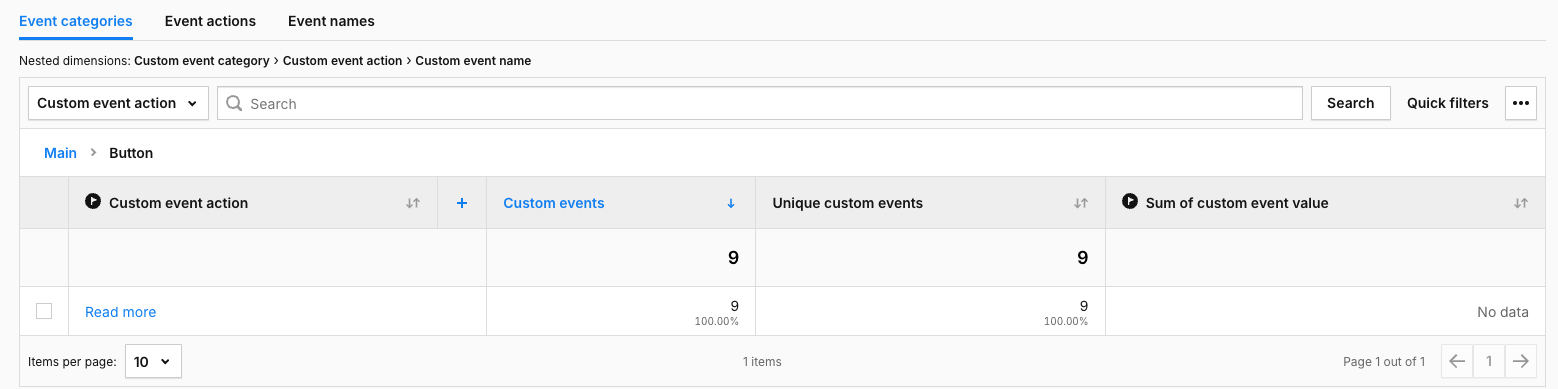
22. You can also see custom events under Analytics > Reports > Session log.

Tip: See our guide for advanced analytics for more examples of using a custom event tag.
For developers: You can set up custom events manually by modifying the tracking code.