To show you how tags work, we’ll start with adding a simple custom code tag. It’s a tag that can contain any code and do anything you tell it to do. In our example, we’ll use a script that displays a popup on a page:
<script>
    alert('Hello, world!');
</script>
We’ll experiment with this tag but won’t publish it. So no worries, this popup won’t go live on your site or app.
To add a custom code tag, follow these steps:
1. Go to Menu > Tag Manager.
2. Navigate to Tags.
3. Click Add a tag.
4. Choose the following tag type: Custom code and click Next.
5. Name the tag. For example, (alert) Hello, world!.
6. In a code editor, we can add any JavaScript code we want. So here we’ll add our popup code:
<script>
    alert('Hello, world!');
</script>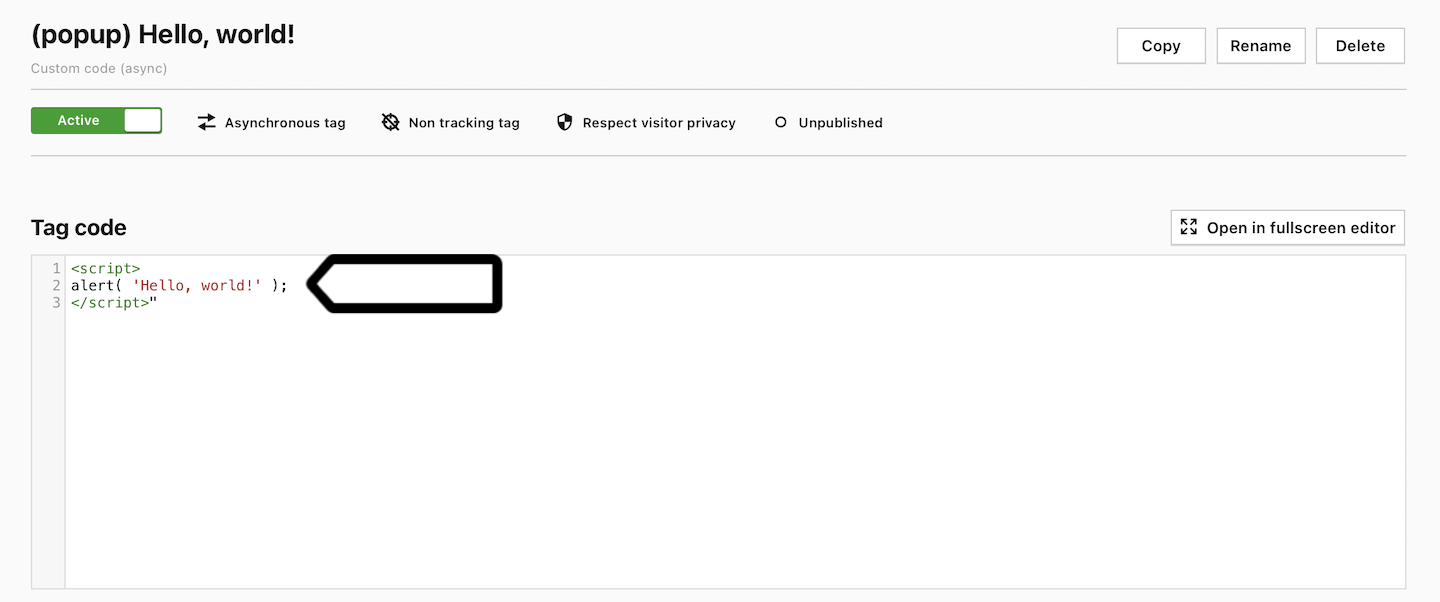
Tip: In Piwik PRO, built-in tags have the main tag setup at the top. The setup varies from tag to tag. But they also have some additional setup that is the same in each tag, like consent settings, flight dates and attached triggers.
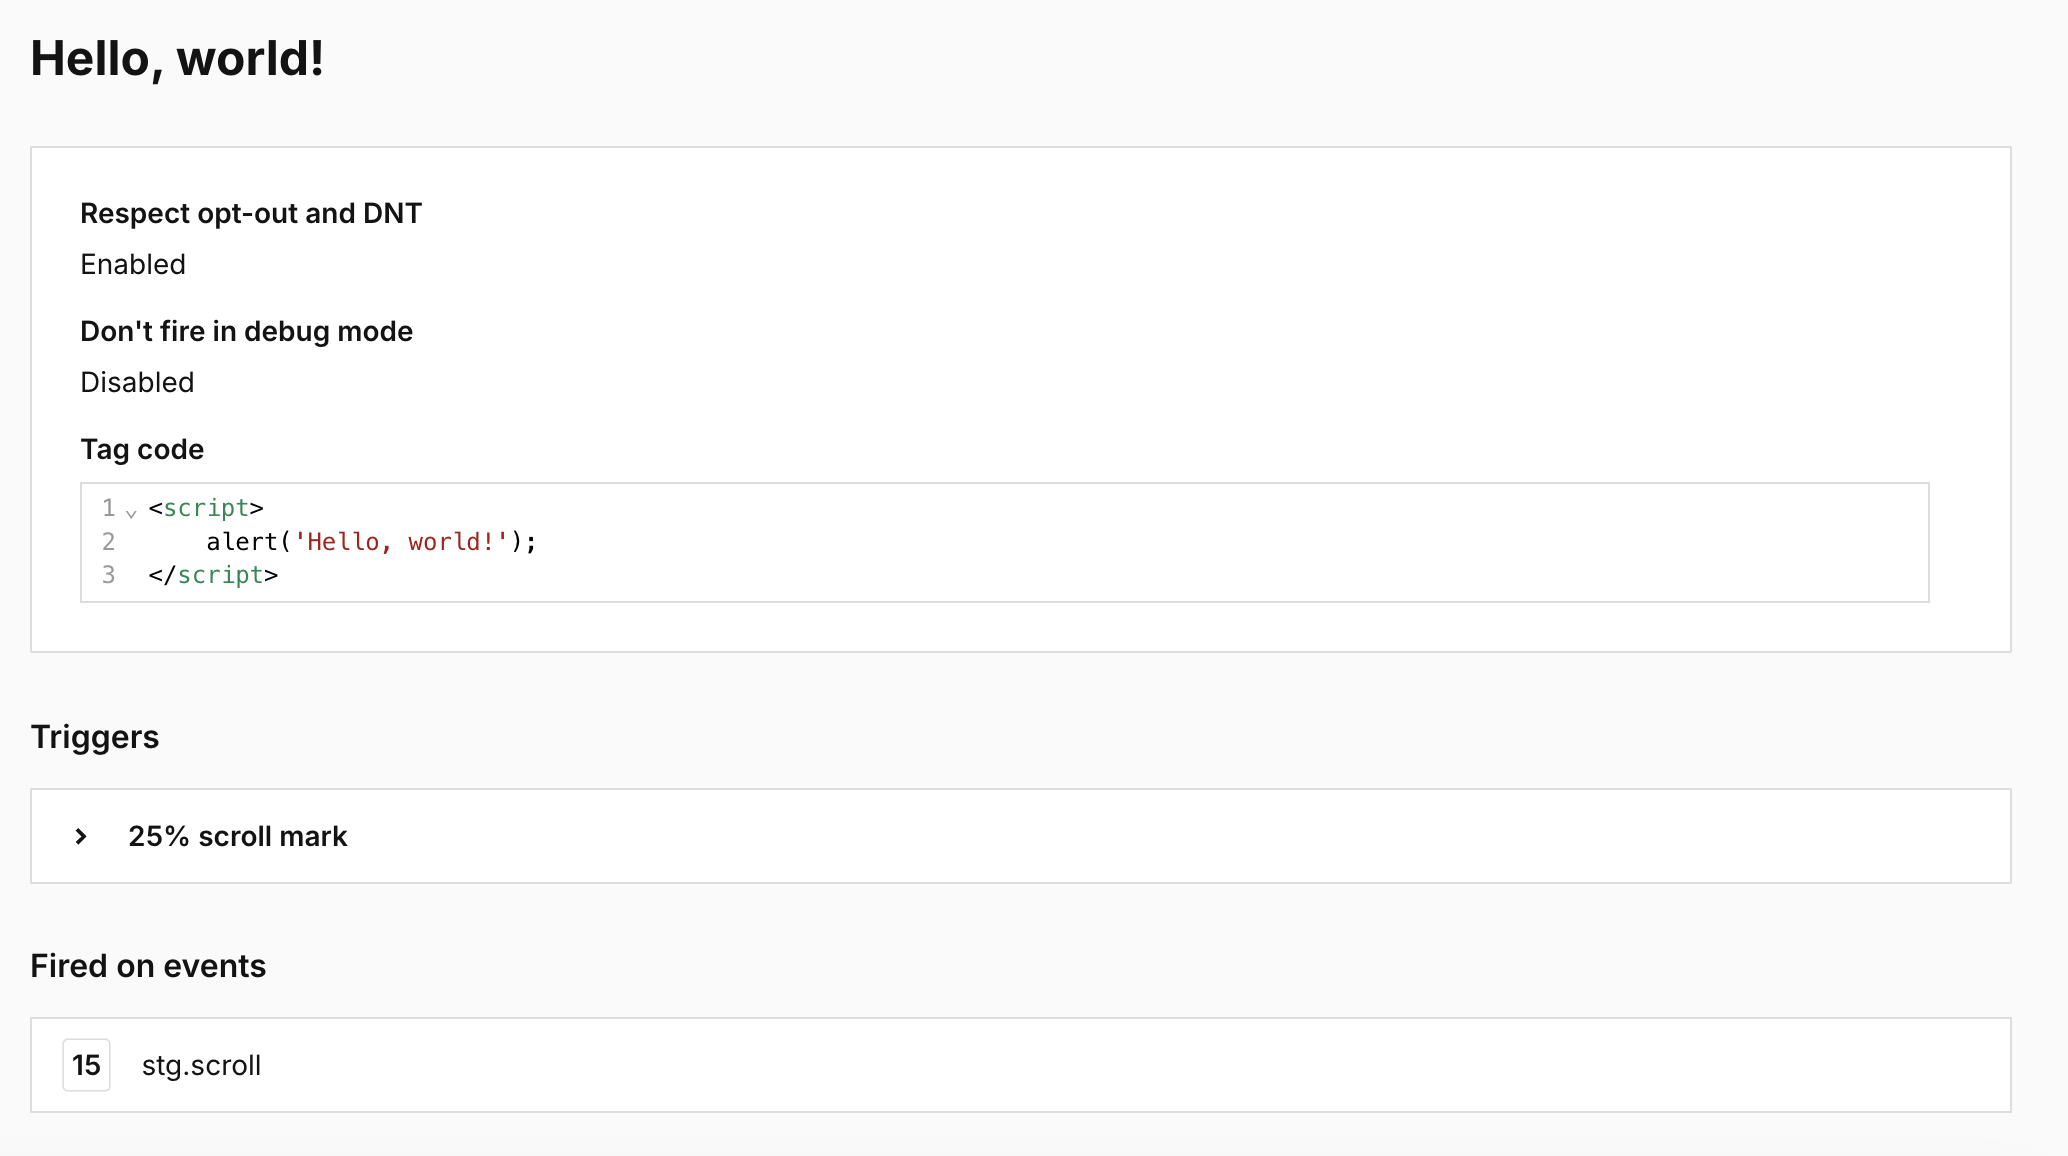
7. In Advanced tag settings, we’ve got a few optional settings:
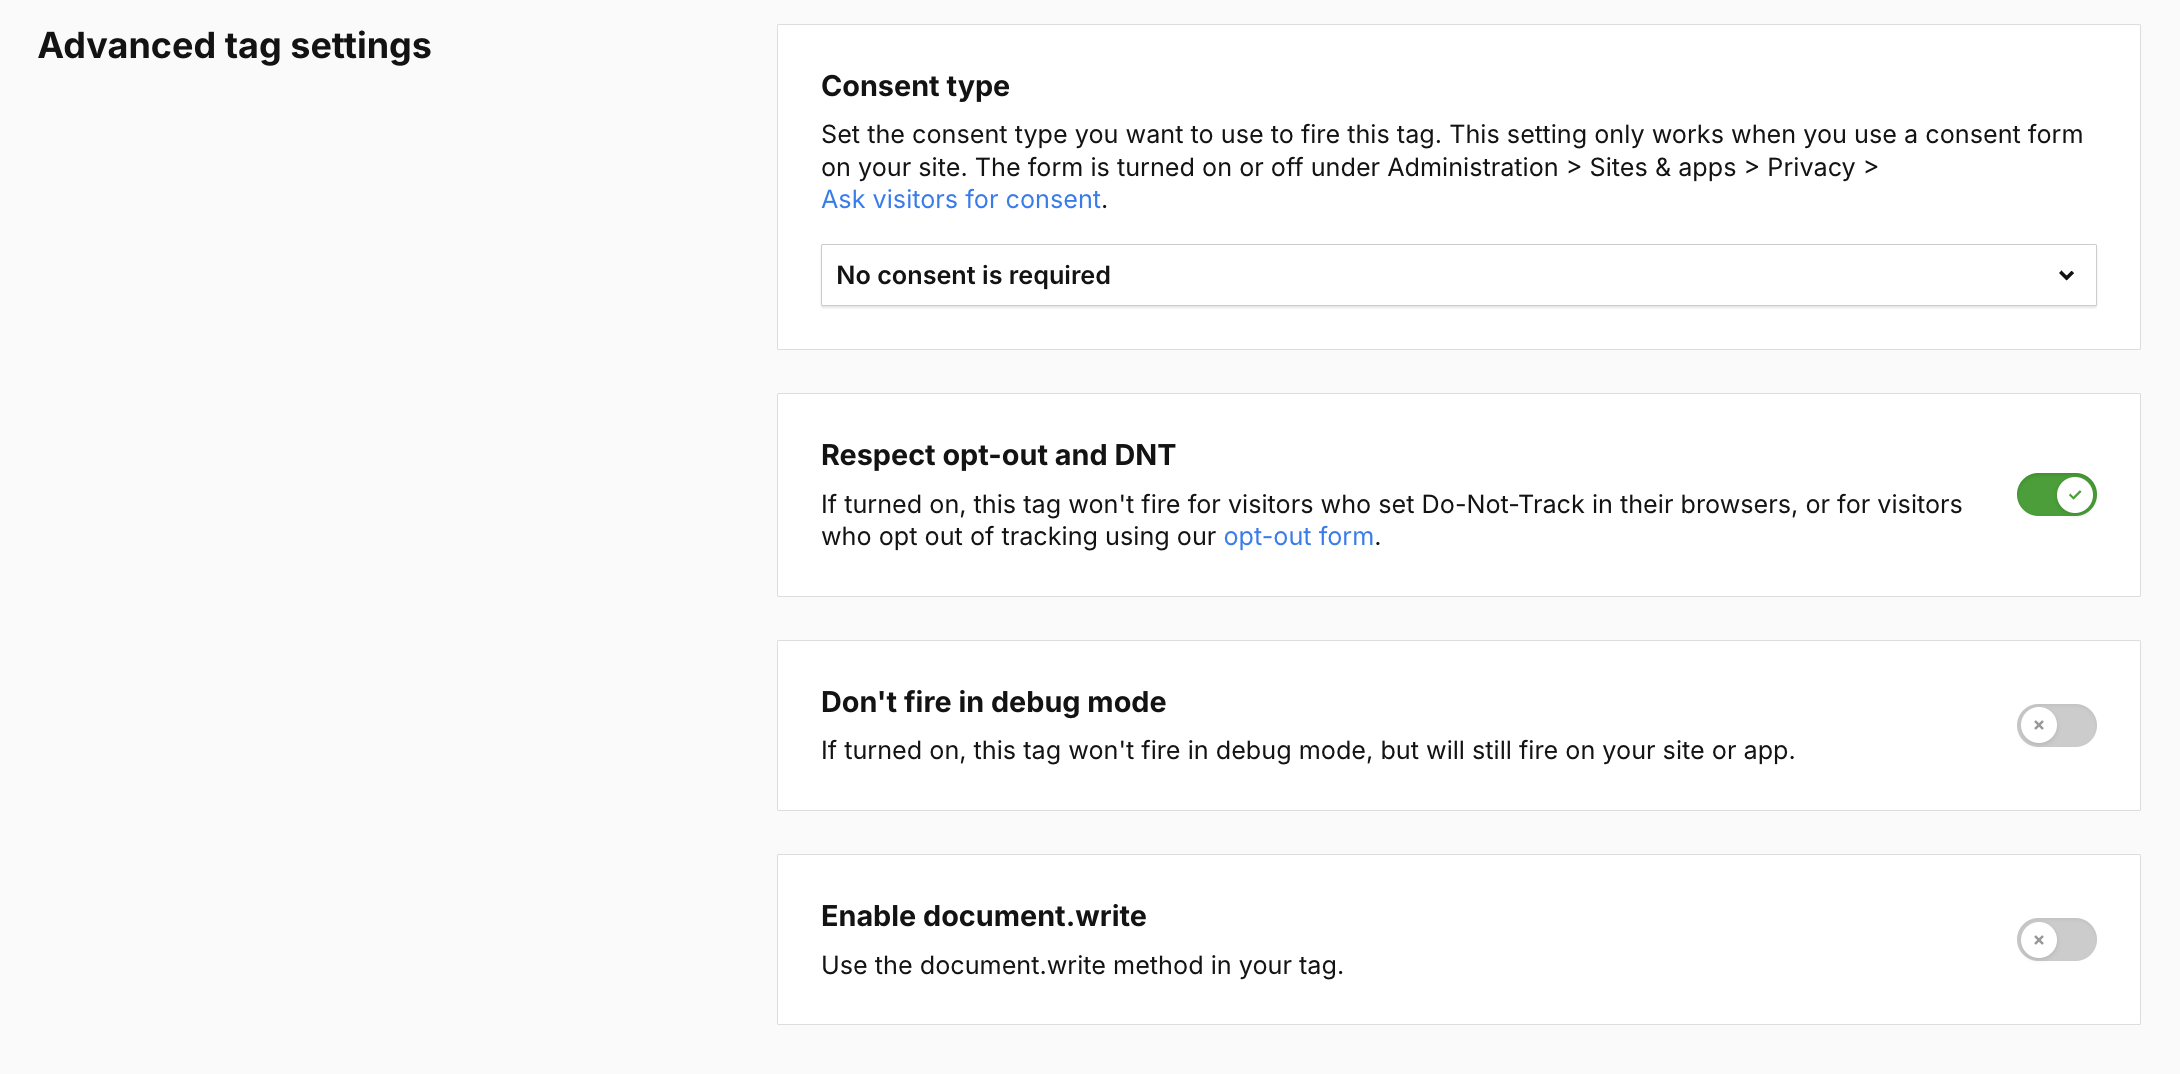
- Consent type: To comply with privacy laws, set the consent type you want to use to fire this tag. This setting works only when you use a consent form on your site. The form is turned on or off under Administration > Sites & apps > Ask visitors for consent. Read more
- Respect opt-out and DNT: If turned on, this tag won’t fire for visitors who set Do-Not-Track in their browsers or for visitors who opt out of tracking using our opt-out form.
- Don’t fire in debug mode: If turned on, this tag won’t fire in debug mode but will still fire on your site or app.
- Enable document.write: If turned on, you can use the document.write method in this tag.
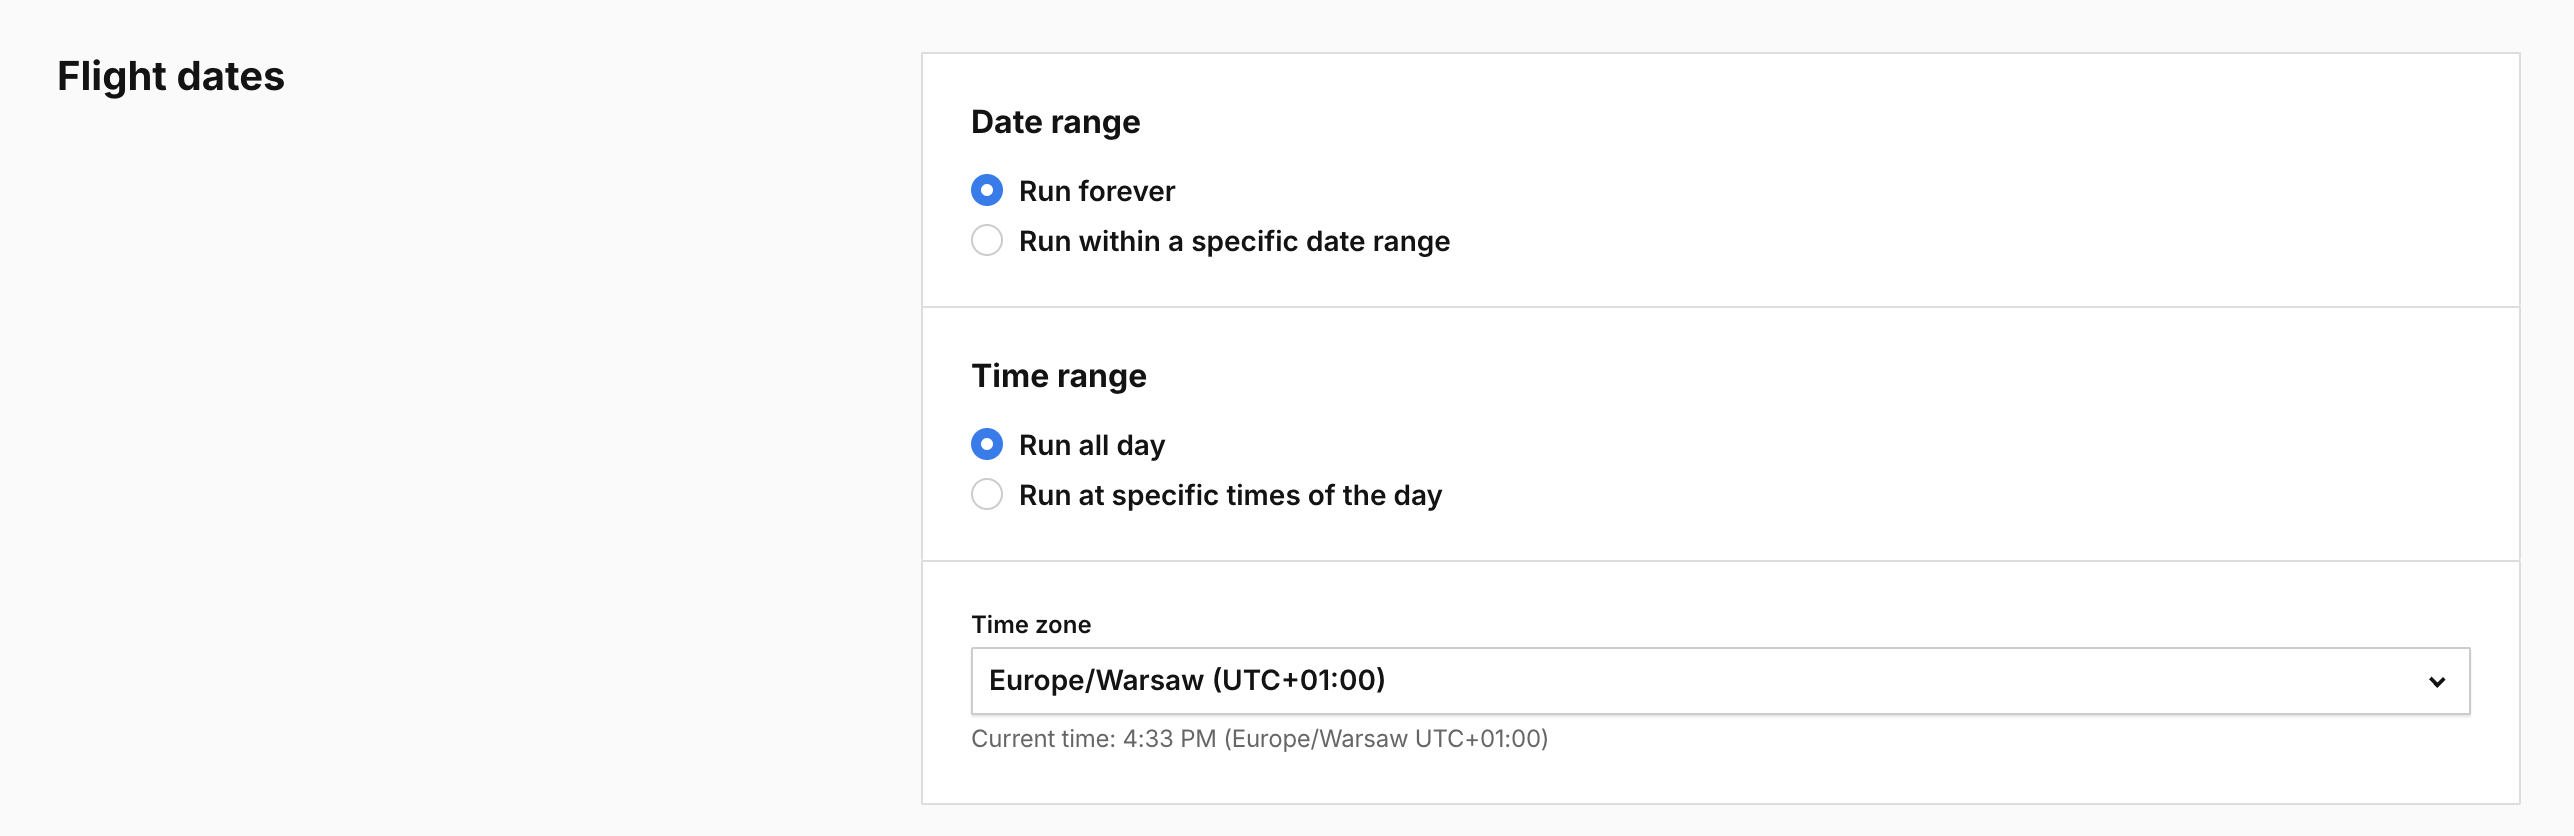
8. In Flight dates, you can set the day and time to run this tag.
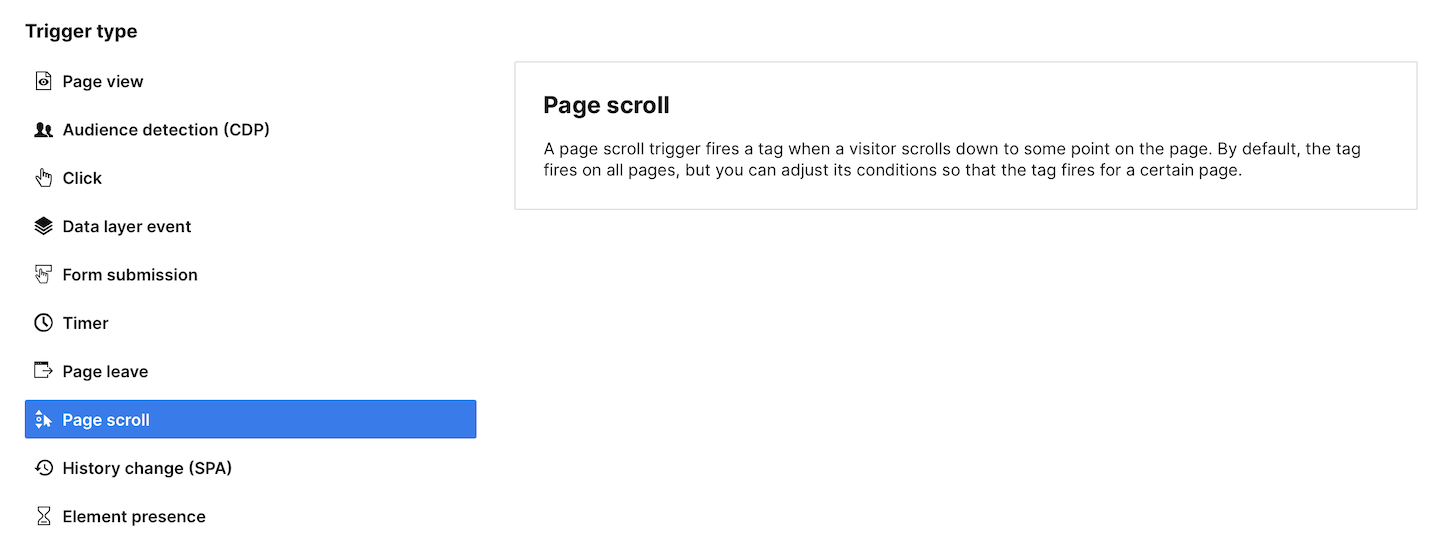
9. In Tag triggers, you need to add a new or existing trigger. We’ll add a new page-scroll trigger.
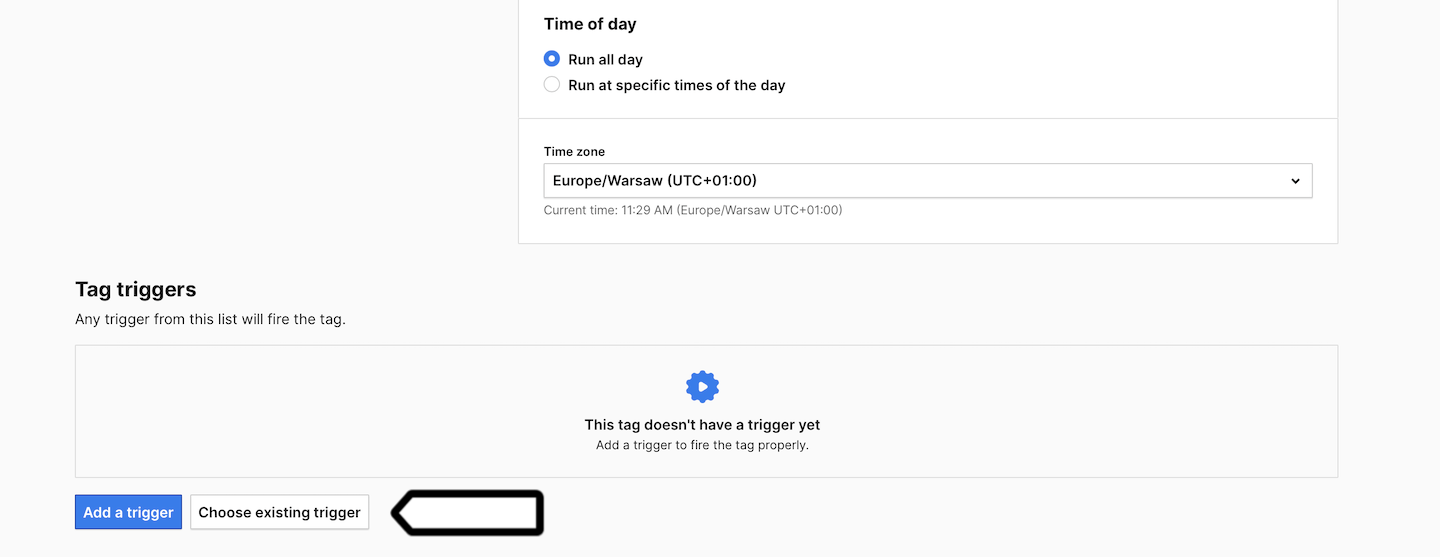
10. Click Add a trigger.
11. Choose the following type: Page scroll.
12. Name the trigger. Example: 25% scroll mark.
13. Click Next.
14. Set the scroll mark. We’ll set it as 25%.
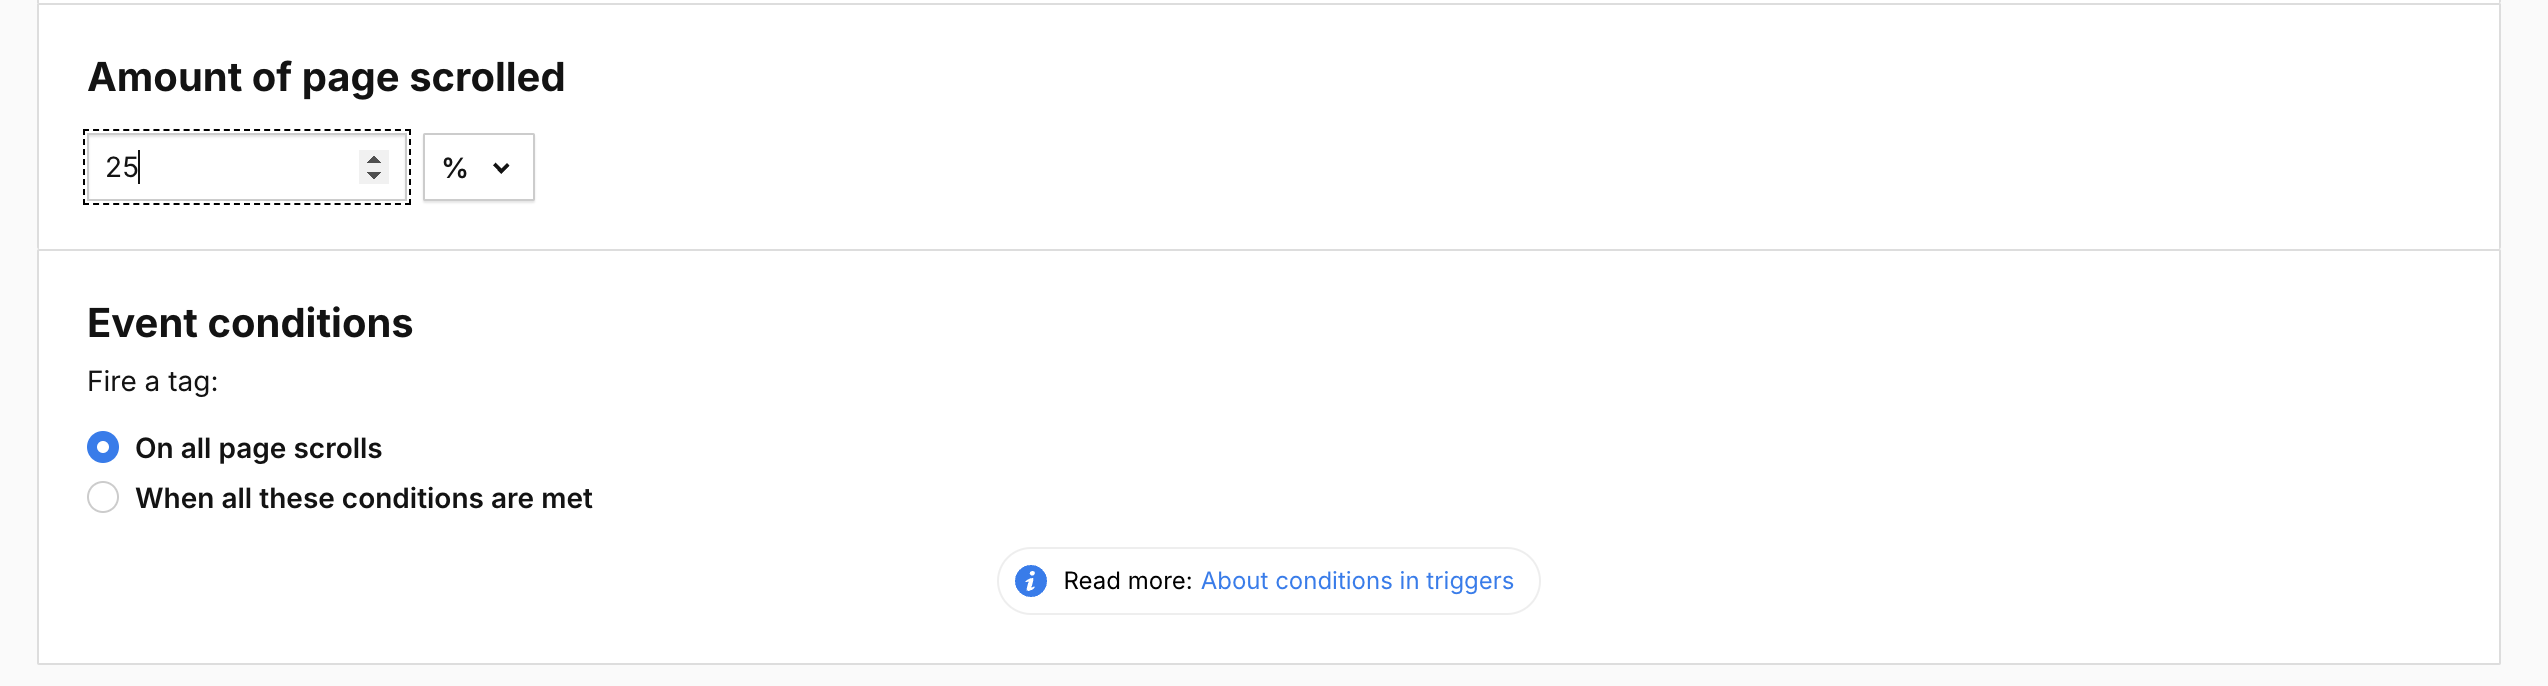
15. Click Add.
16. The trigger is now attached to this tag.

17. Click Add.
18. Done! Your tag is now saved as a draft. It’s not yet published on your site or app.

Tip: Every time you create or change a new tag, trigger or variable, they won’t appear immediately on your site or app but will be saved as a draft.
Always debug
In the web developer’s world, everything needs to be tested out before going live. The same rule applies to tags. You want to make sure that your code works smoothly and has no bugs. For that purpose, Tag Manager has a safe and controlled environment called debug mode. In this mode, you can see how the tags will work when deployed.
We repeat it like a mantra: “Always debug.” It prevents you from firing a wrong, broken, or buggy tag that can cause turmoil on your site or in the collected data. It is a shield that safeguards your online experiments. Now let’s see how to use it.
To use debug mode, follow these steps:
1. Go to Menu > Tag Manager.
2. Click Debug mode.

3. In Your site address, type in or select your site or app address.
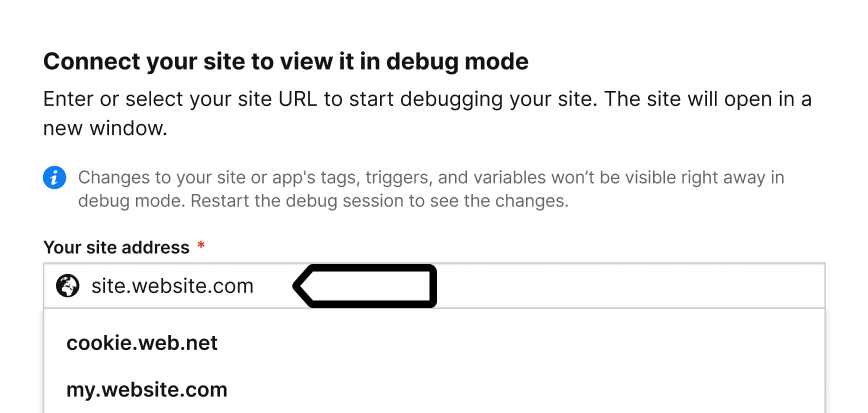
4. Click Connect.
Note: If you have any trouble connecting, check that:
- Your browser allows popups. Some browsers, such as Safari, block them by default.
- The necessary code is installed on your site.
- You entered the correct site address.
- Ad blockers are turned off.
5. Once your site is connected, it will open in a new tab.
6. Scroll down the page and see if the popup is displayed.
Tip: Most tags won’t display a popup on a site or app so you’ll have to check tag details in debug mode to see if everything is working properly.
7. In Tags, look for your tag and see if it fired.
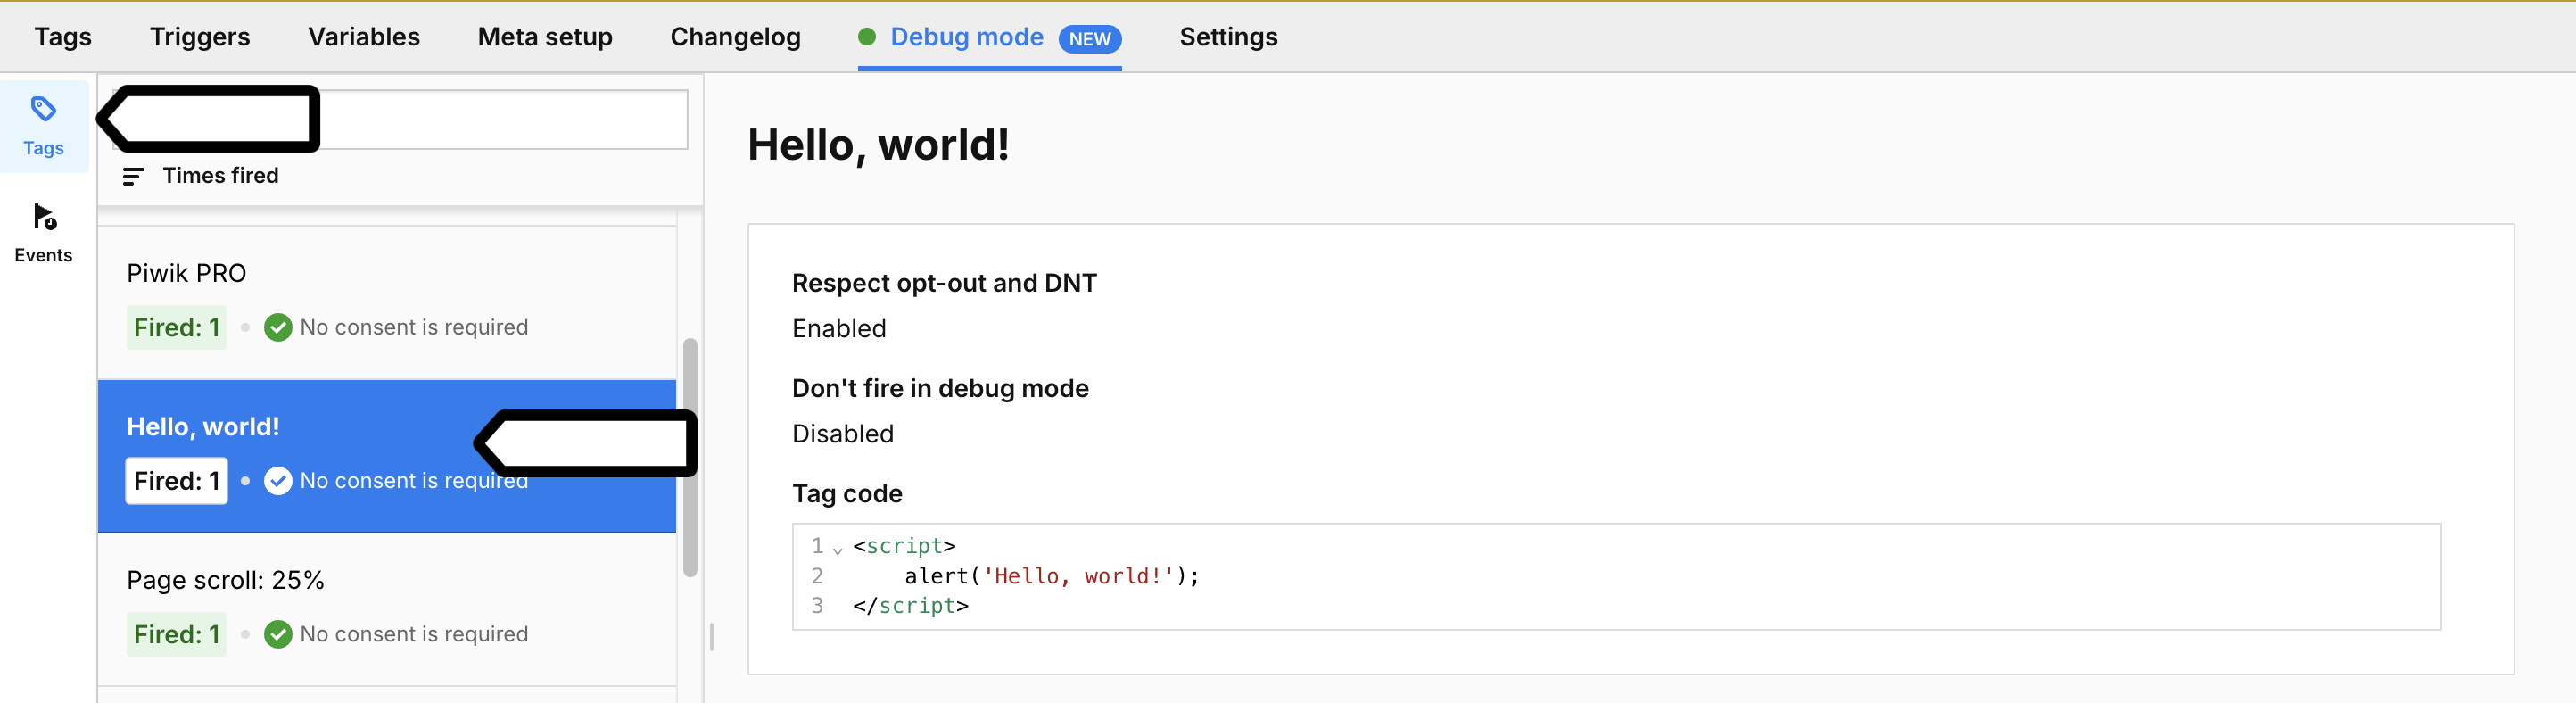
8. Click on your tag to see tag details.
9. If your tag hasn’t fired, check the attached triggers for this tag. Usually, the problem lies in triggers that aren’t set up correctly. Go to Triggers.
10. Click Events to see events recorded on your site while testing it.
11. Click stg.scroll on the event list. It’s a page-scroll event. Here you can see which tags were fired for this event.

12. If you see that your tag hasn’t fired, check the attached triggers for this tag. Usually, the problem lies in triggers that aren’t set up correctly.
13. Now would be the moment to go back to Tag Manager and click Publish. We’ll do it to show you further steps, but you can leave it alone for now. Keep in mind that this tag displays a popup on a site, and you might not want to do that yet.

Tip: When you click Publish, Tag Manager will publish all changes in tags, triggers and variables. Make sure that everything is set up correctly before you make changes live.
14. All done! Our first tag has just been published on our site.
Look at the changelog
After publishing your tag, you can also look at the changelog, which will show you all the changes made on your site or app.
To view the changelog, follow these steps:
1. Go to Menu > Tag Manager.
2. Navigate to Changelog.
3. Click on the last snapshot.
4. On our snapshot, we can see the tag we’ve published: (popup) Welcome, world!.
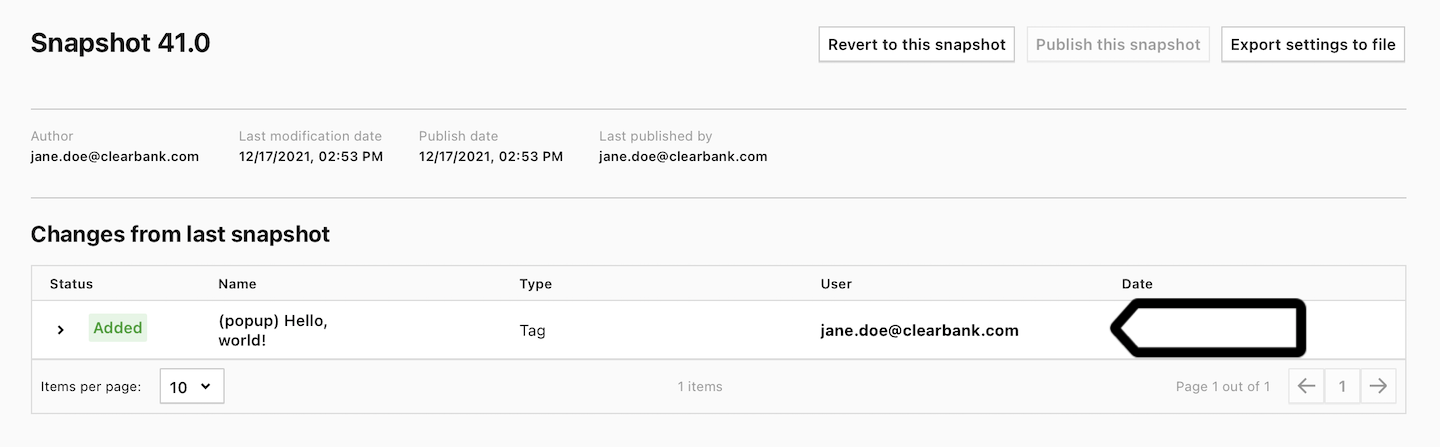
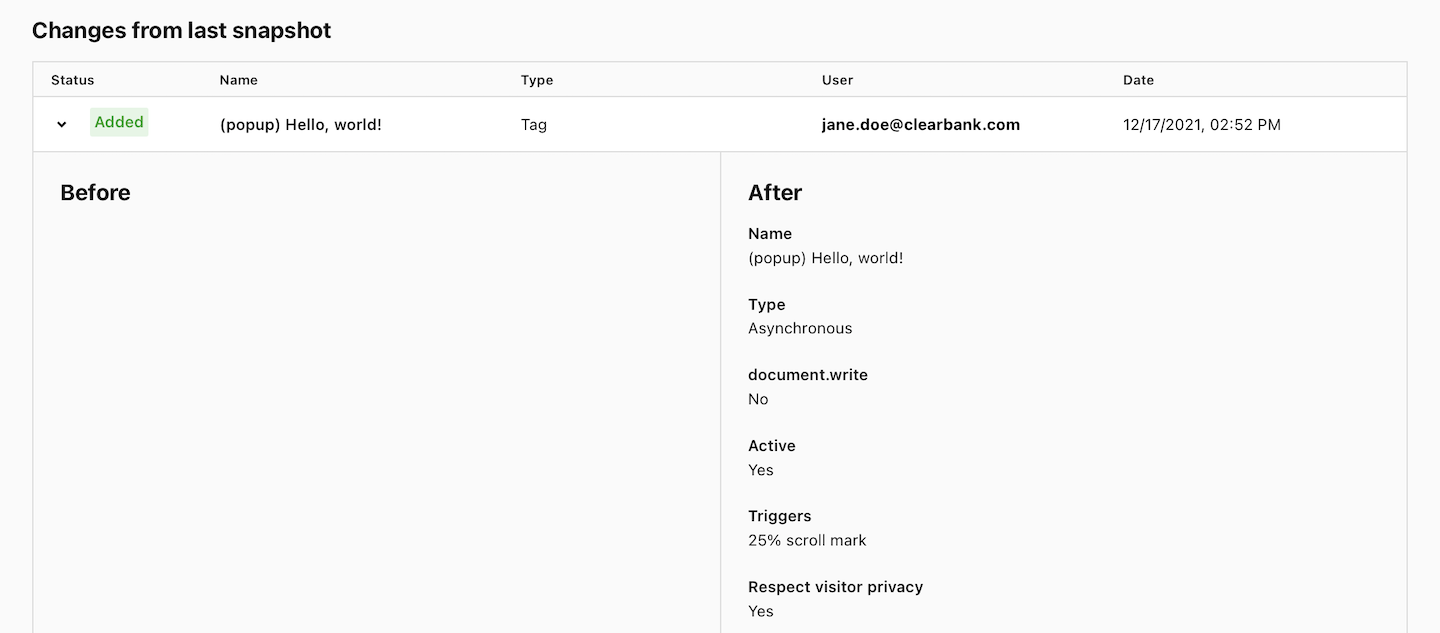
5. Click on the added tag to see change details.
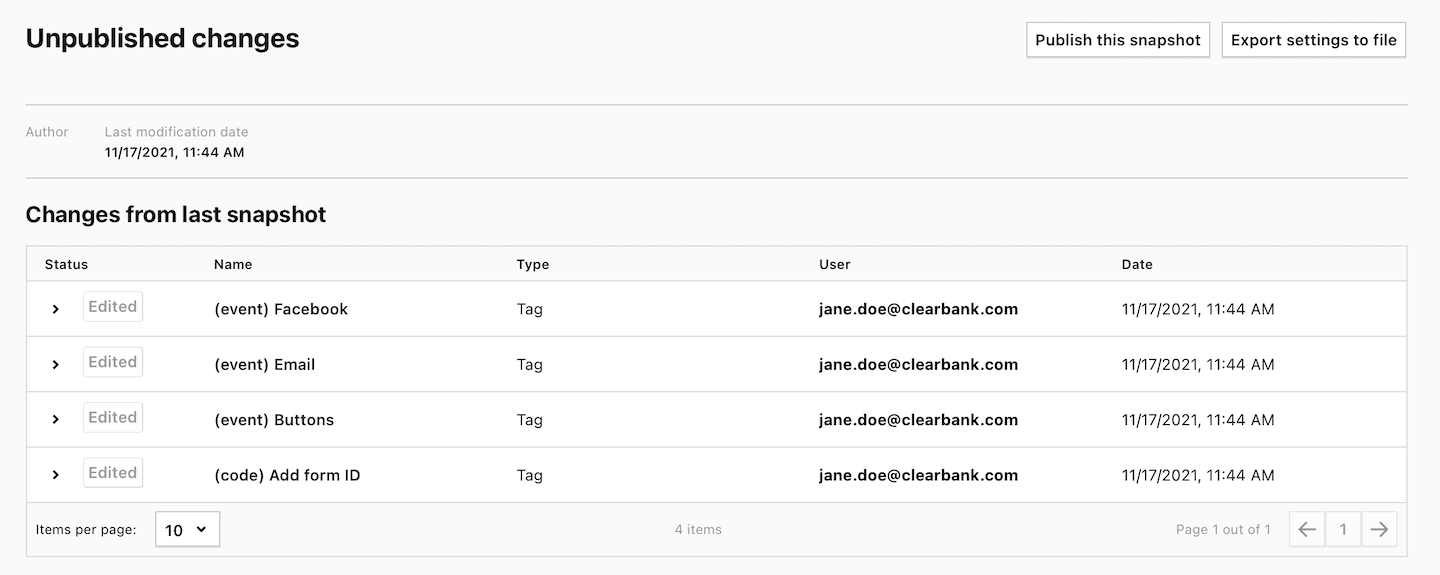
6. If you’re making lots of changes and want to keep track of them, you can look at the list of all unpublished changes in the changelog. Click Unpublished changes on the left.
Tip: Read more about the changelog in Tag Manager.
Let’s wrap up. In this chapter, we showed you how to add, debug and publish a tag. We also peeked into the changelog, which helps you keep track of changes. You already know the basics, and now we can move on to the world of tags.