In Tag Manager, we can use variables like custom JavaScript, random number, URL and more. The list is long, so we’ll pick one type and use it as an example to show you how variables work.
A DOM element variable lets you access data on your site or app through HTML DOM (Document Object Model). You can use an element ID, CSS selector or XPath to point to the element from which you want to collect information. In our example, we’d like to capture information about a blog author on our site. Then we’d like to pass that information to Analytics to see blog post statistics by the author. Let’s see how all of that can be done.
To use a DOM element variable, follow these steps:
1. Open your site on a page with a blog author name.
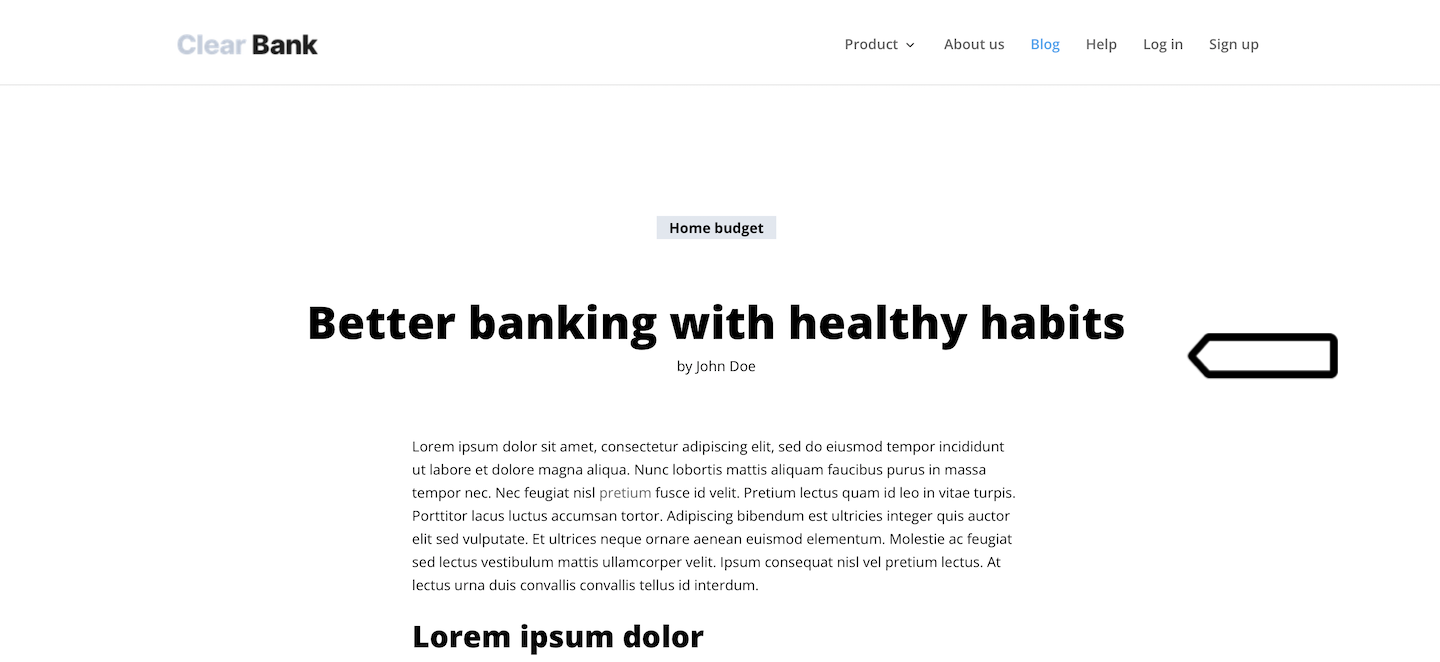
2. Right-click on the blog author and click Inspect or Inspect element, depending on the browser you’re using.
3. Look for the ID or class of the author element among the lines of code.
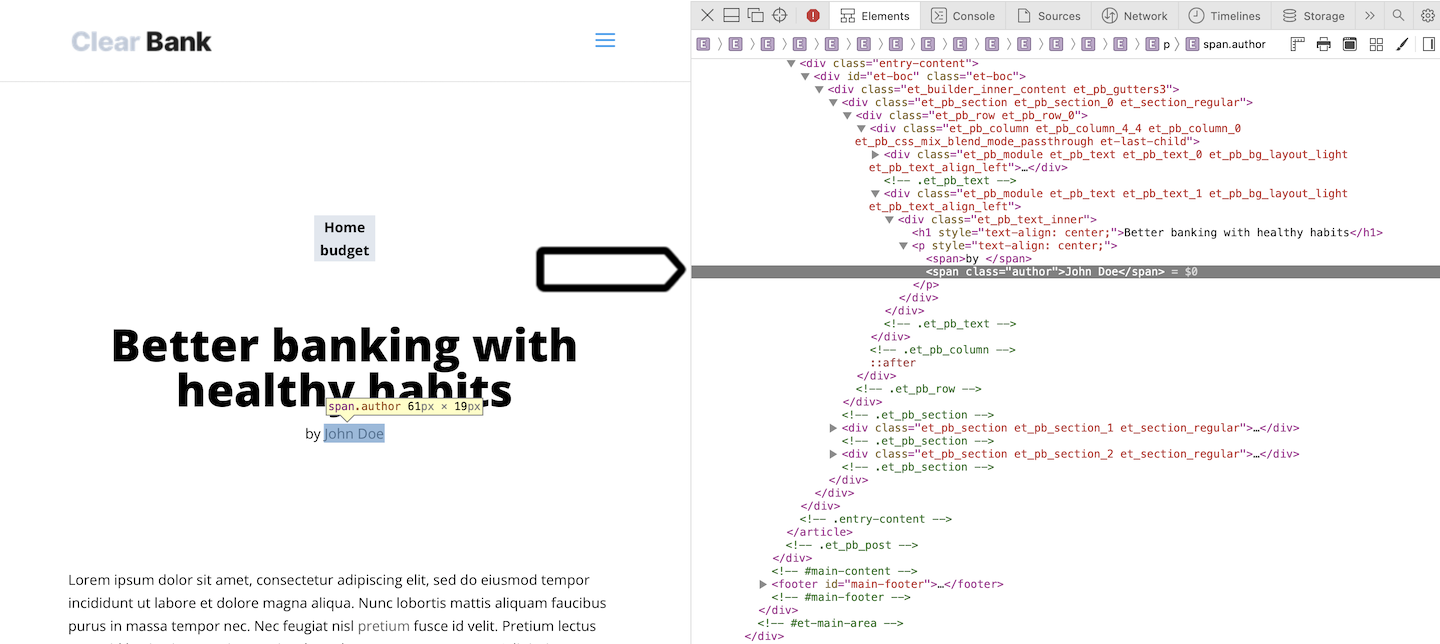
4. The code could look like this: <span class="author">John Doe</span>. In this case, we’ve got the class author.
5. Go to Menu > Tag Manager.
6. Navigate to Variables.
7. Click Add a variable.
8. Name the variable. Example: Blog author.
9. Select the following variable type: DOM element.
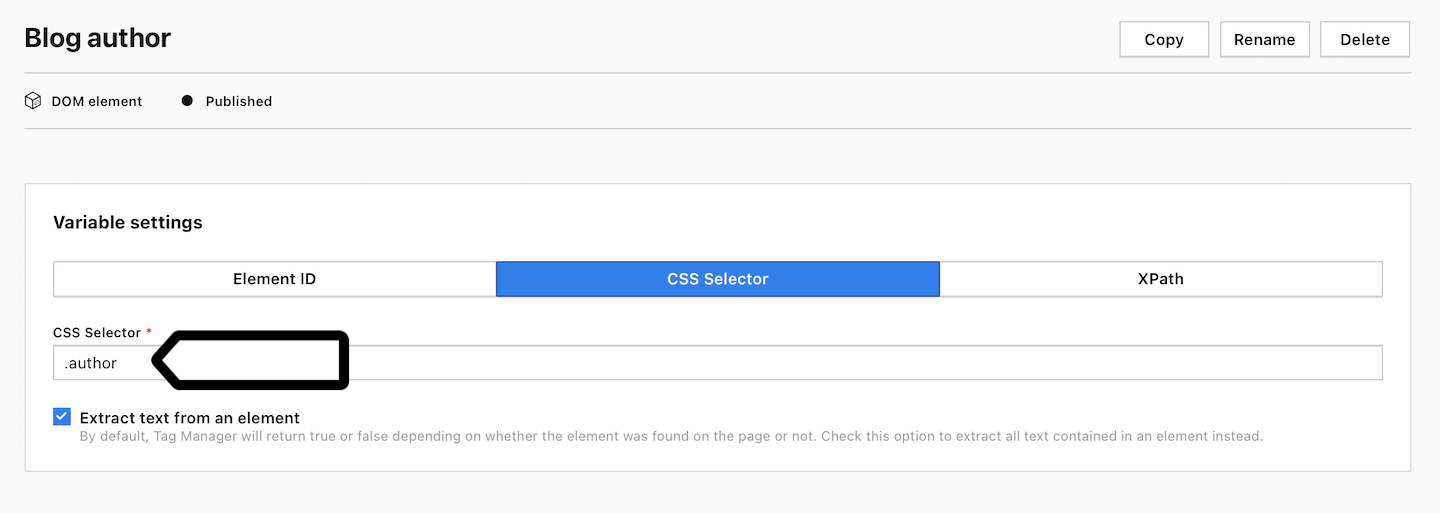
10. In Variable settings, set Element ID or CSS selector. In our example, we’ll use a CSS selector .author.
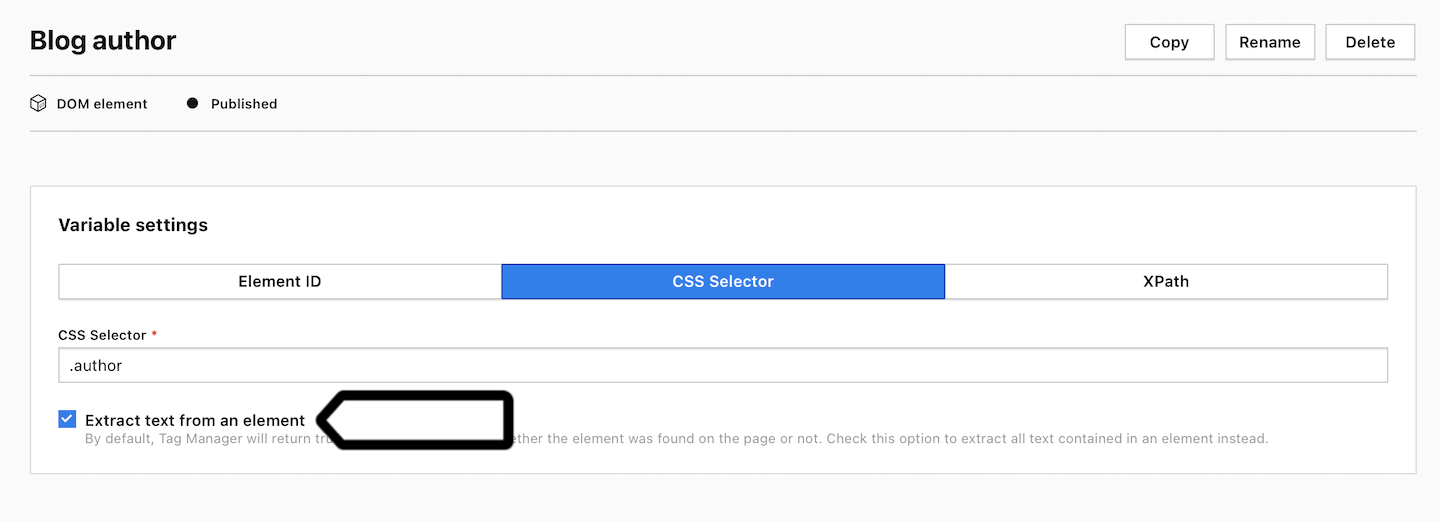
11. Check Extract text from an element. This option will extract the blog author’s name from the code: <span class="author">John Doe</span>.
12. Click Save.
13. In Tag Manager, go to Debug mode.

13. 11. Choose the site/app you want to work with. Use the site/app picker in the upper right corner.
14. In Your site address, type in or select your site or app address.
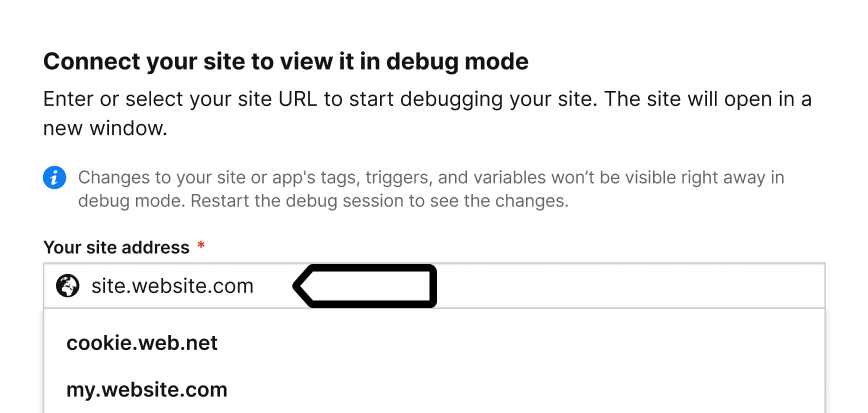
15. Click Connect.
16. Once your site is connected, it will open in a new tab.
Note: If you have any trouble connecting, check that:
- Your browser allows popups. Some browsers, such as Safari, block them by default.
- The necessary code is installed on your site.
- You entered the correct site address.
- Ad blockers are turned off.
- The Cross-Origin-Opener-Policy header is not interfering. You may need to temporarily disable it.
17. (Optional) Turn on Prevent page reload. This will stop the page from refreshing when you click elements that would normally trigger a reload.
18. Go to the page with the blog author’s name.
15. Navigate to Events in debug mode.

16. Click stg.PageView on the event list.
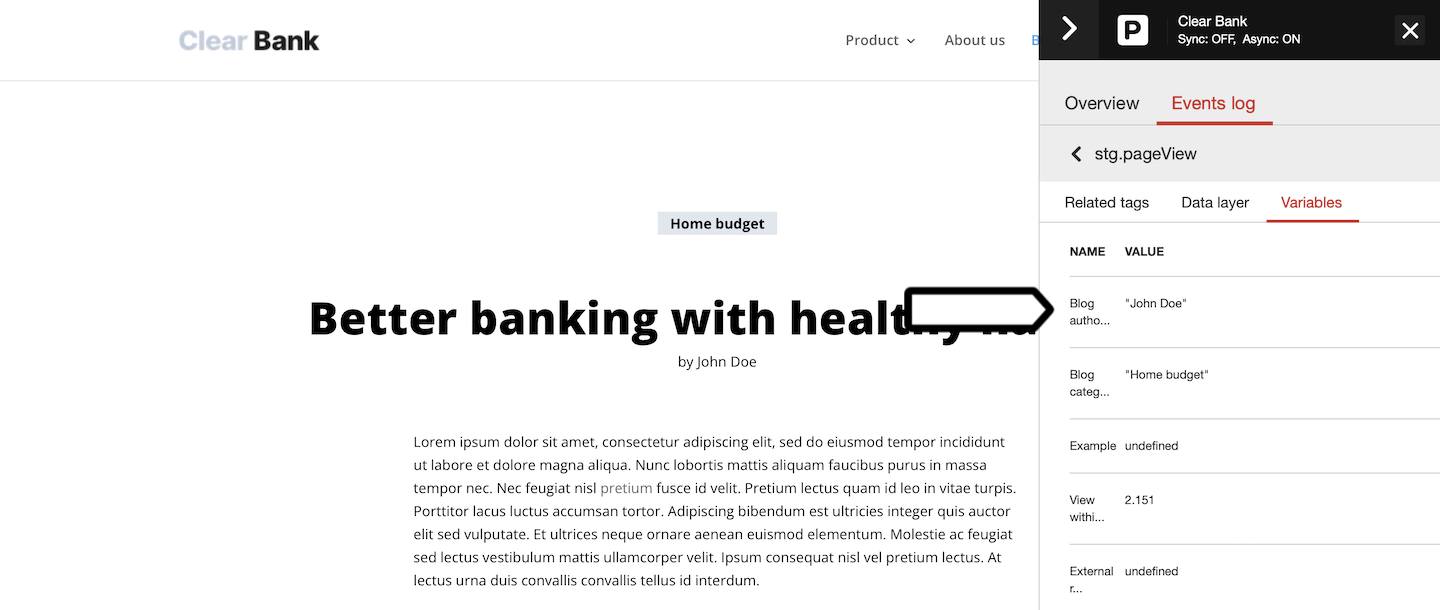
17. Navigate to Variables.
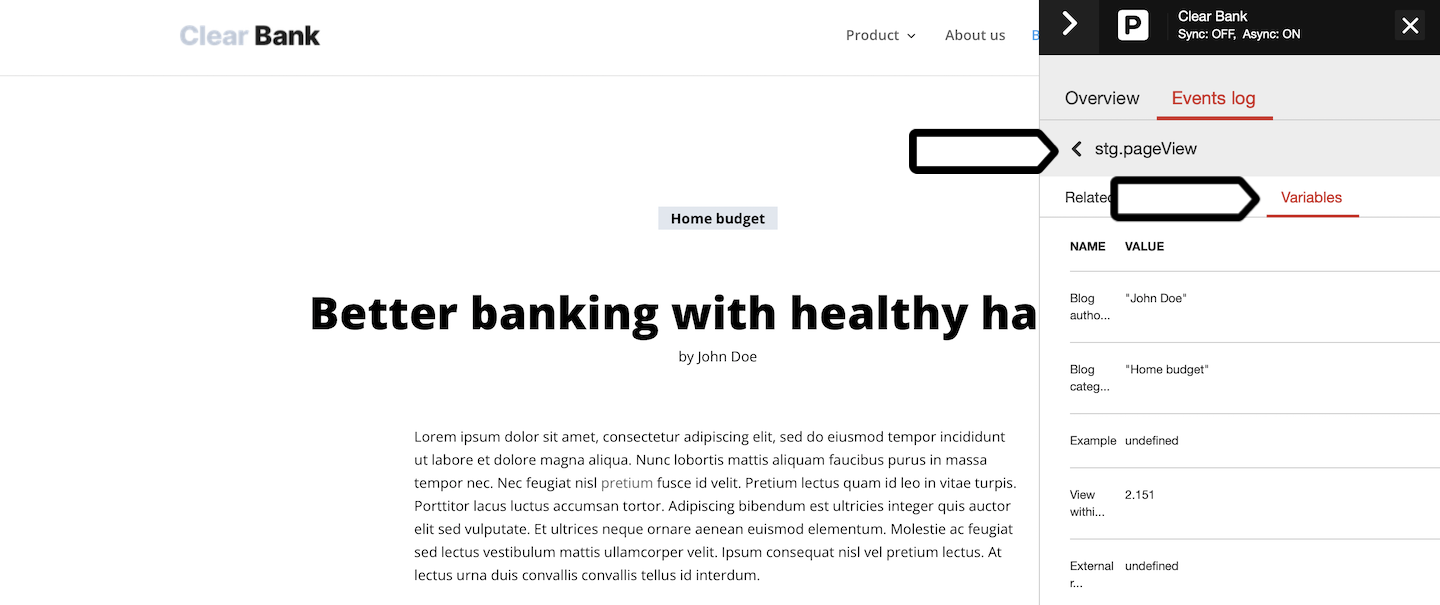
18. Look for your variable on the list and see if the value is assigned correctly.
19. If everything looks okay, return to Tag Manager and click Publish.
Done! Your variable is ready. Now we need to complete another step and send variable data to Analytics.
Add a custom dimension
To see statistics for a blog author on our site, we now need to pass variable data to Analytics using a custom dimension.
To add and set up a custom dimension, follow these steps:
1. Go to Menu > Analytics.
2. Navigate to Settings.
3. On the left, click Custom dimensions.
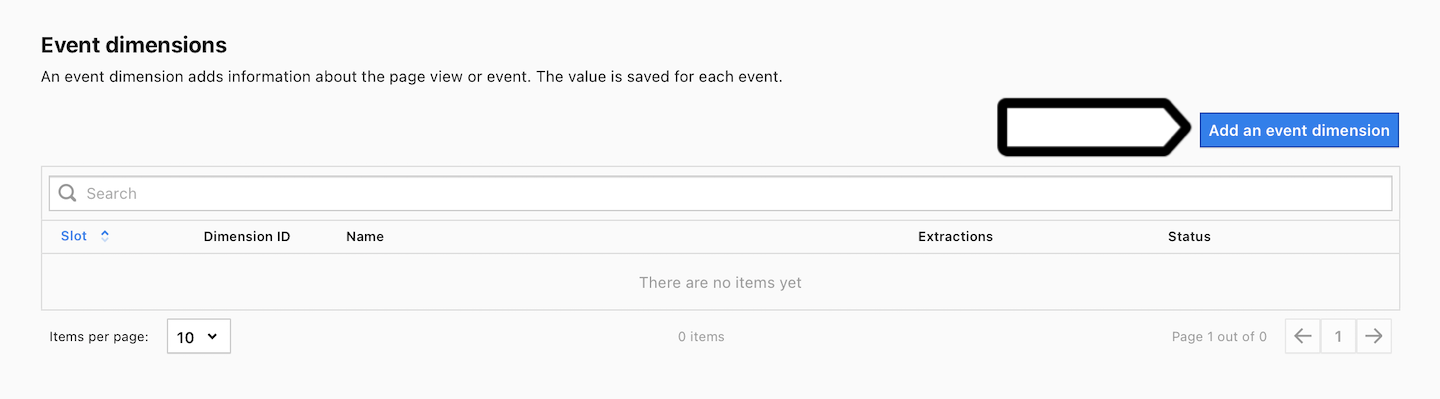
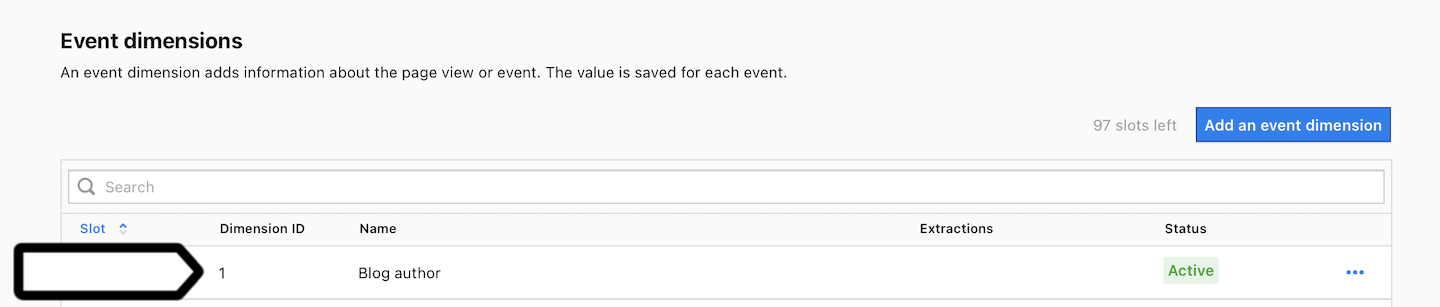
4. In Event dimensions, click Add an event dimension.
5. Name the dimension.
6. Click Save. And a screen will appear with instructions on how to set values for the custom dimension, which you can close.
7. After creating the custom dimension, note Dimension name or ID.
8. Go to Menu > Tag Manager.
9. Navigate to Tags.
10. On the left, click Piwik PRO. This is the tag with the tracking code.
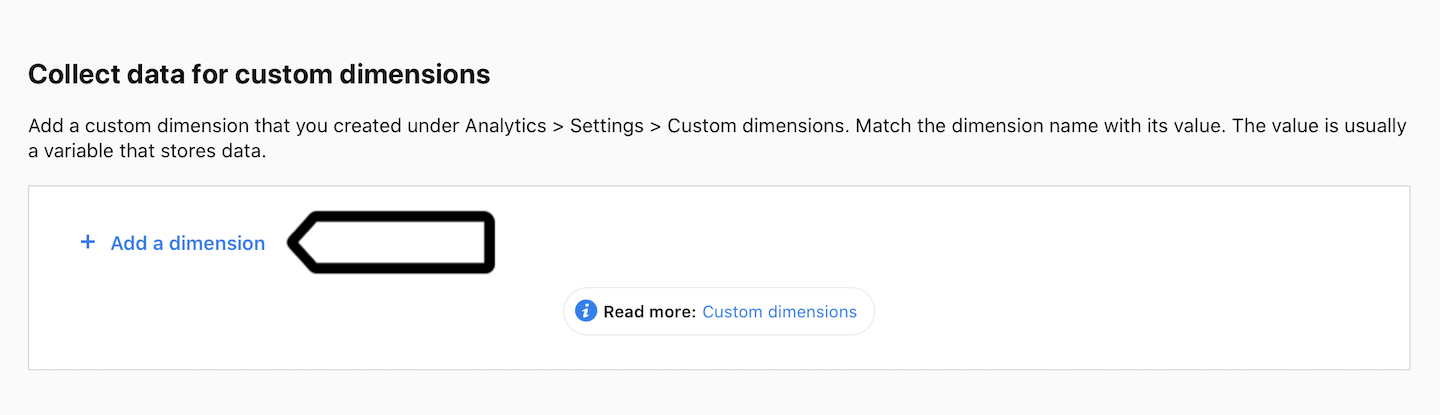
11. In Collect data for custom dimensions, click + Add a dimension.
12. Enter Dimension name or ID from step 7.
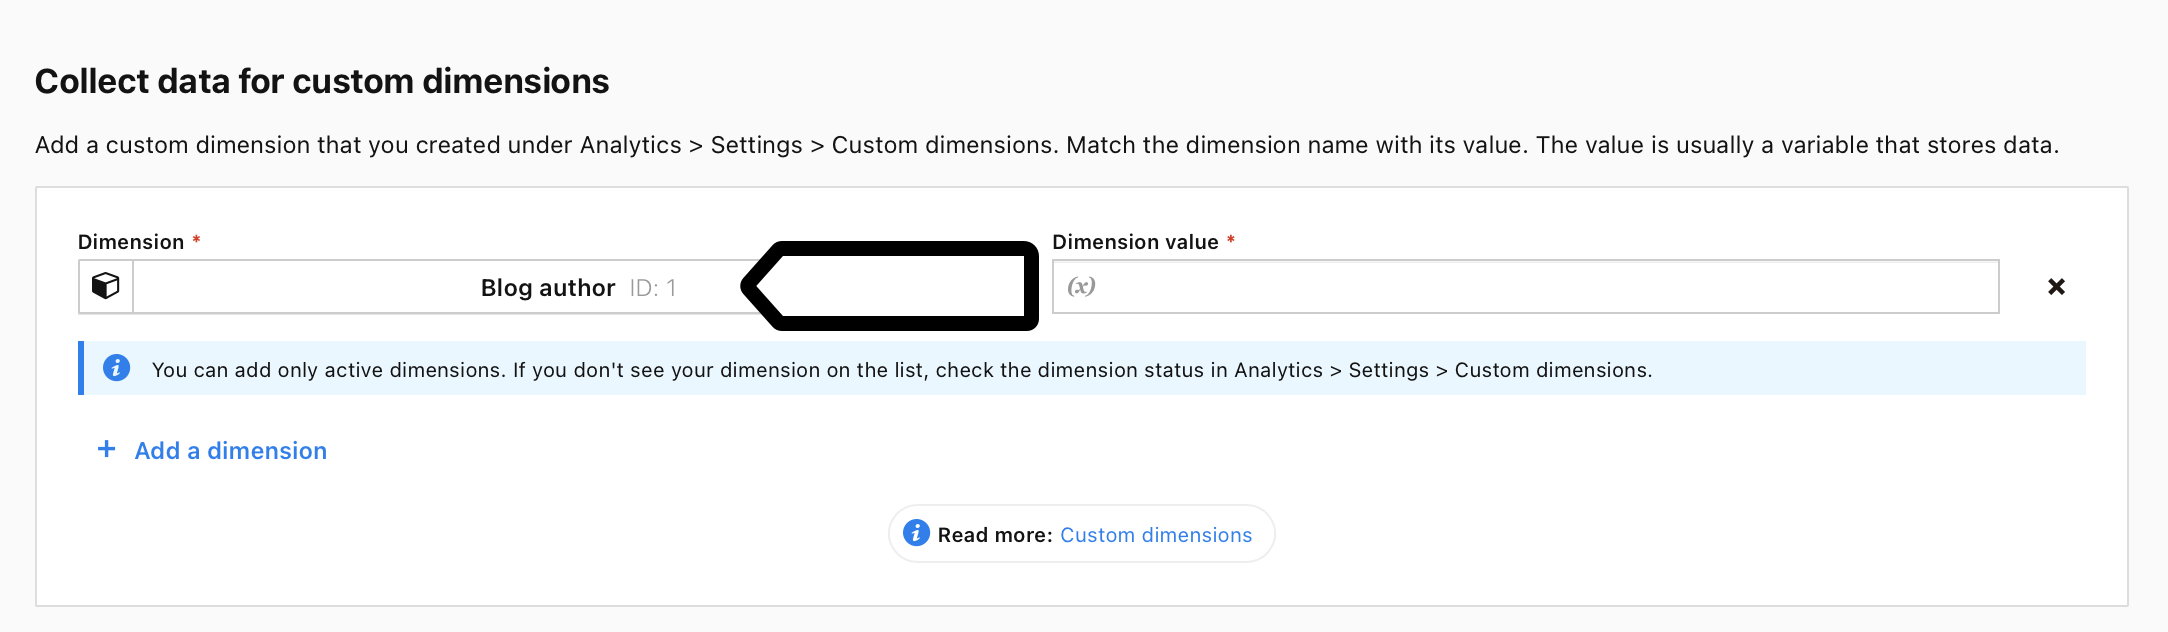
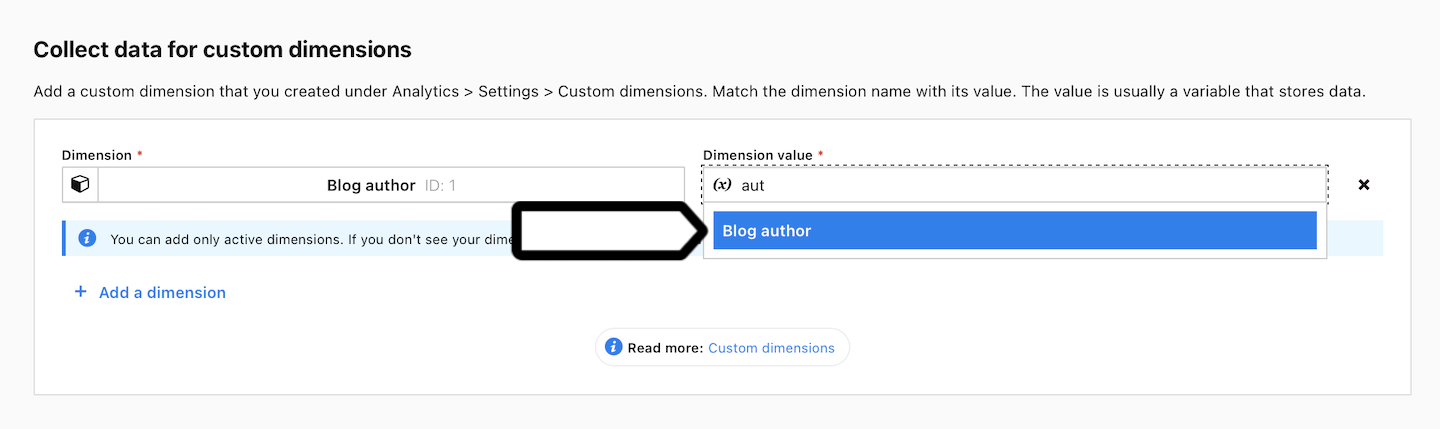
13. Enter Dimension value. This is our variable {{ Blog author }}.
14. Scroll down to the bottom and click Save.
15. Click Publish.
16. You can quickly check if data is being collected correctly by going to Menu > Analytics > Settings > Tracker debugger.
Note: Data in the tracker debugger appears instantly. Data in reports appears in about 30 minutes.
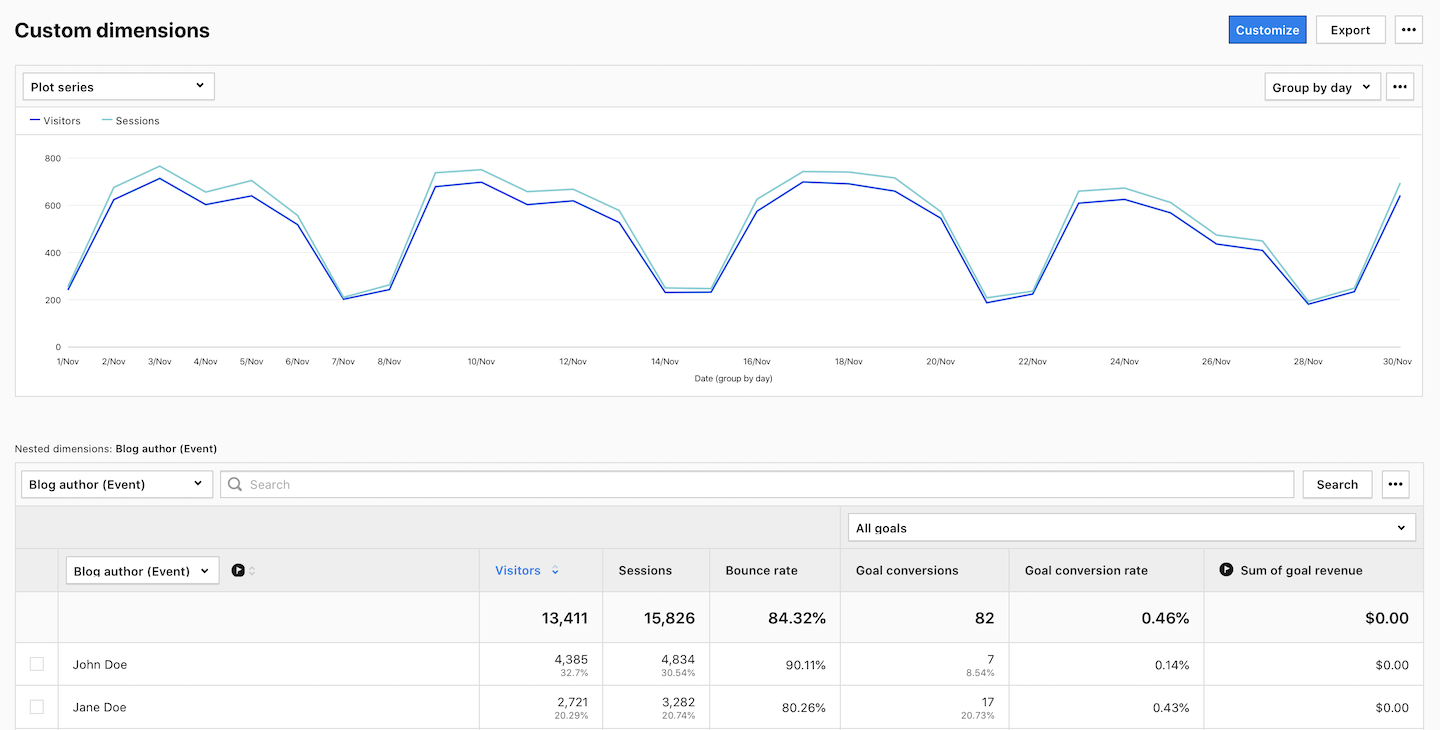
17. After data is collected, you’ll see it under Menu > Analytics > Reports > Custom dimensions.
18. You can also see your custom dimension under Analytics > Reports > Session log.

Tip: You can also use your custom dimension in a custom report.