Mailchimp is an all-in-one marketing automation platform and email marketing service. It helps you keep in touch with your clients, customers and other interested parties by sending them beautifully designed newsletters. You can use data from Piwik PRO to add visitors to a Mailchimp list and send them a discount coupon, inform them about a limited-time promotion and much more. There are numerous ways to make use of this data!
In this article, we’ll show you how to activate data for Mailchimp.
Before you start
Here are some important things to keep in mind before you start:
- For more information about webhooks, see the Mailchimp documentation.
- Activation will only happen after it’s created and only for people who join the audience. It does not apply to people who were in the audience before activation.
Create a Mailchimp activation
To create a Mailchimp activation, follow these steps:
1. Log in to Mailchimp.
2. Now we’ll need to find a few pieces of information to build a webhook. The webhook URL format looks like this:
https://user:[Your API key]@[Data center].api.mailchimp.com/3.0/lists/[Audience ID]/membersSo we need to find:
[Your API key][Data center][Audience ID]
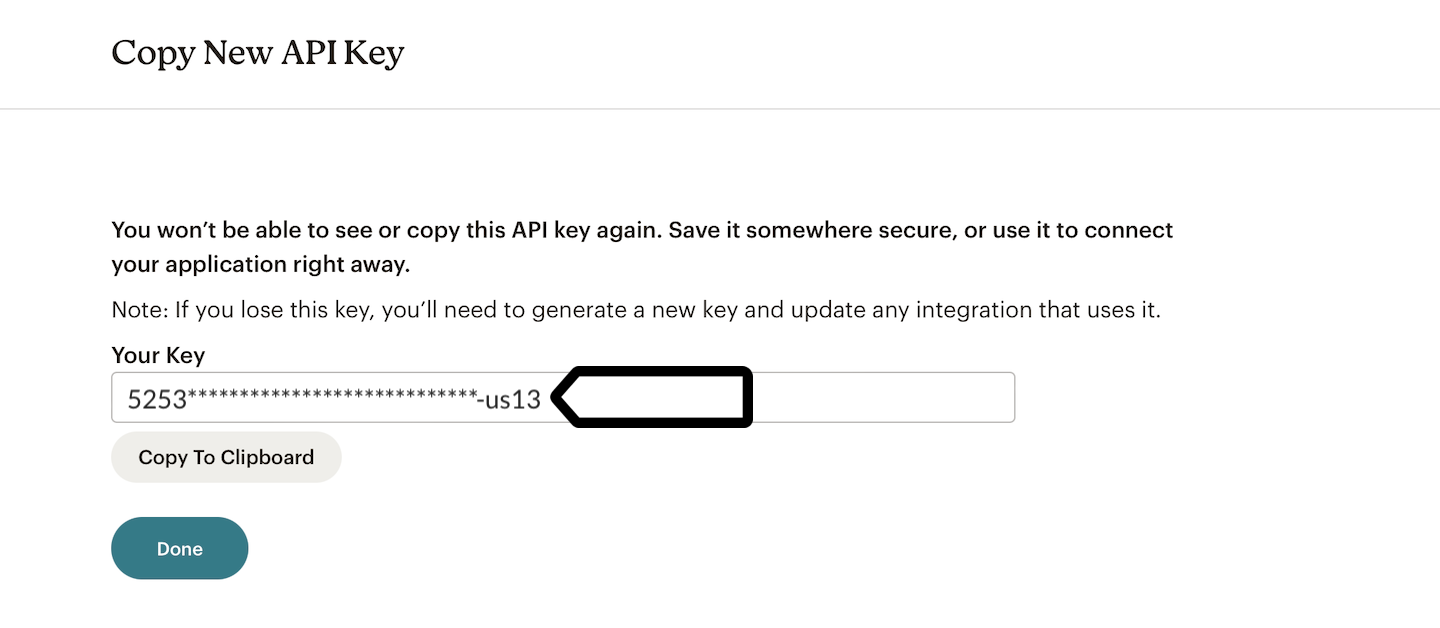
3. To find [Your API key], go to Profile > Extras > API keys. Click Create New Key. Copy the API key and paste it into your notepad.
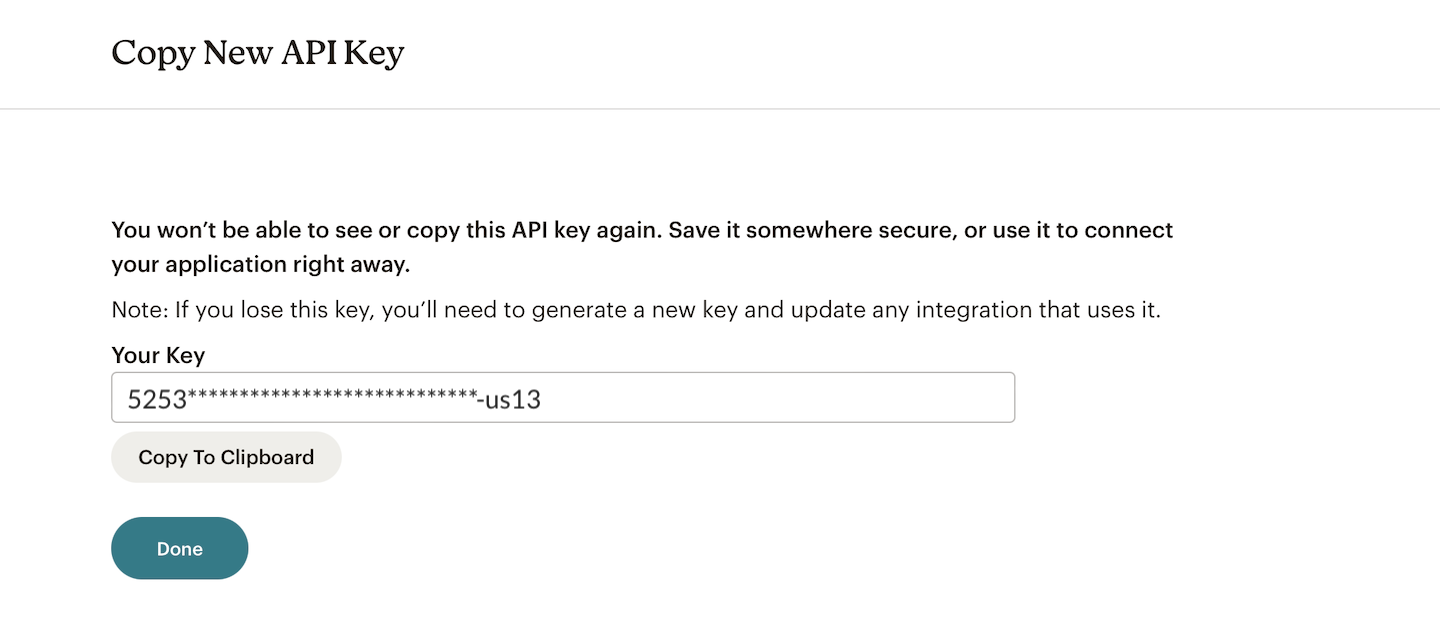
4. To find [Data Center], look at the API key you’ve just created. The last four digits are your data center. Example: Our API key is 5253****************************-us13 so our data center is us13.
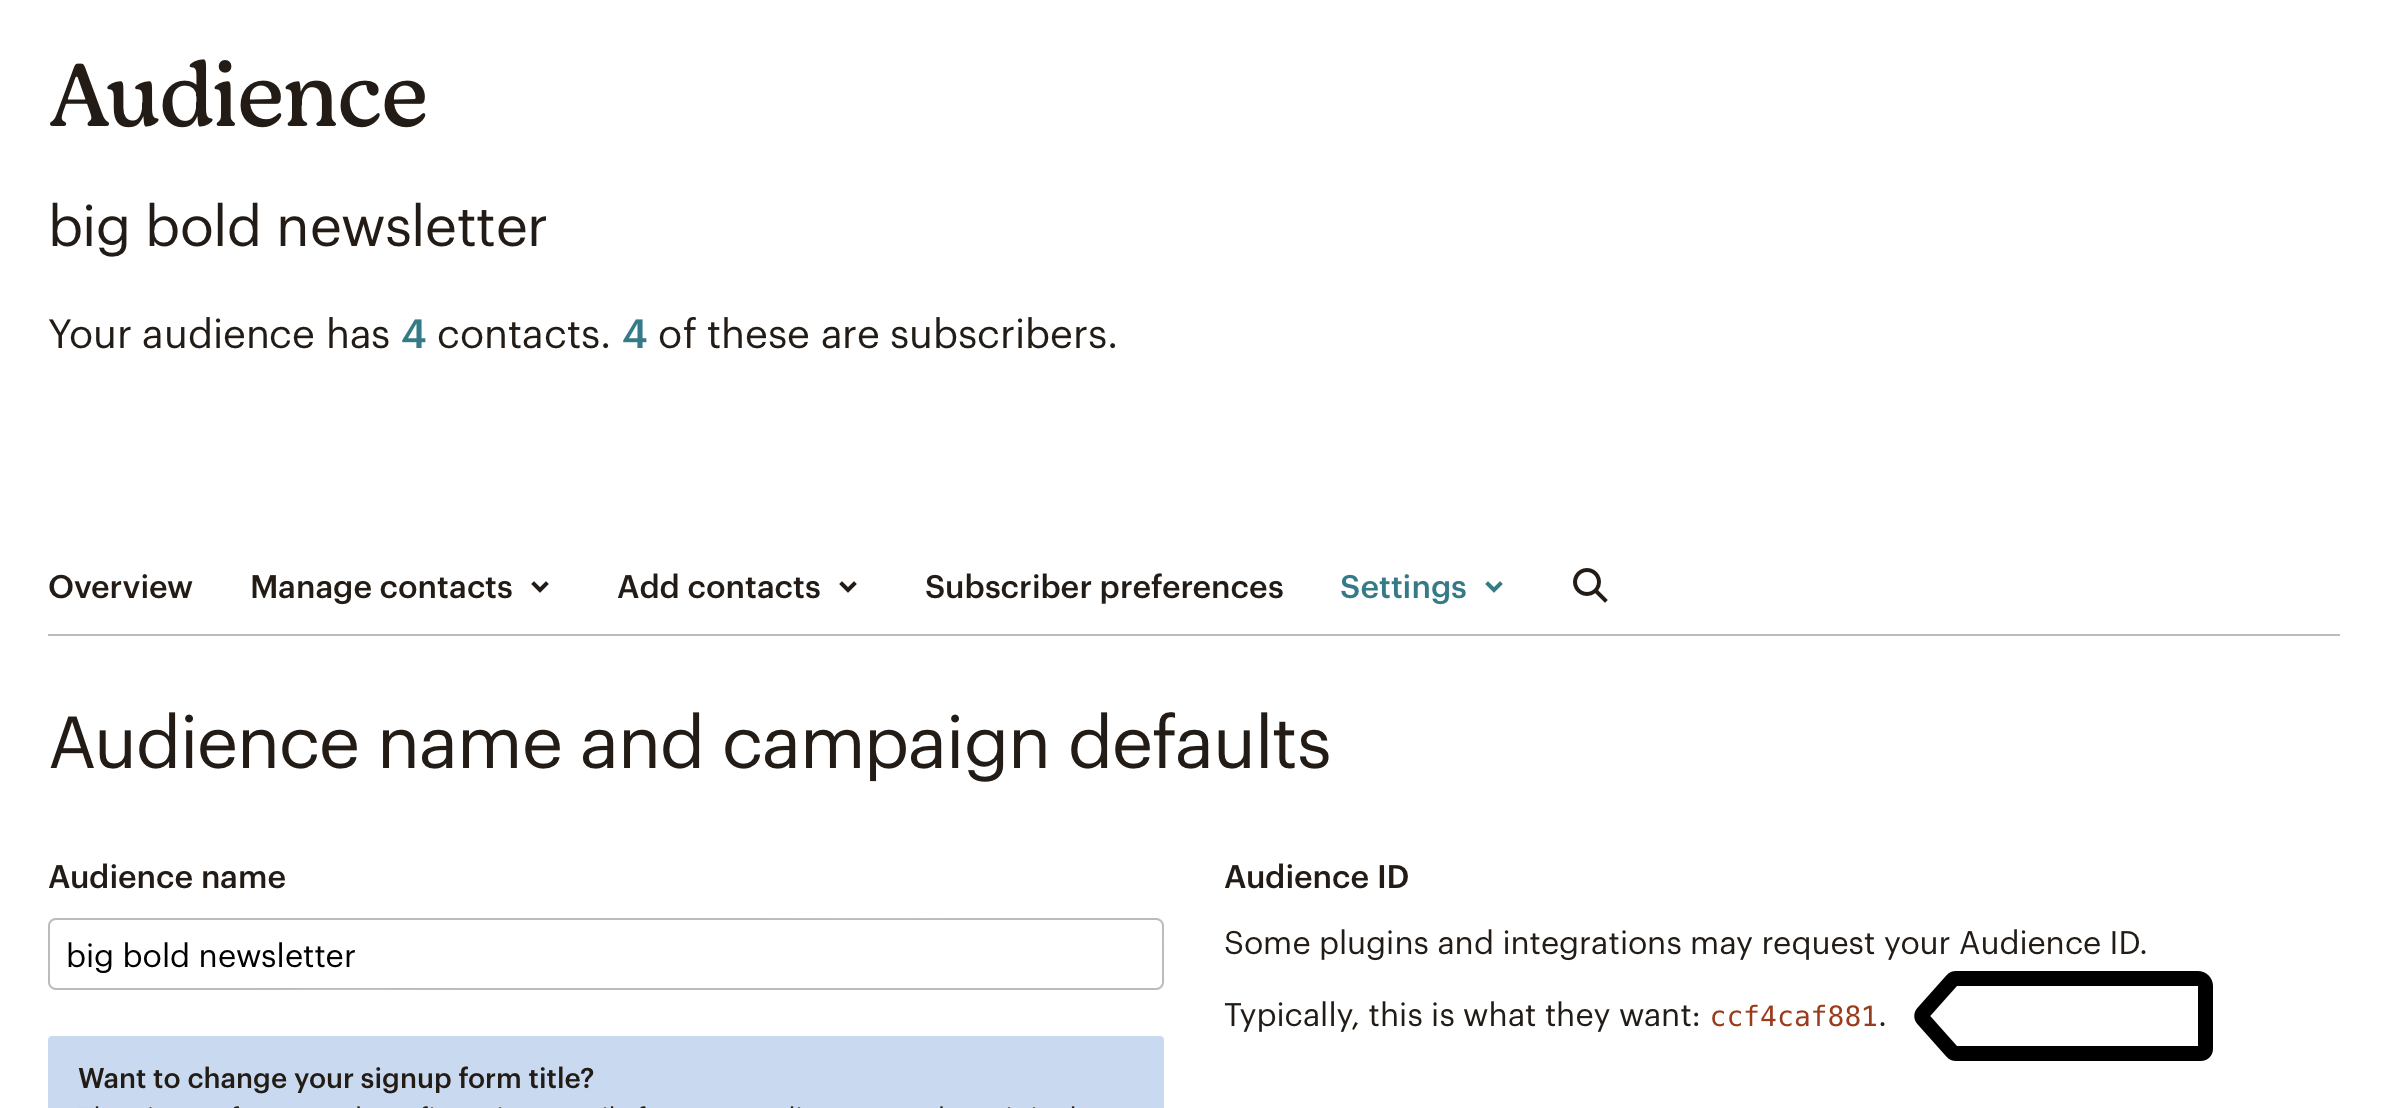
5. To find [Audience ID], go to Audience > All contacts > Settings > Audience name and defaults. The audience ID will be next to the audience name. Copy the audience ID and paste it into your notepad.
6. Build the webhook URL using [Your API key], [Data center] and [Audience ID]. The webhook URL format looks like this:
https://user:[Your API key]@[Data Center].api.mailchimp.com/3.0/lists/[Audience ID]/membersIn our example, we’ll use the following data:
- [Your API Key] → 5253****************************-us13
- [Data center] → us13
- [Audience ID] → ccf4caf881
So our final webhook URL will look like this:
https://user:5253****************************-us13@us13.api.mailchimp.com/3.0/lists/ccf4caf881/members7. Log in to Piwik PRO.
8. Go to Menu > Data Activation.
Note: We’ve changed the name of our Customer Data Platform. It’s now called Data Activation. The features and functionality haven’t changed.
9. Navigate to Activations.
10. Click Add an activation.
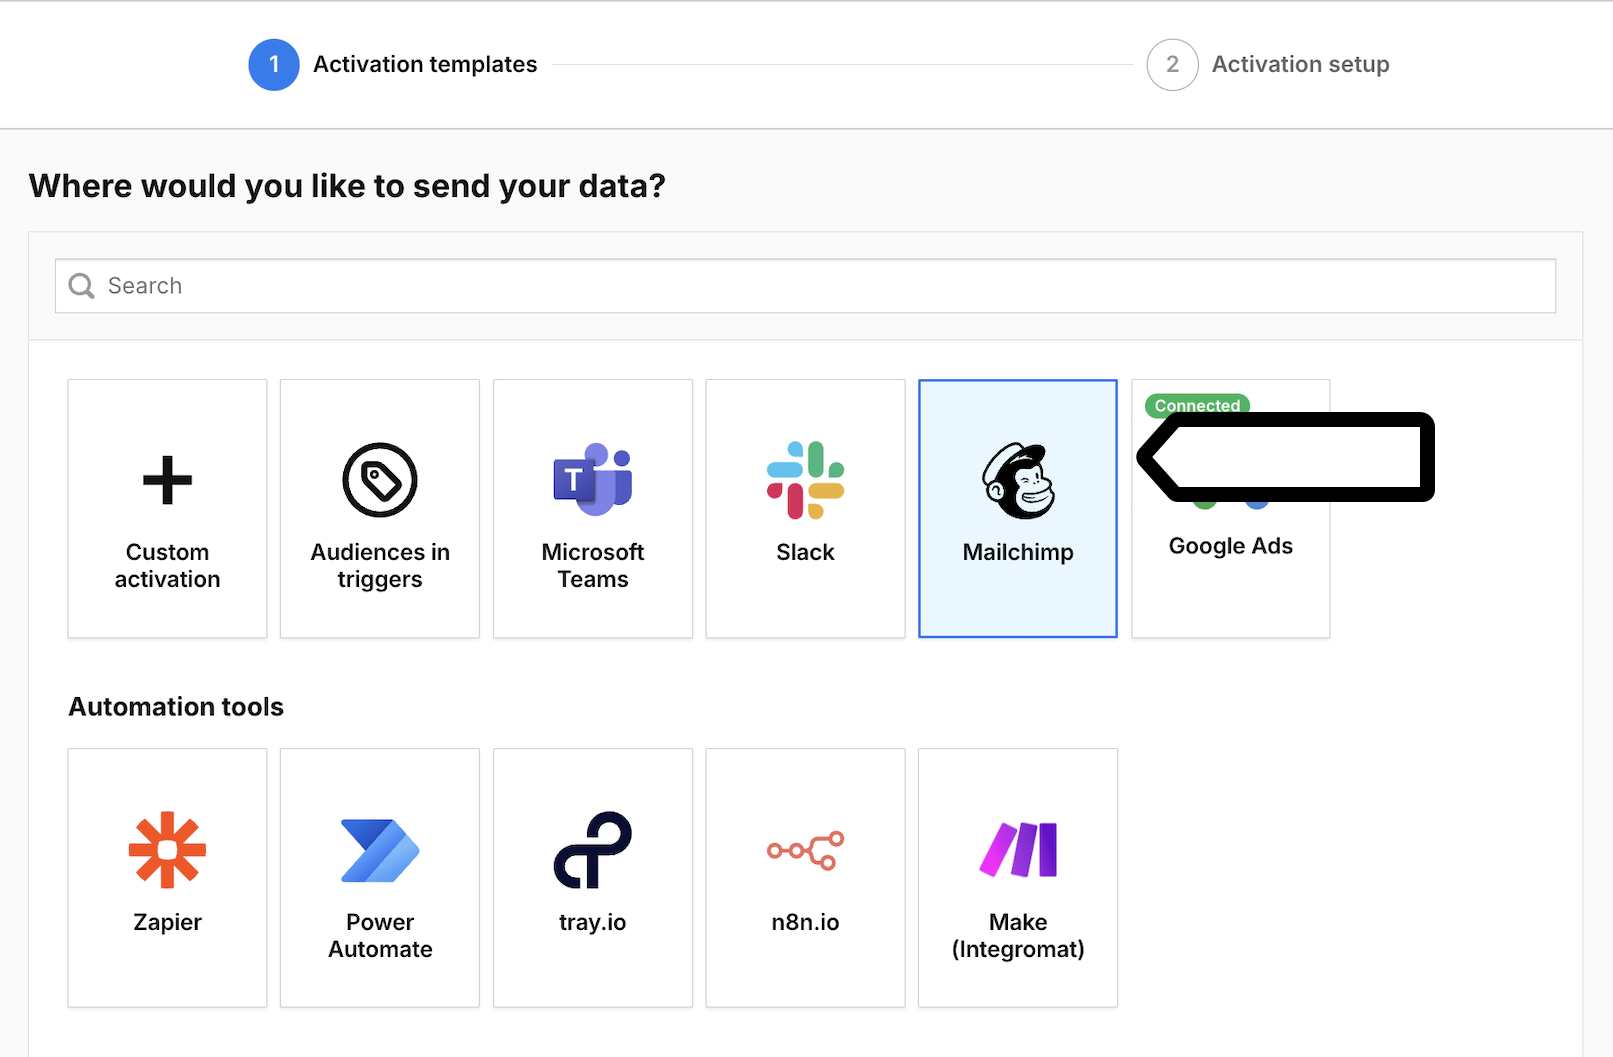
11. Select Mailchimp.
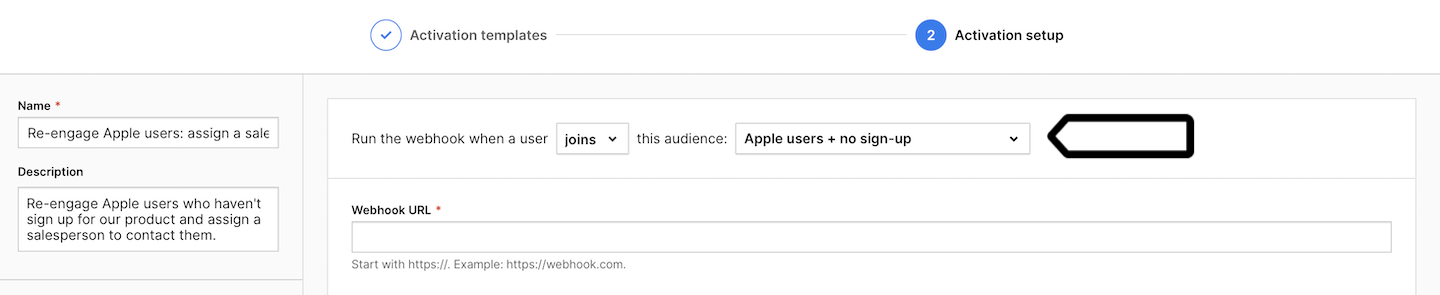
12. Name your activation and add a description.
13. Pick the audience you want to use in this activation. Example: Run the webhook when a user joins this audience: Apple users + no sign-up.
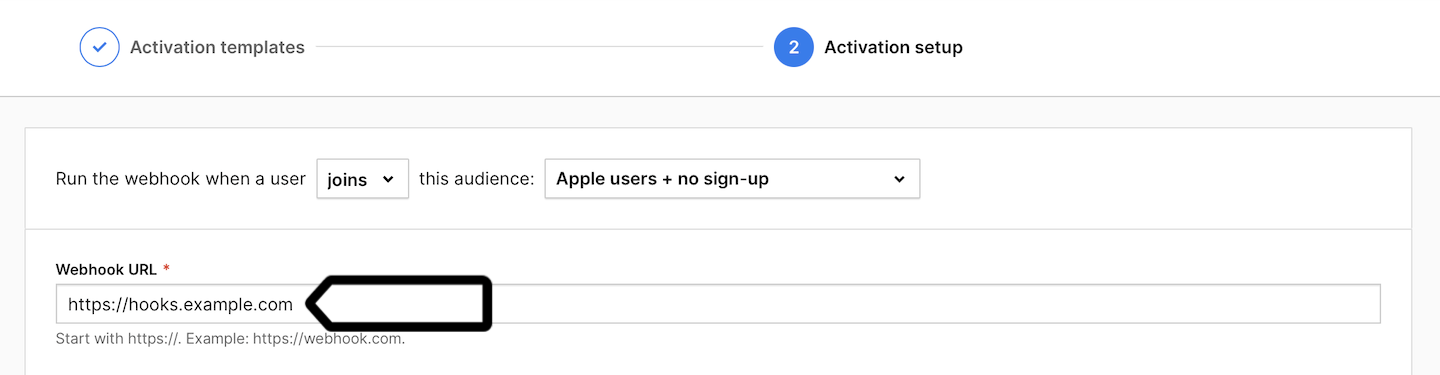
14. Enter the final webhook URL you’ve created for Mailchimp.
15. To add a subscriber to Mailchimp, you always need to send the following data (assuming you’re collecting visitor email addresses as user IDs):
Advanced (JSON)
{
"email_address": {user_id:last},
"status": "subscribed"
}
Simple
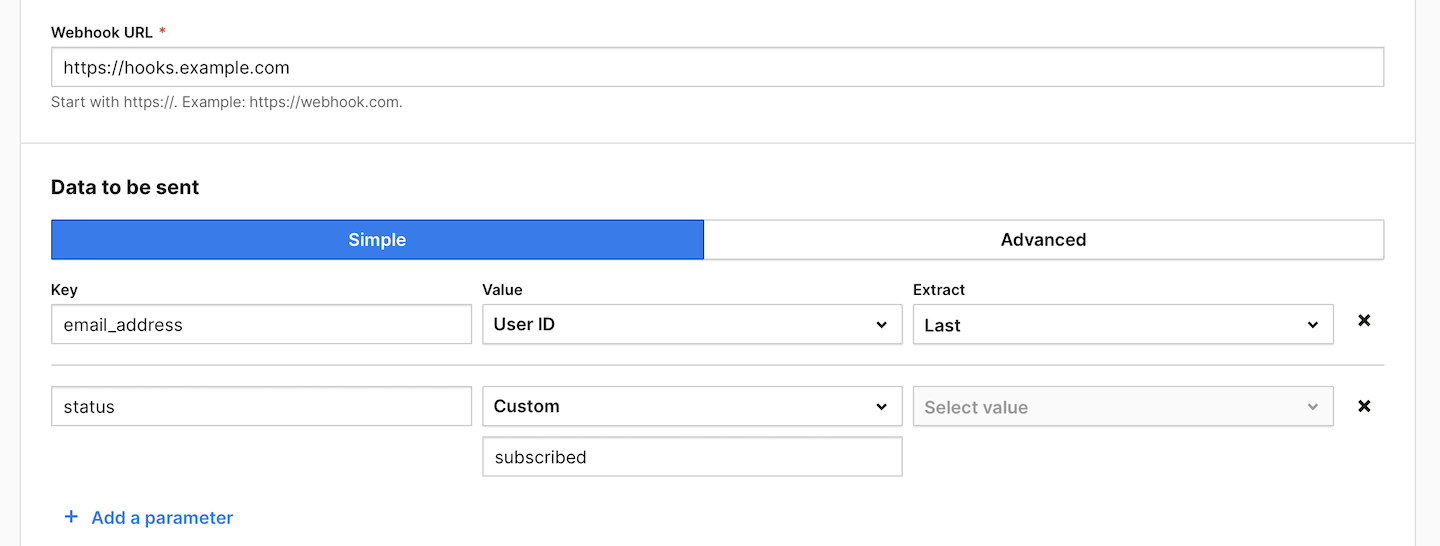
16. (Optional) Add any other data you want to send to Mailchimp.
17. Click Send test data to make sure the webhook works. If it works, you’ll see a green success message.
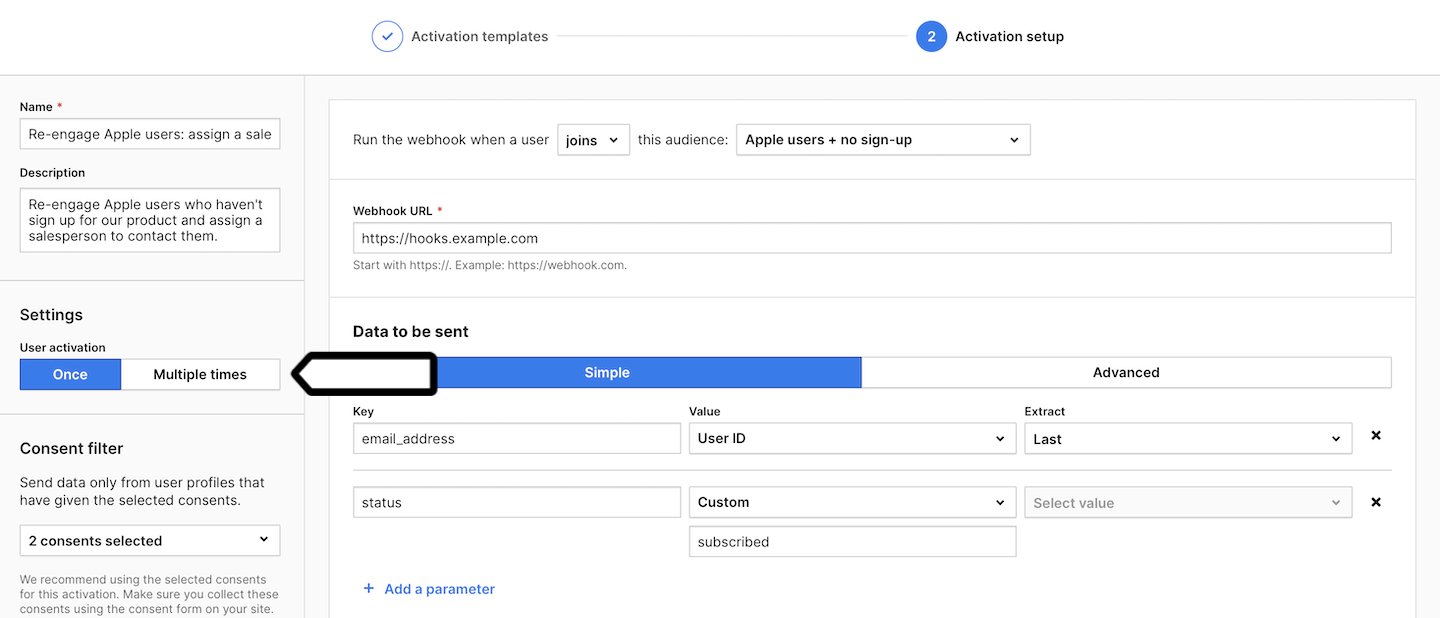
18. Choose whether you want to activate the user:
- Once: A user is activated only the first time they join this audience.
- Multiple times: A user is activated each time they join this audience.
19. (Optional) Choose to activate users who have multiple user IDs.
20. In Consent filter, select the consents that should be given to use the user profile data.
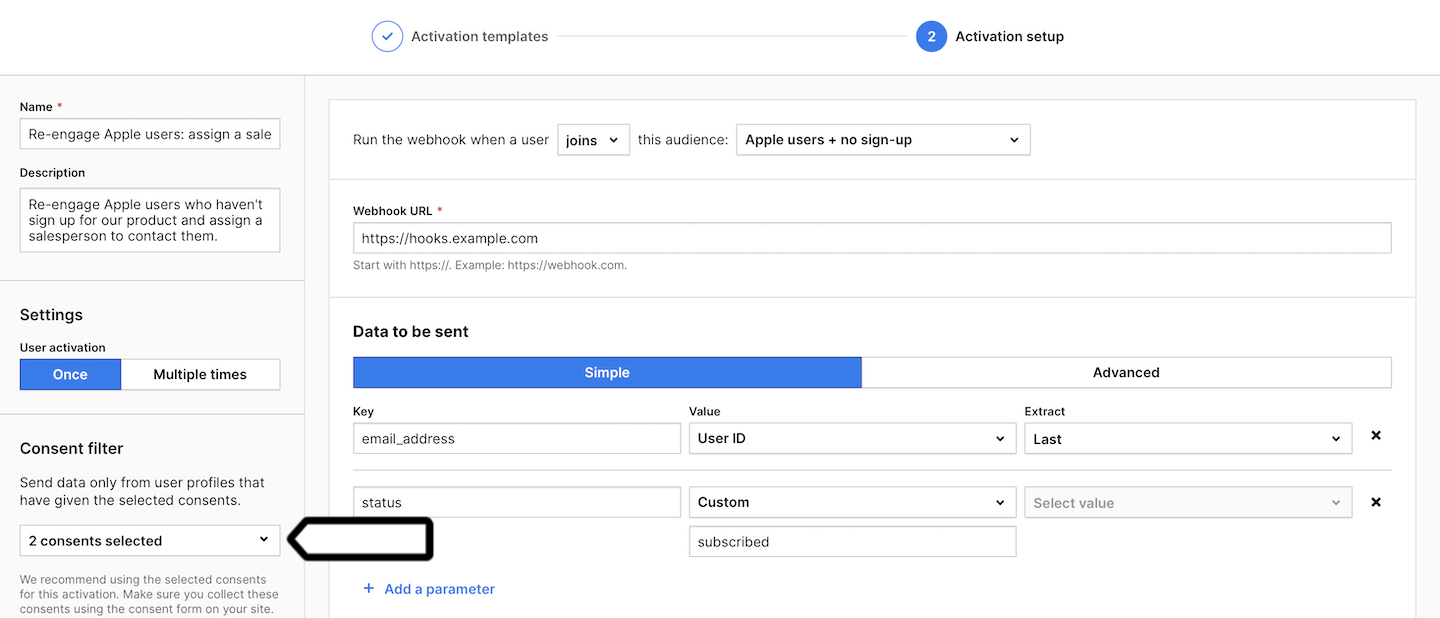
Note: Make sure you collect these consents using the consent form on your site. Read more
21. Click Create.
22. Well done! From now on, the selected user data will be sent to Mailchimp every time a user joins the selected audience. Of course, only if they have given the necessary consent.
Watch more tutorials on YouTube: