Power Automate is a tool that lets you create automated workflows between different apps and services. This means that you can set up tasks like syncing files, getting notifications or collecting data without having to do them manually.
You can use Power Automate to set up automated workflows between Piwik PRO and your other apps. For example, you could receive a notification when someone signs up for your product, update your spreadsheet automatically when someone makes a purchase, or assign a salesperson to follow up with a customer who hasn’t decided yet. There are lots of ways to make use of data from Piwik PRO and Power Automate.
In this article, we’ll explain how to activate data for Power Automate.
Before you start
Here are a few key things to know before you start:
- To learn more about Power Automate, see Microsoft’s documentation.
- Activation will only happen after it’s created and only for people who join the audience. It does not apply to people who were in the audience before activation.
Create a Power Automate activation
To create a Power Automate activation, follow these steps:
1. Log in to Power Automate.
2. Click + Create.
3. Select Instant cloud flow.
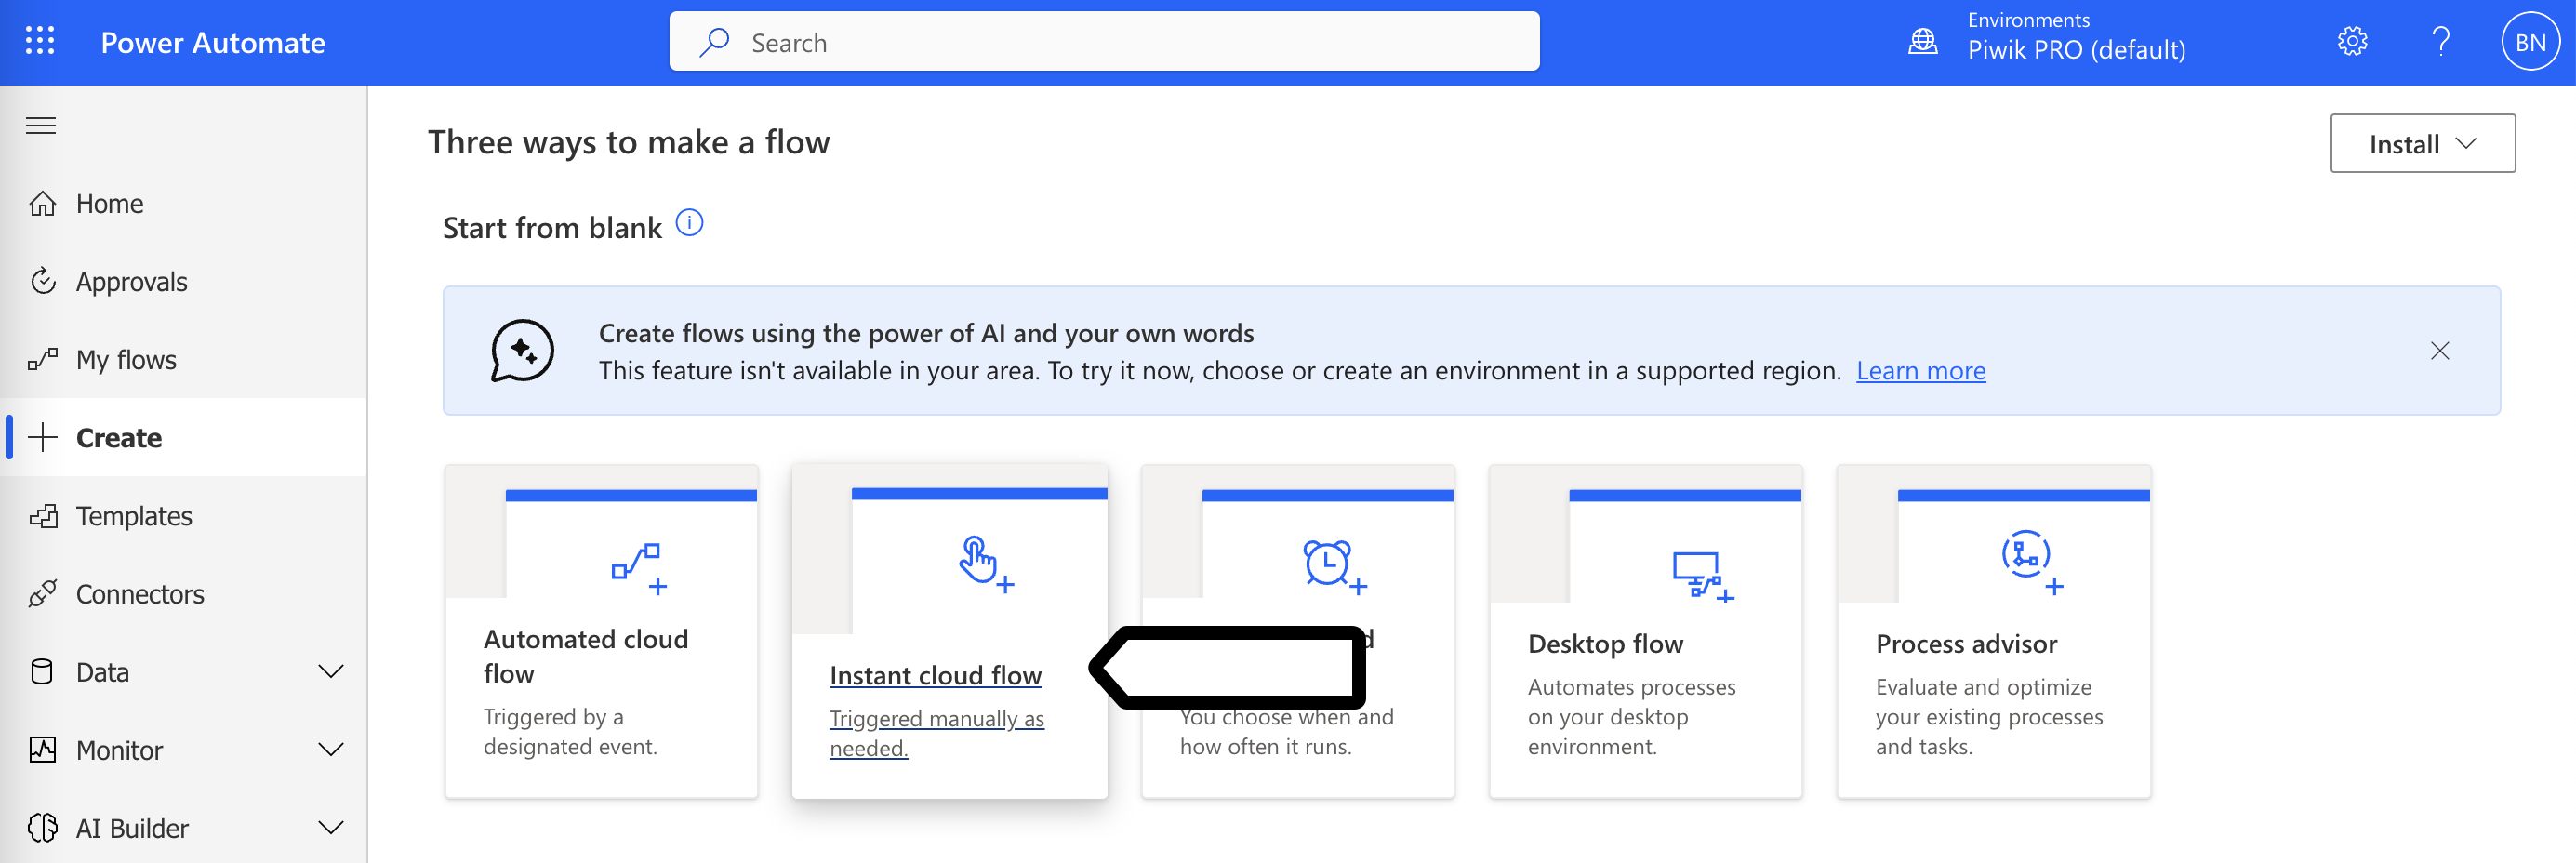
4. Name the flow.
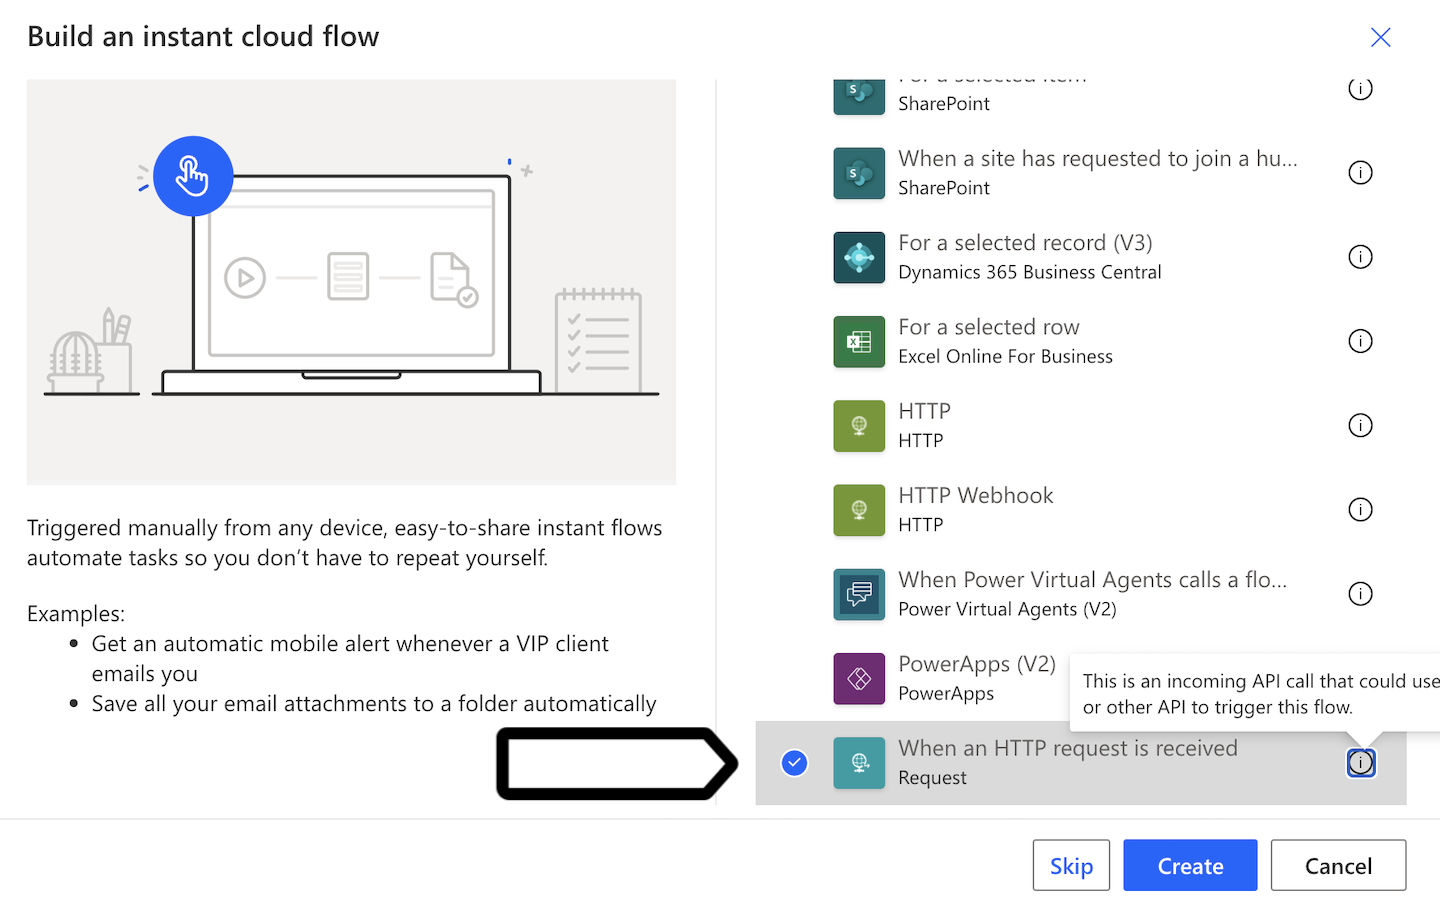
5. Choose When an HTTP request is received. This will let you set up the incoming webhook.
6. Log in to Piwik PRO.
7. Go to Menu > Data Activation, formerly Customer Data Platform or CDP.
8. Navigate to Activations.
9. Click Add an activation.
10. Select Power Automate.
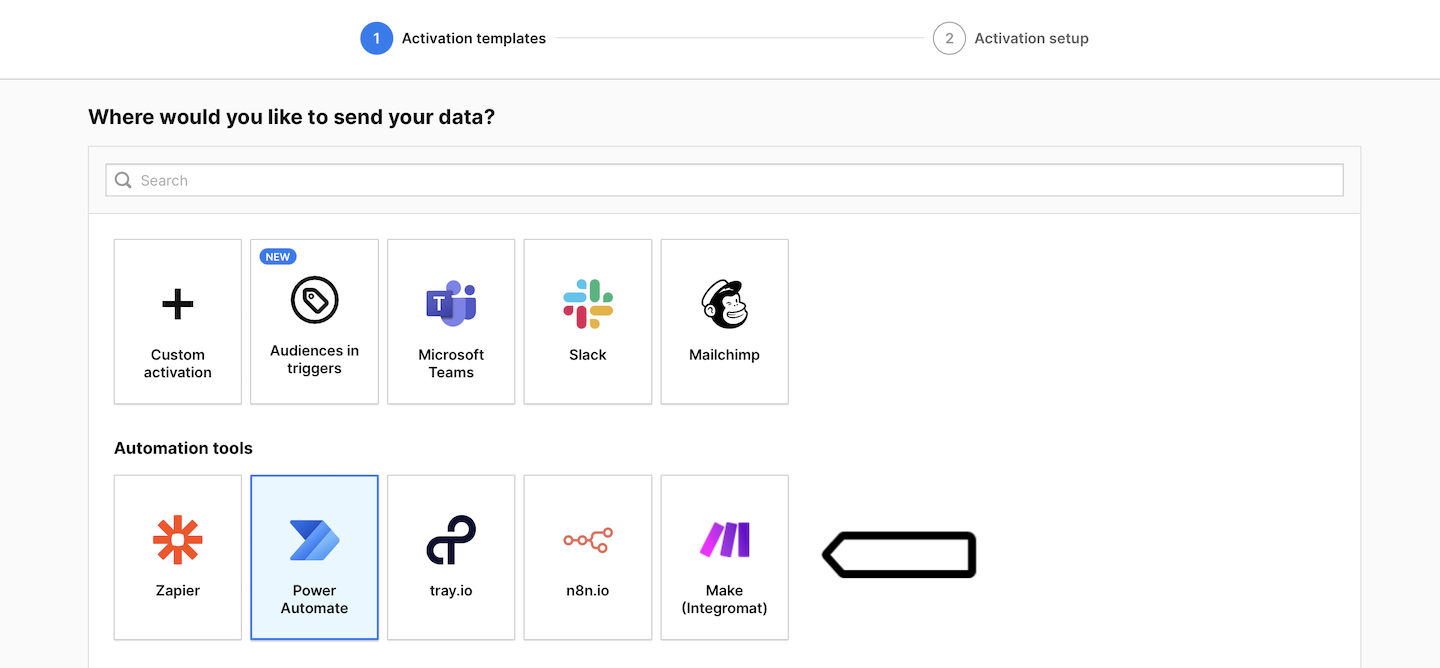
11. Name your activation and add a description.
12. Pick the audience you want to use in this activation. Example: Run the webhook when a user joins this audience: Apple users + no sign-up.

13. Select the data you want to send when a user joins the selected audience (the webhook is triggered). But don’t add the webhook URL yet.
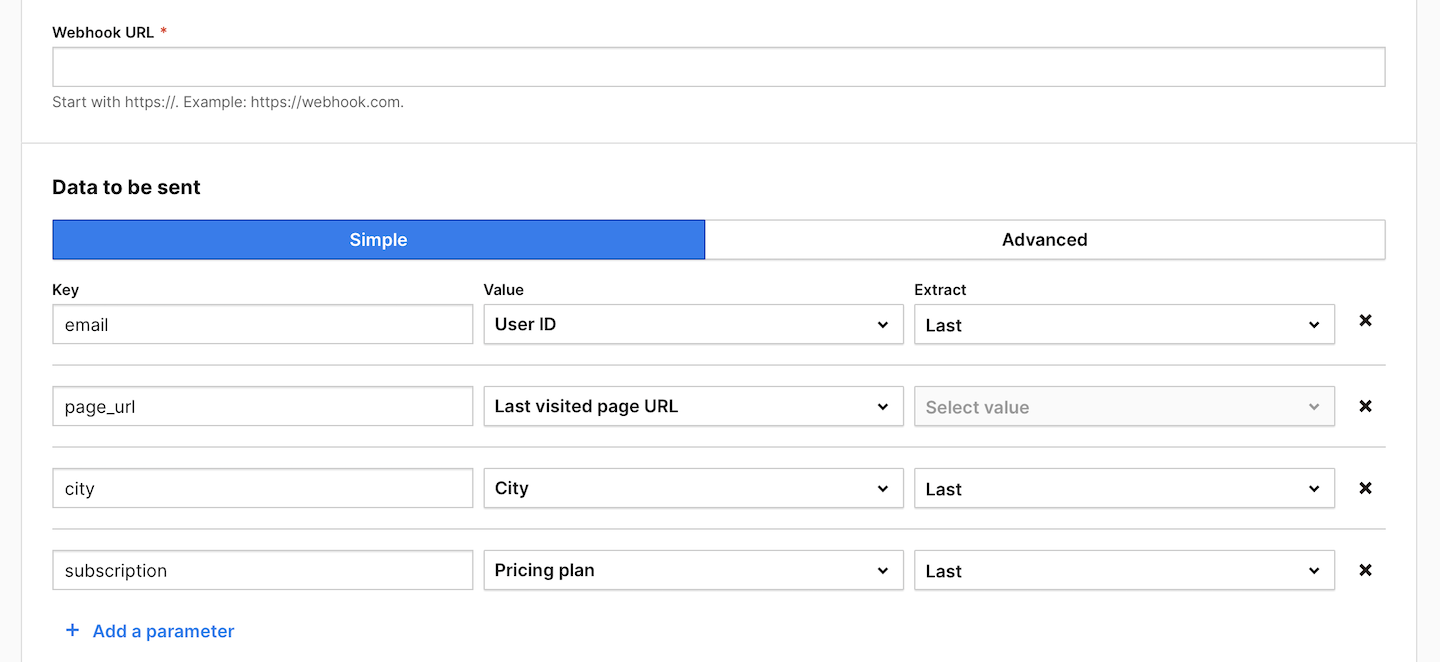
14. Switch to Advanced and copy the data in JSON.
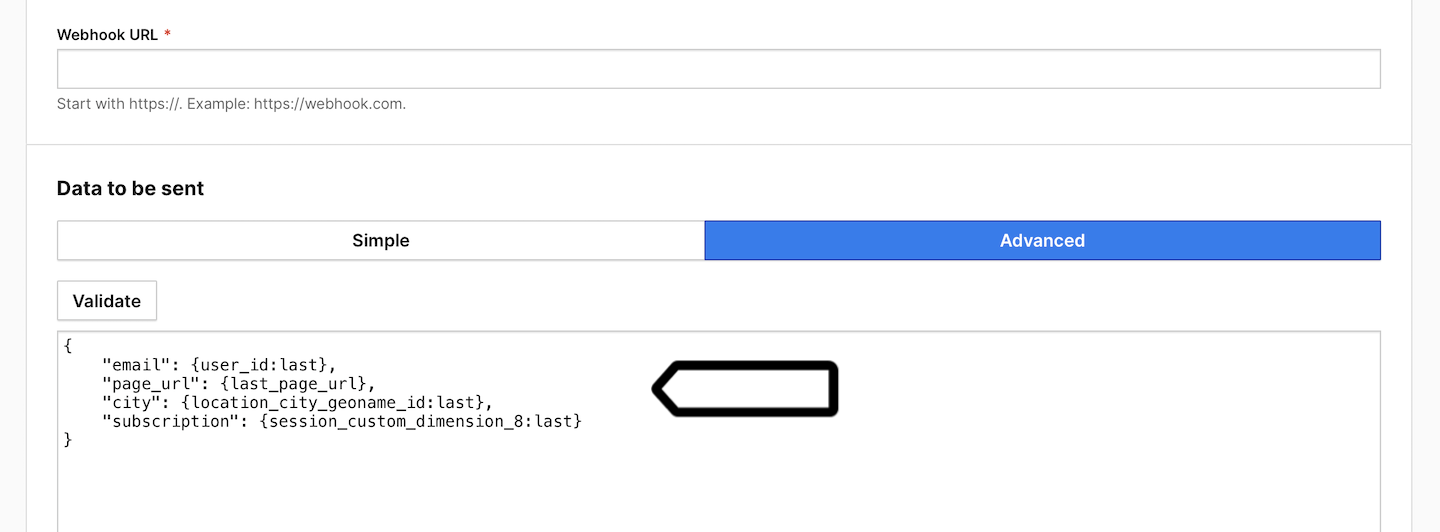
15. Modify the copied JSON by adding "test" as values. Example:
{
	"email": "test",
	"page_url": "test",
	"city": "test",
	"subscription": "test"
}
16. Go back to Power Automate and click Use sample payload to generate schema.
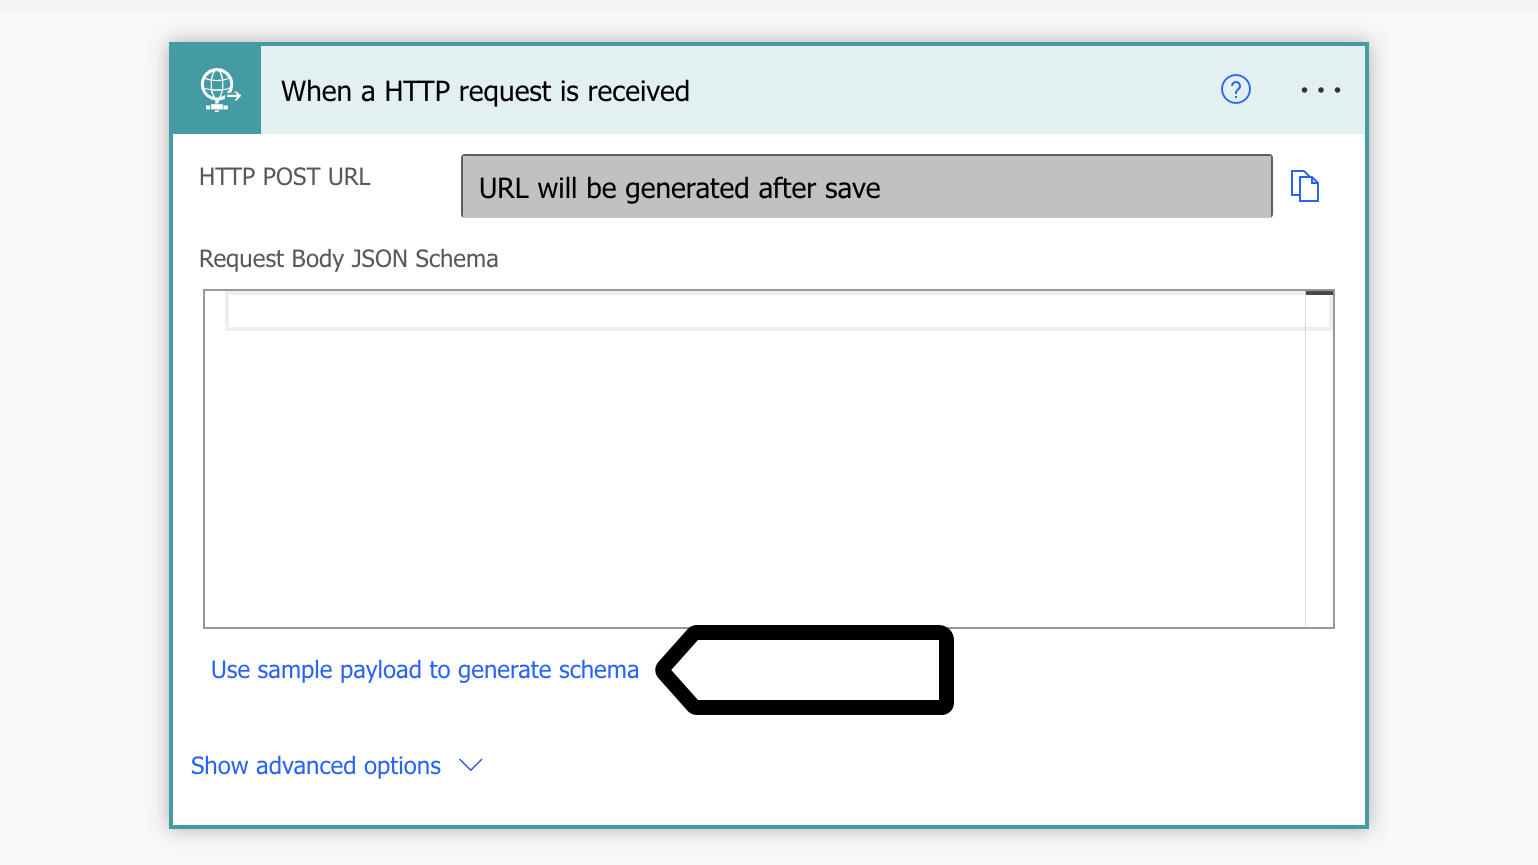
17. Paste the modified JSON code from Piwik PRO and click Done.
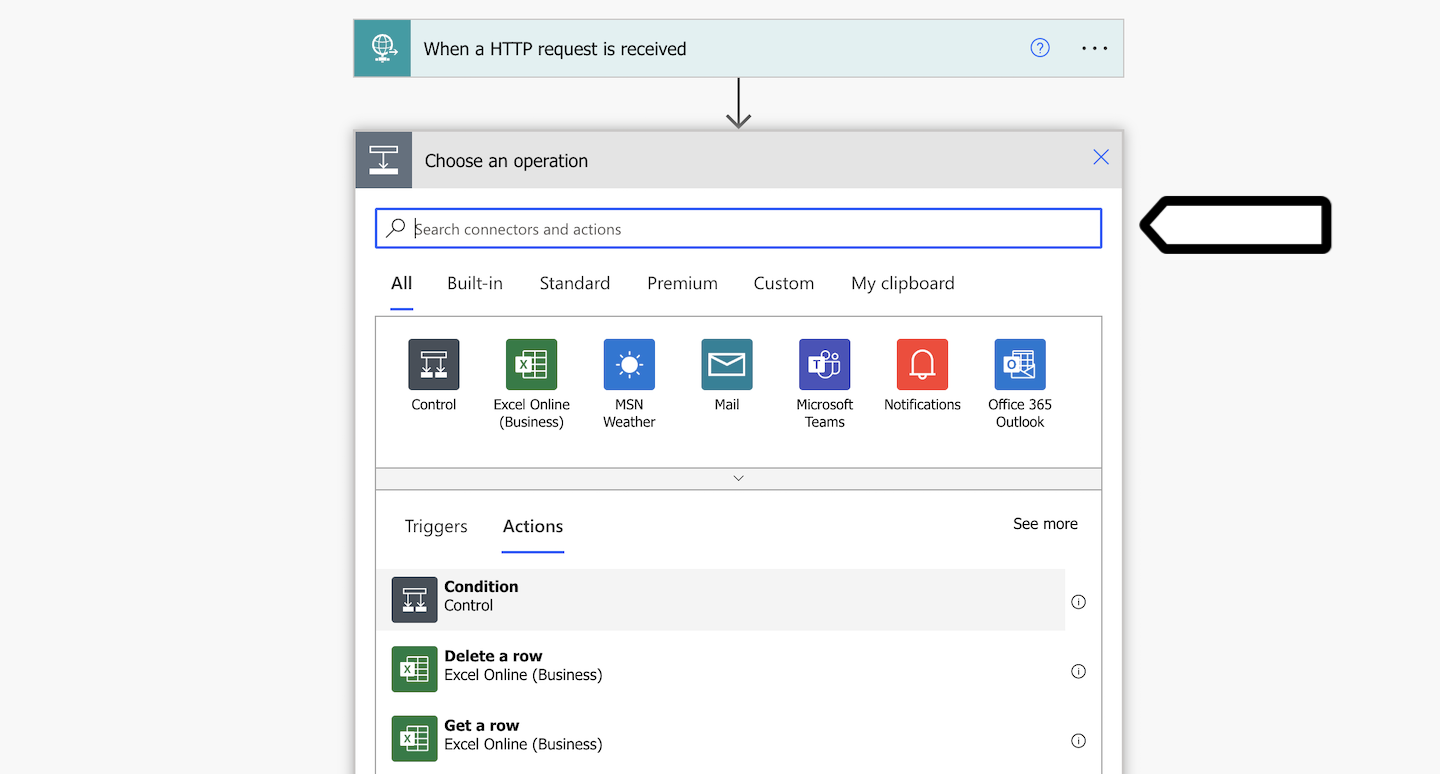
18. Click + New step.
19. Choose and set up the tool to which you want to send the data.
20. Click Save.
21. Copy the HTTP POST URL. This is your webhook URL, which you’ll need to set up the activation in Piwik PRO.
22. Go back to Piwik PRO.
23. Enter the webhook URL from Power Automate.

24. Click Send test data to make sure the webhook works. If it works, you’ll see a green success message.
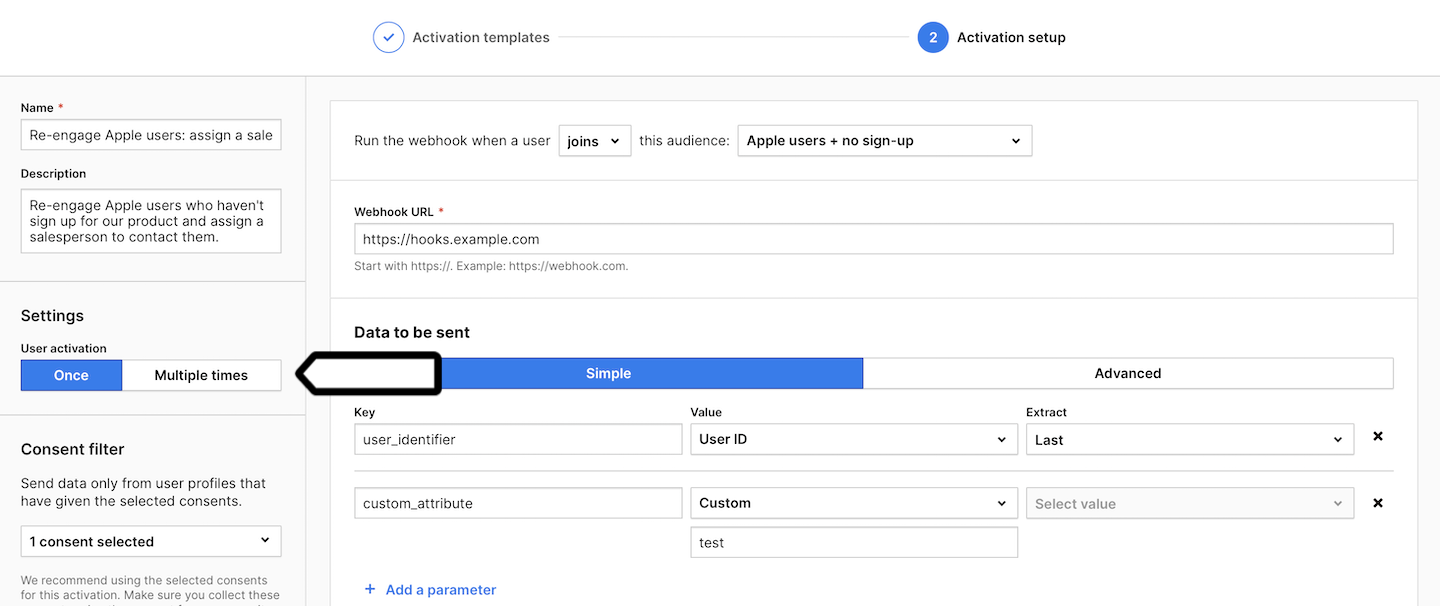
25. Choose whether you want to activate the user:
- Once: A user is activated only the first time they join this audience.
- Multiple times: A user is activated each time they join this audience.
26. (Optional) Choose to activate users who have multiple user IDs.
27. In Consent filter, select the consents that should be given to use the user profile data.
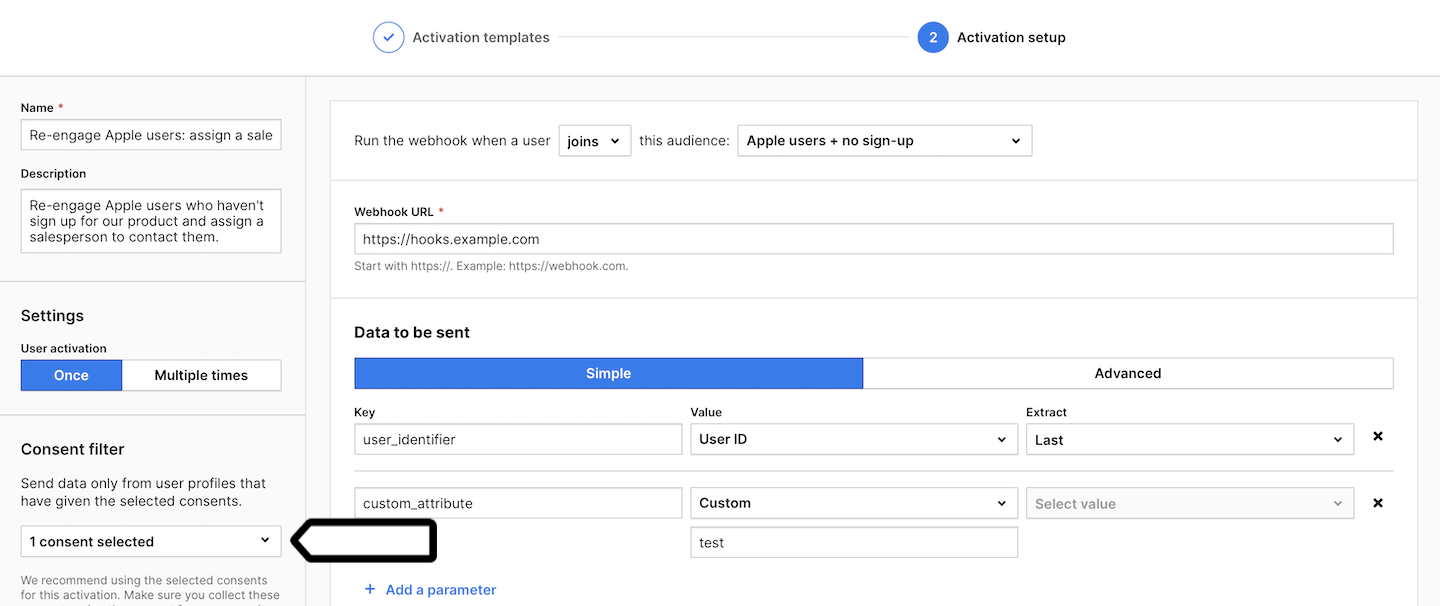
Note: Make sure you collect these consents using the consent form on your site. Read more
28. Click Create.
29. Done! From now on, every time a user joins the selected audience, their data will be sent to Power Automate and trigger the action in the selected tool. Of course, only if the user has given the necessary consent.
Watch more tutorials on YouTube:
