The menu is a gateway to your website. A clearly organized menu helps visitors navigate smoothly to the information they need. But how to design it properly? The best way is to put together a menu you think will work well and then see how people interact with it. As soon as you collect a significant amount of data with menu clicks, you can redesign the original menu and keep tracking the effects.
In this chapter, we’ll show you how to set up menu tracking. We’ll start by checking the CSS attributes for menu elements.
Find the CSS attribute of menu elements
The website menu usually consists of a textual menu and logo. Each of these elements has different CSS attributes, so we’ll have to locate each of them separately.
To find the CSS attribute of your logo, follow these steps:
1. Open your website and find the logo.
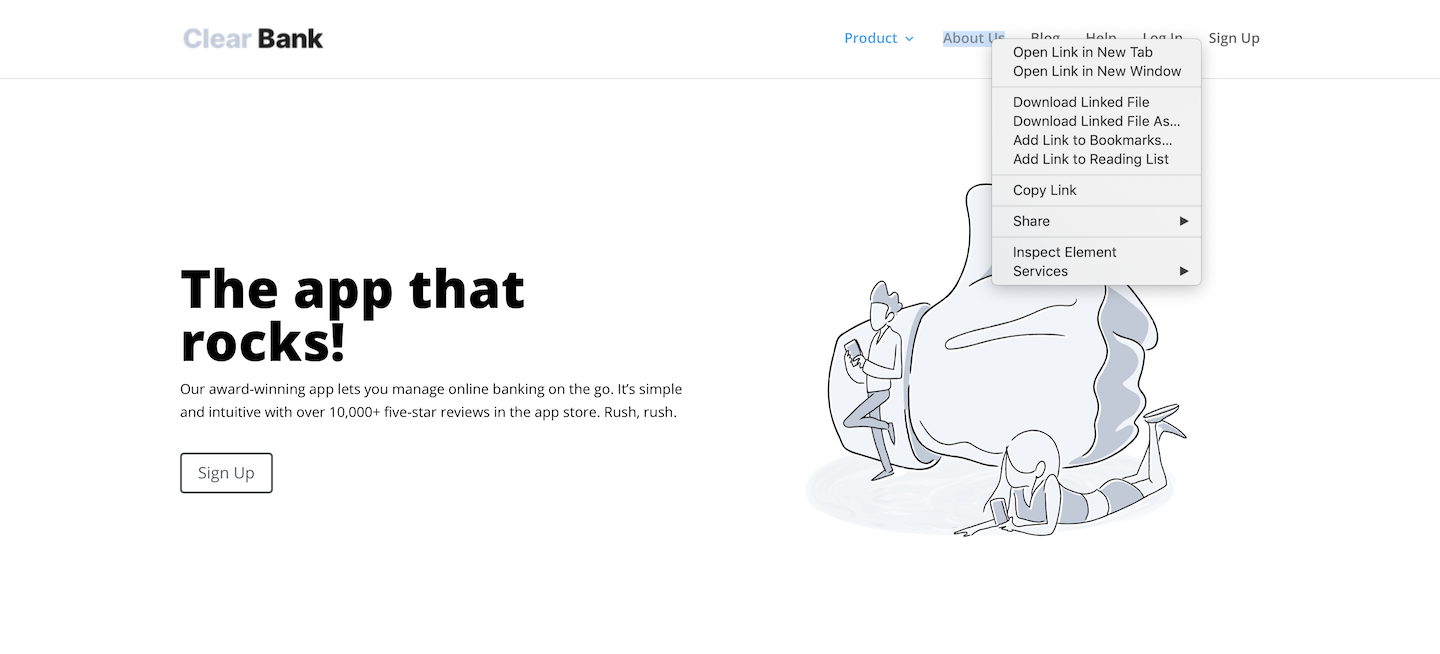
2. Right click on the logo and click Inspect or Inspect Element, depending on the browser you’re using.
3. Look for a class or ID CSS attribute. For example, the code could look like this:
<div class="logo_container">
    <span class="logo_helper"></span>
    <a href="https://sales.piwik.pro/clearbank/">
        <img src="https://sales.piwik.pro/clearbank/wp-content/uploads/sites/33/2019/04/clear-bank-logo-2.png" alt="Clear Bank" id="logo" data-height-percentage="54" data-actual-width="140" data-actual-height="21">
    </a>
</div>
From lines of code, we can pull out the class="logo_container" used for the <div> section with logo.
To find the CSS attribute for a textual menu, follow these steps:
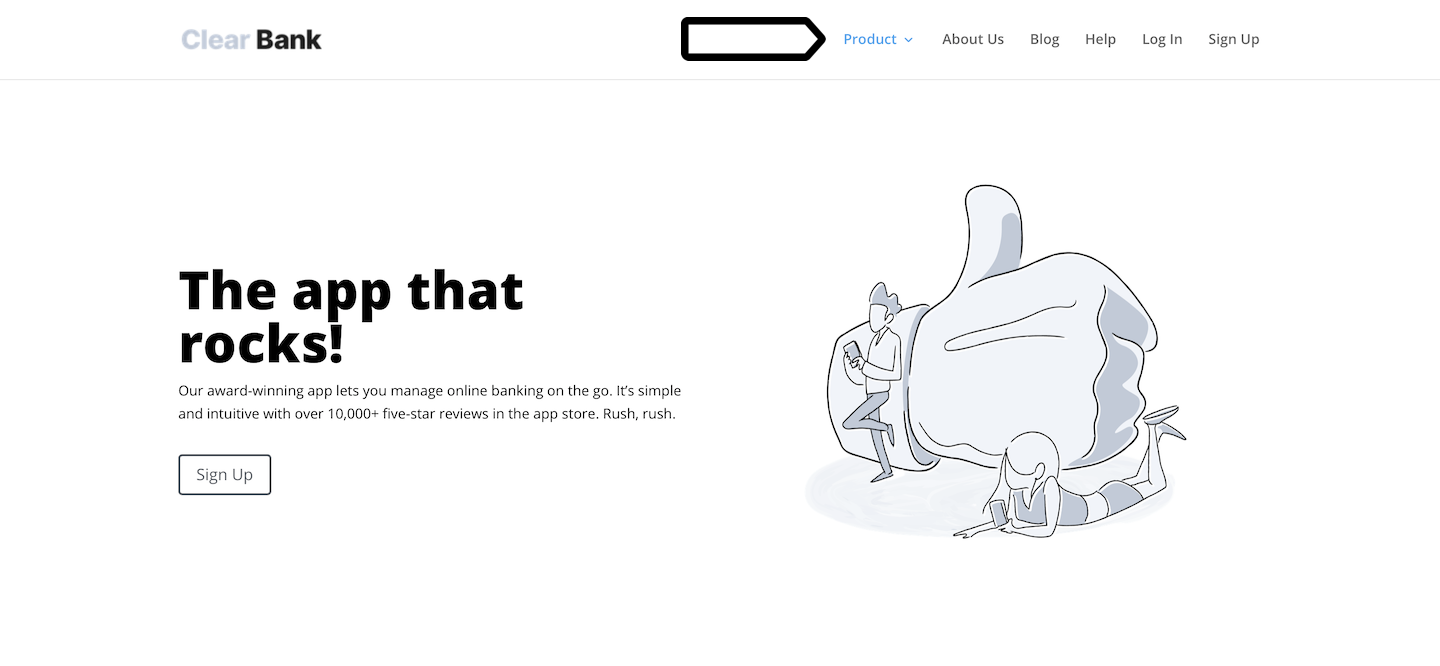
1. Open your website and find the logo.
2. Right click on the menu element and click Inspect or Inspect Element, depending on the browser you’re using.
3. Look for a class or ID CSS attribute. For example, the code could look like this:
<li id="menu-item-40" class="menu-item menu-item-type-post_type menu-item-object-page menu-item-40">
    <a href="https://sales.piwik.pro/clearbank/about-us/">About Us</a>
</li>
From this piece of code, we can take out the class="menu-item" used for each <li> section for the menu item.
When we know the CSS attributes for a logo and textual menu, we can define tags and triggers that will track the whole menu.
Set up logo tracking in Tag Manager
First, we’ll set up tracking of the moments when a visitor clicks a logo.
To set up a tag for tracking a logo, follow these steps:
1. Go to Menu > Tag Manager.
2. Click Add a tag.
3. Name the tag and select the following type: Custom event.
4. Click Next.
5. Set category as Menu item. You can use another name depending on the framework you use for organizing events in your reports.
6. Set action as Logo.
7. Set name as a {{ Page Path }} or {{ Page URL }} variable. This way Tag Manager will pull out information about the page where the logo was clicked.

8. When you’re done, click Save.
To set up a trigger for tracking a logo, follow these steps:
1. Go to Menu > Tag Manager.
2. Navigate to Tags.
3. Click on the tag you want to work with.
4. In Tag triggers, click Add a trigger.
5. Name the trigger.
6. In Event type, choose the following type: Click.
7. Click Next.
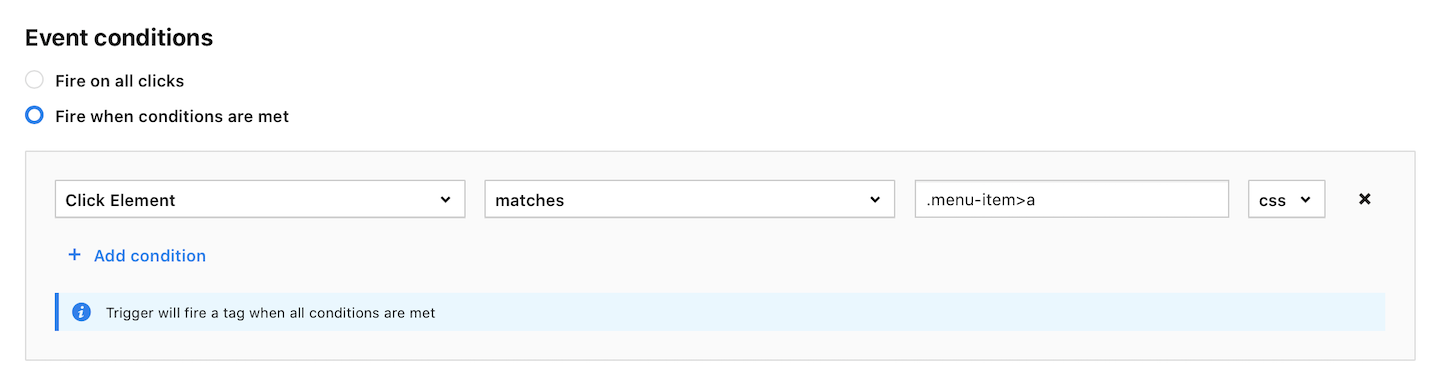
8. In Event conditions, define conditions for the trigger. For our example, we’ll use the condition Click element is a child of logo_container.
9. When you’re done, click Save.
Before we move on to check if the tag and trigger are working correctly, we’ll set up tracking for the textual menu.
Set up textual menu tracking in Tag Manager
Now, we’ll set up the tracking of moments when a visitor clicks any textual menu item.
First, we’ll create a trigger for the tag.
To set up a trigger for tracking a menu item click, follow these steps:
1. Go to Menu > Tag Manager.
2. Navigate to Tags.
3. Click on the tag you want to work with.
4. In Tag triggers, click Add a trigger.
5. Name the trigger.
6. In Event type, choose the following type: Click.
7. Click Next.
8. In Event conditions, define conditions for the trigger. For our example, we’ll use the condition Click element matches .menu-item>a. The .menu-item>a piece tells the trigger that we want it to fire whenever someone clicks a link >a from the class .menu-item.
9. When you’re done, click Save.
To set up a tag for tracking a menu item, follow these steps:
1. Go to Menu > Tag Manager.
2. Click Add a tag.
3. Name the tag and select the following type: Custom code.
4. Click Next.
5. We’ll use the following script:
<script>
    var label_of_clicked_element = {{ Click Element }}.textContent;
    _paq.push(['trackEvent', 'Menu item', label_of_clicked_element, {{ Page Path }}]);
</script>
6. The script will go into Tag code.

At this point, you probably need some explanation of exactly what this script does. Well, it’s pretty much the same script as the one we used for tracking buttons with various button names.
The first line of code – var label_of_clicked_element = {{ Click Element }}.textContent; – defines a variable which holds data about the text used in the clicked element. For example, when the clicked menu item is a Product, the variable will capture and remember the text.
The second line of code – _paq.push(['trackEvent', 'Menu item', label_of_clicked_element, {{ Page Path }}]); – sends information about the event to Analytics. In our example it transfers the following data:
- Category: Menu item.
- Action: label_of_clicked_element (That’s our defined variable).
- Name: {{ Page Path }} (A variable that pulls out the page path where an event occurred).
As you may have noticed, we used the category name Menu item both for a logo and textual menu tag. This way we are combining data about logo clicks and menu item clicks in one category, which helps organize the analysis of the entire menu in Analytics.
Check the setup in debug mode
With tags and triggers in hand, we can move on to testing if they work using debug mode in Tag Manager.
To use debug mode, follow these steps:
1. Go to Menu > Tag Manager.
2. Go to Debug mode.

3. Choose the site/app you want to work with. Use the site/app picker in the upper right corner.
4. In Your site address, type in or select your site or app address.
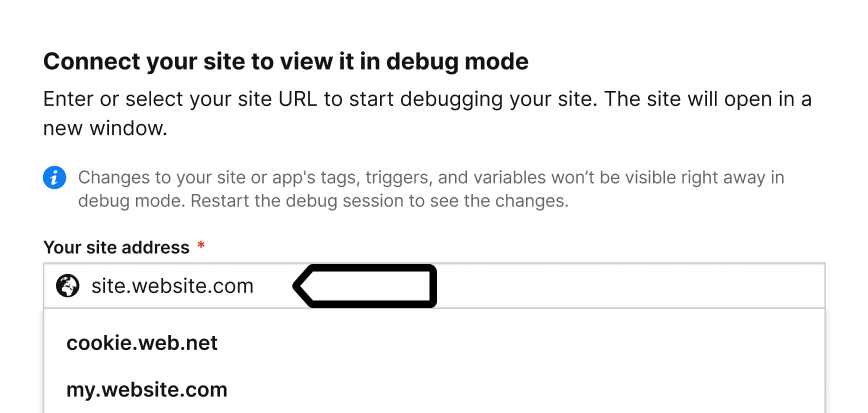
5. Click Connect.
6. Once your site is connected, it will open in a new tab.
Note: If you have any trouble connecting, check that:
- Your browser allows popups. Some browsers, such as Safari, block them by default.
- The necessary code is installed on your site.
- You entered the correct site address.
- Ad blockers are turned off.
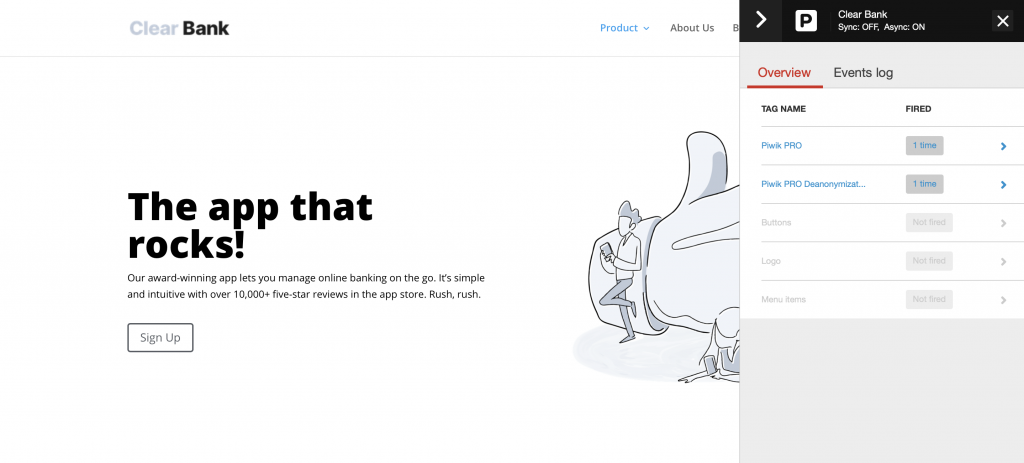
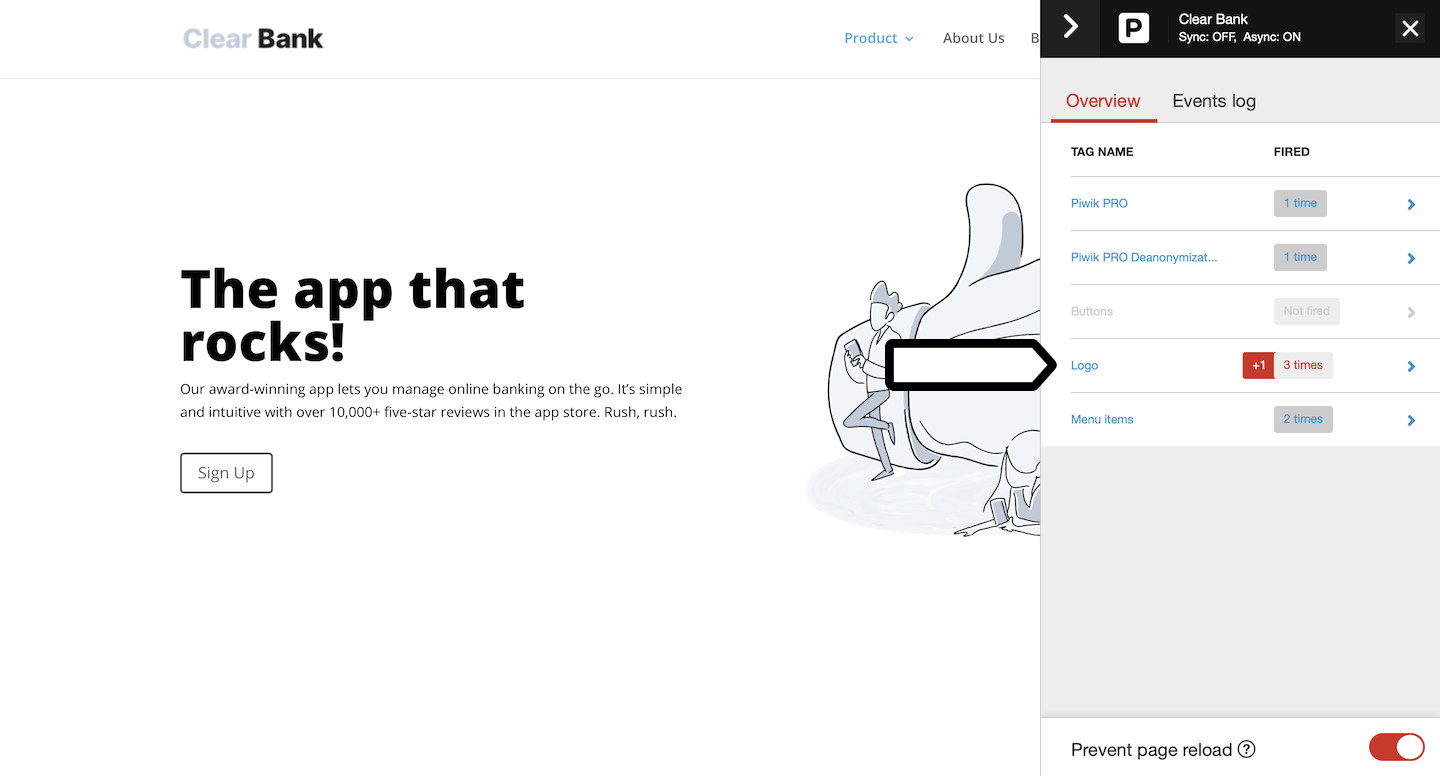
7. In Debug mode, turn on Prevent page reload. This will stop the page from refreshing when you click elements that would normally trigger a reload.
8. On your website, click the logo or menu item.
9. Go to Debug mode > Tags to check if the tag was fired.
6. When you’re happy with how the tag works, go back to Tag Manager and publish the tag.
View menu tracking in a report
Once tags start collecting data you will see them in an event report in Analytics under Menu > Analytics > Reports > Custom events.
As we’ve already mentioned, we organize logo and menu items tags under one category, Menu item. For an action name we use Logo or the text on a menu item, for example, Product Tour or About Us. And for a name we use the page path. Here’s what our report will look like when applying this construction.

When setting up menu tracking for your website, remember to spot the right elements from the CSS attributes and think ahead about the framework you want to use for your event report. Then put all the bits and pieces together, wait for a significant amount of data, and experiment with the redesign.
By looking at how people interact with your menu you’ll see what’s important for them, and you’ll learn what to put up front and what to “hide” at the end. All this helps the user achieve easy navigation.