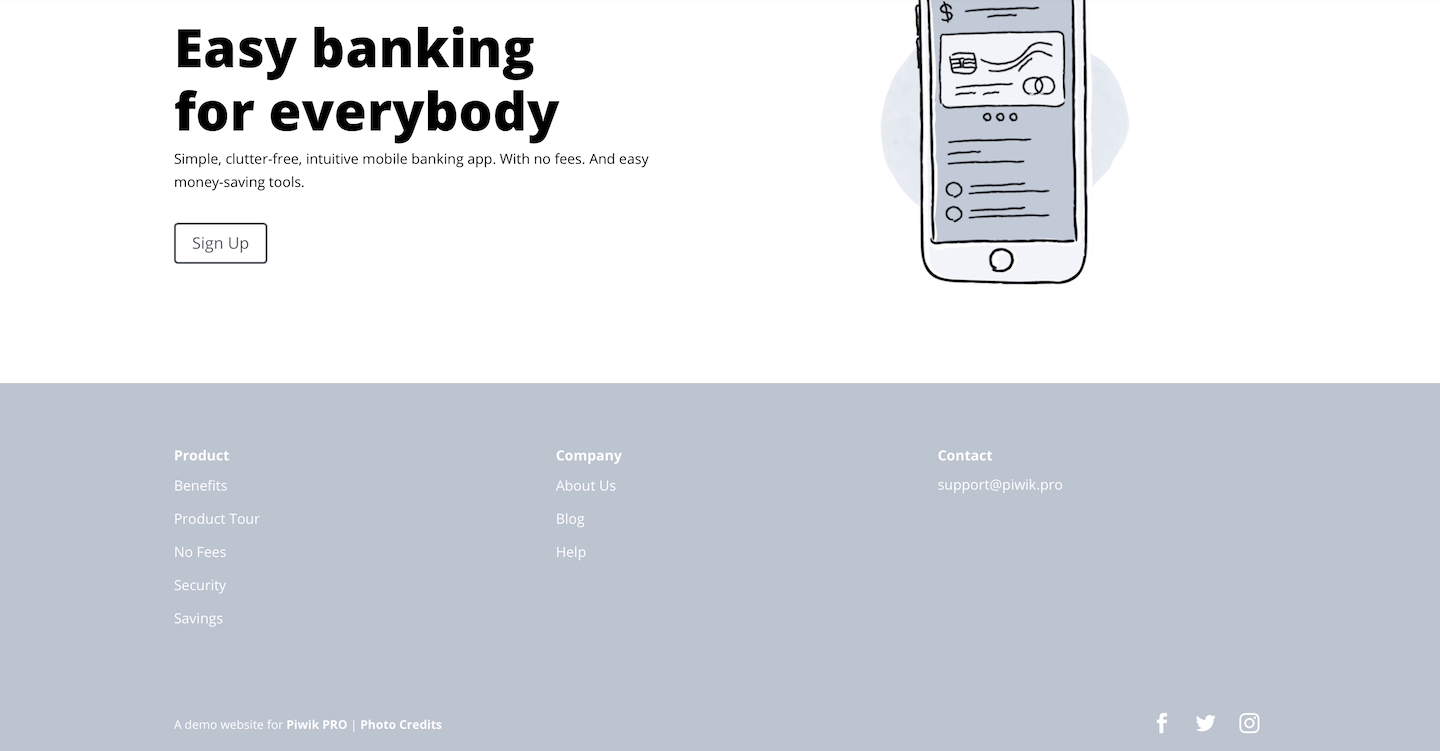
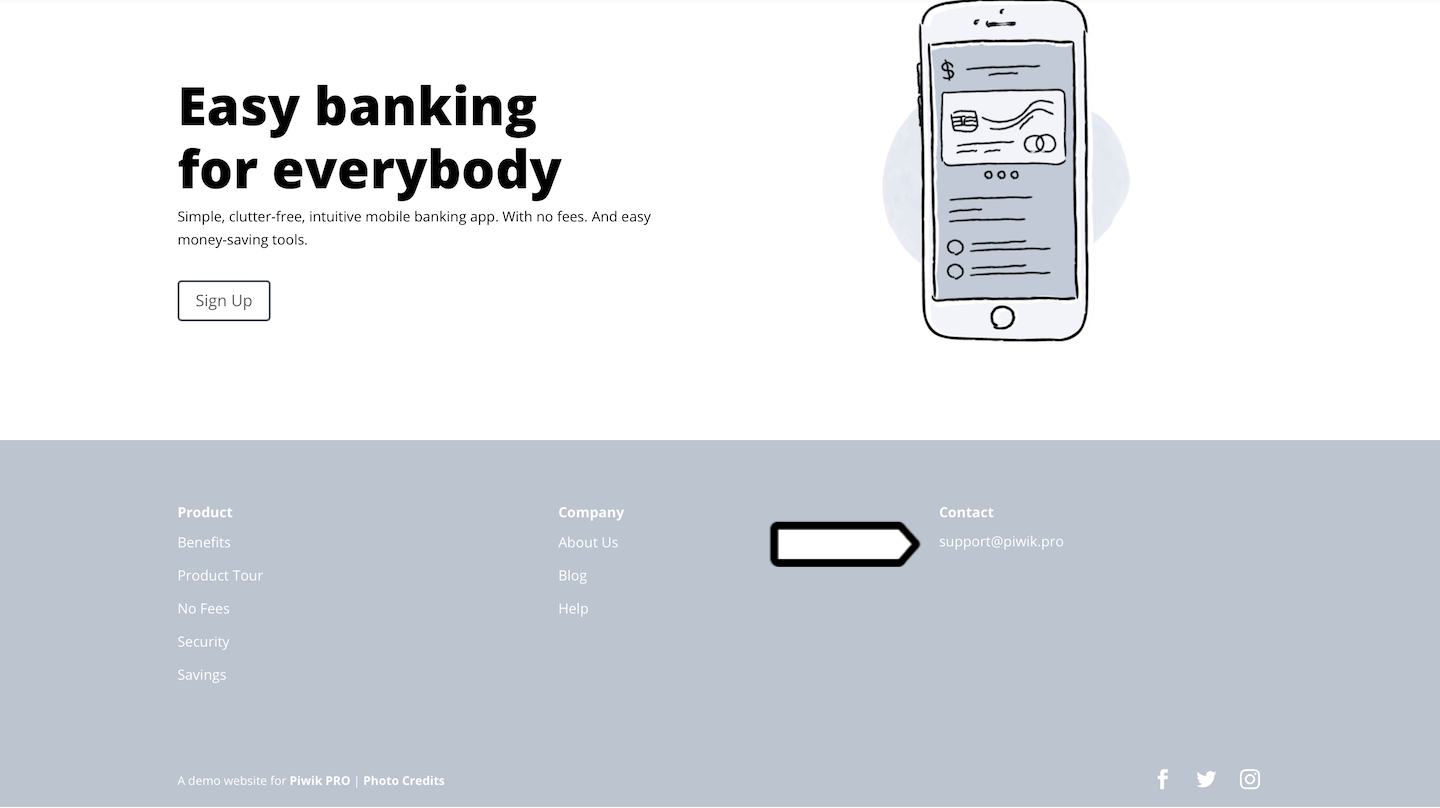
The footer is another crucial piece of your website. We know that not all visitors scroll down to the very bottom, but for the ones who do the footer is a safety net. It grabs the visitor’s attention, gives information on where to navigate – for example, a page, social media or contact – and helps people decide whether to stay on your site or flee.
This is why it’s well worth the effort to review and improve your footer. There are many elements you can stuff into the footer, but when you learn which ones are important for your customers, you can narrow things down to just those.
In this chapter, we’ll show you how to track three of the most frequently used elements of the footer – menu, social media icons and contact via email. Like in the previous chapter, we’ll start with locating CSS attributes for footer elements.
Find the CSS attribute of footer elements
Before you begin, keep in mind that each website is built differently and the way CSS attributes are assigned to elements determines how you can pinpoint them in Tag Manager. Let’s see how our demo website of Clear Bank does it.
We’ll start with spotting the CSS attributes of menu items.
To find the CSS attribute of a menu item in the footer, follow these steps:
1. Open your website and spot the menu item.
2. Right click on the menu item and click Inspect or Inspect Element, depending on the browser you’re using.
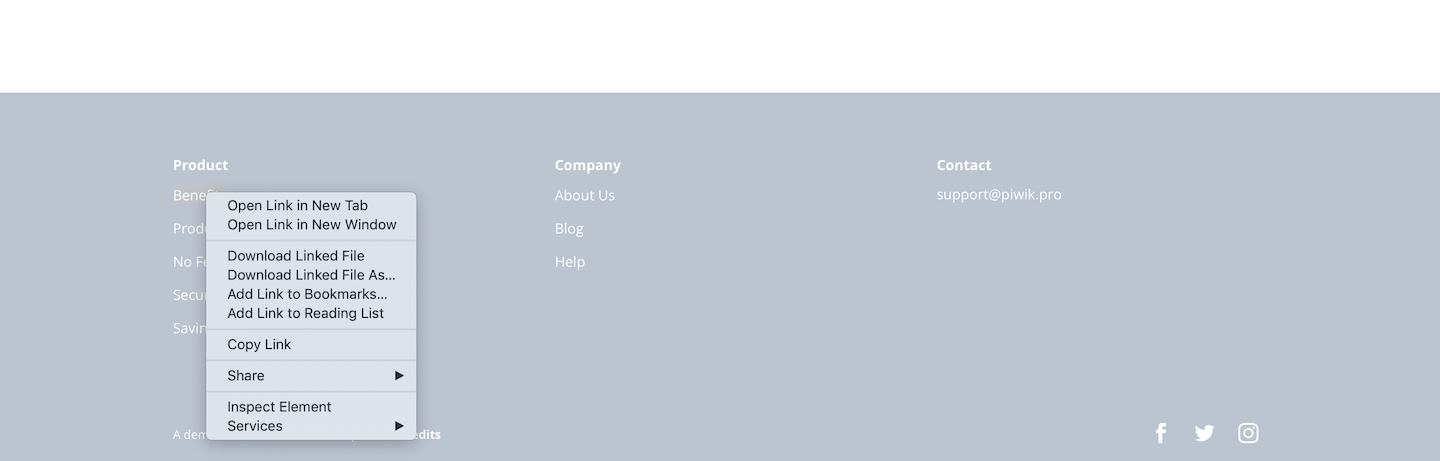
3. Look for a class or ID CSS attribute. In our example, the code looks like this:
<li id="menu-item-507" class="menu-item menu-item-type-post_type menu-item-object-page menu-item-507">
    <a href="https://clearbank/benefits/">Benefits</a>
</li>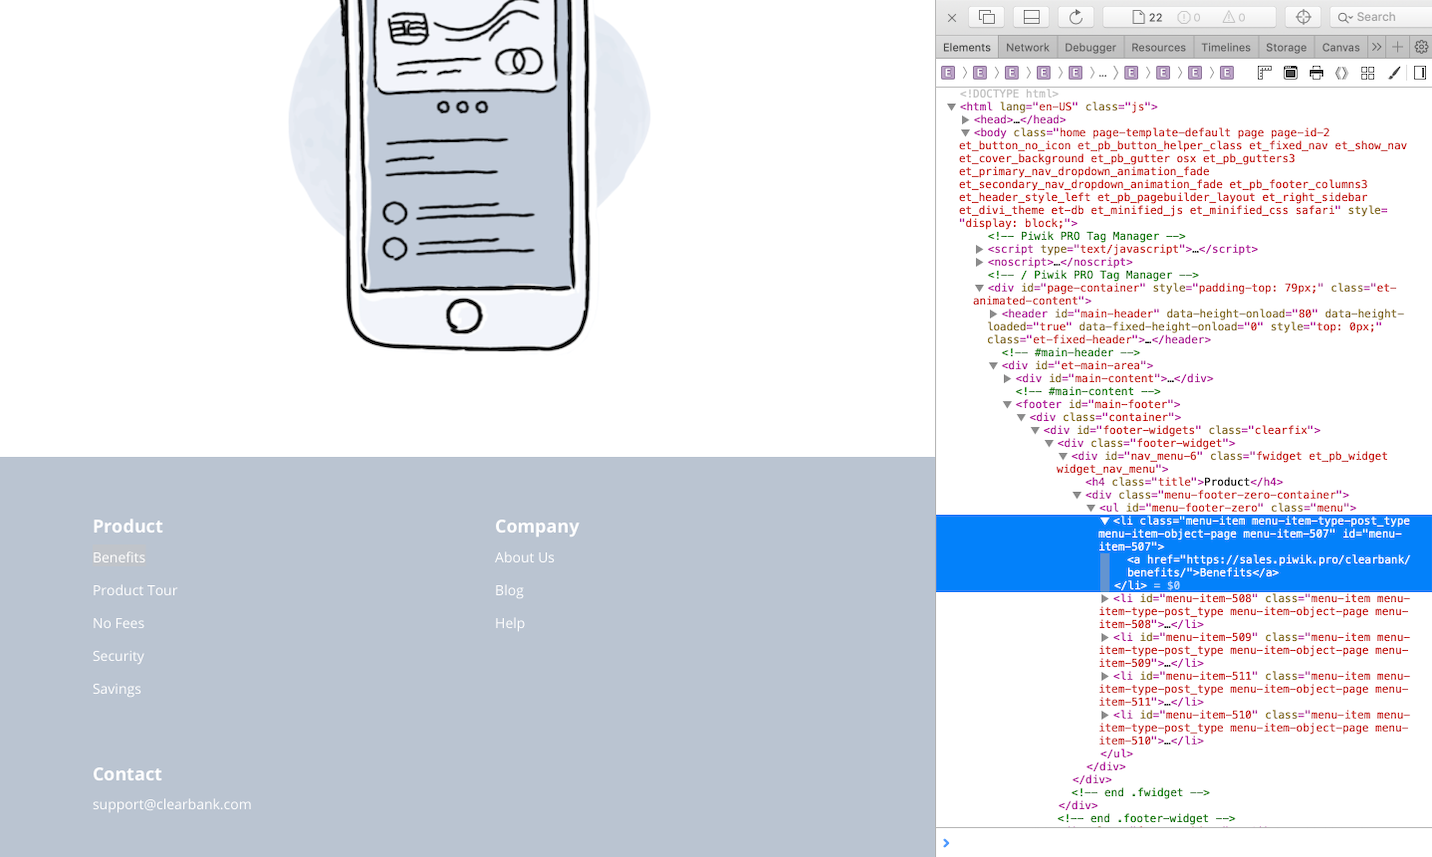
When we look at the code for other <li> elements we see that this piece of the class menu-item is repeated, and we could use it as our pointer. However, we’ve noticed that the same attribute is being used in the header menu of our website. If we apply it to our tracking, we won’t be able to tell the difference between elements from the header and the footer. In that case, we need to find a distinguishing element.
We can look at the parent element <ul> of the list: <ul id="menu-footer-zero" class="menu">. Our header menu uses a different class for <ul>, so we can use class="menu" as the pointer for tracking menu items in the footer.
Tip: One more thing – menu items in the footer are usually organized in two or three columns. Every column may, on rare occasions, have a different class, so check this out and adjust the tag accordingly.
Now we can move on to social media icons and look for their CSS attributes.
To find the CSS attribute of a social media icon in the footer, follow these steps:
1. Open your website and spot the social media icon.
2. Right click on the social media icon and click Inspect or Inspect Element, depending on the browser you’re using.
3. Look for a class or ID CSS attribute. In our example, the code looks like this:
<a href="https://www.facebook.com/ClearBank/" class="icon">
    <span>Facebook</span>
</a>
For other social media icons, the code looks similar and the class="icon" is the same. So we could use this class as our pointer. But this time we’ll do it differently. We’ll use a link as our pointer. We’ll show you how to do this later in this chapter.
Finally, we can check our last element, contact via email.
To find the CSS attribute of an email address in the footer, follow these steps:
1. Open your website and find the email address.
2. Right click on the email address and click Inspect or Inspect Element, depending on the browser you’re using.
3. Look for a class or ID CSS attribute. In our example, the code looks like this:
<a href="mailto:support@clearbank.com?Subject=Clear Bank question" target="_top">support@clearbank.com</a>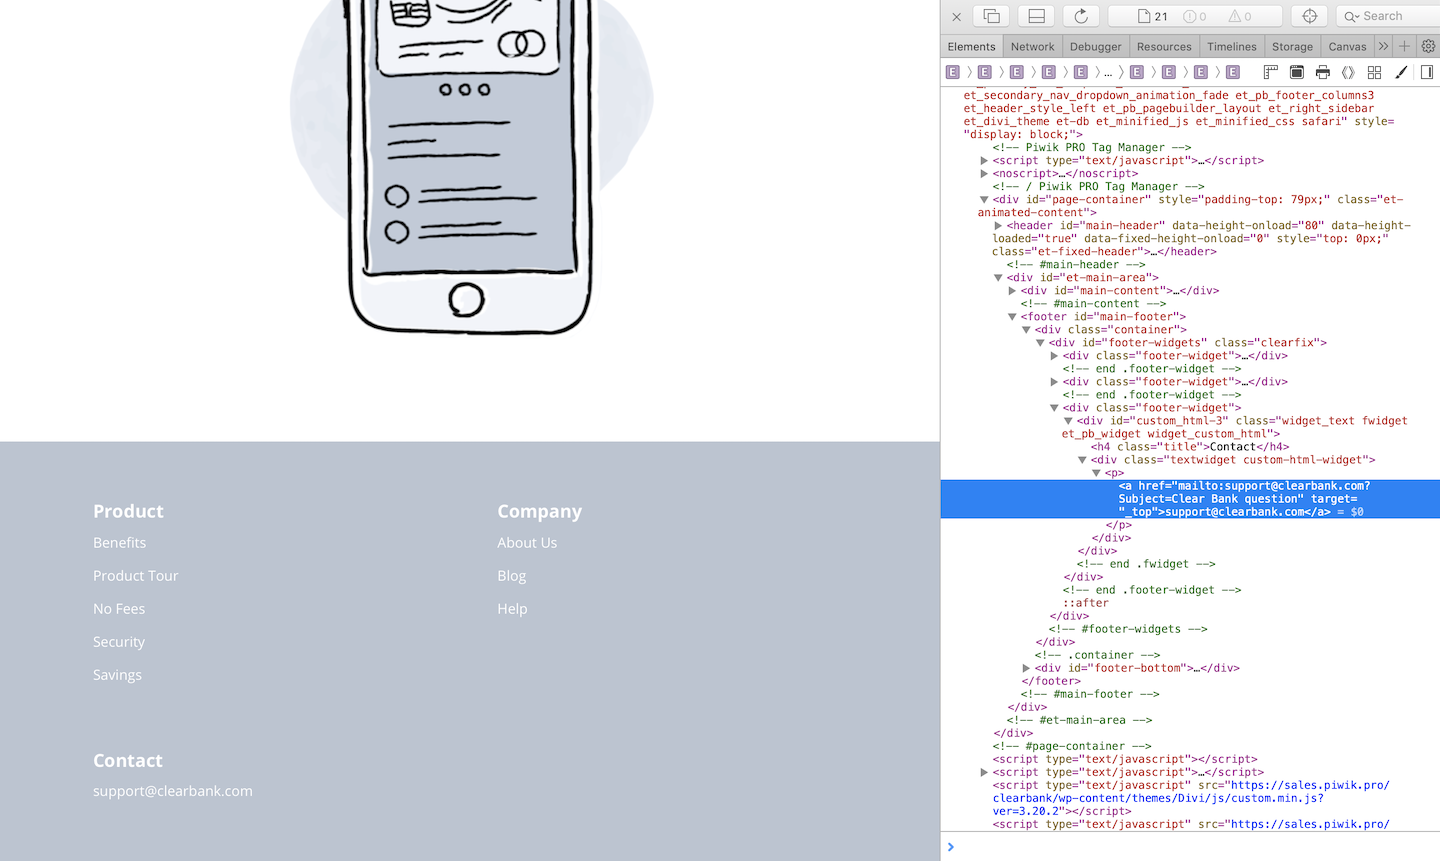
In this case, there is no class or ID attribute assigned to this element. So we could look at the parent element, or as with social media icons we could use the link as our pointer. We’ll go with the second option because it’s easier.
Now that we know the CSS attributes for menu items and links for social media icons and email, we can define tags and triggers that will track the whole footer.
Set up footer menu items tracking in Tag Manager
First, we’ll do the setup for menu items tracking.
First, we’ll create a tag for tracking menu items.
To set up a tag for tracking footer menu items, follow these steps:
1. Go to Menu > Tag Manager.
2. Click Add a tag.
3. Name the tag and select the following type: Custom code (async).
4. Click Next.
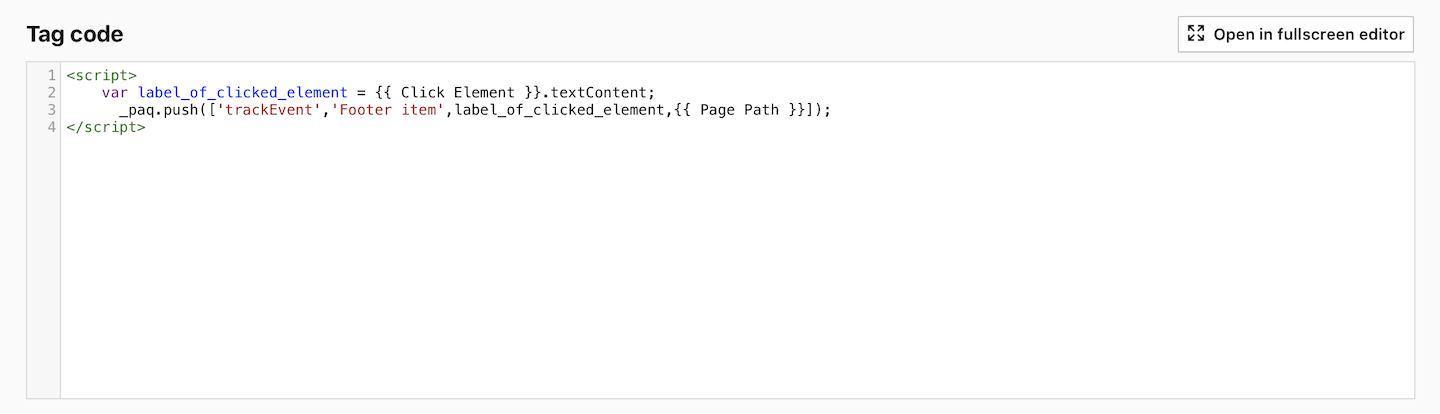
5. We’ll use the following script:
<script>
    var label_of_clicked_element = {{ Click Element }}.textContent;
    _paq.push(['trackEvent', 'Footer item', label_of_clicked_element, {{ Page Path }}]);
</script>
6. The script will go into Tag code.
7. In Tag triggers, click Add a trigger.
8. Select the following type: Click.
9. Name your trigger.
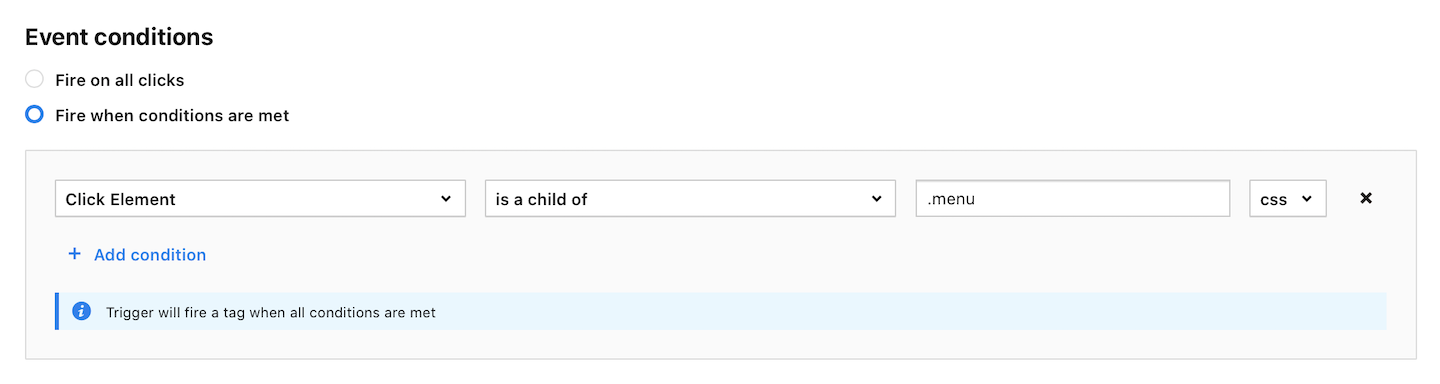
10. In Event conditions, define conditions for the trigger. For our example, we’ll use the condition Click element is a child of .menu.
11. When you’re done, click Save.
We’re using the same script as in textual menu tracking in the previous chapter. The first line var label_of_clicked_element = {{ Click Element }}.textContent; defines a variable which holds data about the text used in the clicked element. For example, Benefits, Product Tour or About Us. The second line _paq.push(['trackEvent', 'Footer item', label_of_clicked_element, {{ Page Path }}]); sends data about the event to Analytics. In our case, that is:
- Category: Footer item.
- Action: label_of_clicked_element (That’s our defined variable).
- Name: {{ Page Path }} (A variable that pulls out the page path where an event occurred).
To organize all elements of the footer under one event category in the event report, we’ll use the category name Footer item in all tags.
Set up social media icons tracking in Tag Manager
Moving on, we’ll set up tracking of moments when a visitor clicks a social media icon. We’ll do that with three separate tags – for Facebook, Twitter (X) and Instagram.
To set up a tag for tracking a Facebook icon click, follow these steps:
1. Go to Menu > Tag Manager.
2. Click Add a tag.
3. Name the tag and select the following type: Custom event.
4. Click Next.
5. Set category as Footer item. You can use another name depending on the framework you use for organizing events in your reports.
6. Set action as Facebook.
7. Set name as a {{ Page Path }} or {{ Page URL }} variable. This way Tag Manager will pull out information about the page where the icon was clicked.

8. In Tag triggers, click Add a trigger.
9. Select the following type: Click.
10. Name your trigger.
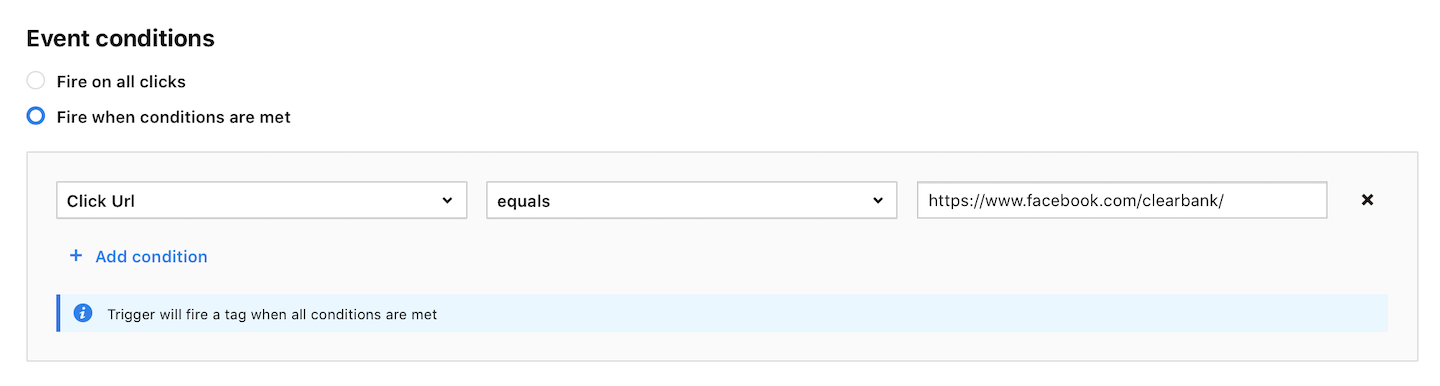
11. In Event conditions, define conditions for the trigger. For our example, we’ll use the condition Click URL equals https://www.facebook.com/clearbank/.
12. When you’re done, click Save.
We’ll repeat these steps to set up Twitter (X) and Instagram icon clicks. We’ll just change the action to Twitter and Instagram, and change the links in the triggers. This way we’ll end up with three tags, each collecting information about clicks on social media icons and sending data to Analytics in this framework:
- Category: Footer item.
- Action: Facebook, Twitter or Instagram
- Name: {{ Page Path }} (A variable that pulls out the page path where an event occurred).
Set up email address click tracking in Tag Manager
Lastly, we’ll define a tag capturing the moment when a visitor clicks an email address in the footer.
To set up a tag for tracking an email address click, follow these steps:
1. Go to Menu > Tag Manager.
2. Click Add a tag.
3. Name the tag and select the following type: Custom event.
4. Click Next.
5. Set category as Footer item. You can use another name depending on the framework you use for organizing events in your reports.
6. Set action as Email.
7. Set name as a {{ Page Path }} or {{ Page URL }} variable. This way Tag Manager will pull out information about the page where the icon was clicked.

8. In Tag triggers, click Add a trigger.
9. Select the following type: Click.
10. Name your trigger.
11. In Event conditions, define conditions for the trigger. For our example, we’ll use the condition Click URL contains support@clearbank.com.
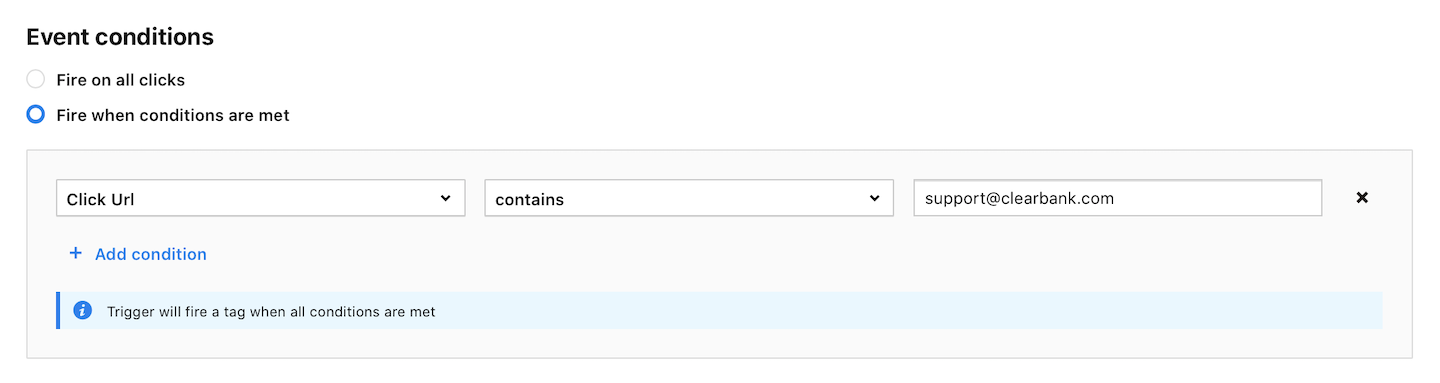
12. When you’re done, click Save.
Check the setup in debug mode
Once we have tags and triggers ready, we can test if they work in debug mode in Tag Manager.
To use debug mode, follow these steps:
1. Go to Menu > Tag Manager.
2. Click Debug in the upper right corner.
3. Your website will open in a new tab with debug mode running.
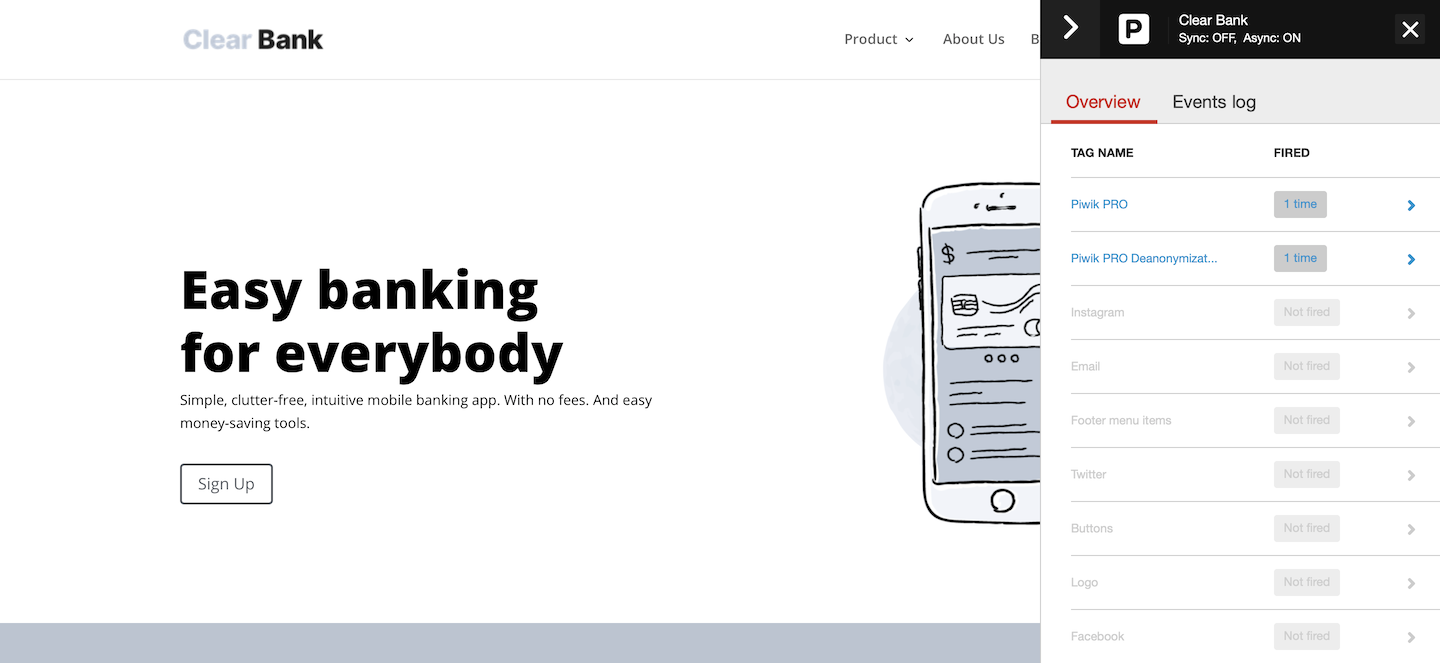
4. Toggle the Prevent page reload option. This will freeze the page so that when you click a menu item, social media icon, or email address a new page won’t open.
5. Click the menu item, social media icon or email address and see if the tag was fired.
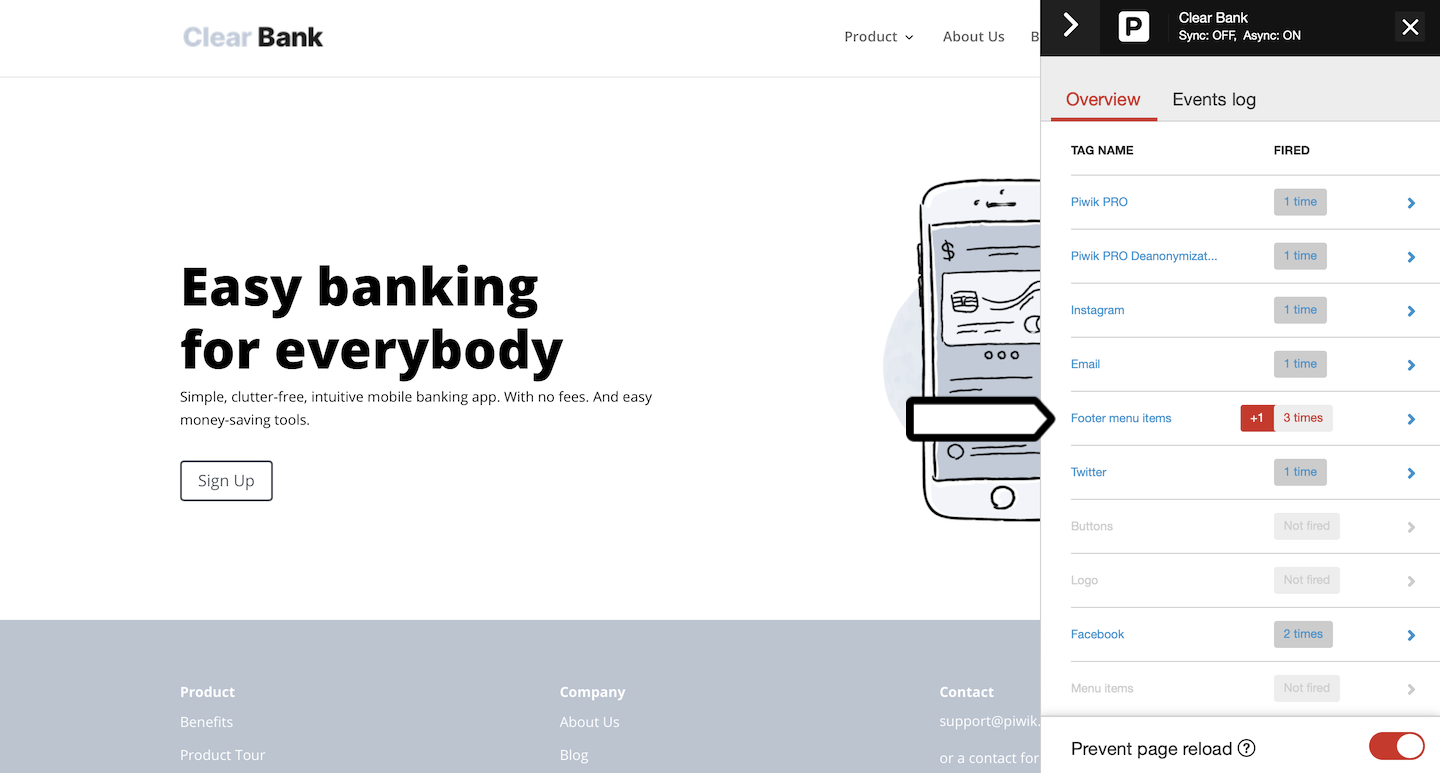
6. When you’re happy with how the tag works, go back to Tag Manager and publish the tag.
View footer tracking in a report
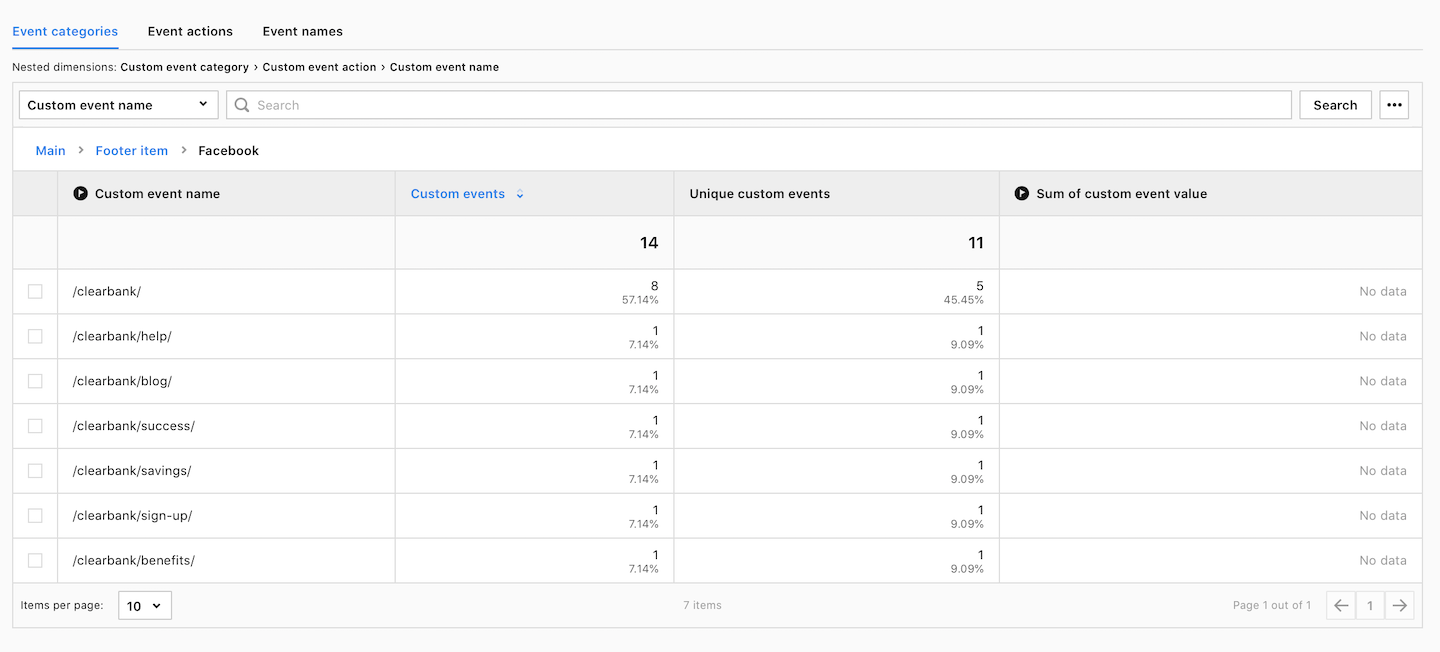
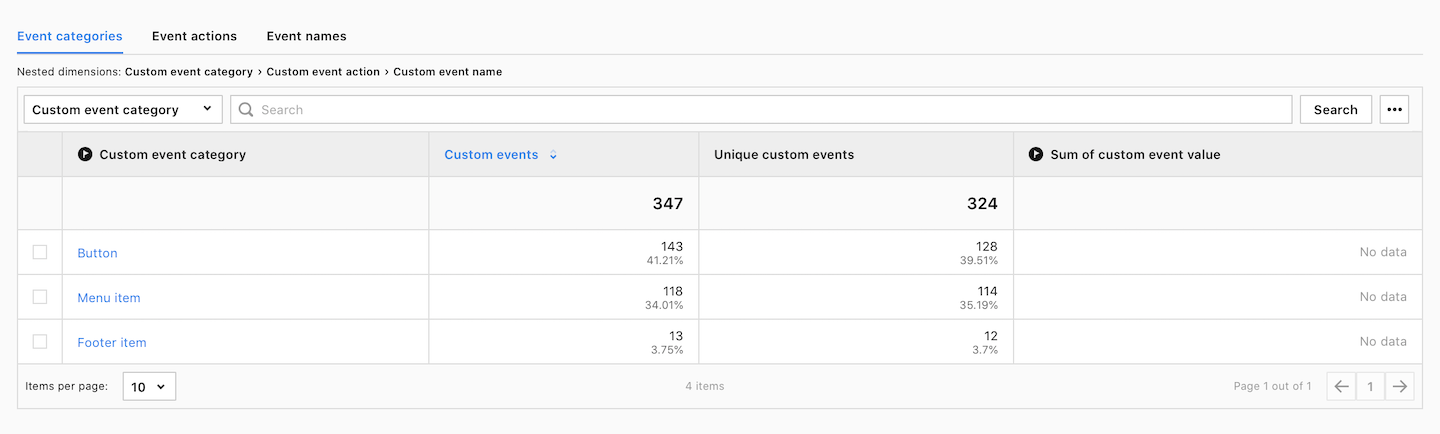
The moment tags start gathering data they begin passing it to Analytics, and after some time you will see it in the custom event report under Menu > Analytics > Reports > Custom events. For our case, we used the category Footer item for all tags because we wanted to have the data grouped under one umbrella. For the action name, we used the text on a menu item, for example, Benefits; for the name of the social media, for example, Facebook, and Email. For the name, we used the page path. With this framework, our report will look like this.
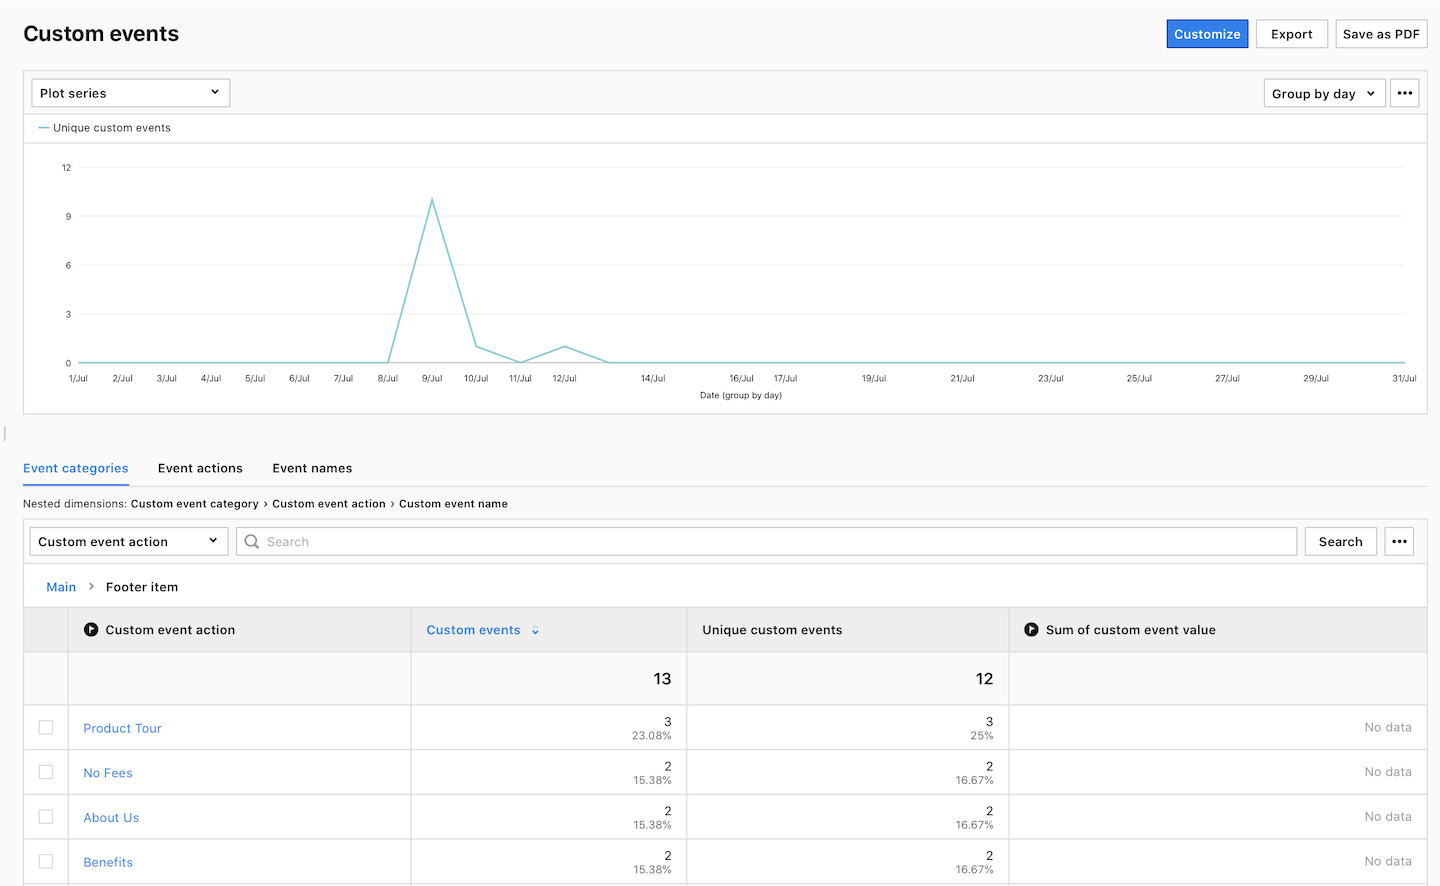
When we drill down each event action, we can analyze on which pages people clicked a given footer element.
So far, we’ve been organizing all our events according to the same framework. We’ve got three categories: Button, Menu item and Footer item. Each category holds event names and page paths as actions.
As we said in the beginning, the footer is a part of your website where you can place multiple elements. Depending on what your business is about and how you want to communicate, you can design the footer in many ways. Analytics will help you out with making the right choices and giving visitors reasons to stay.