In this chapter, we’ll show you how to set up a handy tag for collecting data from YouTube videos embedded on your site or app. The collected data will include plays, rewinds, pauses, mutes, watch time, progress and more.
To set up a YouTube video tracking tag, follow these steps:
1. Go to Menu > Tag Manager.
2. Navigate to Tags.
3. Click Add a tag.
4. Select the following tag template: YouTube video tracking.
5. Click Next.
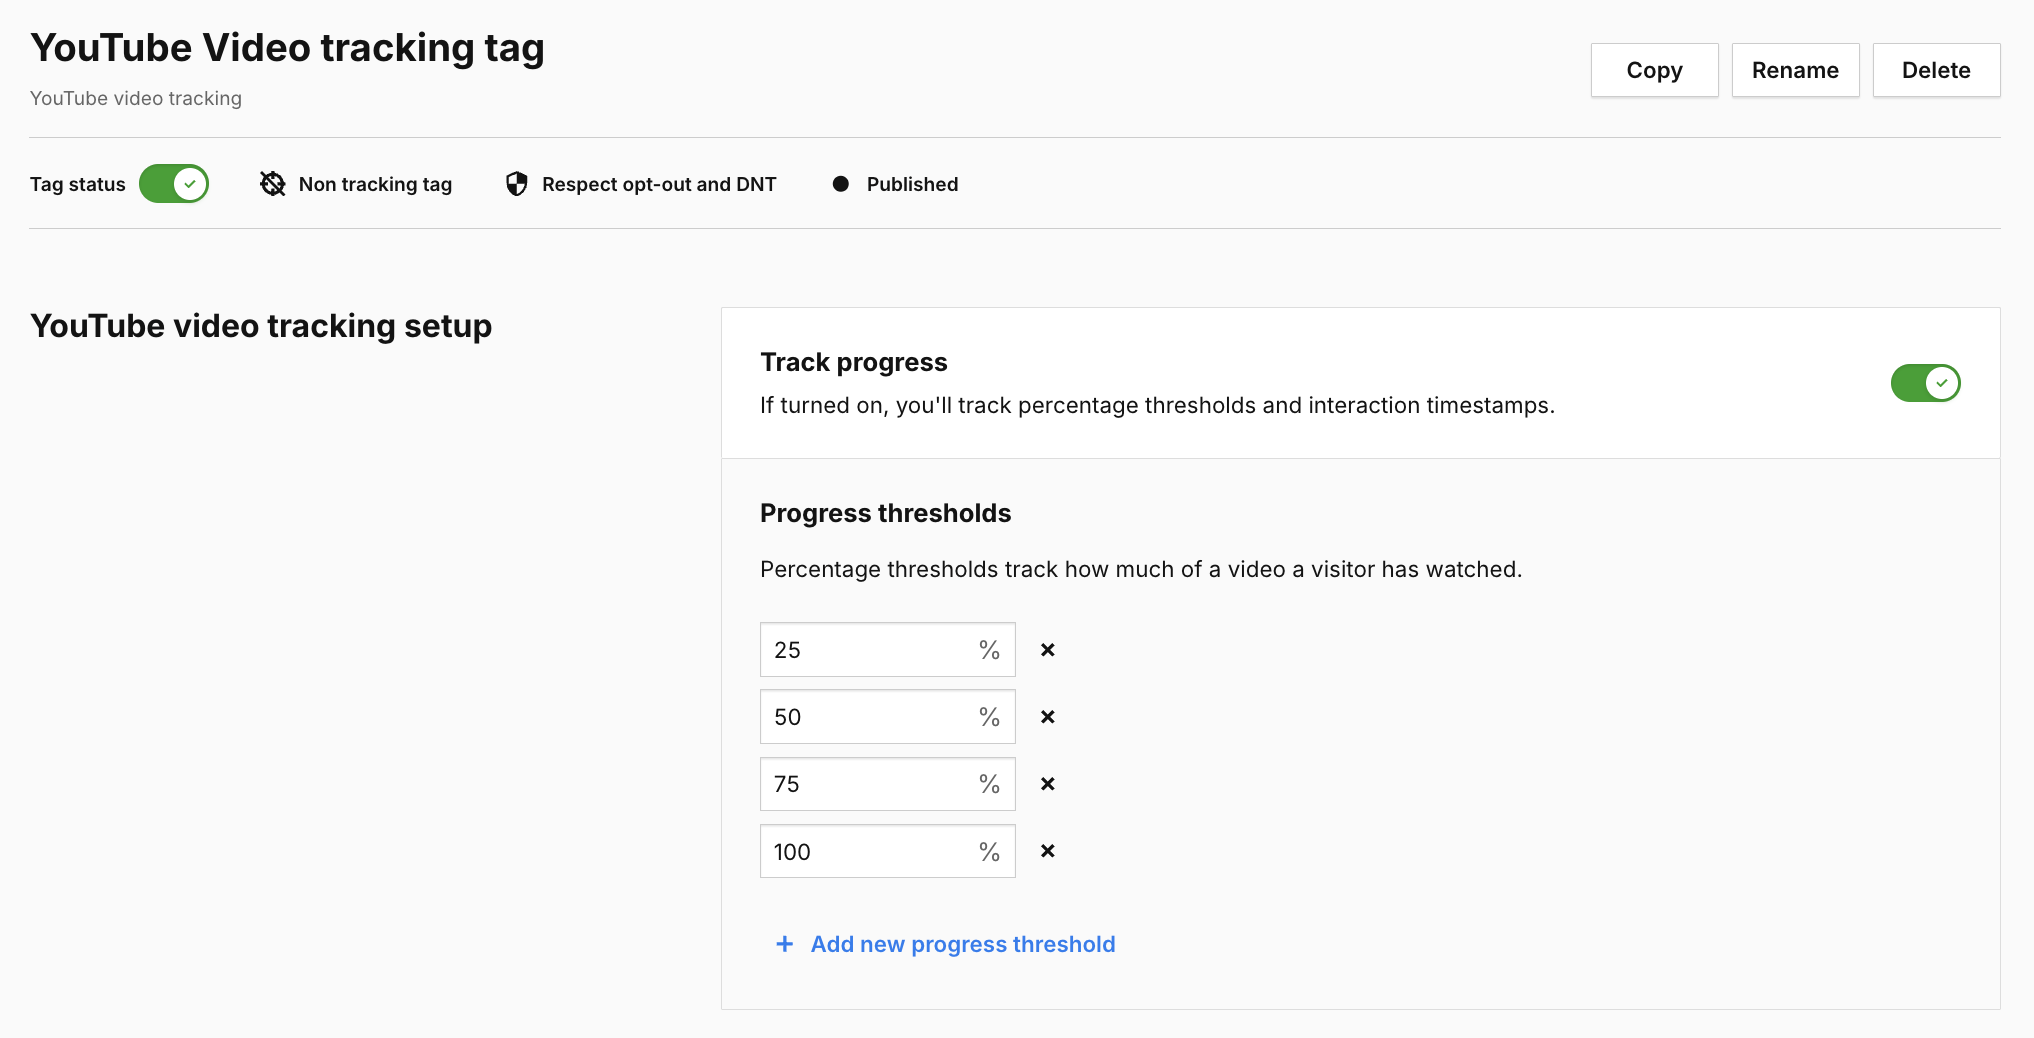
6. Name the tag.
7. (Optional) Turn on Track progress and set up percentages.

8. In Advanced tag settings, choose Consent type. Set it up if you use a consent form on your site. This tag will fire only for visitors who accept the selected consent type.
9. Respect opt-out and DNT is turned off by default. Turn it on, if you want to respect visitors who’ve turned on the Do-Not-Track feature in their browsers or who’ve opted out of tracking using our opt-out form.
10. In Flight dates, set the date and time when the tag is fired.
11. In Tag triggers, click Choose existing trigger.
12. Choose the following trigger: All page views.
Note: You can also set a new trigger that will fire this tag on selected pages.
14. Click OK to save the trigger.
15. Click Add for the tag.
16. Choose the site/app you want to work with. Use the site/app picker in the upper right corner.
17. Go to Debug mode.

Note: The YouTube video tracking tag runs a complex script that collects various pieces of video data and sends them to Analytics. You just need to make sure that the tag fires on the pages with videos. The script will take care of everything else.
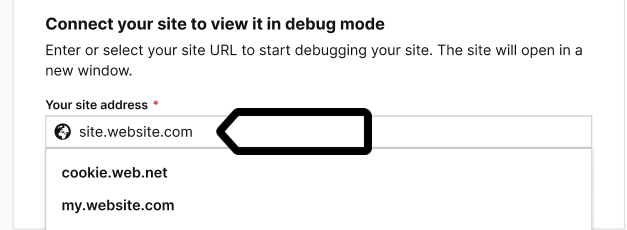
18. In Your site address, type in or select your site or app address.

Note: The available sites depend on those you’ve added to your account in
Administration > Sites & apps > Choose your site from the list > Data collection > Site or app address.
19. Click Connect.
20. Once your site is connected, it will open in a new tab.
Note: If you have any trouble connecting, check that:
- The installation code on the website you’re connecting to matches the site or app in the site/app picker in the upper right corner.
- Your browser allows popups. Some browsers, such as Safari, block them by default.
- The necessary code is installed on your site.
- Your site address is correct and you’re connecting to the correct URL.
- Ad-blocking extensions are temporarily disabled.
21. (Optional) Turn on Prevent page reload. This will stop the page from refreshing when you click elements that would normally trigger a reload.
Tip: This option is useful for testing form submissions and link clicks.
22. When the tag works correctly, click Publish.
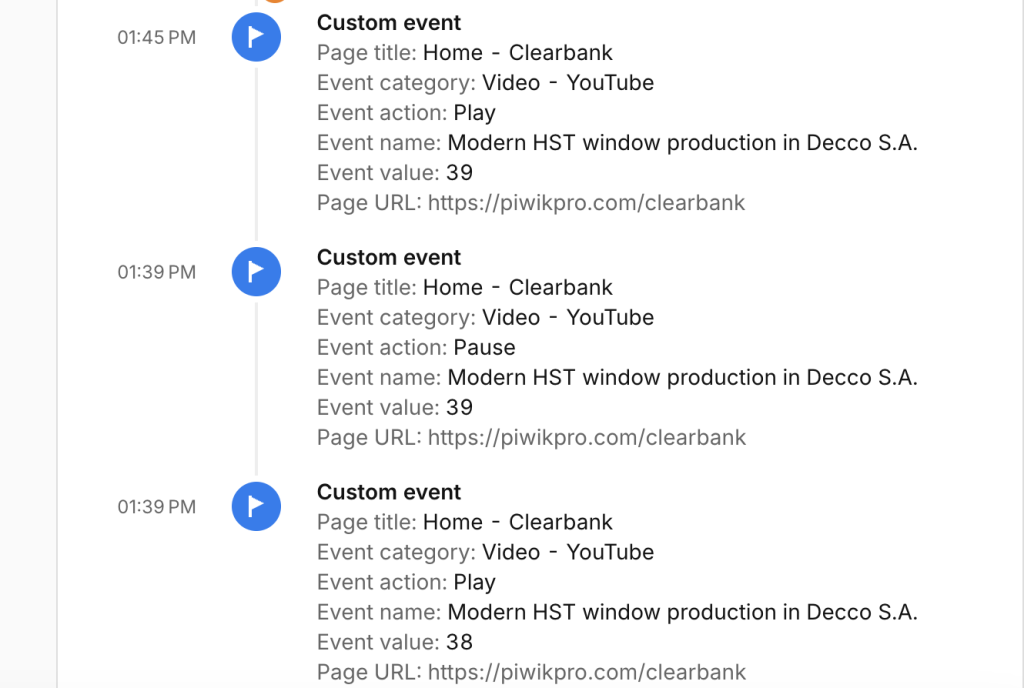
23. You can quickly check if data is collected correctly by going to Menu > Analytics > Settings > Tracker debugger.

Note: Data in the tracker debugger appears instantly. Data in reports appears in about 30 minutes.
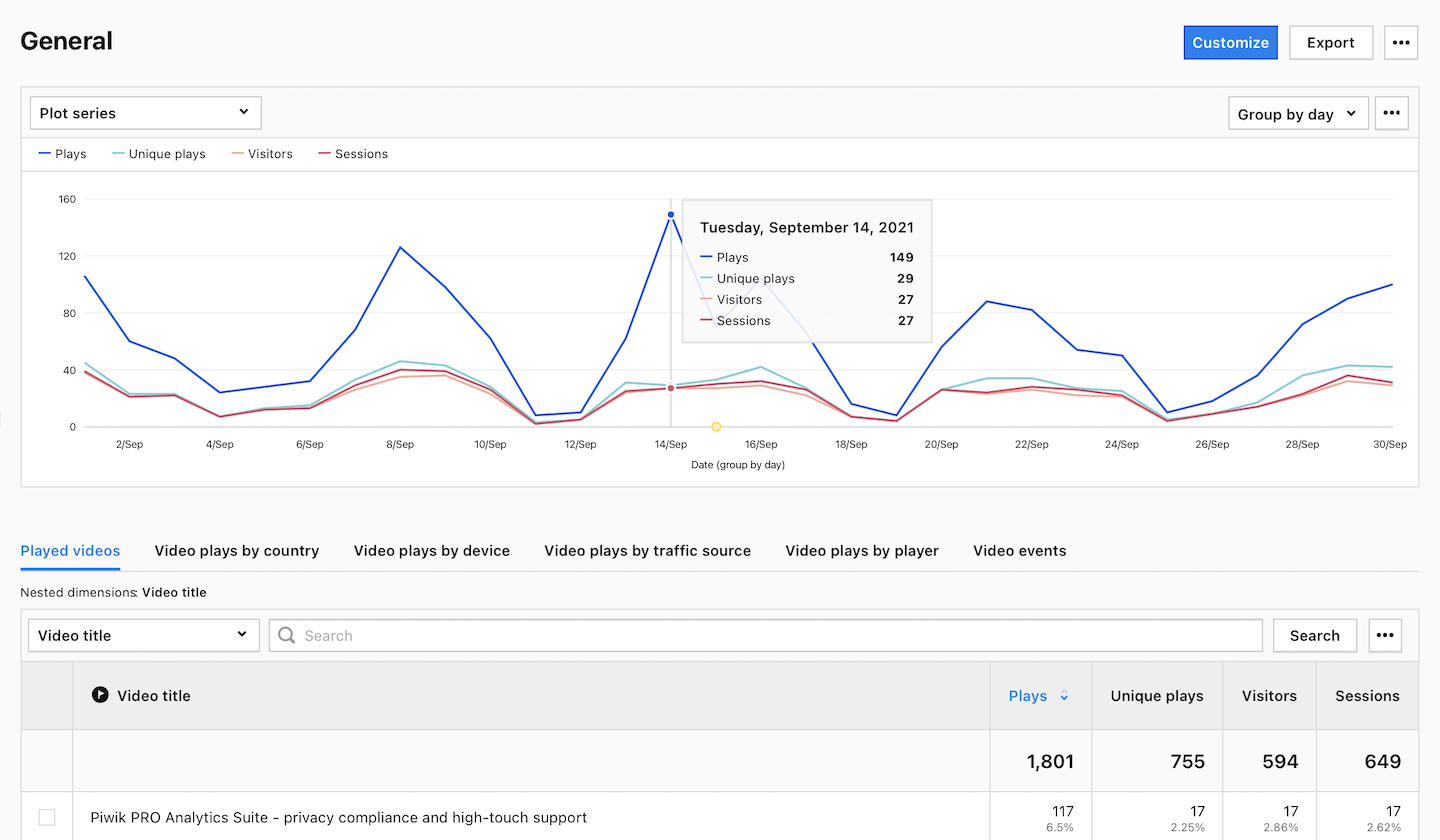
24. After data is collected, you’ll see it under Menu > Analytics > Reports > Video analytics.

Note: For HTML5 videos use our dedicated HTML5 video tracking tag. For Vimeo videos, use a dedicated custom code.
25. Done.
