Our Data Activation (DA), formerly Customer Data Platform, offers data imports from third-party tools, including CRMs, support platforms, email marketing tools, and so on. The imported data enriches user profiles, enabling you to target audiences more effectively.
In this article, we’ll show you how to send data from your third-party tool to DA.
Before you start
Here are a few helpful things to know before you start:
- Data import in Data Activation is based on webhooks. Make sure the tool you want to send data from supports webhooks.
- Data Activation collects information from visitors who come to your site and combines it into profiles. Read more
- Data Activation gives you access to user attributes and event dimensions, such as technology used, pages visited, location, and more, right out of the box. Read more
- You can also use our API to update profile attributes.
Examples of data sources and information shared with Data Activation
Before we explain how to import data, we’ll show you a handful of examples of data sources and information you can use to enrich your user profiles:
- CRMs: customer lifetime value (CLV/LTV), scoring and subscription expiration dates.
- Support platform: number of support tickets, resolved tickets and net promoter score (NPS).
- Customer success platform: customer satisfaction score (CAST) and offline transactions.
- Email marketing tools: email engagement metrics like open rates and subscription status.
Import data from a third-party tool
To import data from your third-party tool, follow these steps:
1. Go to Menu > Data Activation.
2. Navigate to Data import.
3. Click Import data.
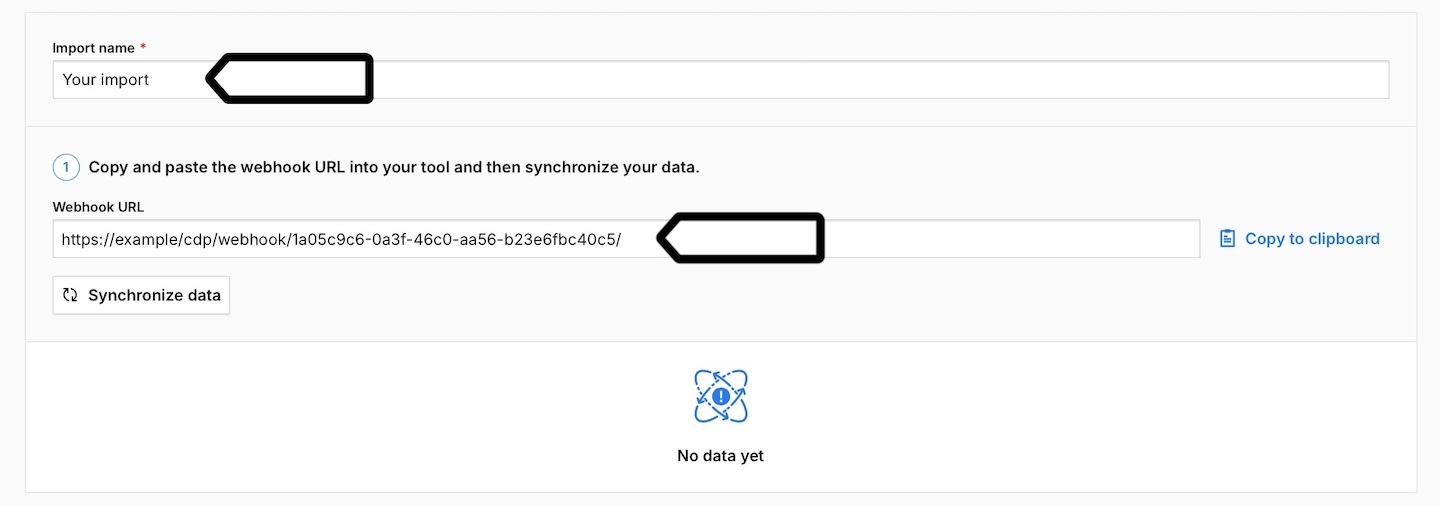
4. Name your import.
5. Copy the import webhook URL and paste it into your chosen tool. Then, send data from this tool.

Note: Sending data may require additional steps in the tool you are using.
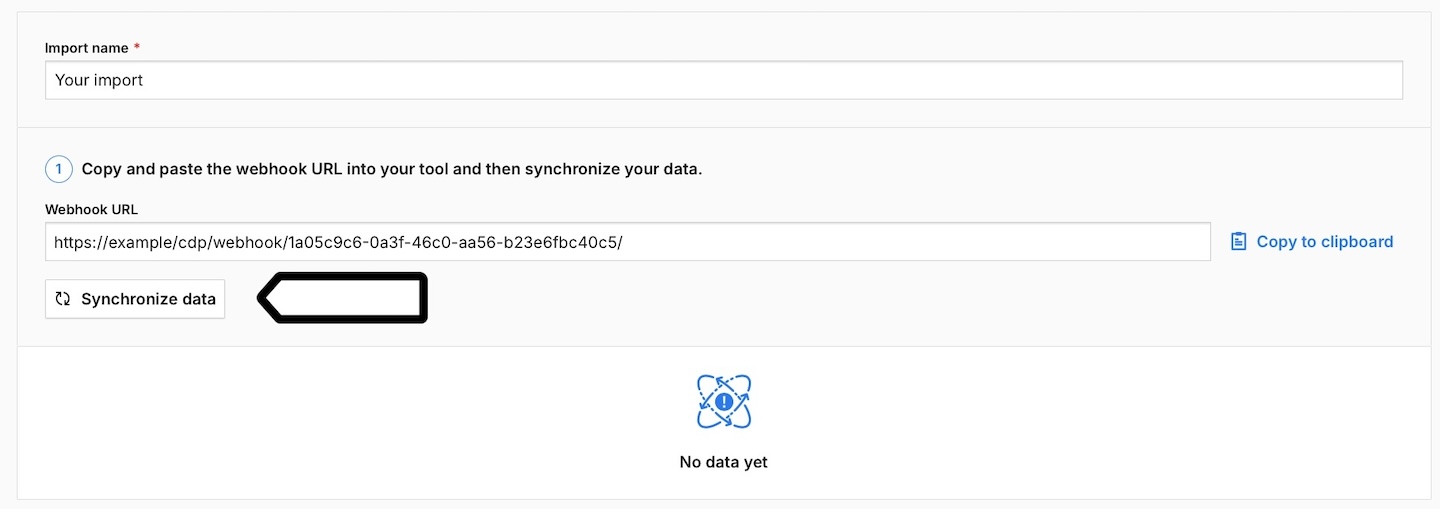
6. Click Synchronize data. This will pull data from your third-party tool and allow you to map it in the next steps.

7. Match Incoming key with User identifier. The incoming key corresponds to the user ID from your third-party tool, while the user identifier is the user ID in DA. Make sure they have the same value, as they are used to link profile data.

Note: Make sure there’s a user ID in the tool you want to import data from that matches the same ID in Piwik PRO. It can be an alphanumeric ID, email address, username and the like. Otherwise, data can’t be linked.
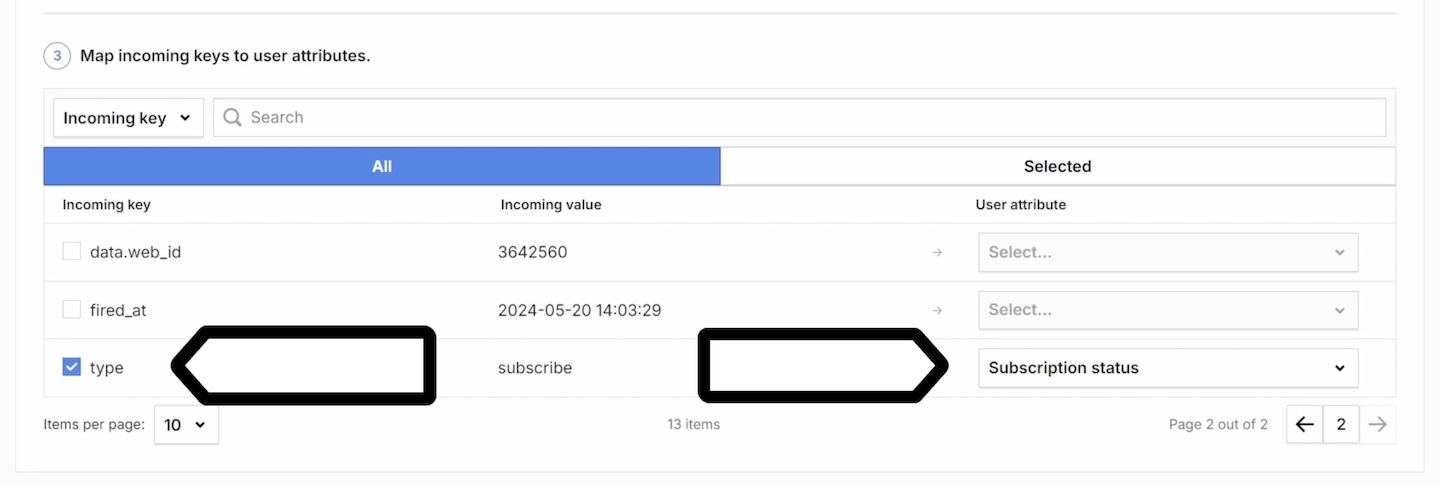
8. Select and map incoming keys to user attributes. Incoming keys are the keys in your third-party tool, while user attributes are the attributes in Data Activation.

Note: Add custom attributes if needed. Read more
9. Click Save.
10. Check Import log to see if the connection is successful and data is flowing.
11. All done! Now your user profiles are enriched with data from your third-party tool.
Note: Our data import will enrich all existing profiles and create new profiles if needed.
12. In the next step, you can:
- Create new audiences
- Activate your data for Microsoft Teams, Slack, Mailchimp, Zapier, Power Automate, Tray.io, n8n, Make, Google Ads Customer Match, or create a custom activation.
- Use audiences in triggers in Tag Manager.
- Use audiences in an audience detection (Data Activation) trigger in Tag Manager.
Edit, deactivate, or delete data import
To edit, deactivate, or delete a data import from your third-party tool, follow these steps:
1. Go to Menu > Data Activation.
2. Navigate to Data import.
3. Select the import you want to work with.
4. Click Edit or Delete. Or toggle Active to deactivate your import.

5. Follow the steps on the screen.
6. Done!
Watch more tutorials on YouTube:
