Piwik PRO uses a container to let you manage tags and consents, and run a tracking code (a JavaScript code) on your web pages. The tracking code collects data about people who visit your site or app. Every time a visitor views a page, the tracking code grabs information about that visitor and sends it to Piwik PRO. Then Piwik PRO organizes this data into reports.
To install a container, follow these steps:
1. Go to Menu > Administration.
2. Navigate to Sites & apps.
3. Click Add a site or app.
4. Type the site or app name and address and click OK.

Note: If you want to track a few domains with the same tracking code, add their addresses.
5. In Data collection, set the time zone and currency.
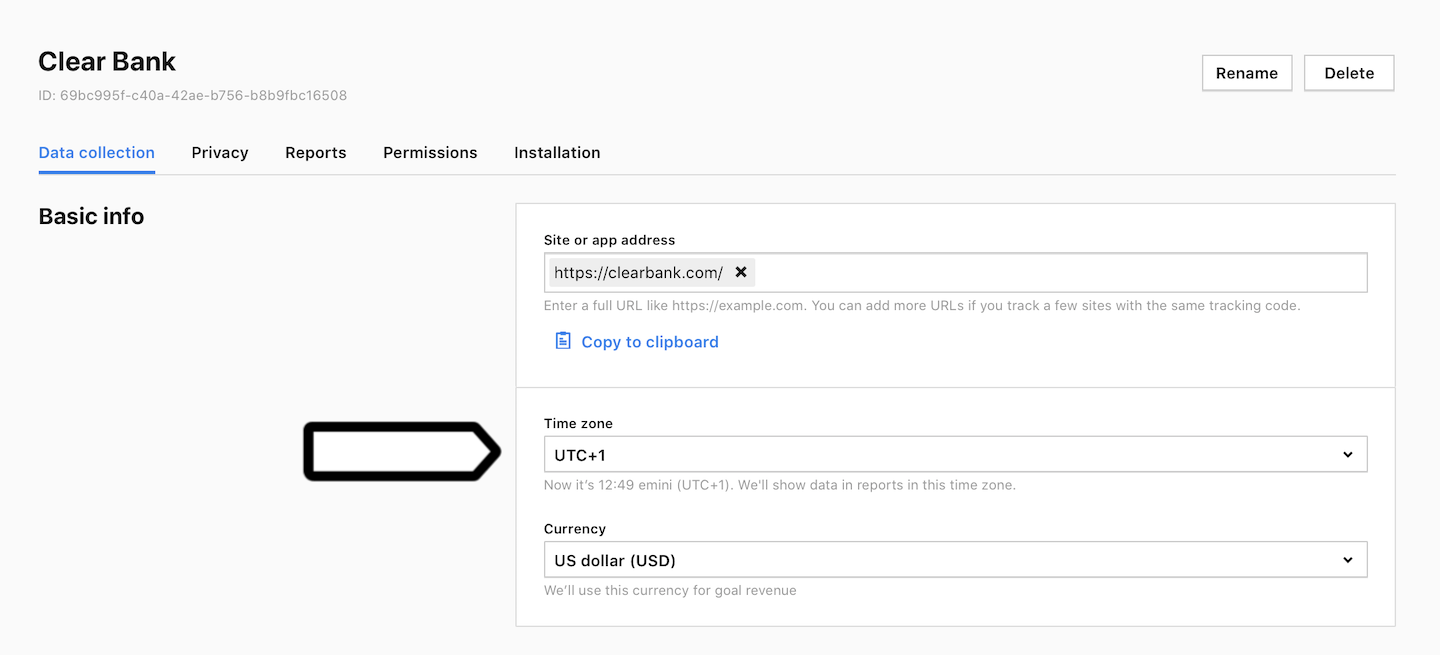
Note: We’ll show data in reports in this time zone. We’ll use this currency for goal revenue.
6. Navigate to Installation.
7. In Sites, click Install manually.
8. In Basic container (async), click Copy to clipboard.
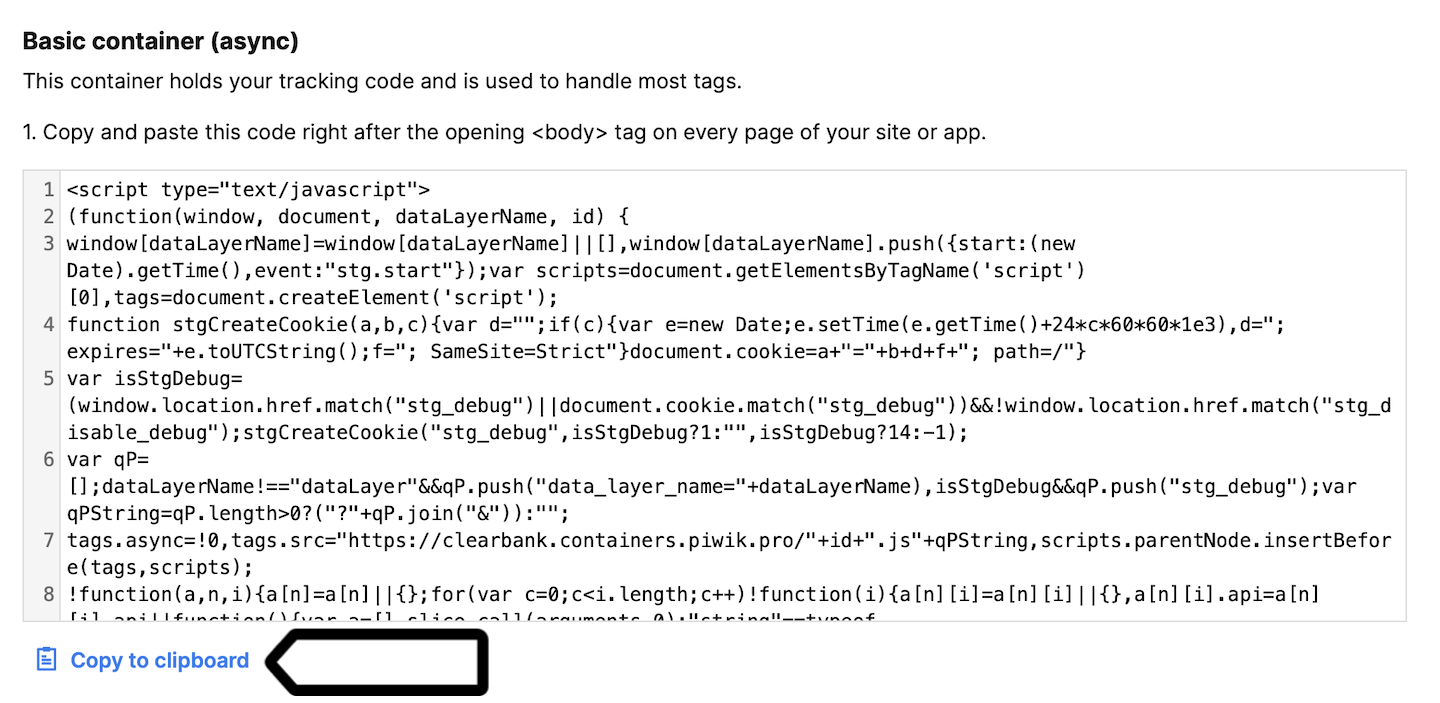
9. Paste the code right after the opening <body> tag on every page of your website or app.
10. Data will appear in reports in about two hours. Data in the tracker debugger will appear instantly.
Tip: You can also check manually to see if your tracking works. Read more
11. We’ll start showing a consent form on your site after you’ve installed the container. Add your privacy policy address to the form or turn off the consent form.
12. Done.
Tip: To change the way your data is collected, you can use the following settings:
Other ways to install
For sites
- Angular: install a container (with a tracking code)
- Google Tag Manager: install a container (with a tracking code)
- Google Tag Manager: install a tracking code on its own
- Instapage: install a container (with a tracking code)
- Next.js: install a container (with a tracking code)
- No Piwik PRO Tag Manager: install a tracking code
- React: install a container (with a tracking code)
- Squarespace: install a container (with a tracking code)
- Wix: install a container (with a tracking code)
- WordPress: install a container (with a tracking code)
For mobile apps