In Data Activation, sequential audiences let you group users based on a specific order of actions they take on your website or app.
Instead of creating an audience from a single condition, you define a sequence of steps. A user must complete those steps to be included in the audience.
For example, you can create an audience of users who:
- Visited the pricing page
- Started a signup
- Viewed the checkout page
Only users who completed those actions in that order will match the audience.
In this article, we’ll show you how to create a sequential audience and how to use it later.
Before you start
Here are some important things to keep in mind before you start:
- Audiences start collecting profile data after they are created or edited. They don’t use historical data.
- You can analyze when users complete a step or drop off.
- You can enrich user profiles by importing data from third-party tools, such as CRMs, support platforms, email marketing tools, and so on. Read more
Note: When you enable the Data Activation, it is automatically activated for all users. The owner can change access for each user individually in Menu > Administration > Users.
Create a sequential audience
To create a sequential audience, follow these steps:
1. Go to Menu > Data Activation.
2. Navigate to Audiences.
3. Click Add an audience.
4. Now you can pick one of the following options:
- Suggested audiences: You can choose it and then tailor it to your needs.
- Existing audiences: You can copy an existing audience and adjust it the way you want.
- Analytics segments: You can select an existing segment and then build an audience based on it. Note that not all segment conditions will be available in DA because audiences use real-time data and can only include dimensions collected before the session ends.
- Create an audience: You can build your audience from scratch.
- Create a sequential audience: Create a new sequential audience from scratch.
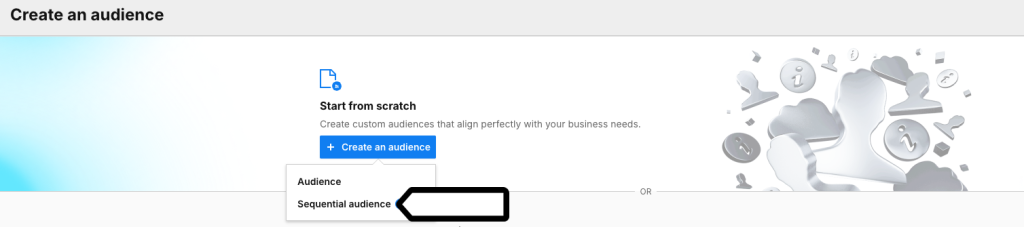
5. Click Create a custom audience.
6. Select Sequential audience.
7. Name your audience and add a description.
8. Set Membership duration. This is how long someone stays in the audience after they join. Time starts when they enter. They’ll stay until the duration ends, unless they stop meeting the criteria and are removed earlier. Activity doesn’t change the duration.
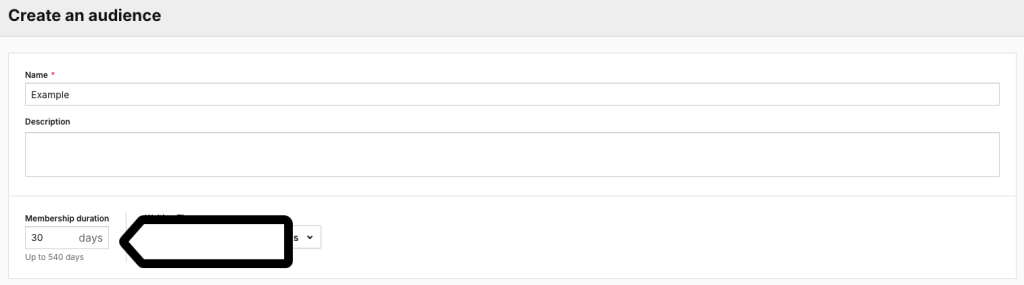
Note: The maximum membership duration is 540 days.
Example: The membership duration is set to 30 days. Membership starts when a user joins the audience. They’ll stay in it for 30 days, unless they stop meeting the criteria and are removed immediately. Activity doesn’t affect the membership duration.
9. Set Wating time.

Note: Waiting time in sequential audiences is the set delay (in seconds, minutes, hours, or days) after someone completes all steps in the sequence before they can move to the next audience.
Waiting time applies only to the last step. We start counting the delay only when all steps are fulfilled. This helps you control how quickly people progress through the audience flow.
10. In Sequence, define the steps that users must complete to match your audience.
Example sequence (cart abandonment)
Define a sequence for users who:
Sequence step A: Add a product to the cart
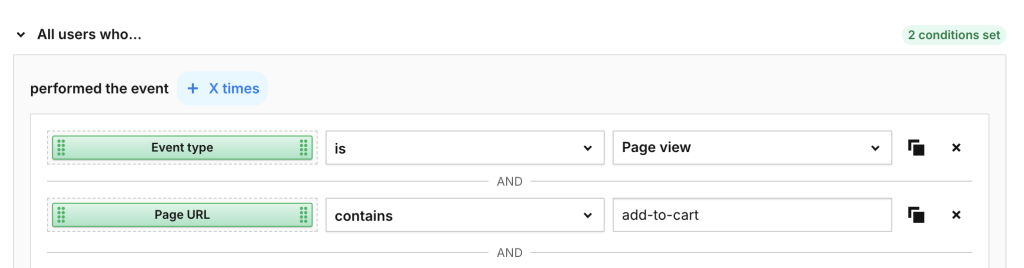
Note: To set how many times a user must perform an event, select + X times.
Sequence step B: Went to the checkout page.

Note: Use within to require the next step to happen within a set time after the previous step. If the user doesn’t complete the step within that time, they restart from the beginning of the sequence (the DA looks for the first event again). This prevents users from staying in one step indefinitely.
You can add within only if the step:
- Isn’t the first step.
- Isn’t set to didn’t perform the event.
Sequence step C: Didn’t complete the checkout.
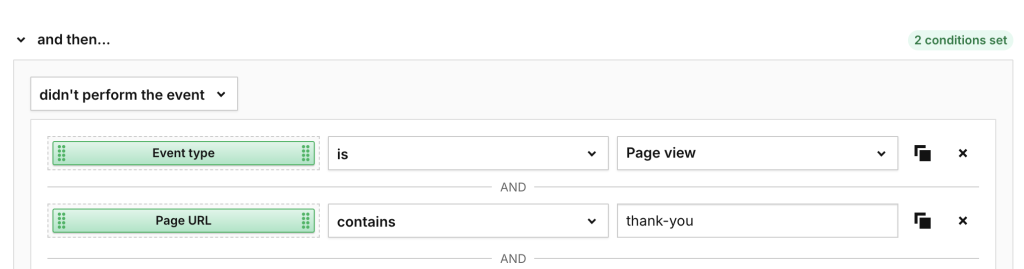
Note:
- You can’t add another step if the last step is set to didn’t perform the event.
- If you’re using attributes that aren’t available as dimensions in Analytics, the estimated value will be 0.
12. (Optional) In Filters, set Last, Country to United States (North America) to show visitors whose last visited country was the United States.

Note: In sequential audiences, you can use user attributes as filters.
13. Click Save.
14. Well done! Your audience is ready and will now start collecting profile data.
15. In the next step, you can:
- Export the audience to a CSV file by clicking Download CSV next to the audience name to use them outside Piwik PRO.
- Activate your data for Microsoft Teams, Slack, Mailchimp, Zapier, Power Automate, Tray.io, n8n, Make, Google Ads Customer Match, or create a custom activation.
- Use this audience in an audience detection (DA) trigger in Tag Manager.